
1. Introducció
This manual provides detailed instructions for the installation, operation, and maintenance of your KSIX 2025 Cutting Plotter. Please read this manual thoroughly before using the device to ensure proper function and to prevent damage. Keep this manual for future reference.
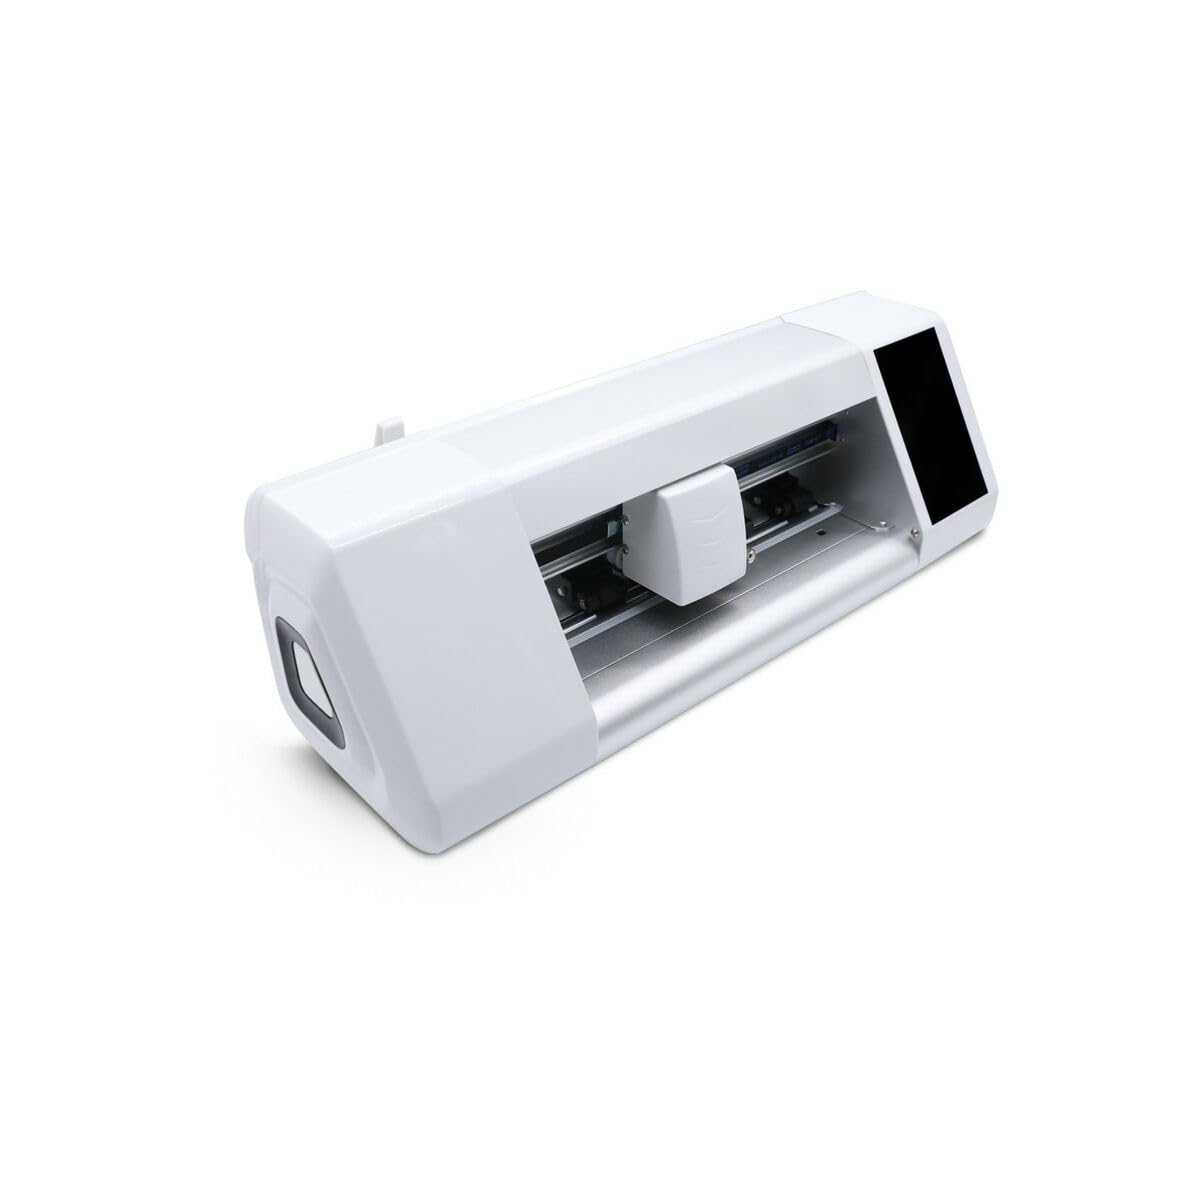
Figure 1: KSIX 2025 Cutting Plotter. This image shows the overall design of the cutting plotter.
2. Informació de seguretat
Observeu sempre les següents precaucions de seguretat per reduir el risc de lesions o danys al dispositiu:
- Assegureu-vos que el dispositiu estigui col·locat sobre una superfície estable i anivellada.
- Mantingueu les mans i la roba solta allunyades de les peces mòbils durant el funcionament.
- Utilitzeu només l'adaptador d'alimentació subministrat amb el dispositiu.
- No exposeu el dispositiu a la humitat ni a temperatures extremes.
- Desendolleu el dispositiu de la presa de corrent abans de netejar-lo o fer-ne el manteniment.
- Mantenir fora de l'abast dels nens.
3. Configuració
3.1. Desembalatge
- Carefully remove the cutting plotter and all accessories from the packaging.
- Verify that all components are present: cutting plotter unit, power cable, USB cable, blade holder, cutting blades, and this user manual.
- Conserveu l'embalatge per a futurs transports o emmagatzematges.
3.2. Connexió física
- Connexió d'alimentació: Connect the power cable to the plotter's power input and then to a suitable electrical outlet.
- Connexió USB: For direct connection, plug the USB cable into the plotter and then into your computer.
- Connexió Wi-Fi: The KSIX 2025 supports Wi-Fi connectivity. Refer to section 4.3 for Wi-Fi setup instructions.
3.3. Instal·lació de programari i controladors
Before operating the plotter, install the necessary drivers and software on your computer. These are typically provided on a CD/DVD or available for download from the official KSIX weblloc. Seguiu les instruccions que apareixen a la pantalla per a la instal·lació.
4. Instruccions de funcionament
4.1. Encès / apagat
- Per encendre: Press the power button located on the control panel. The display will illuminate.
- Per apagar: Manteniu premut el botó d'engegada fins que el dispositiu s'apaga.
4.2. Càrrega de material
- Aixequeu els rodets de pinça.
- Place your cutting material (vinyl, paper, etc.) onto the cutting mat or directly into the plotter, aligning it with the guides.
- Lower the pinch rollers to secure the material. Ensure the material is flat and free of wrinkles.
4.3. Connectivitat Wi-Fi
- On the plotter's control panel, navigate to the "Settings" menu.
- Seleccioneu "Xarxa" o "Configuració de Wi-Fi".
- Choose your Wi-Fi network from the list and enter the password if prompted.
- Confirm the connection. The plotter should display a connected status.
4.4. Sending a Cut Job
- Prepare your design in the cutting software on your computer.
- Ensure the plotter is connected (USB or Wi-Fi) and powered on.
- In the software, select the KSIX 2025 plotter as your output device.
- Adjust cutting parameters (force, speed, number of passes) as needed for your material.
- Click "Send" or "Cut" in the software to initiate the cutting process.
Note: For detailed instructions on using the cutting software, refer to the software's dedicated user manual or help documentation.
5. Manteniment
5.1. Neteja
- Exterior: Netegeu les superfícies exteriors amb un damp tela. No utilitzeu netejadors abrasius ni dissolvents.
- Cutting Area: Regularly remove any small pieces of material or debris from the cutting area and around the blade holder.
- Rodets de pinça: Clean the pinch rollers with a lint-free cloth to ensure proper material grip.
5.2. Substitució de la fulla
- Ensure the plotter is powered off and unplugged.
- Carefully remove the blade holder from the carriage.
- Unscrew the cap of the blade holder and remove the old blade.
- Insert a new blade, ensuring it is properly seated.
- Replace the cap and reinsert the blade holder into the carriage.
- Caution: Blades are extremely sharp. Handle with care.
6. Solució De Problemes
| Problema | Causa possible | Solució |
|---|---|---|
| Plotter does not power on. | No power supply; faulty power cable. | Comproveu la connexió del cable d'alimentació; proveu una presa de corrent diferent. |
| Ploter no reconegut per l'ordinador. | USB cable disconnected; drivers not installed; Wi-Fi not connected. | Ensure USB cable is secure; install drivers; check Wi-Fi connection. |
| Material is not cutting properly. | Dull blade; incorrect cutting force/speed; material not loaded correctly. | Replace blade; adjust cutting settings in software; re-load material. |
| Material slips during cutting. | Pinch rollers not engaged; dirty pinch rollers; material too thin/thick. | Lower pinch rollers; clean rollers; use appropriate material. |
7. Especificacions
| Característica | Detall |
|---|---|
| Marca | KSIX intel·ligent per a la teva tecnologia |
| Número de model | 8427542136738 |
| Dimensions del producte (L x A x A) | 0.03 x 32 x 29 cm |
| Pes de l'article | 8.5 quilos |
| Connectivitat | Wi-Fi (as per product description) |
| Color | Multicolor (as per feature bullets) |
| Reference (S1906880) | S1906880 (as per feature bullets) |
8. Garantia i Suport
For warranty information and technical support, please refer to the documentation included with your purchase or visit the official KSIX weblloc web. Conserveu el comprovant de compra per a reclamacions de garantia.
Assistència en línia: www.ksix.com/support (Exampenllaç, substituïu-lo per l'actual si està disponible)