1. Introducció
This manual provides essential information regarding the Replacement High Voltage Power Supply PCA (Printed Circuit Assembly) for HP Color LaserJet CM2320 and CP2025 series printers. This component is crucial for the proper functioning of your printer, supplying the necessary high voltage for various internal operations.
This specific unit is a seller-refurbished part, ensuring functionality and reliability as a direct replacement for the original RM1-5294-000CN assembly.
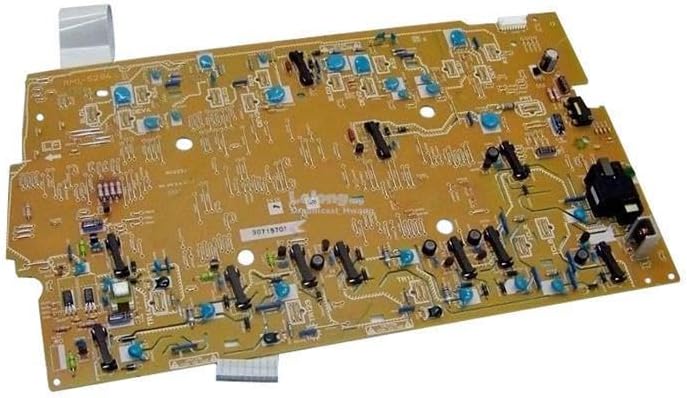
This image displays the High Voltage Power Supply PCA (Printed Circuit Assembly) board. It is a rectangular circuit board with various electronic components, including capacitors, resistors, and integrated circuits, designed to manage and deliver high voltage power within compatible HP Color LaserJet printers.
2. Configuració i instal·lació
L'Alt Voltage Power Supply PCA is an internal component of the printer and requires careful installation. It is highly recommended that installation be performed by a qualified technician to prevent damage to the component or the printer, and to ensure electrical safety.
2.1 Precaucions de seguretat
- Always disconnect the printer from the power outlet before beginning any installation or maintenance.
- Allow the printer to cool down completely before handling internal components.
- Discharge any static electricity from your body by touching a grounded metal object before handling the PCA.
- Handle the PCA by its edges to avoid touching sensitive electronic components.
2.2 Passos d'instal·lació (generals)
- Power off the printer and unplug it from the wall outlet.
- Remove the necessary external covers and internal components to gain access to the existing High Voltage Power Supply PCA. Refer to your printer's service manual for specific disassembly instructions.
- Carefully disconnect all cables and connectors attached to the old PCA. Note their positions for reassembly.
- Unscrew and remove the old PCA.
- Position the replacement PCA (RM1-5294-000CN) in its designated slot and secure it with screws.
- Reconnect all cables and connectors to the new PCA, ensuring they are firmly seated.
- Reassemble the printer covers and any other components removed during disassembly.
- Plug the printer back into the power outlet and power it on to test functionality.
3. Operating the PCA Assembly
L'Alt Voltage Power Supply PCA is an integral component that operates automatically within the printer's electrical system. Once correctly installed, it requires no direct user interaction for its operation.
Its function is to convert and regulate electrical power to the specific high voltage levels required by various printer subsystems, such as the fuser, transfer roller, and laser scanning unit. Proper operation of this PCA is essential for the printer to power on, process print jobs, and produce high-quality output.
4. Manteniment
L'Alt Voltage Power Supply PCA is a sealed electronic component and does not require routine user maintenance. To ensure its longevity and proper function, adhere to the following general guidelines:
- Keep the printer environment clean: Dust and debris can accumulate on electronic components, potentially leading to overheating or short circuits. Regularly clean the printer's interior (when powered off and unplugged) using compressed air or a soft, lint-free cloth.
- Avoid physical shock: Protect the printer from drops or impacts, which can damage internal components, including the PCA.
- Assegureu-vos d'una ventilació adequada: Do not block the printer's ventilation openings, as this can lead to overheating of internal components.
- Use stable power: Connect the printer to a stable power source. Consider using a surge protector to guard against power fluctuations.
Do not attempt to repair the PCA yourself. If the component is suspected to be faulty, it should be replaced.
5. Solució De Problemes
If your printer experiences issues after installing the replacement High Voltage Power Supply PCA, consider the following troubleshooting steps. Note that many printer issues can stem from various components, so professional diagnosis is often recommended.
| Símptoma | Causa possible | Solució |
|---|---|---|
| Printer does not power on after PCA replacement. | Incorrect installation; loose connections; faulty PCA. | Verify all cables are securely connected. Ensure the PCA is seated correctly. If issues persist, the PCA may be faulty or there's another printer issue. |
| Printer powers on but displays power-related error codes. | Faulty PCA; incorrect installation; other printer component failure. | Check printer's error code documentation. Re-verify PCA connections. If the error specifically points to high voltage or power supply, the PCA might be defective. |
| Poor print quality (e.g., faded prints, streaks, uneven toner). | Vol. Alttage issues; fuser problem; toner cartridge issue. | While potentially related to high voltage, first check toner levels and fuser unit. If the problem persists and is consistent with high voltage issues, the PCA could be a factor. |
If troubleshooting steps do not resolve the issue, it is recommended to consult a professional printer technician or contact the seller for further assistance.
6. Especificacions
- Tipus de producte: Vol. Alttage Power Supply PCA Assembly
- Número de model: RM1-5294-000CN-RO
- ASIN: B0DWCYCPT6
- Compatibilitat: HP Color LaserJet CM2320 series, HP Color LaserJet CP2025 series
- Condició: Seller Refurbished
- Fabricant: BDL
- Continguts: 1 x Refurbished High Voltage Power Supply PCA
7. Garantia i Suport
7.1 Informació de la garantia
This replacement PCA assembly comes with a standard 90 dies de garantia. This warranty is provided by the seller, Badgerland Printers, covering defects in materials and workmanship under normal use.
Conserveu el vostre comprovant de compra per a reclamacions de garantia.
7.2 Atenció al client
For technical assistance, troubleshooting, or warranty claims, please contact the seller directly through the platform where the purchase was made. Provide your order number and a detailed description of the issue to facilitate prompt support.


