Introducció
This manual provides detailed instructions for the assembly, operation, and maintenance of your Dapper Supply 26-Inch Push Lawn Sweeper. Please read all instructions thoroughly before initial use to ensure safe and efficient operation.
Informació important de seguretat
- Read all instructions carefully before operating the sweeper.
- Mantingueu els nens i les mascotes lluny de la zona d'operacions.
- Wear appropriate footwear and clothing to prevent injury.
- Clear the area of large debris, rocks, or other objects that could damage the sweeper or be thrown.
- Do not operate on excessively steep slopes where control may be lost.
- Store the sweeper in a safe, dry place when not in use.
Contingut del paquet
Verify all components are present and undamaged before beginning assembly.
- Main Sweeper Unit (with wheels and brushes pre-installed)
- Handlebar Assembly (upper and lower sections)
- Hopper Bag with Frame
- Assembly Hardware (screws, knobs)
- Manual d'instruccions
- Wall Bracket for Storage
Instruccions de muntatge
Follow these steps to assemble your Dapper Supply 26-Inch Push Lawn Sweeper.
- Attach Lower Handlebar Sections: Insert the lower handlebar rods into the designated slots on the main sweeper unit. Secure them using the longer screws and knobs provided.

Insert the lower handlebar rods into the main unit and secure with screws.
- Connect Upper Handlebar: Attach the upper handlebar section to the lower sections using the remaining screws and knobs. Ensure all connections are tight.

Connect the upper handlebar to the lower sections.
- Muntar el marc de la bossa de la tremuja: Assemble the metal frame for the hopper bag according to the diagrams in the printed manual.
- Fixeu la bossa de la tolva: Slide the mesh hopper bag over its frame, ensuring it is securely fitted.

The spacious 7 cu. ft. mesh hopper bag ready for attachment.
- Mount Hopper Bag to Sweeper: Attach the assembled hopper bag to the sweeper unit. The quick clips on both sides facilitate easy attachment and removal.

Hopper bag securely attached to the sweeper unit.
Official video demonstrating the assembly and use of the Dapper Floor Sweeper.
Instruccions de funcionament
- Ajustar l'alçada d'escombrat: Locate the height adjustment knob on the front of the sweeper. Turn the knob to raise or lower the brushes according to the type and density of debris. For lighter debris like leaves, a lower setting is often effective. For heavier or thicker debris, a higher setting may be needed initially.

Adjust the sweeping height using the knob for optimal debris collection.
- Comença a escombrar: Push the sweeper forward at a steady pace. The dual spinning brushes will efficiently gather debris into the 7 cu. ft. hopper bag.

The Dapper Supply 26-Inch Push Lawn Sweeper in operation, collecting debris.
- Emptying the Hopper Bag: Once the hopper bag is full, detach it from the sweeper using the quick clips. Empty the contents into a compost bin or waste receptacle. Reattach the bag securely before continuing.

The large 7 cu. ft. hopper bag, easily detachable for emptying.
Cura i emmagatzematge
- Neteja: After each use, clear any remaining debris from the brushes and the hopper bag. Wipe down the unit with a damp tela.
- Inspecció de raspalls: Periodically inspect the brushes for wear or damage. Replace if necessary to maintain optimal sweeping performance.
- Emmagatzematge: The sweeper features a quick clip storage design for easy disassembly and compact storage. It can be stored in a shed or hung on a garage wall using the provided wall bracket. Ensure the unit is clean and dry before storing.
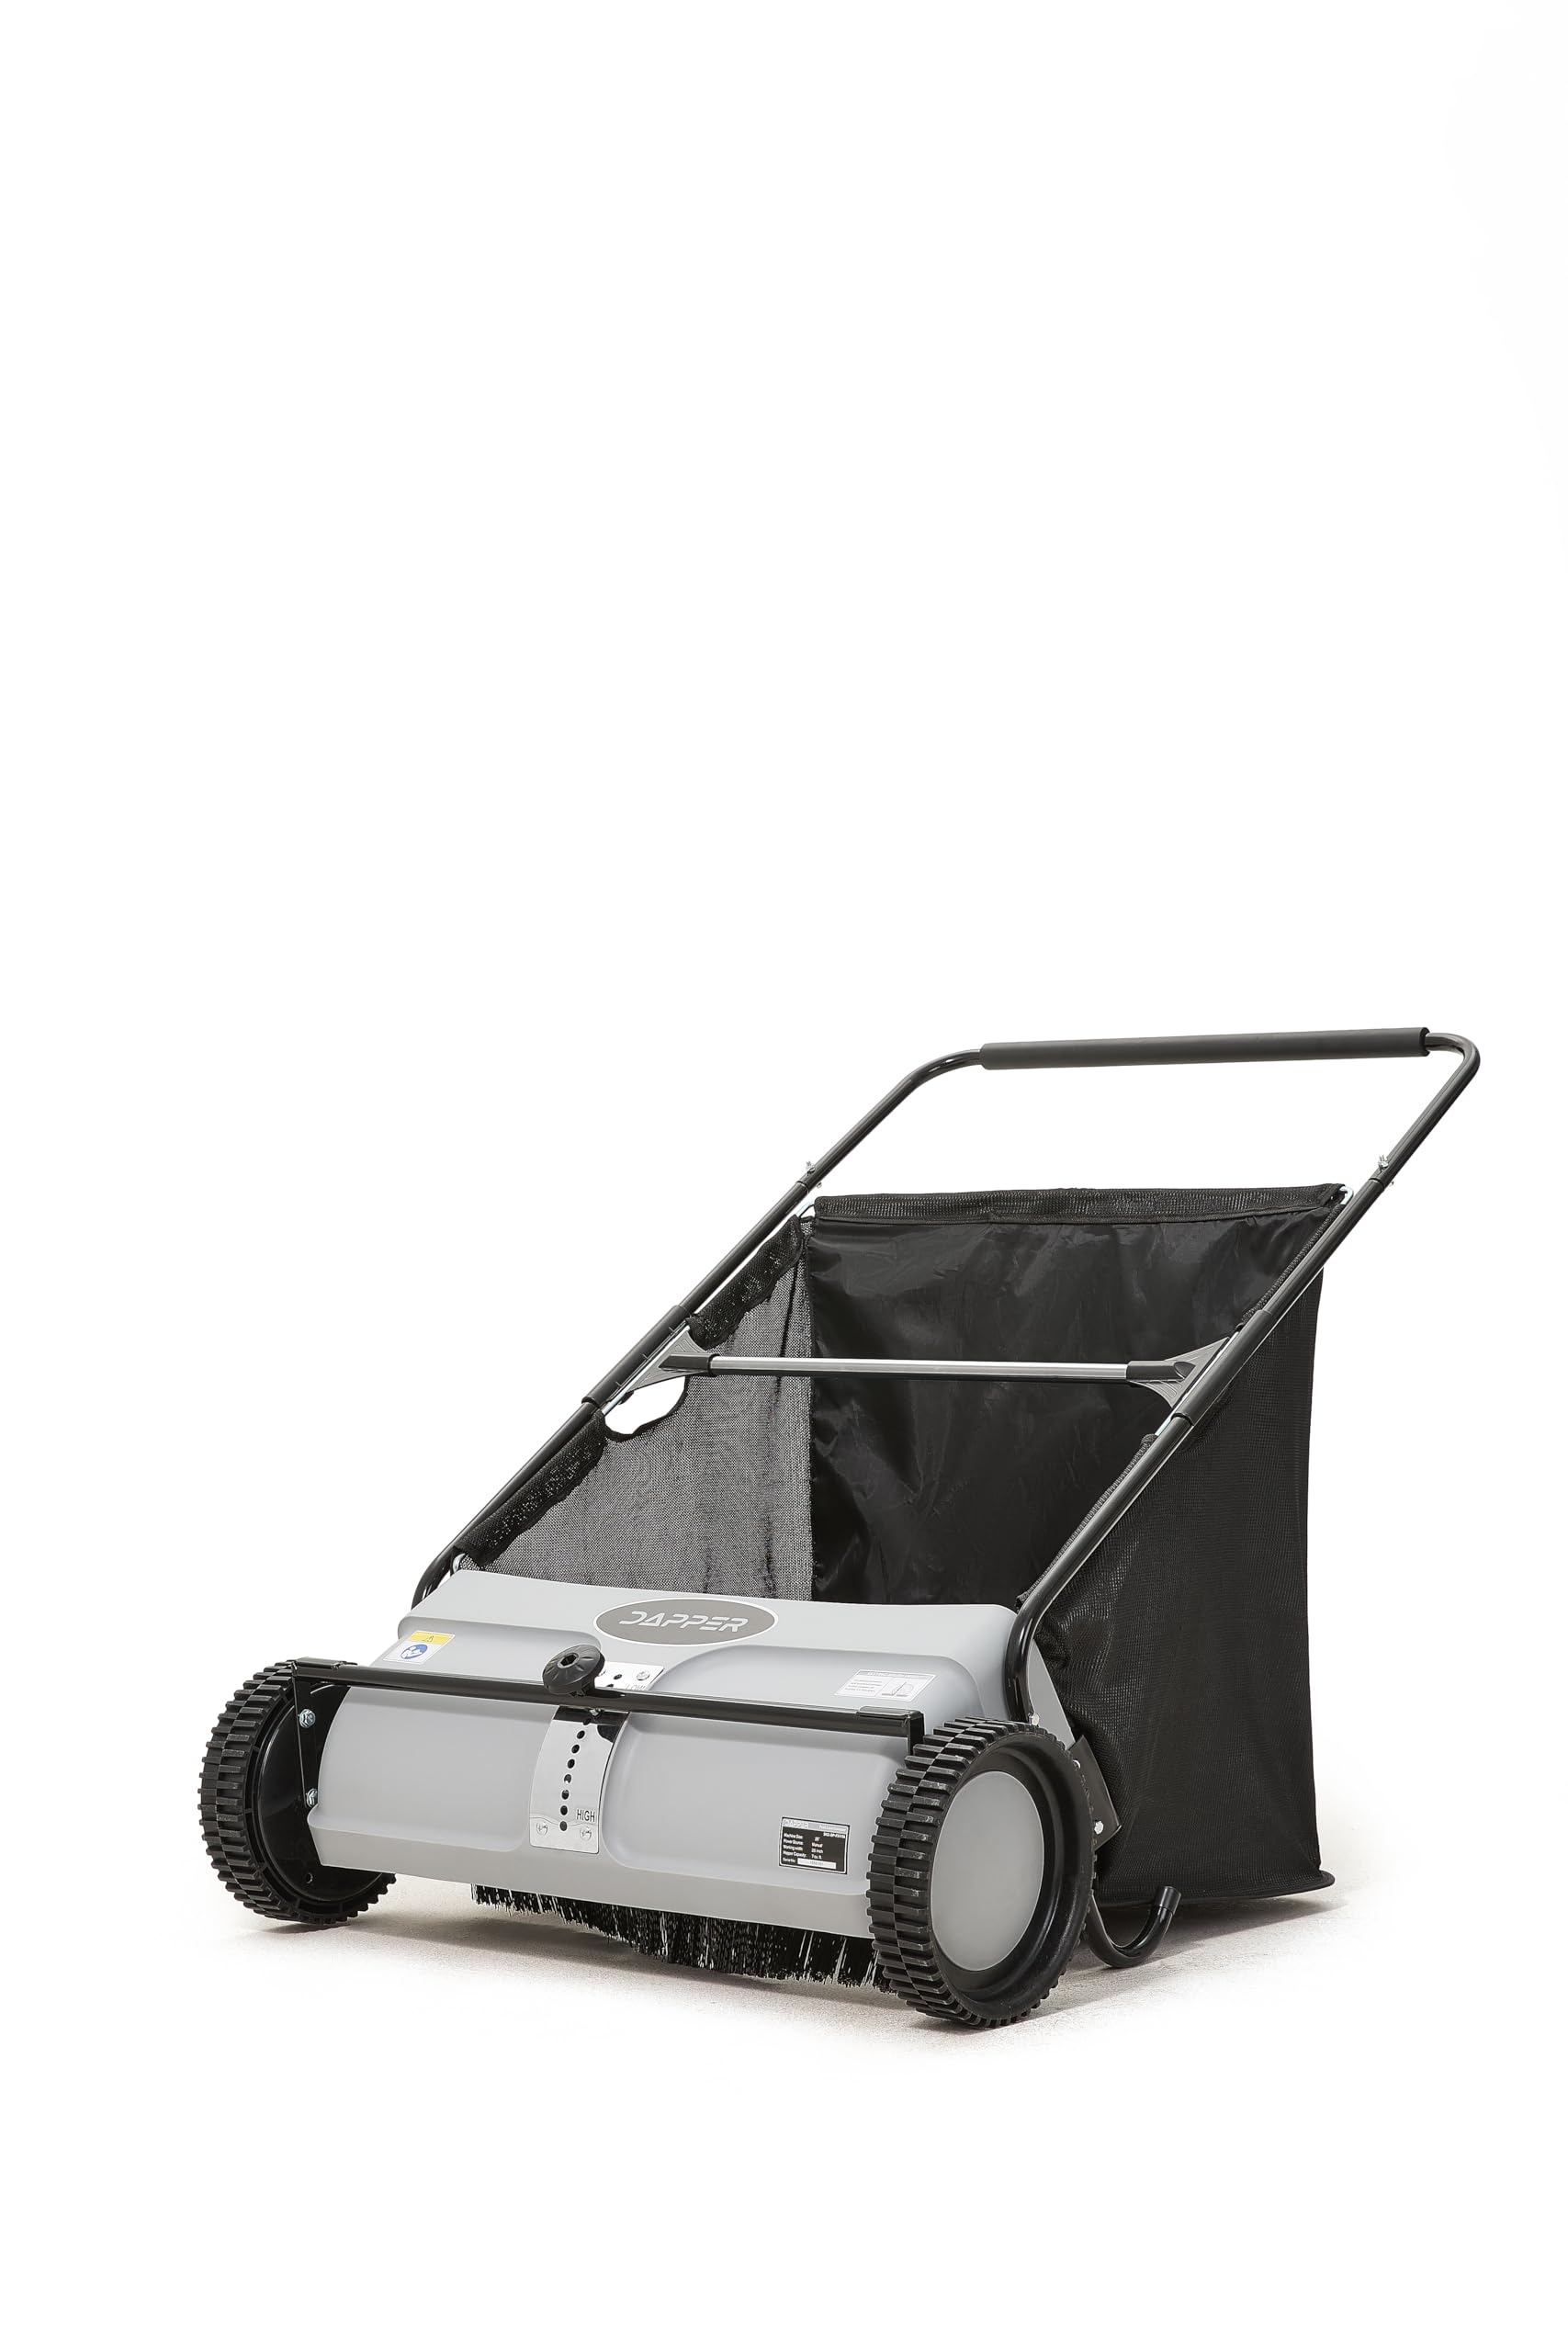
The Dapper Supply Push Lawn Sweeper designed for compact storage.
Problemes comuns
| Problema | Solució |
|---|---|
| Sweeper not picking up debris effectively | Adjust the brush height to a lower setting. Ensure the brushes are not worn out. Check for obstructions in the brush mechanism. |
| Les rodes no giren sense problemes | Check for debris wrapped around the axles. Clean and lubricate if necessary. |
| Hopper bag detaches during use | Ensure the quick clips are securely fastened to the sweeper frame. |
Especificacions del producte
- Marca: Dapper Supply
- Model: DP-FS1106
- Font d'alimentació: Accionat a mà
- Material: Plastic, Steel Frame
- Color: Gris
- Pes de l'article: 23 lliures
- Amplada d'escombrat: 26 polzades
- Capacitat de la tremuja: 7 cu. peus
- Dimensions del producte: 43 "P x 23.5" W x 44" H
- Muntatge requerit: Sí
Garantia i assistència al client
The Dapper Supply 26-Inch Push Lawn Sweeper is covered by a 1-year limited warranty. For technical assistance, replacement parts, or warranty claims, please contact Dapper Supply customer support.
Visita el Dapper Supply Store per obtenir més informació i recursos de suport.

Information regarding the 2-Year Protection Plan for Dapper Supply products.

U.S.-Based Expert Support available for Dapper Supply products.

Replacement parts are available for Dapper Supply products.