AZZUNO MIG-200L
AZZUNO MIG-200L Multi-Process Welder Instruction Manual
Model: MIG-200L | Brand: AZZUNO
1. Introducció
The AZZUNO MIG-200L is an advanced 8-in-1 multi-process welding machine designed for versatility and ease of use. It supports a wide range of welding modes including Flux Core MIG, Gas MIG, Gas MAG, Aluminum MIG, Spot MIG, Lift TIG, and Stick Welding. This welder operates on both 110V and 220V power inputs and features a large LED display for clear operation. This manual provides essential information for safe and effective use of your AZZUNO MIG-200L welder.

Figure 1: AZZUNO MIG-200L Multi-Process Welder and included accessories.
2. Llista d'embalatge
Si us plau, comproveu el contingut del vostre paquet amb la llista següent:
- AZZUNO MIG-200L Welder Machine x1
- 15AK MIG Torch x1
- Terra Clamp x1
- Electrode Holder x1
- 110V~220V Adapter x1
- Brush & Hammer x1
- Gas hose x1
- Hose Band x2
- Drive Roller x2
- Contact Tip x4
- Teflon Liner x1
- Manual d'usuari x1

Figure 2: All components included in the AZZUNO MIG-200L package.
3. Especificacions
| Característica | Detall |
|---|---|
| Model | MIG-200L |
| Entrada Voltage | 110V/220V |
| Màx Ampedat | 200A |
| Modes de soldadura | Flux Core MIG, Gas MIG, Gas MAG, alumini MIG, Spot MIG, Lift TIG, Stick Welding, compatible amb pistola de bobina |
| Wire Spool Compatibility | 1 lliura a 10 lliures |
| Wire Diameters Supported | .023"/.030"/.035"/.040" solid wire, .023"/.030"/.035"/.040" flux core wire, .035"/.040"/.047" ER5356 aluminum wire, .040" CuSi wire |
| Dimensions (L x A x A) | 17.7" x 9.6" x 12.4" |
| Pes | 23 lliures |
4. Guia de configuració
Follow these steps for initial setup of your AZZUNO MIG-200L welder:
4.1 Connexió d'alimentació
The MIG-200L supports both 110V and 220V power inputs. Use the provided adapter if converting from 110V to 220V. Ensure the power source matches the welder's requirements and is properly grounded.

Figura 3: Mésview of the welder's control panel and connection points.
4.2 Instal·lació de la bobina de filferro
Open the side panel of the welder to access the wire feed mechanism. Install the desired wire spool (1lb to 10lbs) onto the spindle. Ensure the wire is correctly threaded through the drive roller and into the torch liner. The welder supports various wire types and diameters as listed in the specifications.

Figure 4: Proper installation of welding wire spools.
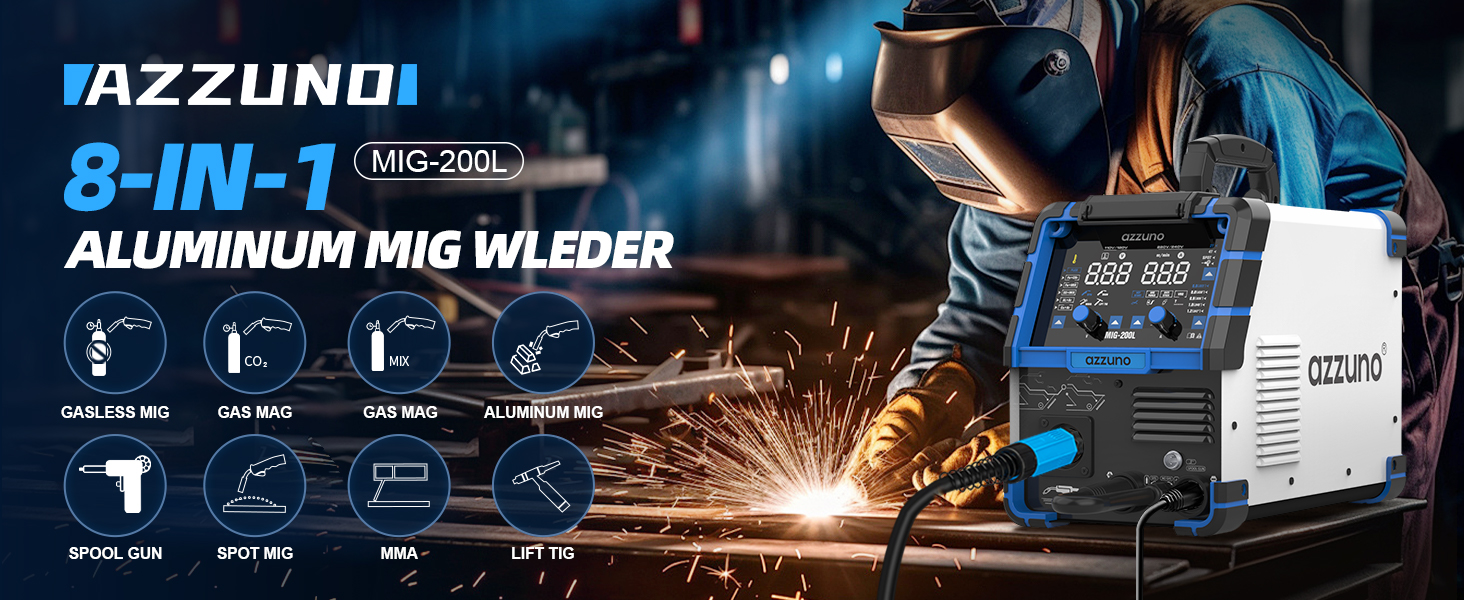
Figure 5: Select the correct drive roller groove (K-groove for Flux, V-groove for Solid, U-groove for Aluminum) for your wire type.
4.3 Torch and Clamp Connexió
Connect the MIG torch and ground clamp to the appropriate terminals on the front panel of the welder. Ensure connections are secure to prevent arcing and ensure proper current flow.

Figura 6: Diagrames de connexió per a diferents processos de soldadura.
5. Instruccions de funcionament
The AZZUNO MIG-200L features a user-friendly large LED display for easy mode selection and parameter adjustment.

Figure 7: User-friendly large LED control panel.
5.1 Selecció del mode
Use the 'Welding Mode Choose Button' on the control panel to select your desired welding process (Flux Core MIG, Gas MIG, Gas MAG, Aluminum MIG, Spot MIG, Lift TIG, Stick Welding). The SYNERGIC mode automatically adjusts settings for optimal performance, while 2T and 4T modes cater to manual and continuous welding respectively. The Spot function is ideal for precise, short welds.

Figure 8: The 8-in-1 multi-process capabilities of the welder.
5.2 Ajust de paràmetres
Ajust Voltage and Current using the respective knobs. The 'Wire Diameter Select Button' allows you to choose the correct wire diameter for your application. For Aluminum MIG welding, you can either replace the liner with the included Teflon conduit or use a spool gun (sold separately).

Figure 9: Two methods for Aluminum MIG welding.
5.3 Welding Techniques
Familiarize yourself with the specific techniques for each welding mode. The welder offers features like Hot Start, Arc Force, and Anti-Stick for Stick welding, and Inductance, Slow Wire Feeding, Pre-flow, and Spot Time for MIG functions to optimize your welding experience.

Figure 10: Key functions for MIG and Stick welding modes.
6. Manteniment
Regular maintenance ensures the longevity and optimal performance of your AZZUNO MIG-200L welder.
6.1 Neteja
- Regularly clean the welding torch, especially the contact tip and nozzle, to prevent spatter buildup.
- Use the provided brush and hammer to remove slag and spatter from your workpieces.
- Keep the ventilation openings of the welder clear of dust and debris to ensure proper cooling.
6.2 Emmagatzematge
Store the welder in a dry, clean environment away from direct sunlight, moisture, and extreme temperatures. Disconnect all cables and store them neatly to prevent damage.
7. Solució De Problemes
If you encounter issues with your welder, refer to the following common troubleshooting tips:
- Sense energia: Ensure the power cable is securely connected and the power switch is ON. Check the circuit breaker.
- Sense arc: Verify that the ground clamp is securely attached to the workpiece and that the welding torch is properly connected. Ensure the wire feed is functioning correctly and the contact tip is not clogged.
- Mala qualitat de la soldadura: Ajusta el voltage and wire feed speed according to the material thickness and welding mode. Ensure proper gas flow (for Gas MIG/MAG) or correct flux core wire is used. Clean the workpiece thoroughly before welding.
- Sobreescalfament: If the welder stops operating due to overheating, allow it to cool down. Ensure adequate ventilation around the machine.
For more detailed troubleshooting or issues not listed here, please contact AZZUNO customer support.
8. Garantia i Suport
For warranty information, technical support, or to purchase replacement parts and accessories, please refer to the official AZZUNO weblloc web o contacteu directament amb el servei d'atenció al client. Conserveu el rebut de compra com a comprovant de compra per a reclamacions de garantia.
Visita el AZZUNO Store per a més productes i informació.
Ask a question about this manual
Ask about setup, troubleshooting, compatibility, parts, safety, or missing instructions. Manuals+ will review the question and use this page’s manual context to help answer it.