
OASE BioMaster 2 350
Manual d'instruccions del filtre de cartutx OASE BioMaster 2 350
Model: BioMaster 2 350
1. Introducció
Thank you for choosing the OASE BioMaster 2 350 Canister Filter. This external aquarium filter is designed to provide efficient and reliable filtration for both freshwater and saltwater aquariums up to 90 gallons. It features a sealed 4-stage filtration path, including multi-density foams, Hel-X Biomedia, and activated carbon, to ensure superior water clarity. The innovative EasyClean pre-filter module simplifies routine maintenance, making aquarium care more convenient.
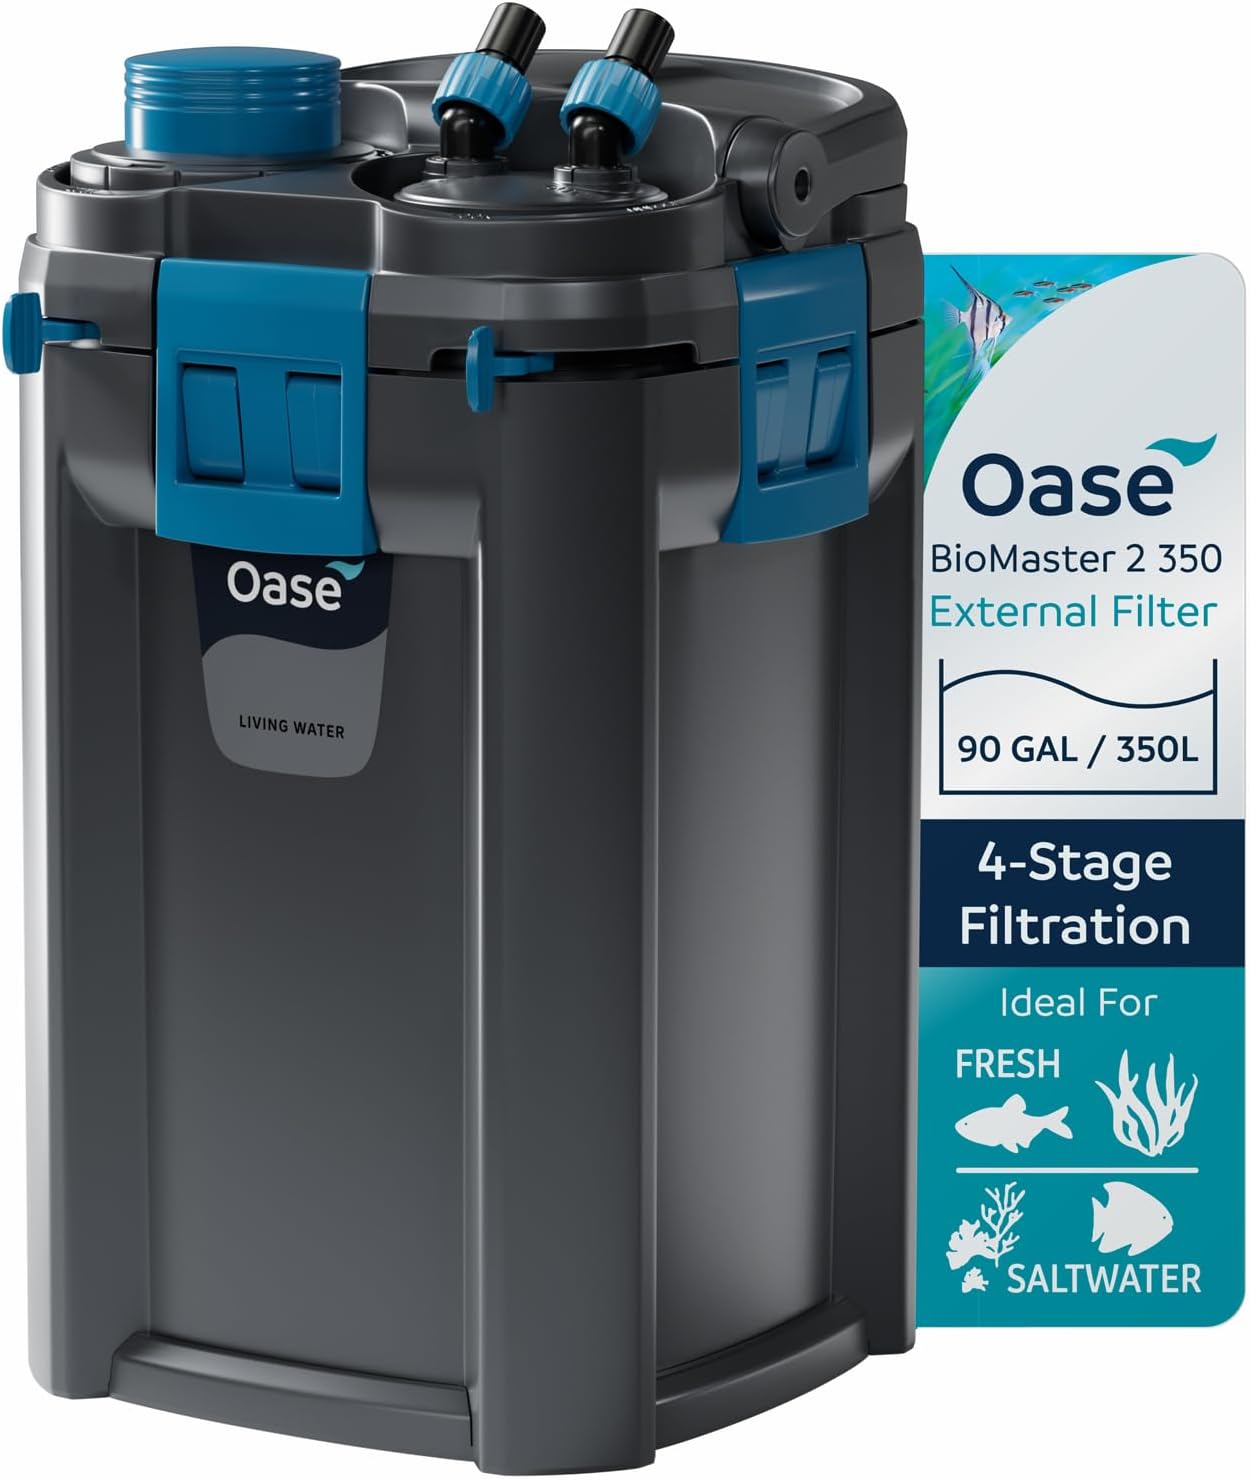
Image 1.1: OASE BioMaster 2 350 Canister Filter
This manual provides detailed instructions for the safe and effective installation, operation, and maintenance of your BioMaster 2 350 filter. Please read it thoroughly before use and retain it for future reference.
2. Instruccions de seguretat importants
Always follow basic safety precautions to reduce the risk of fire, electric shock, and injury to persons, including the following:
- Llegiu totes les instruccions abans d'utilitzar aquest aparell.
- PERILL – To avoid possible electric shock, special care should be taken since water is used in the use of aquarium equipment. For each of the following situations, do not attempt repairs yourself; return the appliance to an authorized service facility for service or discard the appliance.
- If the appliance falls into water, NO reach for it. First, unplug it and then retrieve it. If electrical components get wet, unplug the appliance immediately.
- Examineu acuradament l'aparell després de la instal·lació. No s'ha de connectar si hi ha aigua a les peces que no estan pensades per estar mullades.
- No feu servir cap aparell si té un cable o un endoll danyats, si no funciona bé o s'ha caigut o s'ha fet malbé d'alguna manera.
- To avoid the possibility of the appliance plug or receptacle getting wet, position aquarium stand and tank to one side of a wall-mounted receptacle to prevent water from dripping onto the receptacle or plug. A “drip loop” should be arranged by the user for each cord connecting an aquarium appliance to a receptacle. The “drip loop” is that part of the cord below the level of the receptacle, or the connector if an extension cord is used, to prevent water traveling along the cord and coming in contact with the receptacle. If the plug or receptacle does get wet, NO desconnecteu el cable. Desconnecteu el fusible o l'interruptor que subministra energia a l'aparell. A continuació, desconnecteu i comproveu la presència d'aigua al recipient.
- És necessària una supervisió estreta quan qualsevol aparell és utilitzat per o a prop dels nens.
- To avoid injury, do not contact moving parts or hot parts such as heaters, reflector, lamp bombetes, i similars.
- Desendolleu sempre un aparell de la presa de corrent quan no l'utilitzeu, abans de posar o treure peces i abans de netejar-lo. No estireu mai el cable per treure l'endoll de la presa. Agafeu l'endoll i estireu per desconnectar.
- No utilitzeu un aparell per a un altre ús que el previst. L'ús d'accessoris no recomanats o venuts pel fabricant de l'aparell pot provocar una condició insegura.
- No instal·leu ni emmagatzemeu l'aparell on estigui exposat a la intempèrie o a temperatures per sota del punt de congelació.
- Ensure the appliance is securely installed before operating it.
- Llegiu i observeu tots els avisos importants de l'aparell.
3. Contingut del paquet
Verifiqueu que tots els components siguin presents i no estiguin danyats en desembalar-los:
- OASE BioMaster 2 350 Canister Filter Unit
- EasyClean Pre-filter Module (with Carbon Pre-filter Foams)
- Main Filter Foams (Coarse and Ultra-Coarse)
- Hel-X Biomedia
- Curved Inlet and Outlet Tubes
- Colador d'entrada
- Broquet de sortida d'aigua
- Modular Spray Bar with Flow Control Attachment
- Tubs
- Heater Adapter (for optional OASE HeatUp heater)
- Cable d'alimentació de 6 peus
- Manual d'instruccions
4. Configuració i instal·lació
Follow these steps for proper installation of your OASE BioMaster 2 350 Canister Filter:
- Col·locació: Position the filter unit below the aquarium, ensuring it is on a stable, level surface. The filter should be easily accessible for maintenance.
- Filter Media Installation: Open the filter head and carefully place the provided filter media into the baskets according to the diagram. Typically, coarse foams go first, followed by ultra-coarse foams, then Hel-X Biomedia, and finally activated carbon (if used). Ensure all media is properly seated.
- Connexió de la mànega: Connect the inlet and outlet tubes to the filter head and secure them with the provided clamps. Attach the inlet strainer to the end of the inlet tube inside the aquarium and the spray bar/outlet nozzle to the outlet tube. Ensure the tubing is routed without kinks and that a drip loop is formed for the power cord.
- Heater Integration (Optional): If using an OASE HeatUp heater, integrate it into the designated slot within the filter unit using the provided adapter. This minimizes in-tank equipment and protects aquatic inhabitants.

Image 4.1: Filter placement below aquarium

Image 4.2: Inlet and outlet tube components

Image 4.3: Heater integration point
5. Instruccions de funcionament
- Priming the Filter: Before plugging in the filter, ensure all connections are secure and the filter is filled with water. Use the built-in priming button on the filter head. Press it repeatedly until water begins to flow into the filter and air is expelled. This simplifies the startup process.

Image 5.1: Priming the filter
- Starting the Filter: Once primed, plug the power cord into a grounded electrical outlet. The filter will begin operating, circulating water through its 4-stage sistema de filtració.
- Control de flux: The modular spray bar includes a flow control attachment. Adjust this as needed to achieve the desired water circulation and surface agitation in your aquarium.
- Procés de filtració: Water enters the filter and passes through the EasyClean pre-filter module, capturing large debris. It then flows through the main filter media: coarse foams, ultra-coarse foams, Hel-X Biomedia for biological filtration, and activated carbon for chemical filtration, ensuring comprehensive water purification.

Image 5.2: 4-StagDiagrama de filtració electrònica
6. Manteniment
Regular maintenance is crucial for optimal filter performance and water quality. The BioMaster 2 350 is designed for easy and mess-free maintenance.
- EasyClean Pre-filter Module: This module can be removed separately from the main filter for quick cleaning. Simply disengage the safety locks, detach the pre-filter, and rinse the carbon pre-filter foams under running water. This extends the life of the main filter media.

Image 6.1: EasyClean Pre-filter removal
- Main Filter Media Cleaning: Periodically, the main filter foams and Hel-X Biomedia will require cleaning. Disconnect the aquastop to prevent spills and move the filter. Open the filter head and remove the media baskets. Rinse the mechanical filter foams (coarse and ultra-coarse) in old aquarium water to preserve beneficial bacteria. The Hel-X Biomedia should only be gently rinsed if heavily soiled, again using old aquarium water. Replace activated carbon every 2-4 weeks or as needed.
- Neteja de l'impel·lent: Inspect and clean the impeller and impeller housing regularly to ensure smooth operation and prevent noise.
- Aquastop: The aquastop feature allows for easy disconnection of the filter from the tubing without affecting the setup, facilitating mess-free maintenance.
7. Solució De Problemes
If you encounter issues with your OASE BioMaster 2 350 filter, refer to the following common problems and solutions:
- Cabal d'aigua reduït:
- Check if the EasyClean pre-filter is clogged. Clean it as described in the Maintenance section.
- Inspect main filter media for excessive debris. Clean or replace as necessary.
- Ensure inlet and outlet tubes are free of kinks or obstructions.
- Check the impeller for blockages or damage. Clean or replace if needed.
- Soroll excessiu:
- Air trapped in the filter system. Re-prime the filter using the priming button to expel air.
- Impeller not seated correctly or damaged. Remove and re-seat the impeller, or replace if damaged.
- Filter unit not level or vibrating against a surface. Adjust placement.
- Fuites:
- Ensure all hose connections are tight and clamps estan segurs.
- Check the O-ring seal on the filter head. Clean it and apply a thin layer of silicone grease if dry or replace if damaged.
- Verify the aquastop is fully engaged and sealed.
- El filtre no s'inicia:
- Comproveu la connexió elèctrica i assegureu-vos que la presa de corrent funcioni.
- Ensure the filter is properly primed and filled with water.
- Inspect the impeller for any obstructions preventing it from spinning.
8. Especificacions
| Característica | Detall |
|---|---|
| Marca | OASIS |
| Model | BioMaster 2 350 |
| Dimensions del producte (L x A x A) | 9.4 x 9.4 x 16.7 polzades |
| Pes de l'article | 10 lliures |
| Font d'alimentació | Elèctric amb cable |
| Aquarium Capacity | Fins a 90 galons |
| Filtració Stages | 4-stage (Pre-filter, Coarse, Ultra-Coarse, Hel-X Biomedia, Activated Carbon) |
| Característiques especials | EasyClean Pre-Filter, Quiet Performance, HeatUp Heater Integration, Aquastop |
| UPC | 706759947107 |
9. Garantia i Suport
The OASE BioMaster 2 350 Canister Filter is manufactured in Italy with German engineering, ensuring high quality and reliability. It is backed by a 4-year warranty (3 years standard + 1 additional year upon online registration).

Image 9.1: Quality and Warranty Information
For warranty claims, technical support, or replacement parts, please contact OASE customer service. Keep your proof of purchase and product serial number readily available when contacting support.
Visit the official OASE website for more information and to register your product for the extended warranty.
Ask a question about this manual
Ask about setup, troubleshooting, compatibility, parts, safety, or missing instructions. Manuals+ will review the question and use this page’s manual context to help answer it.