
1. Introducció
This manual provides detailed instructions for the safe and effective use of your RovyVon GL5 Pro QD 4-in-1 Rail-Mounted Flashlight. The GL5 Pro QD is a versatile lighting and aiming device featuring a 4-in-1 design that includes a cool white LED flashlight, a green aiming beam, an IR illuminator, and an IR aiming beam. It is designed for rail-mounted applications and offers enhanced durability and user-friendly features.
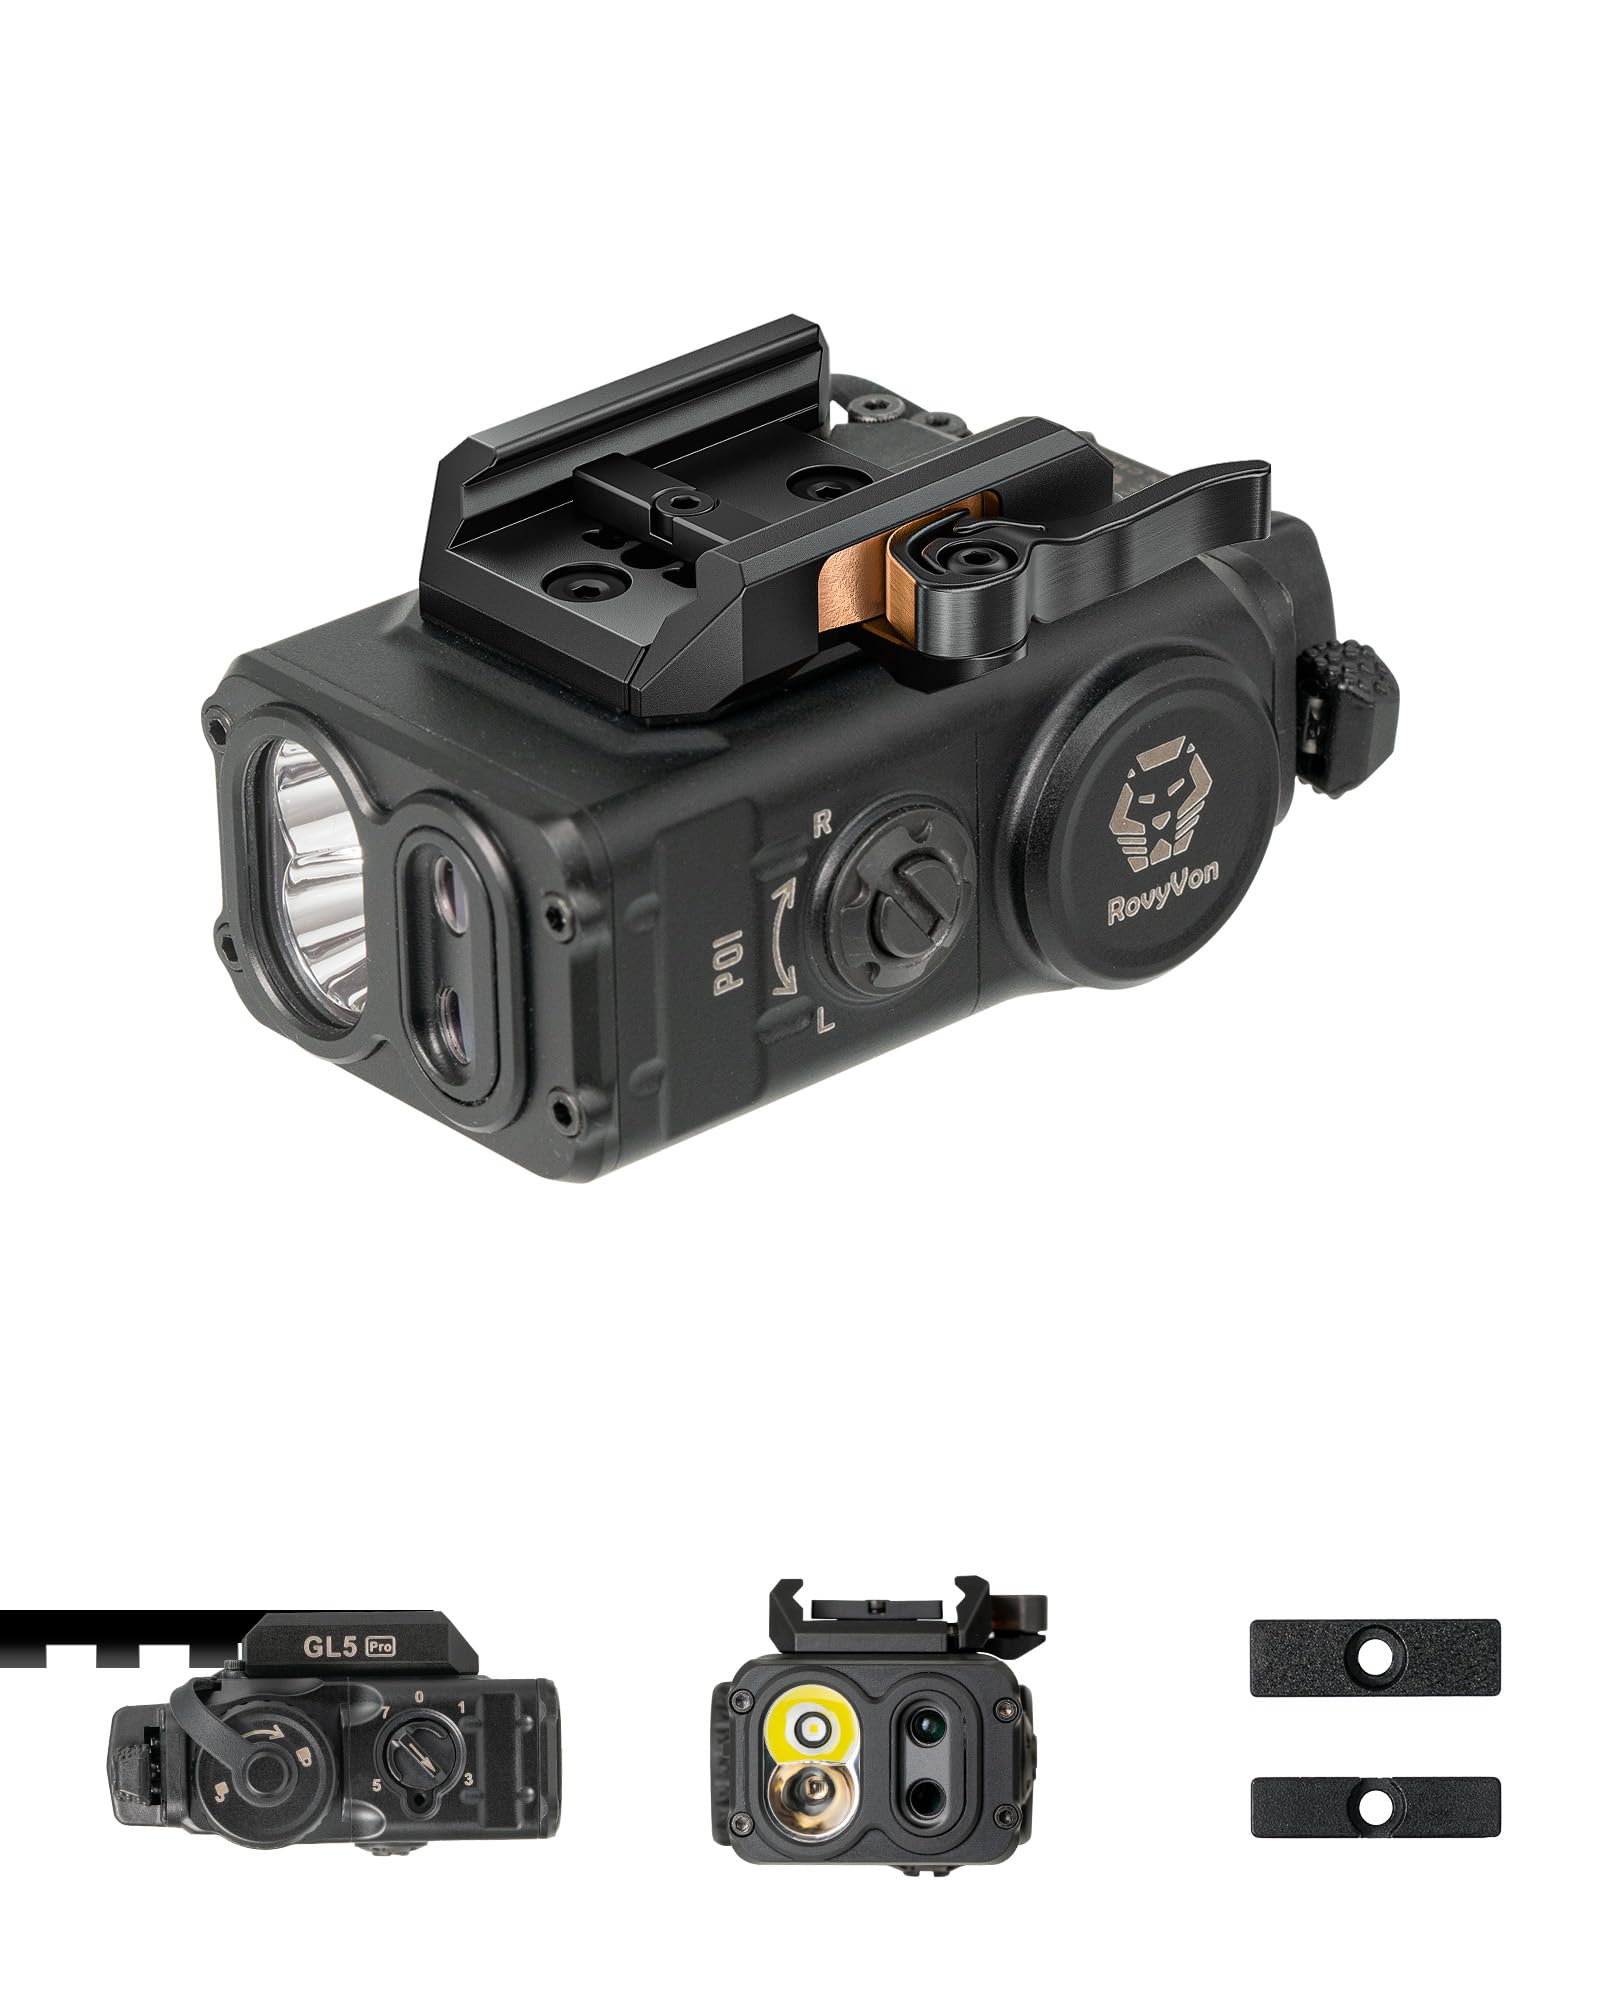
Figure 1: RovyVon GL5 Pro QD 4-in-1 Rail-Mounted Flashlight.
2. Què hi ha a la caixa
Carefully unpack your RovyVon GL5 Pro QD and ensure all items are present:
- RovyVon GL5 Pro QD Flashlight
- CR123 Battery (included)
- 1913 Adaptador
- GL Adapter
- L Clau anglesa
- Zeroing Coin
- Manual d'usuari
- RovyVon Card

Figure 2: Included components in the RovyVon GL5 Pro QD package.
Vídeo 1: Un overview of the RovyVon GL5 Pro QD package contents.
3. Configuració i instal·lació
3.1 Rail Mounting
The GL5 Pro QD features an optimized quick-detach (QD) lever designed to fit a wide range of rails, from 20.5mm to 21.5mm. Use the included 1913 or GL adapter as appropriate for your rail system. The adjustable rail ensures secure positioning across different platforms.

Figure 3: The GL5 Pro QD is designed to fit most GL or Picatinny rails.

Figure 4: The adjustable rail allows for secure mounting.
Video 2: Instructions on how to install the correct screws for mounting.
3.2 Remote Pressure Switch (Optional)
The GL5 Pro QD is compatible with remote pressure switches such as the GS1 and GS4 (sold separately). To install, remove the cover from the remote control port and connect the remote switch cable. Secure the cable and switch as needed for your setup.

Figure 5: Remote control port compatible with GS1 and GS4 switches.
Video 3: Guide on how to install a remote pressure switch.
4. Instruccions de funcionament
4.1 Selecció del mode
The GL5 Pro QD features a mode selection dial to switch between its various functions. Rotate the dial to select the desired mode:
- Mode 1: Llum Blanca
- Mode 2: Feix verd
- Mode 3: White Light + Green Beam
- Mode 4: Il·luminador IR
- Mode 5: IR Illuminator + IR Beam
- Mode 6: Feix IR

Figure 6: Visual representation of the four primary modes.

Figure 7: Visible light modes including White Light and Green Beam combinations.

Figure 8: Infrared (IR) modes, including IR Illuminator and IR Beam combinations.
Video 4: Demonstration of all functions and modes of the RovyVon GL5 Pro QD.
4.2 Momentary-On and Constant-On
The GL5 Pro QD supports both momentary-on and constant-on activation:
- Activació momentània: Press and hold any switch to activate. Release to turn off.
- Constantment activat: Double-click any switch to activate. Click again to turn off.

Figure 9: Illustration of momentary-on and constant-on activation.
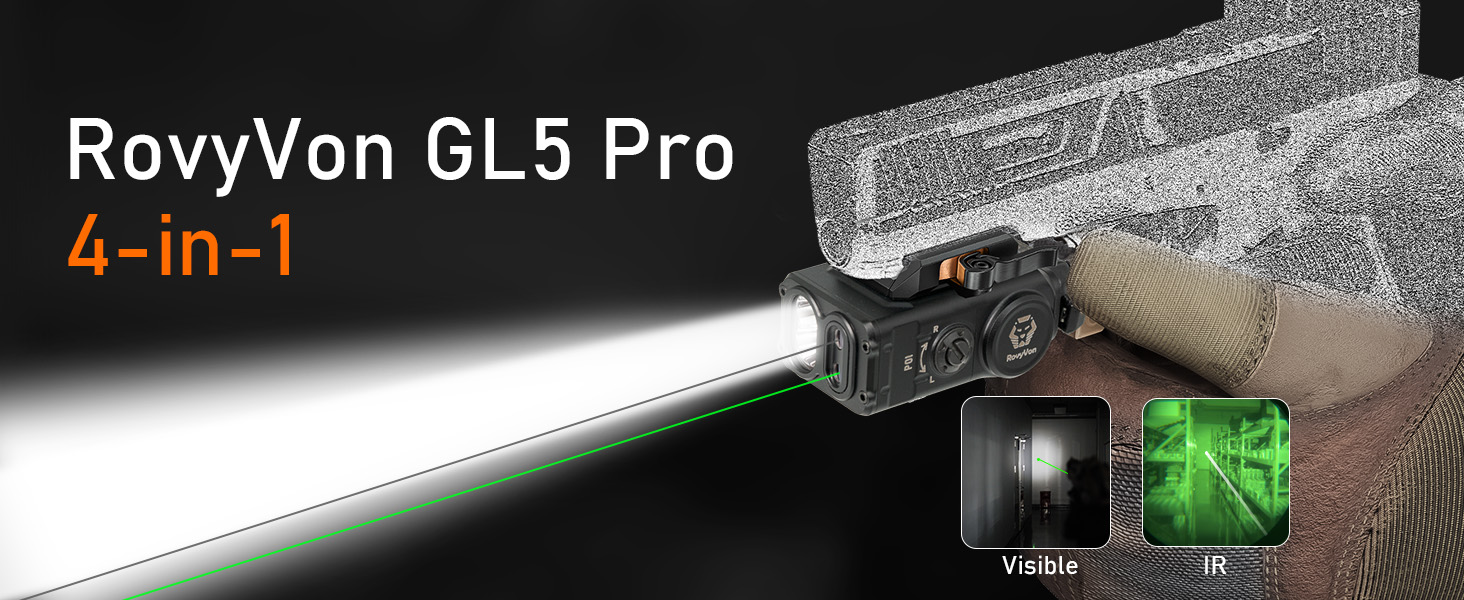
Figure 10: Visual guide for momentary-on and constant-on operation.
5. Informació de la bateria
The GL5 Pro QD utilizes an independent horizontal battery module, which enhances reliability and durability by reducing recoil impact. The battery can be replaced from the side without affecting zeroing, eliminating the need for re-zeroing after battery changes.
- Tipus de bateria: 1 x Lithium Polymer (CR123, included)
- Substitució: Side-loading for convenience and zero retention.

Figure 11: The independent horizontal battery module allows for side replacement without affecting zeroing.
5.1 Indicador de bateria baixa
When the battery level is low, the output brightness will gradually fade. Replace the battery promptly to maintain optimal performance.

Figure 12: The flashlight's output brightness will fade when the battery is low.
6. Zeroing Tips
The GL5 Pro QD allows for precise adjustment of both windage and elevation to ensure accurate aiming. Use the included L wrench and zeroing coin for adjustments.

Figure 13: Adjustment points for windage and elevation.
6.1 Lock Hole Design for Night Vision Use
The lock hole design allows you to restrict the mode selection to specific IR modes (e.g., Mode 7 to Mode 3) for quick and precise mode identification in low-light or night vision conditions. This feature helps prevent accidental selection of visible light modes when operating under night vision.

Figure 14: A green light indicates IR mode is active, visible from the top for improved concealment in the dark.
Video 5: Explanation of the GL5 Pro QD's lock hole design for night use.
Video 6: Detailed zeroing tips for the RovyVon GL5 Pro QD.
7. Especificacions
| Característica | Especificació |
|---|---|
| Número de model | GL5PBKQD-H |
| Dimensions (L x A x A) | 2.76" x 1.77" x 1.54" |
| Pes | 0.22 quilograms (4.86 unces) |
| Brillantor blanc | 400 lúmens |
| Green Beam Output | <5mW (Class 3R) |
| IR Beam Output | <5mW (Class 3R) |
| IR Illuminator Output | 300 mW |
| Font d'alimentació | Battery Powered (1x Lithium Polymer CR123) |
| Material | Alumini |
| Nivell de resistència a l'aigua | No resistent a l'aigua |

Figure 15: Dimensions and weight of the GL5 Pro QD.
8. Manteniment
To ensure the longevity and optimal performance of your RovyVon GL5 Pro QD, follow these maintenance guidelines:
- Neteja: Regularly wipe the device with a soft, dry cloth to remove dust and debris. Avoid using abrasive cleaners or solvents.
- Cura de les lents: Clean the lenses with a lens cleaning cloth and solution designed for optics. Do not touch the lenses with bare fingers.
- Emmagatzematge de la bateria: If storing the device for an extended period, remove the battery to prevent leakage and damage.
- Lubricació: Apply a thin layer of silicone grease to O-rings periodically to maintain water resistance (if applicable to specific seals, though the product is not water resistant).
9. Solució De Problemes
If you encounter issues with your RovyVon GL5 Pro QD, refer to the following common troubleshooting steps:
- El dispositiu no s'encén:
- Check if the battery is correctly inserted and fully charged.
- Ensure the mode selection dial is not set to '0' (Off).
- Replace the battery with a new one to rule out a depleted battery.
- Beam Not Adjusting:
- Ensure the adjustment screws for windage and elevation are not overtightened or stripped.
- Verify that the zeroing coin or L wrench is properly engaging the adjustment mechanism.
- IR Modes Not Visible:
- IR modes are only visible with night vision devices. Confirm you are using appropriate equipment.
- Check the IR mode indicator (green light) to confirm IR mode is active.
If the issue persists after attempting these steps, please contact RovyVon customer support for further assistance.
10. Garantia i Suport
RovyVon products are manufactured to high-quality standards. For warranty information, product registration, or technical support, please visit the official RovyVon weblloc web o poseu-vos en contacte amb el seu departament d'atenció al client. Conserveu el rebut de compra com a comprovant de compra per a reclamacions de garantia.
RovyVon Official Weblloc: www.rovyvon.com
Correu electrònic d'atenció al client: info@rovyvon.com