
1. Introducció
This user manual provides comprehensive instructions for the KCEVE 8K Dual DisplayPort KVM Switch (Model: KCKVM002DZ). This device allows you to control up to three computers using a single set of keyboard, mouse, and two DisplayPort monitors. It supports high-resolution video output up to 8K@60Hz and features USB 3.0 ports for shared peripherals. Please read this manual thoroughly before installation and operation to ensure proper use and optimal performance.
2. Contingut del paquet
Please verify that all items listed below are included in your package. If any items are missing or damaged, please contact KCEVE customer support.

Image: Contents of the KCEVE 8K Dual DisplayPort KVM Switch package, including the KVM unit, cables, power adapter, and wired remote.
- 1x KCEVE 8K Dual DisplayPort KVM Switch (Model: KCKVM002DZ)
- 1 x manual d'usuari
- 2x DisplayPort 1.4 Cables (1.5m/4.92ft)
- 3x USB 3.0 Cables (1.5m/4.92ft)
- 1x DC 12V Power Adapter (1.5m/4.92ft)
- 1x Wired Remote (1.52m/4.98ft)
3. Producte acabatview
The KCEVE KVM Switch is designed for efficient management of multiple computers with a single workstation setup. Below is an overview of the device's components and their functions.

Image: The KCEVE KVM Switch, highlighting its compact design and various ports for connectivity.
Panell frontal
- Interruptor ON / OFF: Power control for the KVM device.
- PC 1/2/3 Buttons: Manual selection buttons for switching between connected computers.
- Ports USB 3.0: Four ports for connecting shared USB peripherals like keyboard, mouse, printer, or USB drives.
- Wired Remote Port: Connect the included wired remote for convenient switching.
Panell posterior
- DP INPUT (PC 1/2/3): DisplayPort inputs for connecting video outputs from each computer.
- USB3.0 (PC 1/2/3): USB 3.0 inputs for connecting USB data from each computer to the KVM.
- DP MONITOR OUT A/B: DisplayPort outputs for connecting to your two monitors.
- DC/12V Power Input: Port for connecting the included 12V power adapter.
4. Característiques
- Multi-Computer Control: Seamlessly switch between 3 computers using a single keyboard, mouse, and two DisplayPort monitors.
- Suport de monitor dual: Supports extended, mirrored, and splicing wall display configurations across two DisplayPort monitors.
- Suport d'alta resolució: Supports resolutions up to 8K@60Hz (7680x4320) and 4K@144Hz (3840x2160). Backward compatible with lower resolutions.
- Connectivitat USB 3.0: Equipped with 4 USB 3.0 ports for high-speed data transfer (up to 5Gbps) for shared peripherals.
- Flexible Switching Modes: Switch between computers using the physical buttons on the KVM or the included wired remote.
- Indicadors LED: Clear LED lights indicate the currently active computer.
- Àmplia compatibilitat: Compatible with various input devices such as PCs, Laptops, Apple TV, PS3/PS4, Xbox, and multiple operating systems including Linux, Windows, Chrome OS, and macOS.
- Plug and Play: No driver installation required for basic functionality.
5. Configuració i instal·lació
Follow these steps to properly set up your KCEVE KVM Switch:
- Apaga tots els dispositius: Before making any connections, ensure all computers and monitors are powered off.
- Connecteu els monitors al KVM: Connect your two DisplayPort monitors to the "DP MONITOR OUT A" and "DP MONITOR OUT B" ports on the rear panel of the KVM switch using DisplayPort cables.
- Connect Computers to KVM (Video): For each computer (PC 1, PC 2, PC 3), connect its DisplayPort video output to the corresponding "DP INPUT" port on the KVM switch (e.g., PC 1's DP output to KVM's "DP INPUT B 1" and "DP INPUT A 1"). Note: Each computer requires two DisplayPort outputs to connect to the KVM for dual monitor support.
- Connect Computers to KVM (USB): For each computer (PC 1, PC 2, PC 3), connect a USB 3.0 cable from a USB port on your computer to the corresponding "USB3.0" input port on the KVM switch (e.g., PC 1's USB output to KVM's "USB3.0 INPUT A 1"). This enables keyboard, mouse, and other USB peripheral sharing.
- Connect Shared Peripherals: Connect your keyboard, mouse, printer, USB drive, or other USB 3.0 devices to the four "USB3.0" ports on the front panel of the KVM switch.
- Connecteu el comandament a distància amb cable (opcional): If desired, connect the wired remote to the "Wired Remote" port on the front panel.
- Connecteu l'adaptador d'alimentació: Plug the included 12V power adapter into the "DC/12V" power input port on the rear panel of the KVM switch, then plug the adapter into a power outlet.
- Dispositius d'encesa: Power on the KVM switch using the ON/OFF switch, then power on your monitors, and finally power on your computers.

Image: Detailed connection diagram illustrating how to connect PCs, monitors, and USB devices to the KVM switch.
Important Note on Display Modes:
- Copy Mode (Mirror): Both monitors display the same image from the selected PC.
- Mode estès: Two monitors display different images, extending your desktop. Windows can be dragged between the two monitors.

Image: Visual representation of "Copy Mode" (mirrored display) and "Extended Mode" (extended desktop) on dual monitors.
To switch between Duplicate (Copy) mode and Extend mode on Windows, press Tecla Windows + P and select the desired display option.
6. Instruccions de funcionament
El commutador KVM ofereix dos mètodes pràctics per canviar entre ordinadors connectats:
6.1. Physical Button Switching
Press the "PC 1", "PC 2", or "PC 3" button on the front panel of the KVM switch to select the corresponding computer. The LED indicator above the button will illuminate to show the active computer.
6.2. Wired Remote Switching
Press the button on the wired remote to cycle through the connected computers (PC 1 → PC 2 → PC 3 → PC 1...). This provides a convenient way to switch inputs from your desk.
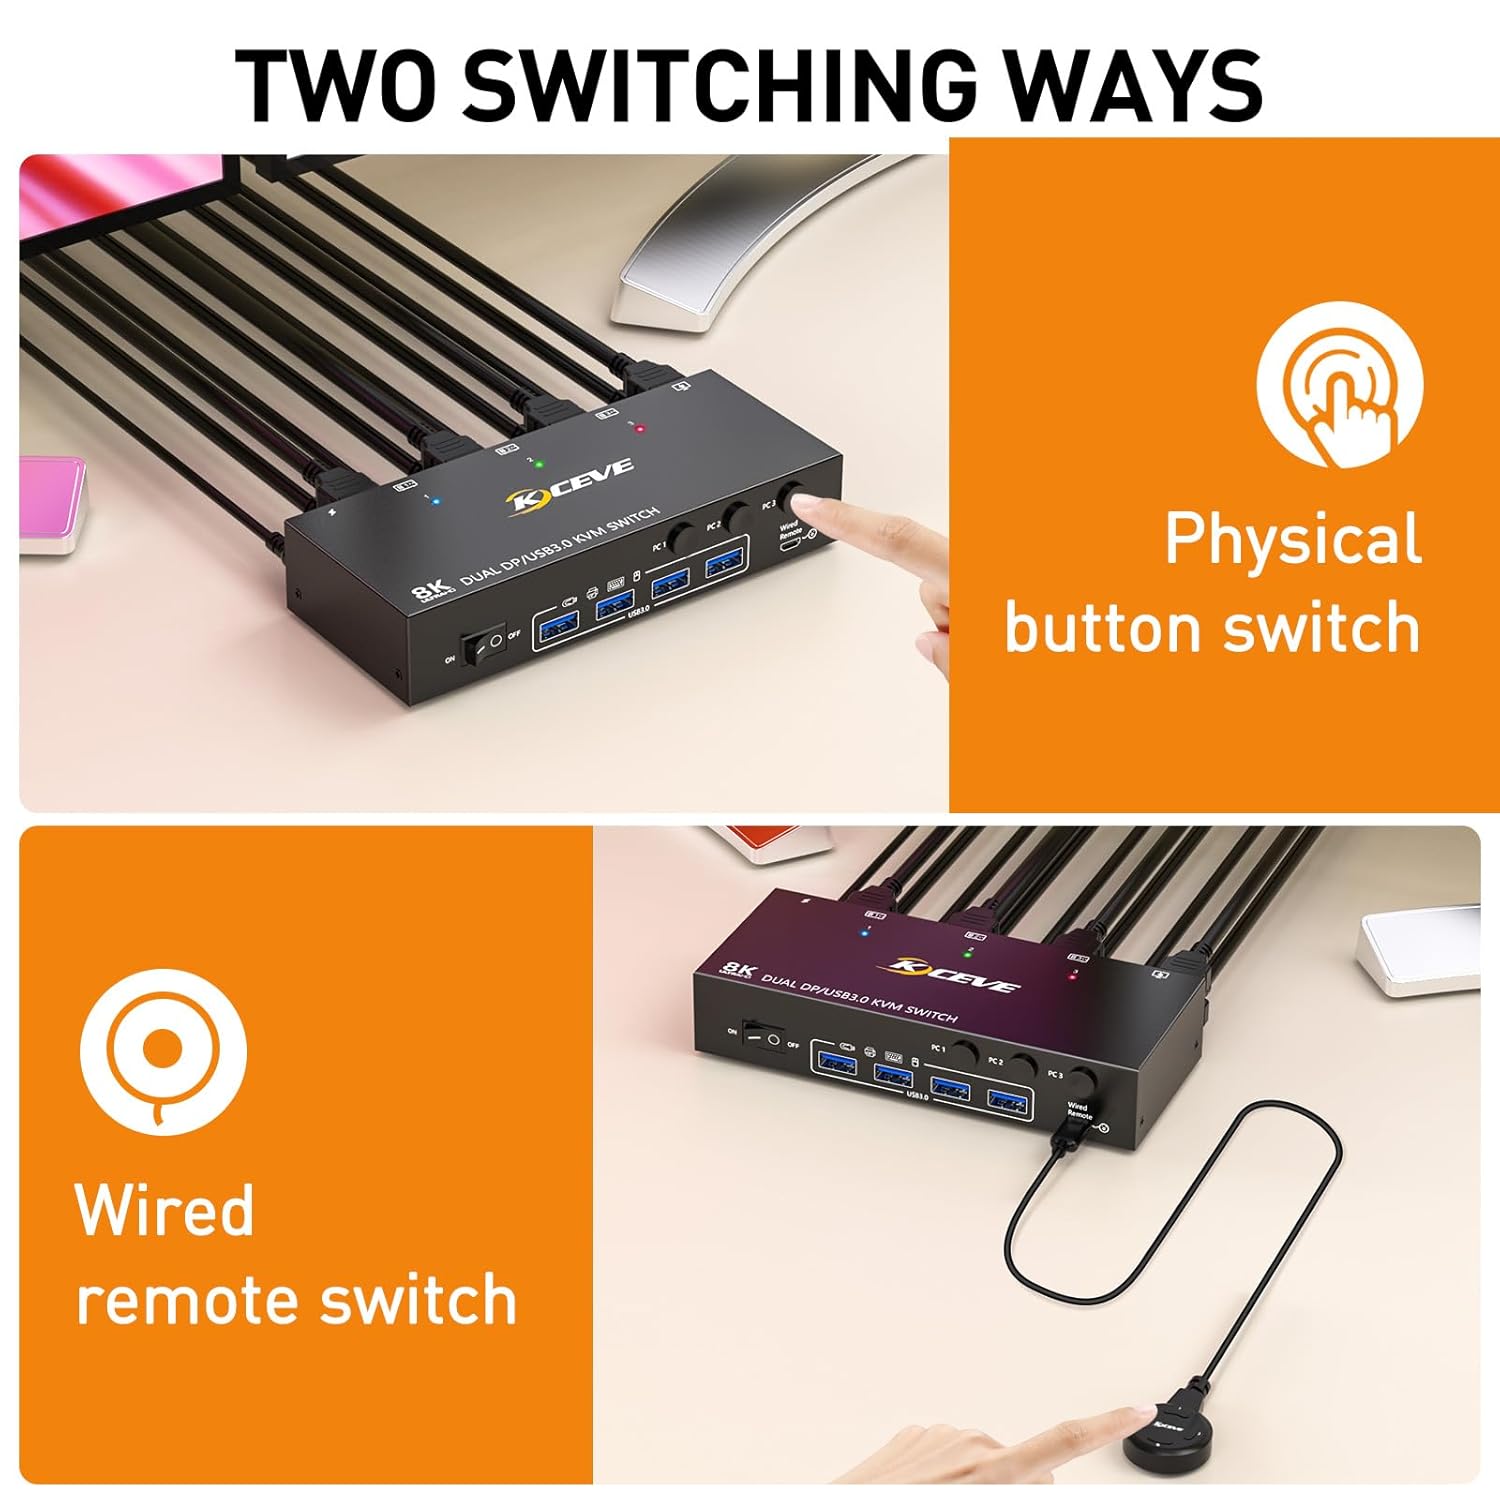
Image: Two methods of switching between computers: directly on the KVM unit via physical buttons, or remotely using the wired switch.
6.3. USB 3.0 Device Sharing
The four USB 3.0 ports on the front panel allow you to share USB peripherals among all connected computers. When you switch to a different computer, the connected USB devices will automatically switch to that computer. For high-power USB devices, ensure the KVM is properly powered via the included adapter to maintain stable operation.

Image: Illustration of how three PCs can share four USB 3.0 devices, emphasizing the faster data transfer rate of USB 3.0.
7. Resolutions and Compatibility
The KVM switch supports a wide range of resolutions and is compatible with various operating systems.
7.1. Supported Resolutions
- Maximum Resolution: 8K@60Hz (7680x4320)
- High Refresh Rate: 4K@144Hz (3840x2160)
- Backward compatible with lower resolutions and refresh rates.
Note: To achieve 8K resolution, ensure that your computers, monitors, and DisplayPort cables all support 8K specifications. Using high-quality DisplayPort 1.4 cables is recommended for optimal performance.

Image: Visual demonstration of the KVM switch's capability to support high resolutions like 8K@30Hz and 4K@144Hz.
7.2. Compatibilitat del sistema operatiu
The KVM switch is designed for plug-and-play operation and does not require specific drivers. It is compatible with major operating systems:
- Linux
- Windows (all modern versions)
- Chrome OS
- macOS

Image: The KVM switch in a multi-OS environment, emphasizing its plug-and-play functionality and compatibility with various operating systems.
8. Solució De Problemes
If you encounter issues with your KCEVE KVM Switch, please refer to the following common problems and solutions:
- Sense pantalla al monitor:
- Ensure the KVM switch is powered on and the power adapter is securely connected.
- Verify that all DisplayPort cables are securely connected between computers, KVM, and monitors.
- Check if the correct input source is selected on your monitors.
- Try restarting the KVM switch and then the computers.
- Ensure your DisplayPort cables are rated for the resolution you are trying to achieve (e.g., DP 1.4 for 8K).
- El teclat/ratolí no funciona:
- Ensure the USB 3.0 cables are securely connected from each computer to the KVM.
- Verify that your keyboard and mouse are connected to the USB 3.0 ports on the front of the KVM.
- Prova de connectar el teclat/ratolí directament a l'ordinador per confirmar que funcionen.
- For high-power USB devices, ensure the KVM is receiving adequate power from its adapter.
- Pantalla/parpelleig intermitent:
- This can often be caused by low-quality or excessively long DisplayPort cables. Use the included cables or high-quality, certified DP 1.4 cables.
- Assegureu-vos que totes les connexions siguin fermes.
- Redueix la resolució o la freqüència d'actualització per veure si el problema persisteix.
- Check for updated graphics drivers on your computers.
- Cannot Achieve 8K/4K Resolution:
- Confirm that your graphics card, monitors, and DisplayPort cables all support the desired resolution and refresh rate.
- Ensure your computer's display settings are configured for the correct resolution and refresh rate.
- KVM no commuta:
- Ensure the KVM is powered on.
- Try using both the physical buttons and the wired remote to switch.
- Disconnect and reconnect the power adapter to reset the KVM.
If the problem persists after trying these solutions, please contact KCEVE customer support for further assistance.
9. Especificacions
| Característica | Especificació |
|---|---|
| Número de model | KCKVM002DZ |
| Marca | KCEVE |
| Ports d'entrada | 3 x DisplayPort (PC), 3 x USB 3.0 (PC) |
| Ports de sortida | 2 x DisplayPort (Monitor), 4 x USB 3.0 (Shared Peripherals) |
| Resolució de vídeo | Fins a 8K@60Hz, 4K@144Hz |
| Velocitat de transferència de dades USB | Fins a 5 Gbps (USB 3.0) |
| Mètodes de canvi | Physical Button, Wired Remote |
| Font d'alimentació | Adaptador d'alimentació DC 12V |
| Mode de funcionament | Manual |
| Dimensions (L x A x A) | Aprox. 6.37 x 6.60 x 1.73 polzades (16.2 x 16.8 x 4.4 cm) |
| Pes de l'article | Aprox. 1.32 lliures |
| Material | Coure (material de contacte) |
10. Manteniment
To ensure the longevity and optimal performance of your KCEVE KVM Switch, follow these maintenance guidelines:
- Neteja: Use a soft, dry cloth to clean the exterior of the device. Avoid using liquid cleaners or aerosols, which may damage the unit.
- Ventilació: Assegureu-vos que el commutador KVM estigui col·locat en una zona ben ventilada per evitar el sobreescalfament. No bloquegeu cap obertura de ventilació.
- Gestió de cables: Mantingueu els cables organitzats i desenredats per evitar tensió als ports i desconnexions accidentals.
- Apagueu quan no estigui en ús: If the device will not be used for an extended period, it is recommended to power it off and disconnect the power adapter.
- Eviteu condicions extremes: Do not expose the KVM switch to extreme temperatures, humidity, or direct sunlight.
11. Garantia i Suport
KCEVE products are designed for reliability and performance. For information regarding warranty coverage, technical support, or service, please refer to the warranty card included with your product or visit the official KCEVE weblloc web. Si us plau, conserveu el comprovant de compra per a reclamacions de garantia.
For further assistance, you may contact KCEVE customer support through the contact information provided on their official weblloc web o a través de la plataforma on vau comprar el producte.


