
1. Introducció

Figure 1.1: The Pefecon Anti-Theft Blink Doorbell Mount.
This manual provides instructions for the installation and use of the Pefecon Anti-Theft Doorbell Mount, designed for the Blink Video Doorbell (1st Gen and 2nd Gen). This mount offers a drill-free solution for securing your doorbell, ideal for renters or situations where drilling is not permitted.
Característiques principals:
- Disseny antirobatori: Constructed from durable metal with hidden screws to deter theft.
- Instal·lació sense trepant: No tools required for mounting; secured with adjustable thumb screws.
- Compatibilitat del sensor de moviment: Designed to not obstruct the doorbell's motion sensor.
- Specific Door Compatibility: Suitable for inward-swinging doors with specific thickness and gap requirements.
2. Contingut del paquet
Verifiqueu que tots els elements siguin presents al paquet:
- 1 × Pefecon Anti-Theft Doorbell Mount
- Installation Accessories (e.g., thumb screws)
- 1 × Blink Doorbell Key
3. Compatibilitat
3.1 Doorbell Compatibility
This mount is specifically designed for the following models:
- Blink Video Doorbell (1st Generation)
- Blink Video Doorbell (2nd Generation)
Note: The Blink Video Doorbell is not included with this mount.

Figure 3.1: The mount is compatible with both 1st and 2nd generation Blink Video Doorbells.
3.2 Compatibilitat del tipus de porta
For proper installation and function, your door must meet the following criteria:
- Tipus de porta: Inward-swinging doors only (left or right opening).
- Gruix de la porta: Between 0.82 inches (2.08 cm) and 2.08 inches (5.28 cm).
- Door-Frame Gap: Greater than 0.063 inches (0.16 cm).
- Vora de la porta: Must be flat.
The mount is no compatible with the following door types:
- Outward-opening doors
- Iron security doors
- Screen doors or storm doors
- Doors with uneven door frames or edges
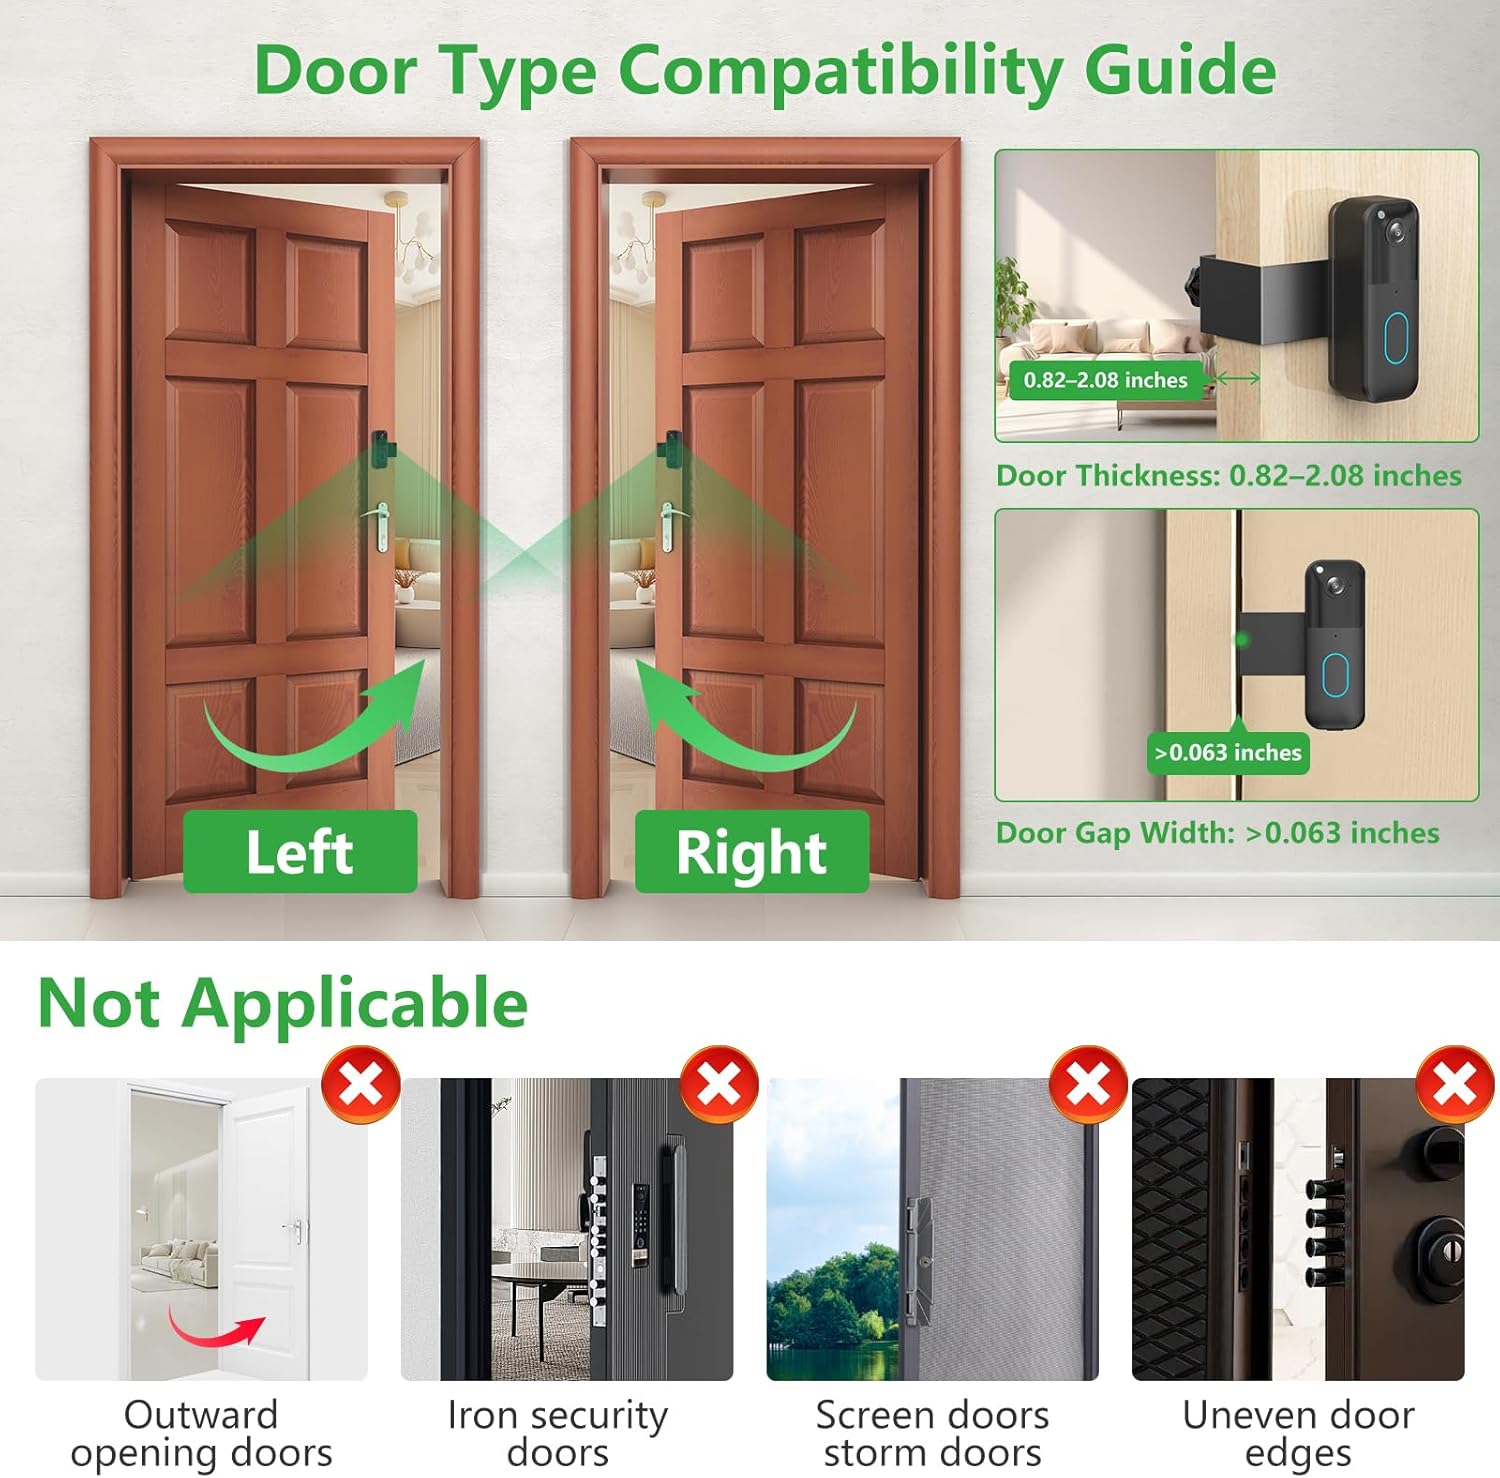
Figure 3.2: Guide to compatible and incompatible door types and dimensions.

Figure 3.3: The door edge must be flat for secure installation.

Figura 3.4: Examples of door types that are not compatible with this mount.
4. Configuració i instal·lació
Follow these steps to install your Pefecon Anti-Theft Doorbell Mount:
- Prepare the Doorbell: Insert your Blink Video Doorbell into the mount. Ensure it is seated securely.
- Col·locació de la muntura: Place the mount over the edge of your door at the desired height. The doorbell camera should face outwards.
- Ajustar i assegurar: On the inside of the door, locate the thumb screws. Twist the thumb screws to adjust the mount's grip on the door. Tighten them firmly until the mount is stable and does not move. Do not overtighten.
- Verifica la seguretat: Gently attempt to move the mount. It should be securely fixed to the door. The anti-theft steel plate and hidden screws will prevent easy removal from the outside.
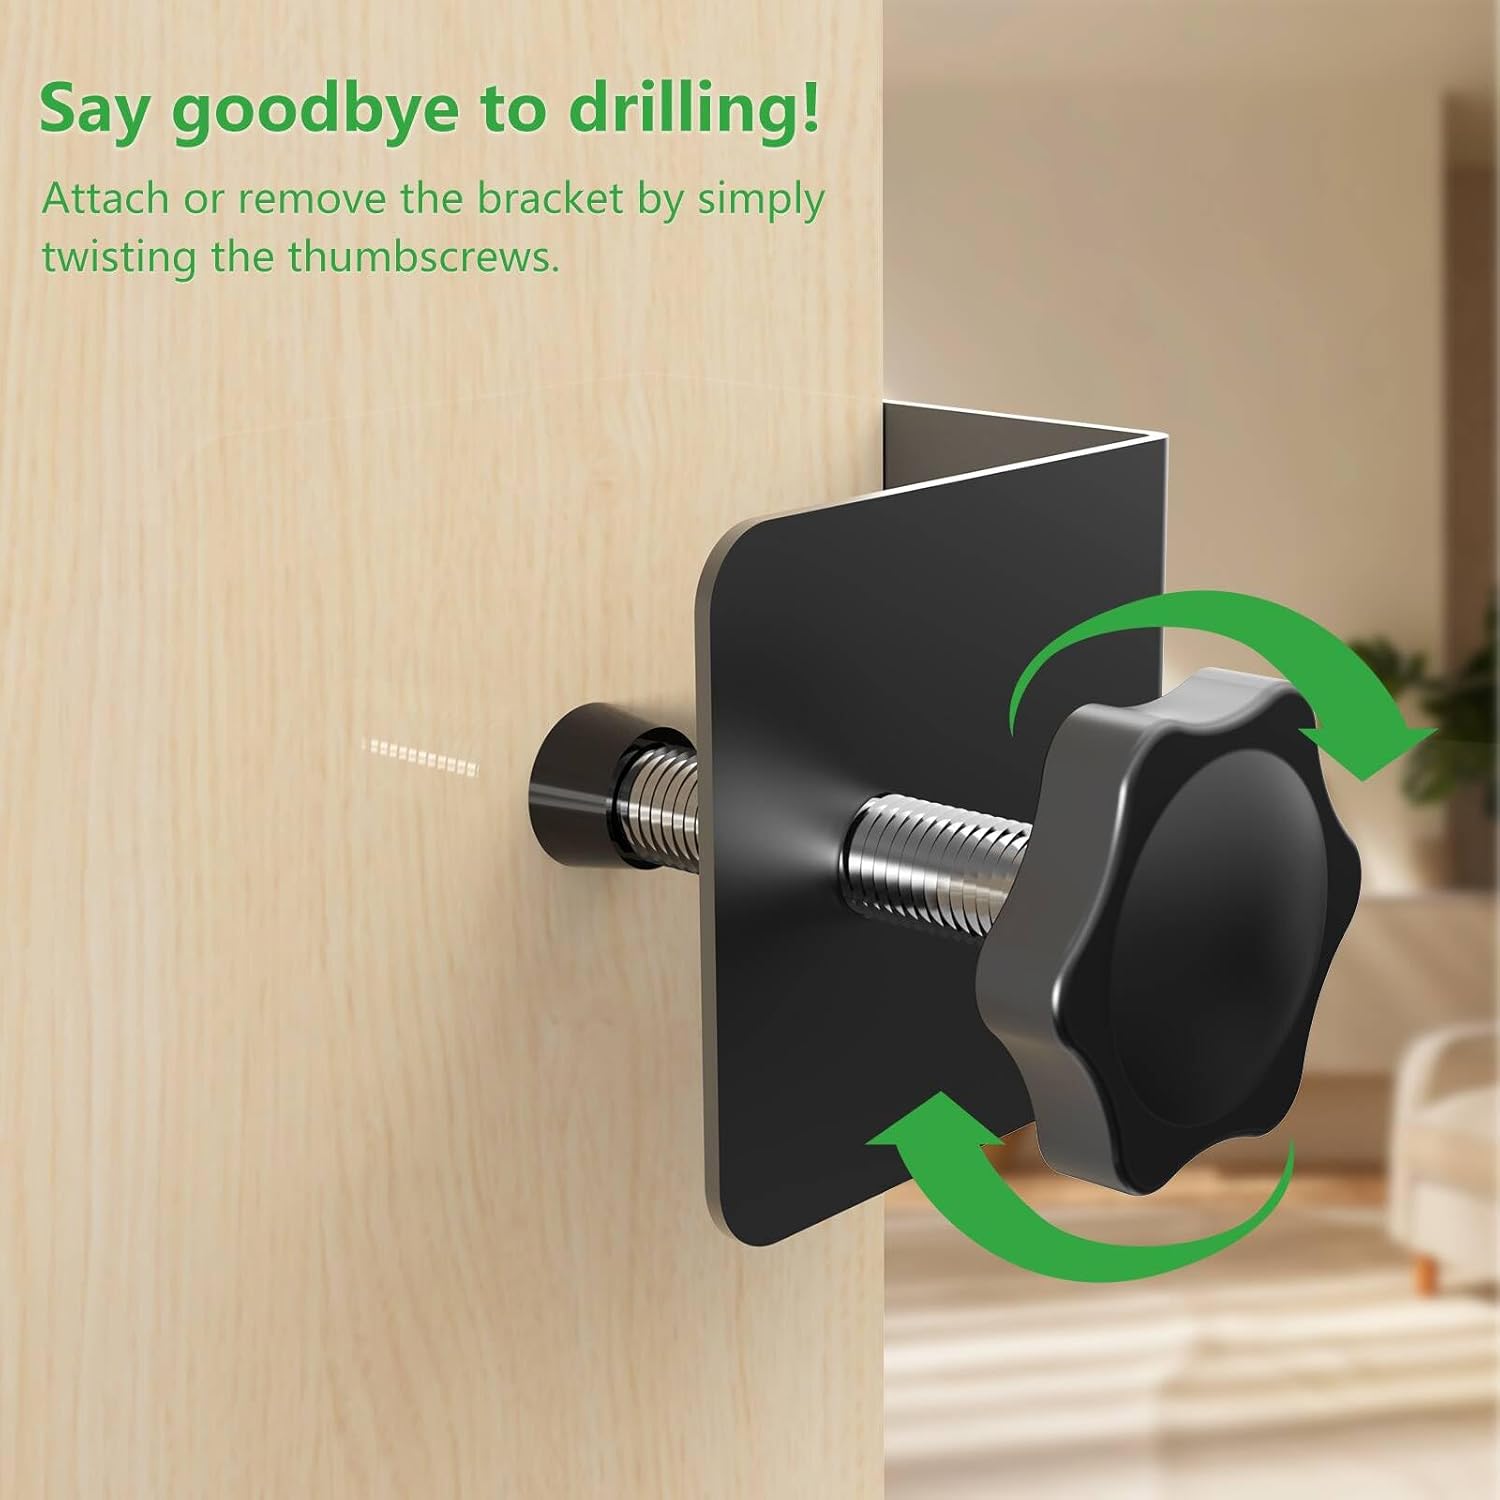
Figure 4.1: Adjusting the thumb screws for a secure, drill-free installation.

Figure 4.2: The anti-theft design with hidden screws enhances security.
5. Funcionament
Once installed, the Pefecon Anti-Theft Doorbell Mount functions as a secure housing for your Blink Video Doorbell. It does not interfere with the doorbell's operation, including its motion sensor, camera view, or two-way audio capabilities.
The mount is designed for various residential settings:
- Habitatges
- Apartaments
- Rental properties
- Dormitoris
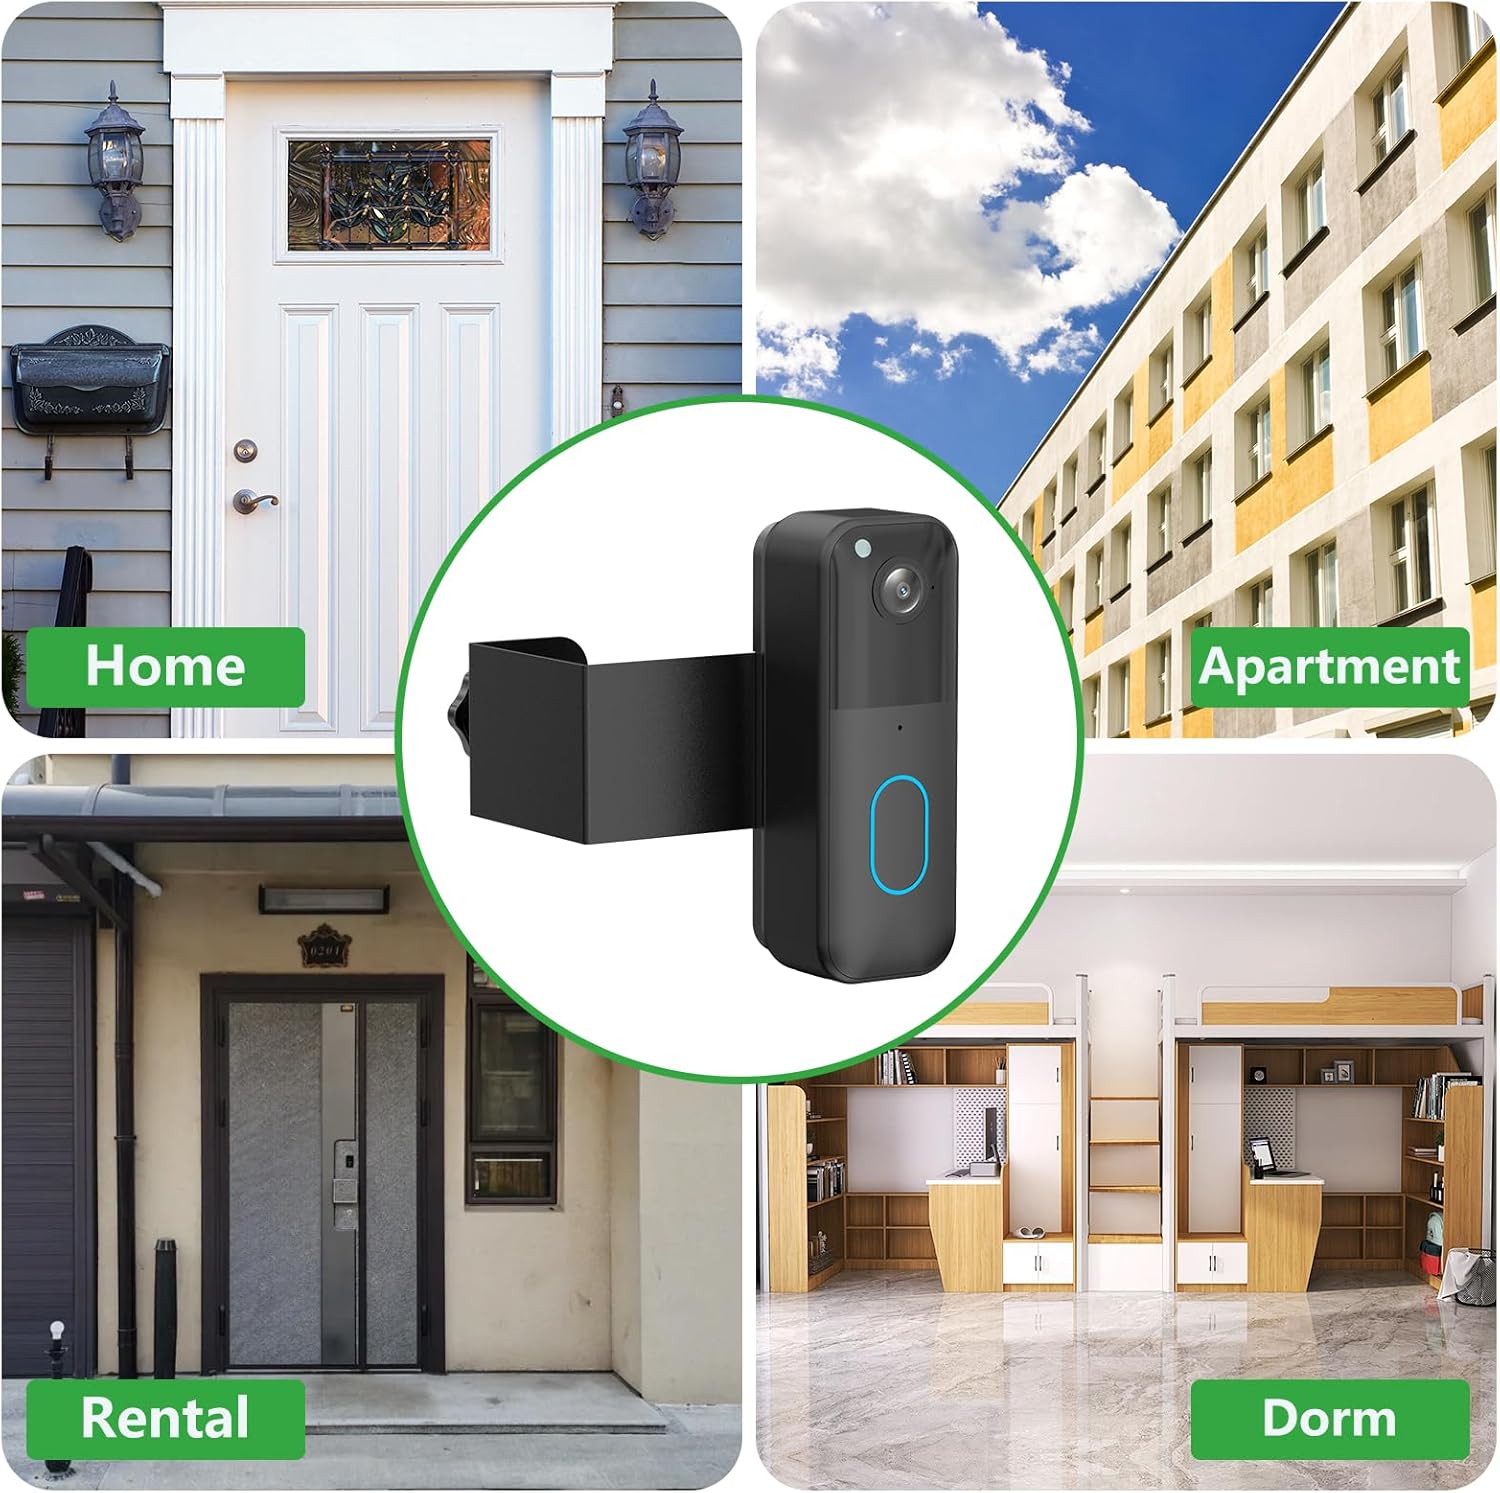
Figure 5.1: The mount is suitable for diverse living environments.
6. Manteniment
The Pefecon Anti-Theft Doorbell Mount requires minimal maintenance. Periodically check the thumb screws to ensure they remain tight and the mount is secure. Clean the mount with a soft, damp drap segons calgui. Eviteu utilitzar productes de neteja o dissolvents abrasius.
7. Solució De Problemes
| Problema | Causa possible | Solució |
|---|---|---|
| Mount is loose or wobbly. | Thumb screws are not tightened sufficiently. | Tighten the thumb screws firmly until the mount is stable. Ensure door thickness is within compatible range. |
| Cannot install the mount on the door. | Door type or dimensions are incompatible. | Refer to Section 3.2 "Door Type Compatibility" to verify your door meets the requirements (inward-swinging, correct thickness, sufficient gap, flat edge). |
| Blink Doorbell does not fit into the mount. | Incorrect doorbell model. | Ensure you are using a Blink Video Doorbell (1st Gen or 2nd Gen). This mount is not compatible with other doorbell models. |
8. Especificacions
- Model: PC-BLFDM
- Marca: Pefecon
- Material: Metall
- Color: Negre
- Pes de l'article: Aproximadament 7.8 unces (221 grams)
- Dimensions del producte: Aproximadament 2.72 x 2.72 x 4.48 polzades (6.9 x 6.9 x 11.4 cm)
- Compatible Doorbell: Blink Video Doorbell (1st Gen, 2nd Gen)
- Gruix de la porta compatible: 0.82 - 2.08 polzades
- Required Door-Frame Gap: > 0.063 polzades
9. Garantia i Suport
Pefecon products are designed for reliability and performance. For specific warranty information, please refer to the product packaging or contact Pefecon customer support directly. If you encounter any issues or have questions regarding your Anti-Theft Doorbell Mount, please reach out to our dedicated support team for assistance.
Contact information for support can typically be found on the product packaging or the official Pefecon weblloc.