
1. Introducció
This manual provides essential information for the safe and effective installation, operation, and maintenance of your Treeligo 12V Universal Under Dash Air Conditioner. Please read all instructions thoroughly before beginning installation or use to ensure optimal performance and longevity of the unit.
2. Producte acabatview
The Treeligo 12V Universal Under Dash Air Conditioner is a versatile climate control system designed for various vehicles, offering both rapid cooling and comfortable heating. Its upgraded 3-in-1 design integrates the receiver dryer, condenser fan, and condenser into a compact unit, simplifying installation. The system features a 20CC electric scroll compressor for efficient operation and a low-noise design for enhanced comfort.
Característiques principals:
- Upgraded 3-in-1 Electric AC Unit: Combines receiver dryer, condenser fan, and condenser for compact installation.
- Funcionalitat de calefacció i refrigeració: Provides both fast cooling and comfortable heating.
- Capacitat de refrigeració eficient: Equipped with a 20CC electric scroll compressor, operating efficiently on 12V power.
- Low-noise Design: Operates at less than 45 dB for a quiet environment.
- Aplicació universal: Compatible with a wide range of vehicles including classic cars, RVs, vans, trucks, and agricultural equipment.
Components inclosos:
El paquet inclou els articles següents:
- Muntatge de l'evaporador
- Condensador
- Ventilador de refrigeració
- Muntatge del compressor
- Refrigerant Pipeline
- Accessoris de cargol
- Main Power Cord & Blower Power Cord
- Cooling Fan Power Cord
- Remot
- Manual d'usuari

Figura 2.1: Tots els components inclosos al paquet.
3. Informació de seguretat
- Desconnecteu sempre la bateria del vehicle abans de realitzar qualsevol treball elèctric.
- Assegureu-vos d'una ventilació adequada quan treballeu amb refrigerants.
- Utilitzeu l'equip de protecció individual (EPI) adequat, incloent-hi ulleres i guants de seguretat.
- Refrigerant charging should only be performed by qualified personnel.
- Verify that the battery current meets the system requirements (12V system requires approximately 65A output).
- Ensure sufficient space for installation and proper routing of all pipes and wires to prevent damage.
4. Instruccions d'instal·lació
Careful installation is crucial for the performance and safety of your air conditioner. Refer to the following steps and accompanying visual aids.
4.1 Dimensions dels components

Figura 4.1: Dimensions del producte per planificar l'espai d'instal·lació.
4.2 Evaporator Unit Installation
- Fix the Evaporator: Secure the evaporator unit at its four corners using the provided brackets and screws.
- Connect Evaporator Pipes: Take out the necessary accessories for the evaporator. Connect the low-pressure pipe (13mm) and the high-pressure pipe (8mm) to the corresponding interfaces on the evaporator. Ensure a secure connection.
- Insulate Pipes: Cover the thick pipe with a sponge and wrap both pipelines with waterproof tape to prevent condensation and improve efficiency.
Video 4.1: Detailed steps for evaporator pipe connections and insulation.
4.3 Compressor and Condenser Connections
- Connect Low-Pressure Pipe to Compressor: Connect the other end of the 13mm low-pressure pipe to the compressor.
- Connect High-Pressure Pipe to Condenser: Connect one end of the 8mm high-pressure pipe to the small interface of the condenser.
- Connect Short Pipe to Compressor: Connect the 10.5mm short pipe to the designated position on the compressor.
- Connect Short Pipe to Condenser: Connect the other end of the 10.5mm short pipe to the larger interface of the condenser.
Video 4.2: Visual guide for connecting pipes to the compressor and condenser.
4.4 Connexions elèctriques
- Evaporator Wiring: Connect the evaporator cable plug to the evaporator.
- Connexió de visualització: Connect the connection cable for the evaporator screen display directly to the monitor. An extension cable can be used if needed.
- Cable d'alimentació: Connect the power cord (red for positive, black for negative) to the car battery.
Video 4.3: Comprehensive under-dash AC installation, including electrical connections.
4.5 Connexió de la canonada de drenatge
Connect the drain pipe of the evaporator to the designated position. Ensure it is routed to allow proper drainage.
4.6 Refrigerant Charging Precautions
- The compressor is pre-filled with refrigeration oil; no additional oil is needed.
- After installation, vacuum the system for 15-20 minutes.
- Add approximately 560g of R-134a refrigerant.
- If the installation fails to start, check the fault code on the display panel for troubleshooting.
5. Instruccions de funcionament
The control panel allows you to manage the air conditioner's functions:
- Control de temperatura: Use the TEMP knob to adjust the desired temperature for heating or cooling.
- Control de la velocitat de l'aire: Use the AIR knob to select one of the 3 adjustable fan speeds.
- Selecció del mode: Switch between heating and cooling modes as needed.
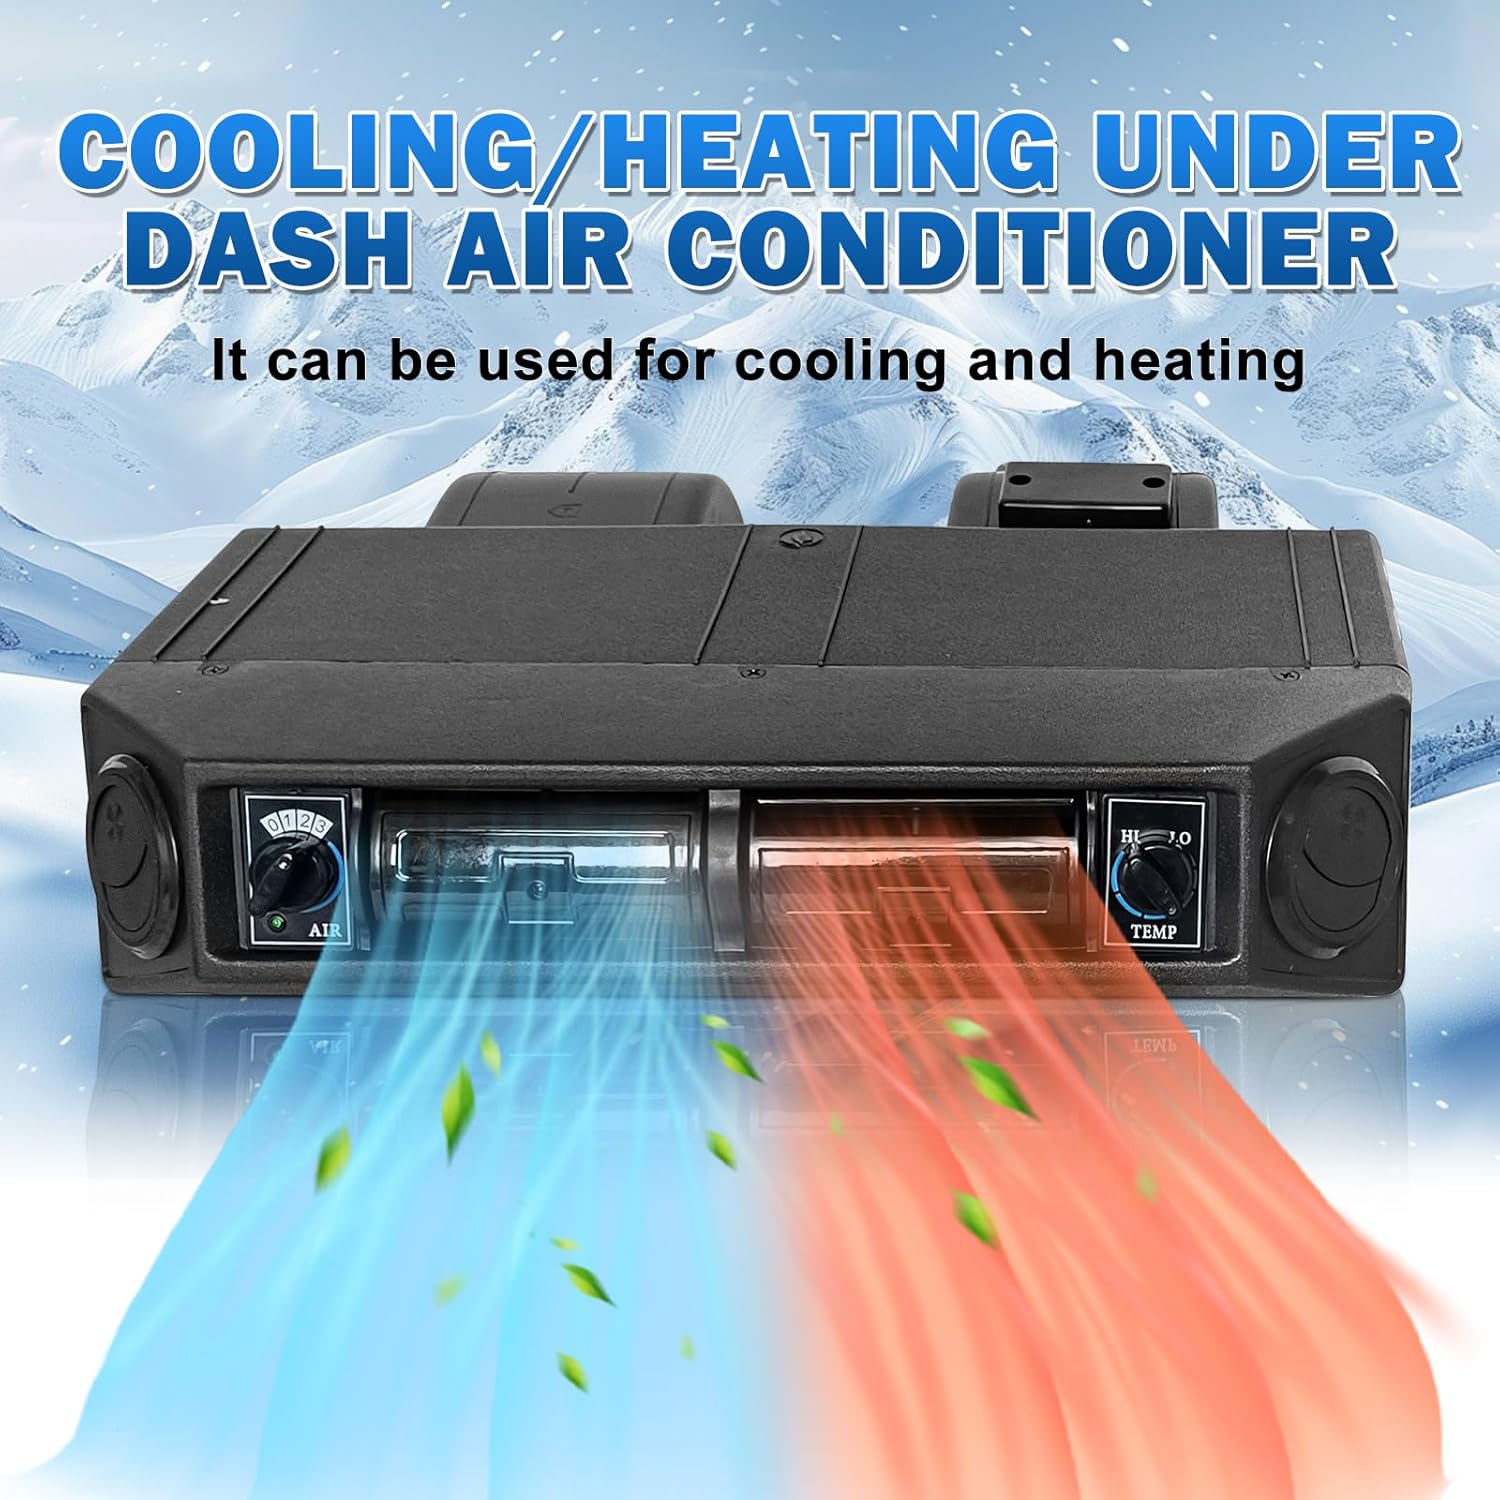
Figure 5.1: Control panel for adjusting temperature and fan speed.
6. Manteniment
- Regularly inspect all hose connections for leaks or damage.
- Keep the condenser and evaporator coils clean to ensure efficient heat exchange.
- Check the refrigerant level periodically. If the cooling performance decreases, consult a qualified technician for inspection and recharging.
- Ensure the drainage pipe is clear of obstructions to prevent water buildup.
7. Solució De Problemes
Si teniu problemes amb l'aire condicionat, consulteu els següents problemes i solucions habituals:
- Sense energia:
- Comproveu les connexions de la bateria i assegureu-vos que estiguin segures.
- Verify the car battery voltage is sufficient (12V).
- Inspect fuses in the wiring harness.
- Poor Cooling/Heating:
- Check refrigerant level; low refrigerant can cause poor performance.
- Ensure condenser and evaporator coils are clean and free of debris.
- Verify that the fan is operating at the correct speed.
- Check for any kinks or blockages in the refrigerant lines.
- Soroll inusual:
- Inspect the fan for any obstructions or loose components.
- Ensure the unit is securely mounted to prevent vibrations.
- Fuga d'aigua:
- Check the drain pipe for blockages or improper routing.
- Ensure the evaporator unit is installed horizontally to allow proper drainage.
8. Especificacions
| Característica | Especificació |
|---|---|
| Nom de marca | Treeligo |
| Informació del model | BEU404-SET-03-3 |
| Pes de l'article | 50 lliures |
| Dimensions del producte | 25 x 26 x 10 polzades |
| Eficiència | Altament eficient |
| Capacitat | 50 lliures |
| Consum anual d'energia | 800 quilowatts-hora |
| Nivell de soroll | 45 decibels |
| Tipus d'instal·lació | Sistema dividit |
| Característiques especials | Fast Cooling, Heating & Cooling Function, Remote Controlled |
| Color | Black - Square Vent |
| Voltage | 12 Volts |
| Wattage | 792 watts |
| Potència de refrigeració | 12000 unitats tèrmiques britàniques |
| Refrigerant | R-134A |
9. Garantia i Suport
This product includes a user manual. For specific warranty details and technical support, please refer to the documentation provided with your purchase or contact Treeligo customer service directly. Keep your purchase receipt for warranty claims.