
1. Introducció
This manual provides essential information for the safe and efficient installation, operation, and maintenance of your Outequip 24V Black RV Air Conditioner. Please read this manual thoroughly before installation and use, and retain it for future reference. This unit is designed to provide powerful 11,000 BTU cooling and heating for recreational vehicles, trucks, vans, and campers, ensuring optimal cabin temperature in all seasons.
2. Instruccions de seguretat
- Desconnecteu sempre l'alimentació abans de realitzar qualsevol instal·lació, manteniment o resolució de problemes.
- Assegureu-vos una ventilació adequada durant la instal·lació i el funcionament.
- Utilitzeu l'equip de protecció individual (EPI) adequat durant la instal·lació.
- Comproveu que la font d'alimentació voltage matches the unit's requirements (24V DC).
- Ensure all wiring connections are secure and correctly polarized (positive to positive, negative to negative).
- Do not block the drainage outlet to prevent water accumulation and potential damage.
- Mantingueu la unitat allunyada de materials inflamables.
3. Contingut del paquet
Verifiqueu que hi hagi tots els elements abans de començar la instal·lació:
- Outequip 24V Black RV Air Conditioner Unit
- Control remot
- Power Cables (with Anderson connectors)
- Mounting Accessories (bolts, nuts, brackets)
- Sponge Pad and Sponge Strips for sealing and leveling
- Interior Panel with Control Display and Air Vents
- Escorreu
- Guia d'instal·lació (aquest manual)
4. Guia d'instal·lació
The Outequip RV Air Conditioner is designed for easy top-mounted installation in standard 14" x 14" openings. Ensure your vehicle's roof structure can support the unit's weight (45 lbs).
4.1. Preparació
- Choose a suitable location on the RV roof, preferably a standard 14" x 14" vent opening.
- Assegureu-vos que la zona estigui neta i lliure de residus.
- Gather all necessary tools: screwdriver, wrench, sealant, measuring tape, drill.
4.2. Instal·lació pas a pas
- Install the Sponge Pad: Align the positioning holes on the air conditioner unit with the sponge pad. Attach the sponge mat to the external machine, ensuring a secure fit. This provides a seal between the unit and the roof.

Image: External unit with sponge pad being installed.
- Leveling with Sponge Strip: If your roof opening requires additional leveling or sealing due to varying skylight styles or roof contours, use the provided sponge strips. Press the sponge pad to fit the outside machine. Two sponge strips of different thicknesses are provided for adaptability.

Image: Leveling the roof opening with sponge strips.
- Place the External Air Conditioner: Carefully lift and place the external air conditioner unit on top of the prepared skylight opening on the roof. Ensure it is centered and properly seated on the sponge pad.
Video: Installation of RV Rooftop Air Conditioner, showing placement of the external unit.
- Install External Support: Install two external support brackets on the tail of the air conditioner unit. These supports provide additional stability and secure the unit to the roof.
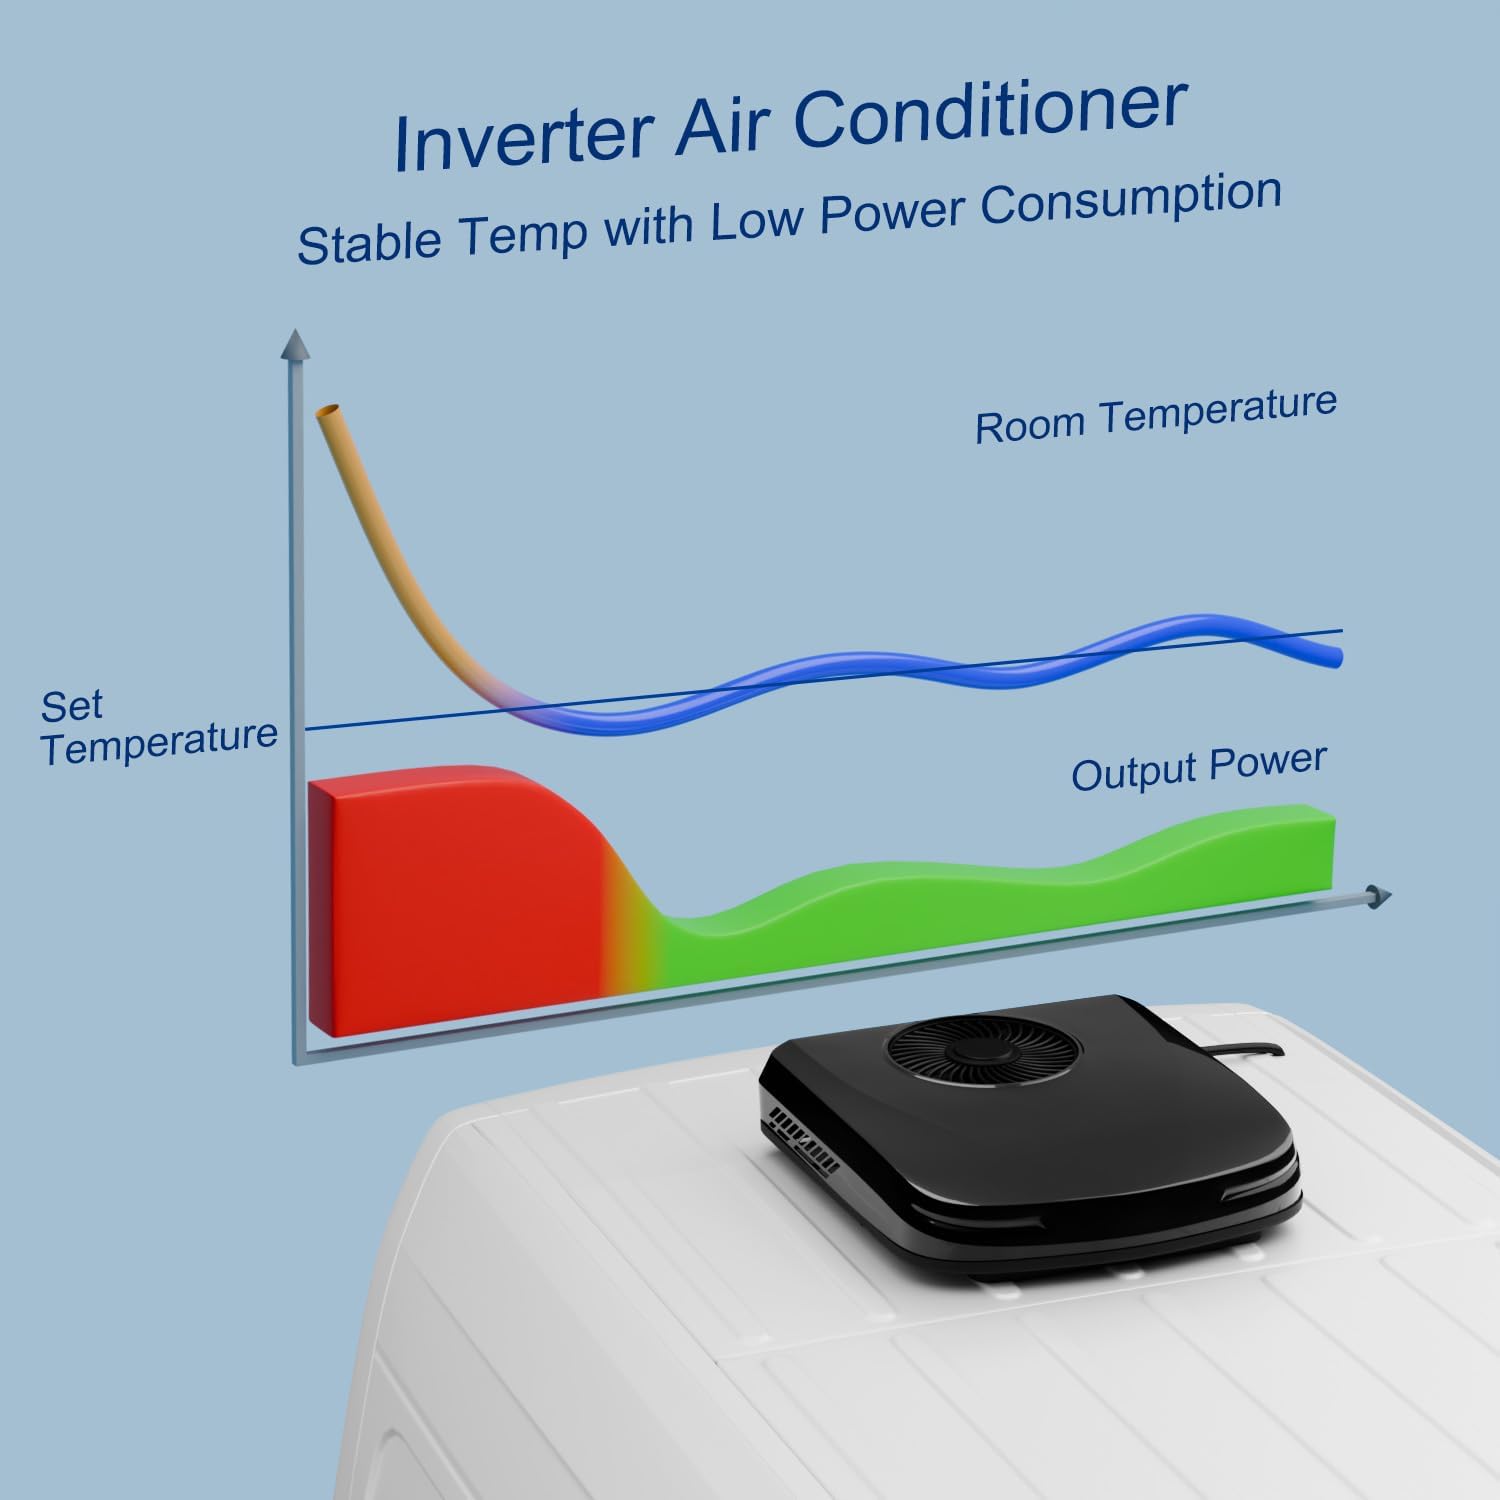
Image: Installing external support brackets.
- Arrange the Panel Circuit: From inside the vehicle, pull out the external circuit wires of the air conditioner for sorting and easy wiring.
- Interior Panel Mounting Screws: Install interior panel setting screws. These screws will secure the interior trim panel to the external unit.
- Upholstery Panel Bracket: Install upholstery plate brackets based on the size of your skylight opening. The support is fixed with nuts. Use a wrench to tighten the nuts securely.
- Connecteu els cables d'alimentació: Connect the power cable from the vehicle's 24V power source to the unit's power input. Hide the power cord at the top of the car for a clean installation. Ensure correct polarity.

Image: Connecting the power cables.
- Instal·leu el tauler de control: Clamp the control panel into the trim panel. Note the panel orientation during installation. Connect the external line to the control panel line. The white line connection point is on the left side of the control panel, and the red connection points are above the control panel.
- Secure the Interior Panels: Secure the interior panels using the provided screws. Use the screw caps to hide the screws for a clean finish. Clamp the air inlet net according to the position of the buckle to make the interior panel more aesthetically pleasing.
- Install the Drainpipe: Connect the drainpipe to the designated outlet on the external unit. Route the drainpipe to allow condensation to exit the vehicle without causing damage. Ensure the drainpipe is not blocked.
5. Guia de funcionament
Your Outequip RV Air Conditioner can be operated via the integrated control panel or the included remote control.
5.1. Pantalla del tauler de control
El tauler de control inclou una pantalla digital i botons per a diverses funcions:
- Botó d'encesa: Encén/apaga la unitat.
- Ajust de mode: Cycles through cooling, heating, fan-only, and sleep modes.
- Ajust de temperatura: Use '+' and '-' buttons to set desired temperature.
- Wind Speed Regulation: Adjusts fan speed (Low, Medium, High, Turbo).
- Transmissió de veu: Provides audible feedback for settings changes.
5.2. Control remot
The remote control offers convenient access to all functions from anywhere within your vehicle:
- On/Off: Alimenta la unitat.
- Mode: Select operating mode (Cool, Heat, Fan, Eco, Sleep).
- Temp +/-: Adjust temperature.
- Ventilador: Cycle through fan speeds.
- Turbo: Activates maximum cooling/heating power.
- Mode Eco: Optimizes energy consumption for extended use.
- Mode de repòs: Reduces fan noise and adjusts temperature for comfortable sleep.
- Llum: Controls any integrated lighting.
- swing: Activates/deactivates air swing function.
- Voltage: Mostra el vol actualtage.
6. Manteniment
- Neteja de filtres: Regularly clean the air filters located on the interior panel to ensure optimal airflow and efficiency. Remove filters, wash with mild soap and water, dry thoroughly, and reinsert.
- Neteja exterior: Keep the exterior unit clean from leaves, dirt, and other debris. Use a soft cloth and mild detergent if necessary.
- Comprovació del drenatge: Periodically inspect the drainpipe for any blockages or kinks to ensure proper condensation drainage.
- Connexions elèctriques: Comproveu anualment totes les connexions elèctriques per comprovar si estan ben ajustades i si hi ha signes de corrosió.
7. Solució De Problemes
- La unitat no s'encén: Check power connections, ensure the 24V power source is active, and verify the fuse is intact.
- Refrigeració/calefacció insuficient: Ensure filters are clean, check for any obstructions to airflow, verify temperature settings, and confirm the unit is in the correct mode. Ensure the vehicle is adequately insulated.
- Soroll excessiu: Check for loose components or debris in the fan area. Ensure the unit is securely mounted.
- Fuga d'aigua: Inspect the drainpipe for blockages, kinks, or improper connection. Ensure the unit is level.
- El control remot no funciona: Check and replace batteries. Ensure there are no obstructions between the remote and the unit.
8. Especificacions
| Característica | Especificació |
|---|---|
| Número de model | OEP2500A |
| Voltage | 24 Volts DC |
| Potència de refrigeració | 11,000 unitats tèrmiques britàniques (BTU) |
| Potència de calefacció | 4,500 unitats tèrmiques britàniques (BTU) |
| Flux d'aire | Fins a 450 m³/h |
| Pes de l'article | 45 lliures |
| Dimensions del producte (P x A x A) | 28.3" x 28.3" x 6.3" |
| Nivell de soroll | 40 decibels |
| Tipus d'instal·lació | Top Mounted, Non-Ducted |
| Característiques especials | Energy saving, Fast Cooling, Inverter air conditioner, Remote Controlled, Sleep Mode |
| Color | Negre |
9. Garantia i Suport
For detailed warranty information and customer support, please refer to the manufacturer's official website or contact Outequip customer service directly. Keep your purchase receipt for warranty claims.


