1. Informació de seguretat
Please read all safety instructions carefully before installing and operating the AUTO-VOX Solar5 Wireless Backup Camera. Failure to follow these instructions may result in product damage, property damage, or personal injury.
- Instal·lació: Ensure the camera and monitor are securely mounted to prevent detachment during vehicle operation. Do not obstruct the driver's view o interferir amb els controls del vehicle.
- Font d'alimentació: Use only the provided power cable and connect to a compatible 12V vehicle power outlet.
- Resistència a l'aigua: The camera is designed for outdoor use and is waterproof. However, avoid submerging the camera in water or exposing it to high-pressure water jets.
- Temperatura: Operate and store the device within the specified temperature range to prevent damage.
- Neteja: Utilitzeu un suau, damp drap per netejar. Eviteu productes de neteja o dissolvents abrasius.
- Exempció de responsabilitat: This device is an aid for safe driving and parking. It does not replace the driver's responsibility to operate the vehicle safely and observe surroundings.
2. Contingut del paquet
Verifiqueu que tots els elements siguin presents al vostre paquet:
- AUTO-VOX Solar5 Wireless Backup Camera (with integrated solar panel)
- Monitor sense fil de 7.2 polzades
- Car Charger (for monitor power)
- Suport de muntatge per a monitor
- Magnetic Mounting Plate for Camera (for non-magnetic surfaces)
- Screws and Tools for Installation
- Manual d'usuari

Image: AUTO-VOX Solar5 Wireless Backup Camera and Monitor with accessories.
3. Producte acabatview
3.1. Components de la càmera
- Lent de la càmera: Captures the rear view.
- Panell solar: Carrega la bateria interna.
- Antena: For wireless signal transmission.
- Botó/indicador d'engegada: Turns the camera on/off and shows status.
- Base magnètica: Permet una fàcil fixació a superfícies metàl·liques.
3.2. Monitor Components
- Pantalla de visualització: Shows the camera feed.
- Antenes: For wireless signal reception.
- Botons de control: Per a la navegació pel menú i l'ajust de la configuració.
- Entrada d'alimentació: Connects to the car charger.
- Ranura de muntatge: For attaching the monitor to its bracket.
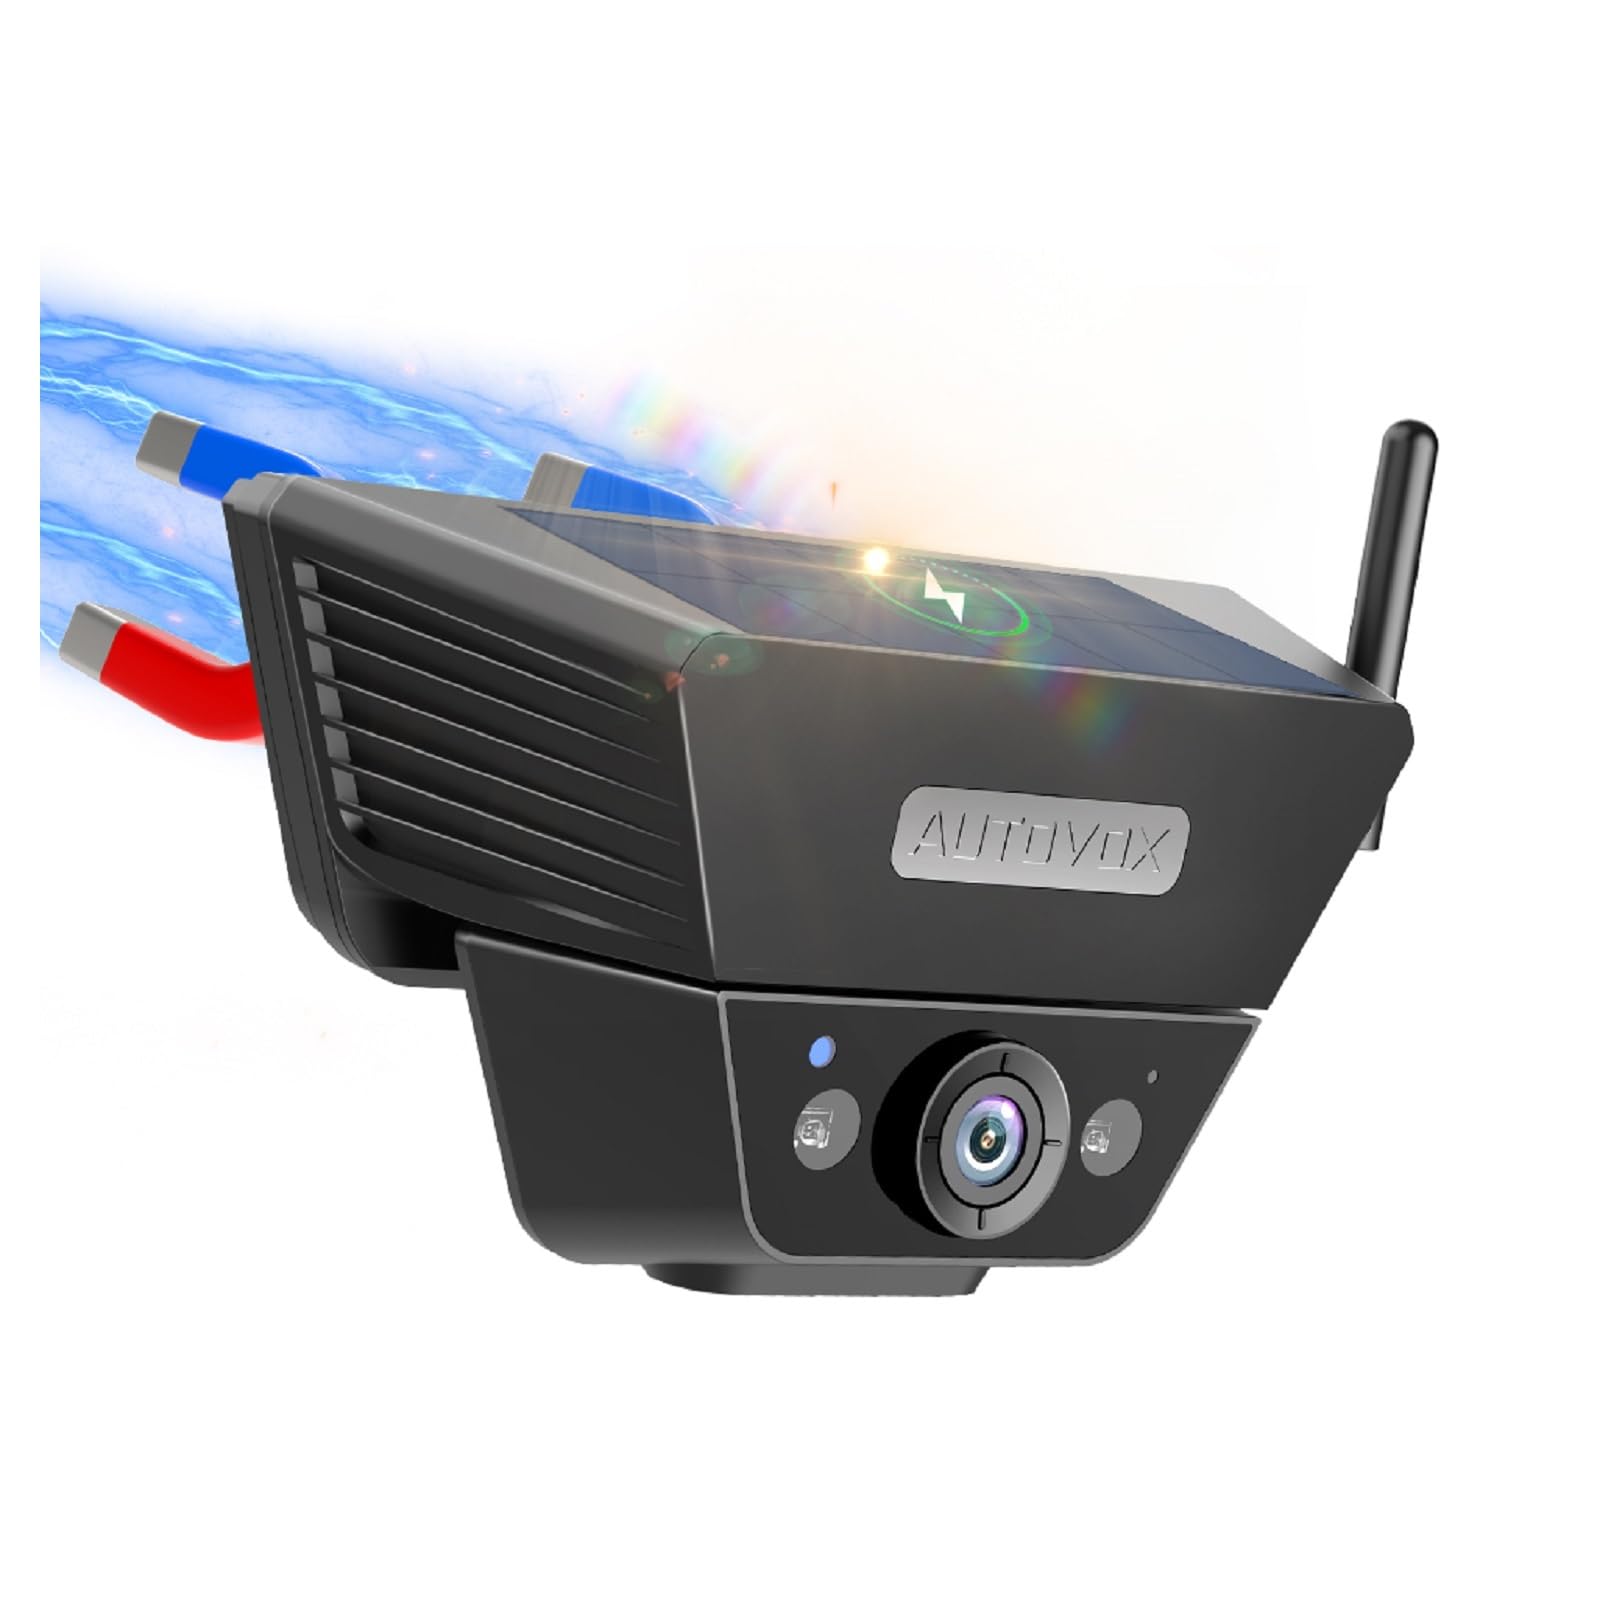
Image: The AUTO-VOX Solar5 wireless backup camera and its monitor, showcasing their design and key features.
4. Instal·lació
4.1. Instal·lació de la càmera
The Solar5 camera features a strong magnetic base for easy attachment to metal surfaces on your vehicle, such as the license plate area or the rear of a trailer. If your desired mounting location is not magnetic, use the provided magnetic mounting plate and screws to create a secure attachment point.
- Tria la ubicació: Select a suitable location at the rear of your vehicle that provides a clear view and does not obstruct the license plate or other essential components.
- Muntatge magnètic: If the surface is metal, simply place the camera onto it. The strong magnet will hold it in place.
- Non-Magnetic Mount (Optional): If the surface is not magnetic, attach the magnetic mounting plate using the provided screws. Then, attach the camera to this plate.
- Ajust d'angle: Adjust the camera's angle to achieve the desired viewla perspectiva.
- Encendre la càmera: Press and hold the power button on the camera for 3 seconds until the green indicator light illuminates.
Video: This video demonstrates the simple installation process of the AUTO-VOX Solar5 wireless backup camera, including magnetic attachment and angle adjustment.

Image: A blue car with the AUTO-VOX Solar5 camera mounted, illustrating its discreet and secure placement.
4.2. Instal·lació del monitor
The monitor can be easily mounted on your dashboard using the provided bracket.
- Fixeu el suport: Secure the mounting bracket to the back of the monitor.
- Tria la ubicació: Select a flat, stable surface on your dashboard that does not obstruct your view de la carretera.
- Secure Monitor: Peel off the protective film from the adhesive base of the bracket and firmly press it onto the dashboard. Lock the monitor into position.
- Connectar l'alimentació: Insert the car charger into your vehicle's 12V power outlet (cigarette lighter socket) and connect the other end to the monitor's power input.
- Power On Monitor: The monitor should automatically power on when the vehicle's ignition is turned on. If not, press the power button on the monitor.
Video: This video demonstrates the setup of the AUTO-VOX Solar5 monitor, including mounting on the dashboard and connecting to the car's power supply.
5. Instruccions de funcionament
5.1. Encendre/apagar
- Càmera: Press and hold the power button for 3 seconds to turn on or off. The green light indicates it's on.
- Monitor: The monitor typically powers on automatically with the vehicle's ignition. Press the power button briefly to turn the screen on/off manually.
5.2. Viewing the Camera Feed
- Once both the camera and monitor are powered on, the monitor will automatically display the live feed from the backup camera.
- When the vehicle is put into reverse gear, the monitor will prioritize the camera view.
5.3. Configuració del monitor
Use the buttons on the monitor to navigate the menu and adjust settings such as brightness, contrast, and parking guidelines.
- Botó de menú: Accediu al menú principal de configuració.
- Botons amunt / avall: Navegueu per les opcions del menú o ajusteu els valors.
- Botó D'acord/Seleccionar: Confirmeu les seleccions.
- Pautes d'aparcament: Enable or disable parking lines, and adjust their position or width if supported by the model.
6. Manteniment
- Lent de la càmera: Regularly clean the camera lens with a soft, lint-free cloth to ensure a clear image. Avoid scratching the lens.
- Panell solar: Keep the solar panel clean and free from dirt, dust, or snow to maximize charging efficiency.
- Pantalla del monitor: Clean the monitor screen with a soft, dry cloth. Do not use harsh chemicals.
- Càrrega de la bateria: While the camera is solar-powered, occasional direct charging via USB may be necessary during prolonged periods of low sunlight or heavy use.
- Muntatge segur: Periodically check that both the camera and monitor are securely mounted and that all cables are properly connected.
7. Solució De Problemes
| Problema | Causa possible | Solució |
|---|---|---|
| No hi ha imatge al monitor | Camera or monitor not powered on; poor wireless connection; damaged cable. | Ensure both camera and monitor are powered on. Check all cable connections. Re-pair the camera and monitor if necessary (refer to pairing instructions in full manual). Move closer if range is an issue. |
| La imatge és borrosa o distorsionada | Dirty camera lens; condensation; interference. | Clean the camera lens. Allow time for condensation to clear. Check for sources of electromagnetic interference. |
| Camera battery drains quickly | Insufficient sunlight for solar charging; frequent use in low-light conditions. | Ensure solar panel is clean and exposed to direct sunlight. Charge the camera directly via USB if needed. |
| Monitor not turning on automatically | Car charger not receiving power; faulty connection. | Check the vehicle's 12V power outlet. Ensure the car charger is fully inserted and functional. |
8. Especificacions
- Model: Solar5
- Marca: AUTO VOX
- Connectivitat: Sense fil
- Característiques de la càmera: Solar power, strong magnetic mount, night vision, waterproof
- Mida del monitor: 7.2 polzades (pantalla)
- Entrada d'alimentació: 12V (for monitor)
- Bateria: Rechargeable (for camera)
- Camp de View: 180 graus
- Entorn d'ús: A l'aire lliure
- Components inclosos: Backup camera cam7
9. Garantia i Suport
The AUTO-VOX Solar5 Wireless Backup Camera comes with an 18 mesos de garantia des de la data de compra. Aquesta garantia cobreix defectes de fabricació i avaries en condicions d'ús normal.
For technical support, warranty claims, or any questions regarding your product, please contact AUTO-VOX customer service:
- Weblloc: www.auto-vox.com
- Correu electrònic: Refer to your product packaging or the official AUTO-VOX weblloc web per obtenir l'adreça electrònica d'assistència més actualitzada.
Please have your purchase receipt and product model number (Solar5) ready when contacting support.

Image: An illustration representing customer support, encouraging users to reach out for assistance.