
1. Producte acabatview
The Dpofirs Small Portable Video Projector is a compact and versatile device designed for various entertainment and presentation needs. With its small footprint, it is easy to transport and set up, offering a projection size ranging from 14 to 100 inches. It supports a resolution of 1920 x 1080p and features 100Ansi 6000lm brightness, manual focus, and built-in stereo speakers.
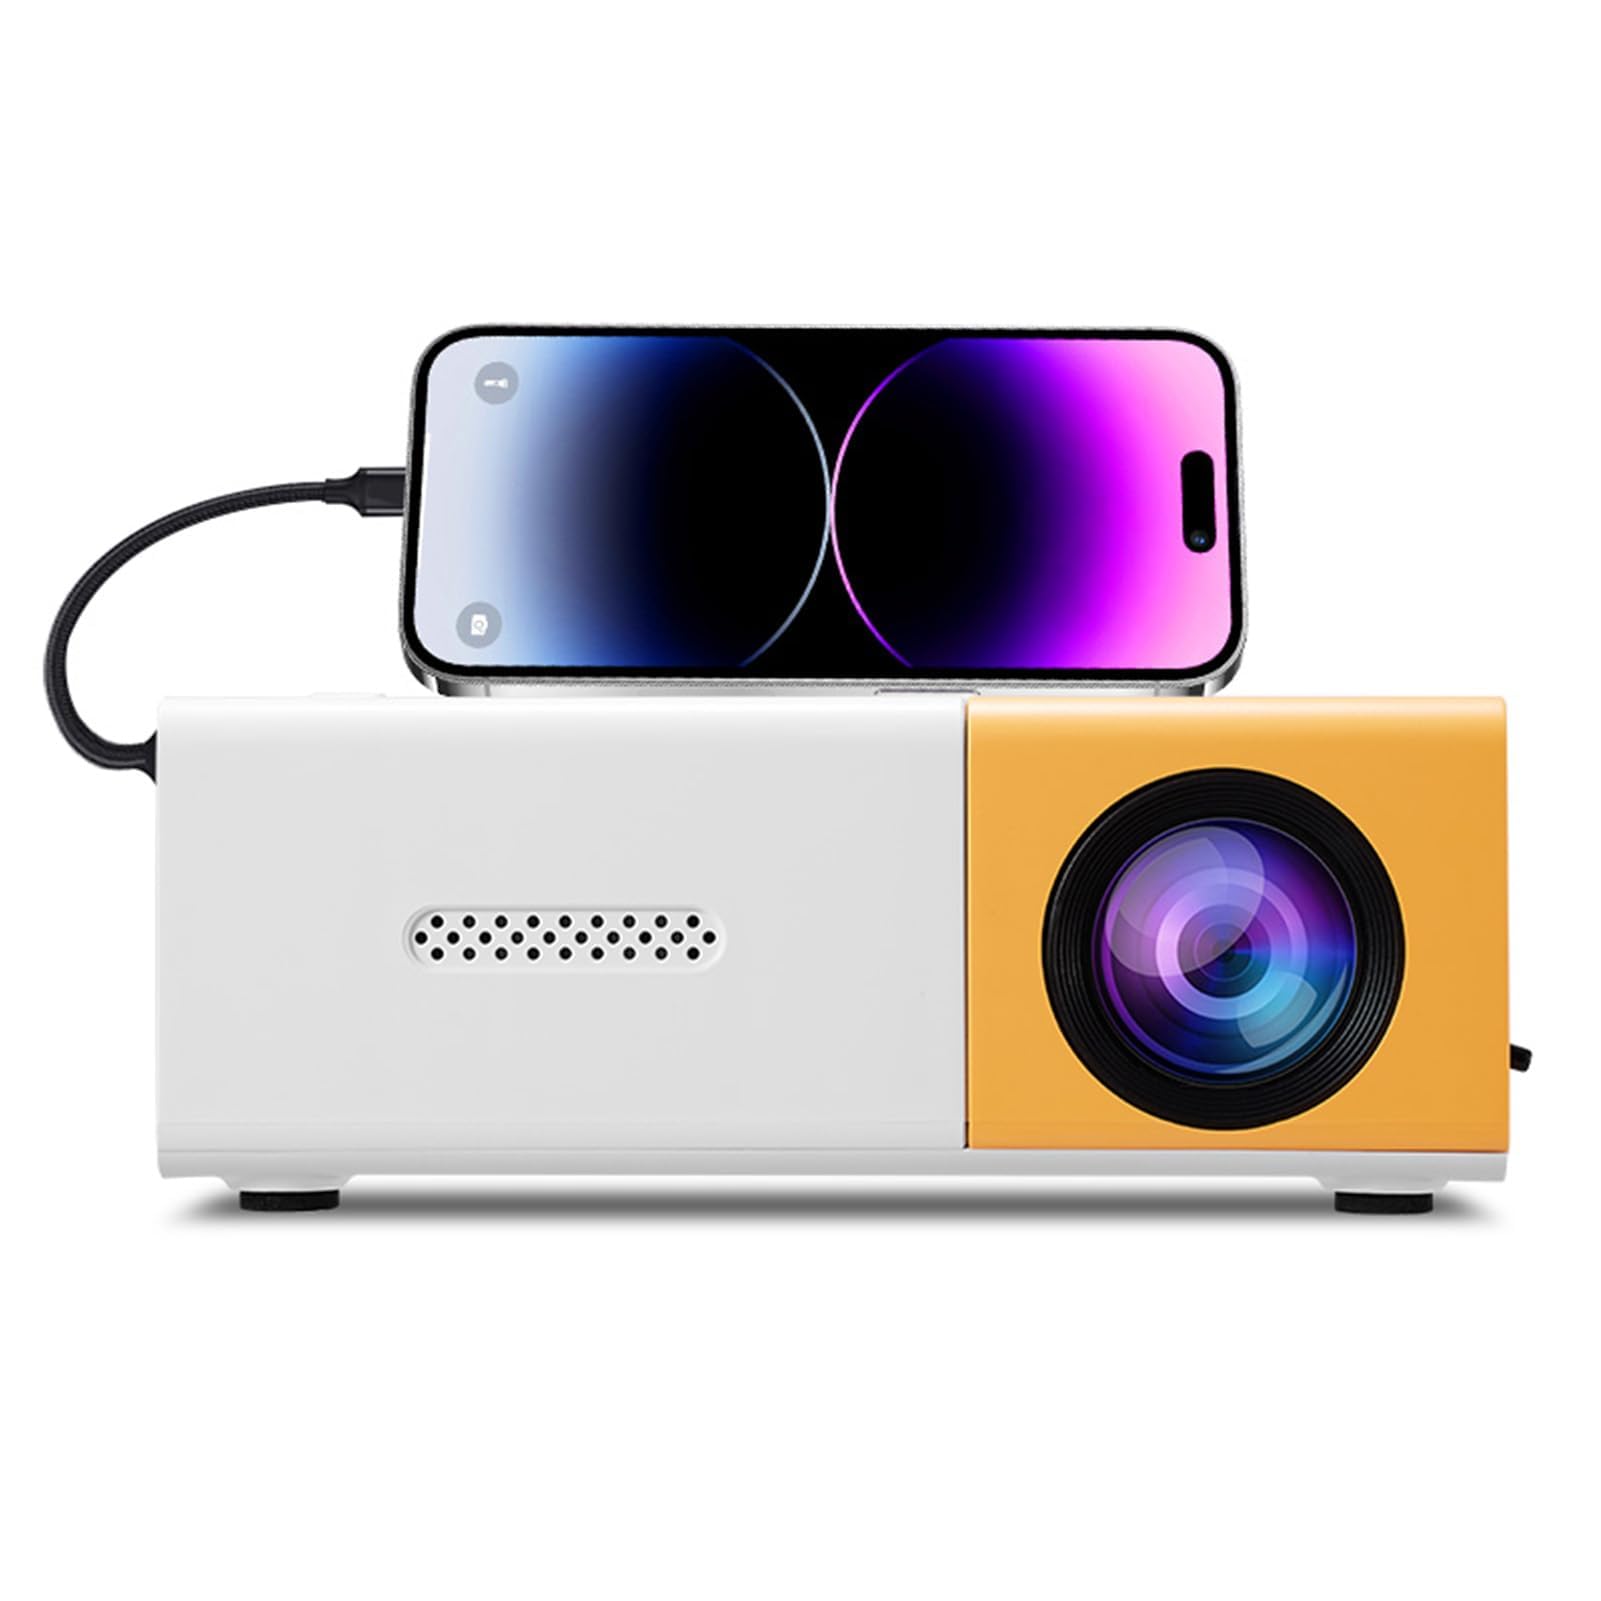
Image 1.1: The Dpofirs Small Portable Video Projector, showcasing el seu disseny compacte.

Image 1.2: The projector held in a hand, illustrating its compact and portable dimensions (5 x 3.4 x 1.9 inches).
2. Informació de seguretat
- Read all instructions before using the projector.
- No mireu directament a la lent del projector quan estigui encès.amp està activat.
- Mantingueu el projector allunyat de l'aigua o altres líquids.
- Assegureu-vos una ventilació adequada per evitar el sobreescalfament. No obstruïu les obertures de ventilació.
- Use only the power adapter specified for this device (Type C, 5V 2A).
- No intenteu desmuntar ni reparar el projector vosaltres mateixos. Poseu-vos en contacte amb personal de servei qualificat.
- Mantenir fora de l'abast dels nens.
3. Contingut del paquet
Si us plau, comproveu el contingut del paquet en desembalar-lo. Si falta algun article o hi ha algun dany, poseu-vos en contacte amb el vostre distribuïdor.
- Dpofirs Small Portable Video Projector
- Control remot
- Cable d'alimentació (USB tipus C)
- Manual d'usuari
4. Product Display and Controls
4.1 Projector Ports and Buttons

Imatge 4.1: Davant i darrere view of the projector with labeled ports and control buttons.
- Botó d'engegada / apagada: Situat al panell superior.
- Left Click / Right Click / OK Buttons: Navigation buttons on the top panel.
- Signal Source Button: Per seleccionar la font d'entrada.
- Botó de retorn: Per tornar als menús.
- Interfície AV: For analog audio/video input.
- Micro USB (5V 2A) Power Interface: Per connectar el cable d'alimentació.
- Interfície USB: For connecting USB devices (e.g., flash drives).
- Font d'alimentació de CC: (Note: Description mentions Type C, image shows DC. Use Type C as per description).
- High Definition Interface (HDMI): For connecting devices via HDMI.
4.2 Funcions de control remot

Image 4.2: Layout of the remote control with labeled buttons.
- Open Key (Power): Encén o apaga el projector.
- Source Key: Selecciona la font d'entrada.
- Silenciar: Silencia o activa l'àudio.
- Directional Keys (Up, Down, Left, Right): Navega pels menús.
- Botó D'acord: Confirma les seleccions.
- Volume Down / Volume Increase: Ajusta el volum de l'àudio.
- Clau de configuració: Accesses the projector settings menu.
- Clau de retorn: Torna al menú anterior.
- Tecla de menú: Obre el menú principal.
5. Guia de configuració
5.1 Connexió d'alimentació
- Connect the provided USB Type-C power cable to the Micro USB (5V 2A) Power Interface on the projector.
- Connect the other end of the cable to a compatible 5V 2A power adapter (not always included) or a power bank.

Image 5.1: The projector can be powered by a power bank (5V 2A minimum) for portable use.
5.2 Placement and Projection Size
Position the projector on a stable, flat surface. The projection distance determines the screen size. The projector can project images from 14 to 100 inches diagonally.
- Per a un òptim viewing experience, a playback size of 20-60 inches is recommended.
- This corresponds to a projection distance of approximately 0.8m to 1.6m.

Image 5.2: Recommended projection distances for various screen sizes (e.g., 0.8m for 24 inches, 1.6m for 47 inches).

Image 5.3: The projector can achieve large screen sizes up to 100 inches, with examples shown for 24, 35, 47, and 152 inches (note: 152 inches may exceed stated maximum of 100 inches).
5.3 Ajust del focus
The projector features manual focus. Before turning on the projector or if the image appears blurry:
- Locate the focus ring or knob near the lens.
- Rotate the focus ring until the projected image becomes clear and sharp.
5.4 Correcció Keystone
The projector supports automatic vertical keystone correction. If the image appears trapezoidal (wider at the top or bottom):
- The projector automatically corrects vertical distortion (up and down).
- For side projection or horizontal correction, access the settings menu to make manual adjustments.
6. Instruccions de funcionament
6.1 Encès/Apagat
- Per encendre: Press the Power On/Off button on the projector or the 'Open Key' on the remote control.
- Per apagar: Press the Power On/Off button on the projector or the 'Open Key' on the remote control again.
6.2 Selecció de la font d'entrada
El projector admet diverses fonts d'entrada:
- HDMI: Connect laptops, gaming consoles, streaming sticks, etc., via the High Definition Interface.
- USB: Connect USB flash drives to play media files directament.
- DE: Connect older devices using the AV interface.
- Replica de pantalla: Supports wired and wireless screen mirroring for Android devices.
To select an input source, press the 'Signal Source' button on the projector or the 'Source Key' on the remote control and navigate to your desired input.
6.3 Navegació i configuració
- Use the directional keys (Up, Down, Left, Right) on the projector or remote to navigate through menus.
- Premeu el botó "D'acord" per confirmar les seleccions.
- Press the 'Return' button to go back to the previous screen or menu.
- Press the 'Settings Key' on the remote to access advanced projector settings, including picture, sound, and system options.
6.4 Control de volum
Adjust the audio volume using the 'Volume Down' and 'Volume Increase' buttons on the remote control.
6.5 Escenaris d'aplicació
The projector is suitable for a variety of uses:
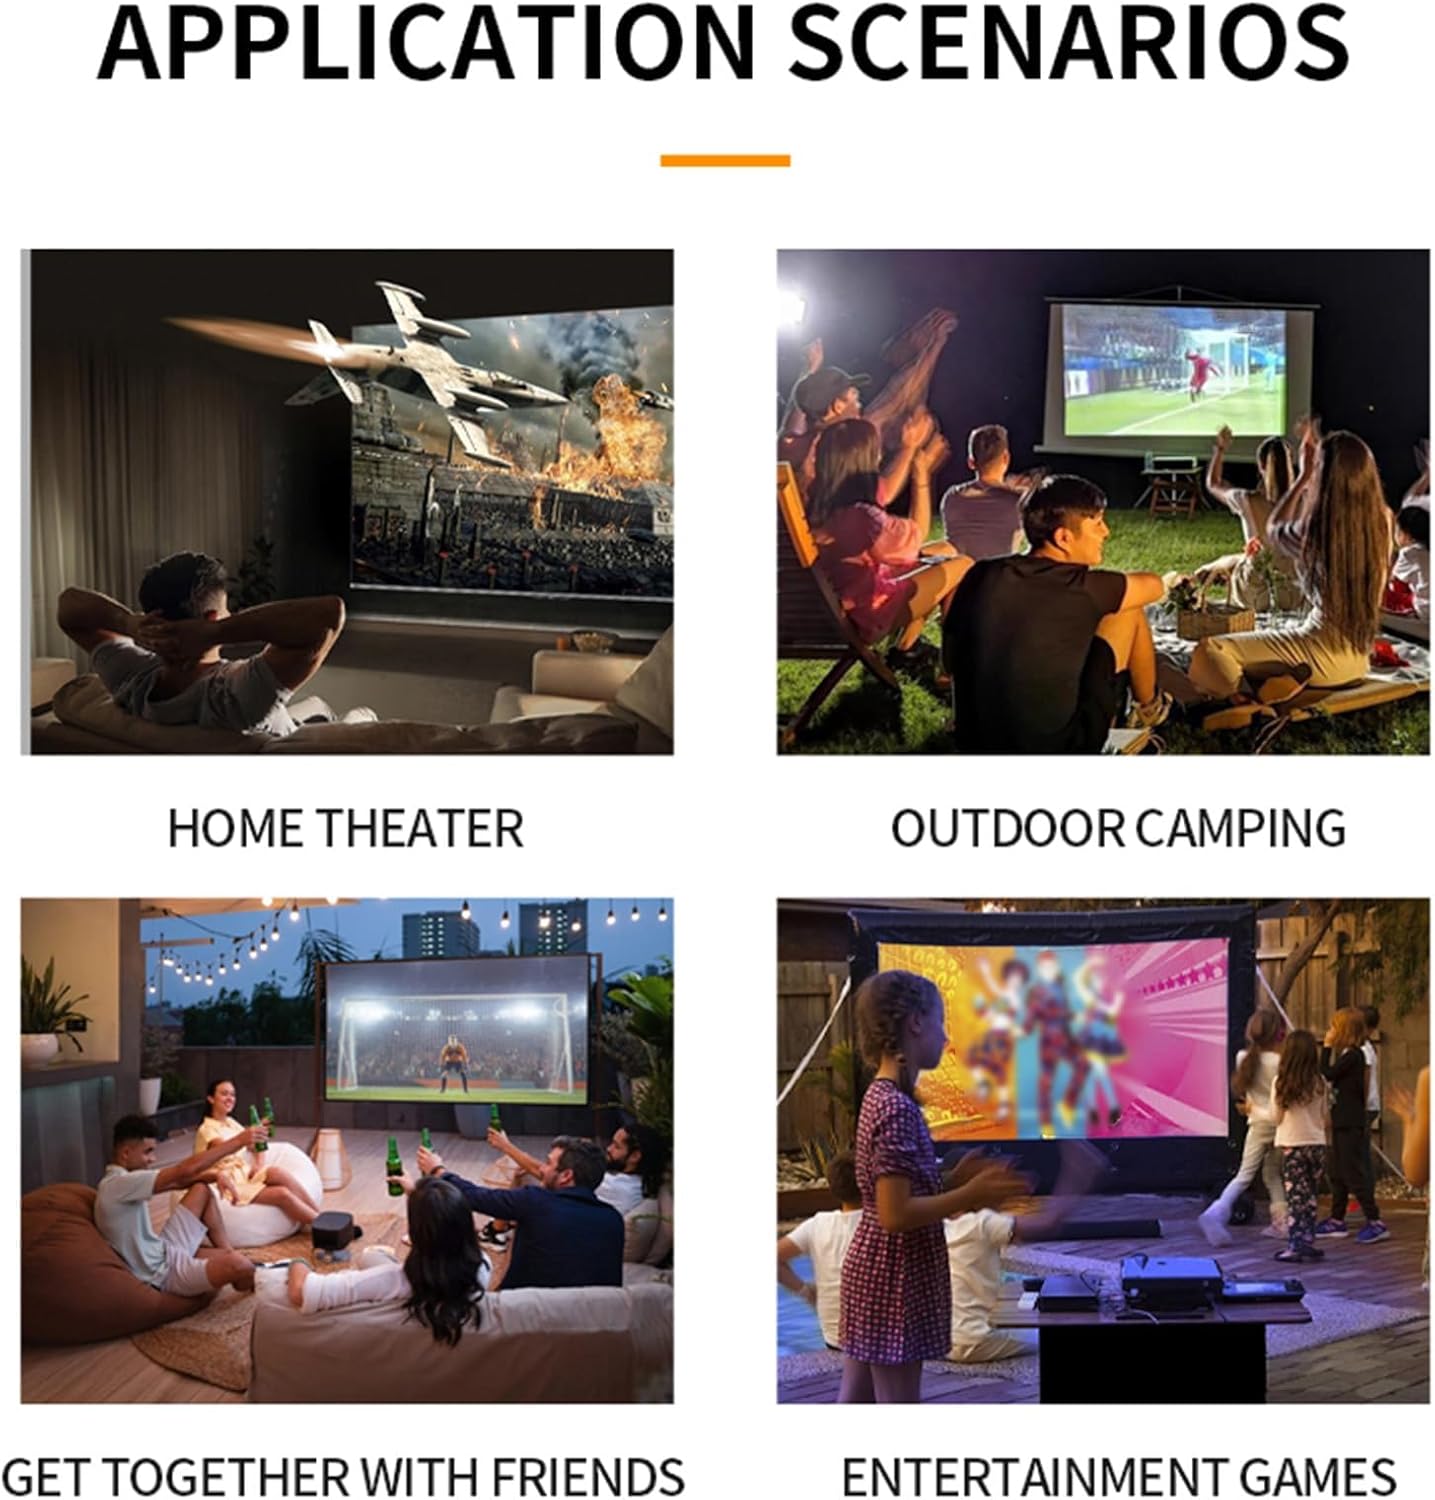
Imatge 6.1: Ex.amples of projector use in various settings including home theater, outdoor camping, social gatherings, and gaming.
- Teatre a casa: Enjoy movies and TV shows on a large screen.
- C exterioramping: Portable design allows for outdoor entertainment.
- Get-togethers with Friends: Share content or play games with a group.
- Entertainment Games: Connecta consoles de jocs per a una experiència immersiva.
7. Manteniment
- Neteja de la lent: Feu servir un drap suau i sense borrissol dissenyat específicament per a lents òptiques. No utilitzeu productes de neteja ni draps abrasius.
- Neteja de la Casing: Netegeu l'exterior del projector amb un drap suau i sec. Per a la brutícia resistent, utilitzeu un drap lleugerament sec.amp un drap i després assecar-lo bé.
- Ventilació: Ensure the ventilation openings are clear of dust and debris to maintain optimal cooling. Use a soft brush or compressed air to gently clean them.
- Emmagatzematge: Quan no l'utilitzeu durant períodes prolongats, guardeu el projector en un lloc fresc i sec, allunyat de la llum solar directa i de temperatures extremes.
8. Solució De Problemes
8.1 No Image or Poor Image Quality
- Comproveu la potència: Assegureu-vos que el projector estigui correctament connectat a l'alimentació i encès.
- Font d'entrada: Verify that the correct input source (HDMI, USB, AV) is selected.
- Ajust del focus: Manually adjust the focus ring until the image is clear.
- Correcció Keystone: Adjust keystone settings if the image is distorted.
- Connexió per cable: Ensure all video cables are securely connected. Try a different cable if possible.
- Device Output: Check the output settings of your connected device (laptop, smartphone) to ensure it's sending a signal to the projector.
8.2 Sense so
- Nivell de volum: Augmenta el volum tant del projector com del dispositiu font connectat.
- Funció de silenci: Ensure the projector is not muted (check remote control).
- Sortida d'àudio: If using an external audio system, ensure it is properly connected and selected as the output.
- Àudio font: Verify that the source device is playing audio.
8.3 El comandament a distància no funciona
- Bateries: Substituïu les piles del comandament a distància.
- Línia de visió: Assegureu-vos que hi hagi una línia de visió clara entre el comandament a distància i el receptor d'infrarojos del projector.
9. Especificacions
| Característica | Especificació |
|---|---|
| Número de model | Dpofirseikmp1t75y |
| Tipus d'element | LED Film Projector |
| Resolució nativa | 320 x 240 píxels |
| Resolució de suport | Up to 1920 x 1080 (1080p) 60Hz |
| Brillantor | 100 Ansi / 6000 Lumens |
| Relació de contrast | 10000:1 |
| Focus | Manual |
| Correcció | Trapezoid Correction (Auto vertical, manual side via settings) |
| Altaveu | Built-in box speaker 4Ω 2W |
| Interfície d'alimentació | Tipus C (5V 2A) |
| Ports d'entrada | 1x HD Multimedia Interface, 1x USB Port, 1x AV Interface |
| Port de sortida | Conector d'auriculars de 3.5 mm |
| Mida de projecció | De 14 a 100 polzades |
| Optimal Playback Size | 20-60 polzades |
| Optimal Playback Distance | 0.8 m a 1.6 m |
| Dimensions | 5 x 3.4 x 1.9 polzades (12.6 x 8.58 x 4.77 cm) |
| Pes de l'article | 12.9 unces (aprox. 365 g) |
| Sistema de refrigeració | Innovative cooling fan system (80% noise reduction) |
10. Garantia i Suport
For warranty information, please refer to the warranty card included with your purchase or contact your retailer. Dpofirs is committed to providing quality products and customer support.
If you encounter any issues or have questions regarding your Dpofirs Small Portable Video Projector, please contact Dpofirs customer support through the retailer's platform or the official Dpofirs weblloc d'assistència.