
PUTORSEN FPT09-C036P-49B
PUTORSEN Triple Monitor Mount Instruction Manual
Model: FPT09-C036P-49B
Marca: PUTORSEN
1. Introducció
This manual provides detailed instructions for the assembly, operation, and maintenance of your PUTORSEN Triple Monitor Mount. Designed for heavy-duty use, this mount supports up to three monitors, each up to 49 inches and weighing up to 44 lbs (20 kg), including ultrawide and curved screens. Its ergonomic design and robust construction aim to optimize your workspace and enhance your viewexperiència.

Image 1: PUTORSEN Triple Monitor Mount supporting three large monitors.
2. Contingut del paquet
Please verify that all components are present before beginning assembly. Refer to the diagram below for identification.
Imatge 2: Desplegada view of the monitor mount components.
- Muntatge del pal principal
- Gas Spring Arms (3 units)
- Plaques VESA (3 unitats)
- C-Clamp Maquinari de muntatge
- Grommet Base Mounting Hardware
- Clips de gestió de cables
- Hex Keys and Screws (various sizes)
- Manual d'instruccions
3. Configuració i instal·lació
3.1 Trieu la vostra opció de muntatge
El suport ofereix dos mètodes d'instal·lació: C-clamp or Grommet base. Select the option best suited for your desk.
- C-Clamp: Suitable for desk thicknesses between 0.4 inches (10mm) and 1.8 inches (45mm).
- Grommet Base: Suitable for desk thicknesses between 0.4 inches (10mm) and 1.6 inches (40mm), with a hole diameter between 0.39 inches (10mm) and 2.4 inches (60mm).
3.2 Assemble the Pole and Arms
- Secure the chosen desk clamp or grommet base to your desk. Ensure it is tightened firmly for stability.
- Thread the main pole onto the secured base and tighten the set screw.
- Slide the shaft collars onto the pole and tighten them with the handle to secure.
- Attach the arm extensions to the main pole, ensuring all set screws are tightened.
- Slide the center VESA plate onto the pole and secure it with its set screw.
3.3 Attach Monitors
- Rotate the VESA plates on the arms so they are facing straight, then rotate them so the open holes are on top.
- Secure two screws into the top holes of your monitor's VESA mounting points.
- Hang the monitor onto the VESA plate via the top screws, then secure the monitor using the remaining screws. Repeat for all monitors.
3.4 Ajust de la tensió de la molla de gas
After mounting your monitors, adjust the gas spring tension to match the weight of your monitors. This ensures smooth and stable movement.
- Use the provided hex key to adjust the tension screw on each gas spring arm.
- Gira en sentit horari a disminuir support (for lighter monitors).
- Gira en sentit antihorari a augmentar support (for heavier monitors).
- Adjust until the monitor stays in position when released.
3.5 Gestió de cables
Route all monitor cables through the integrated cable management channels on each arm and along the main pole to maintain a tidy workspace.
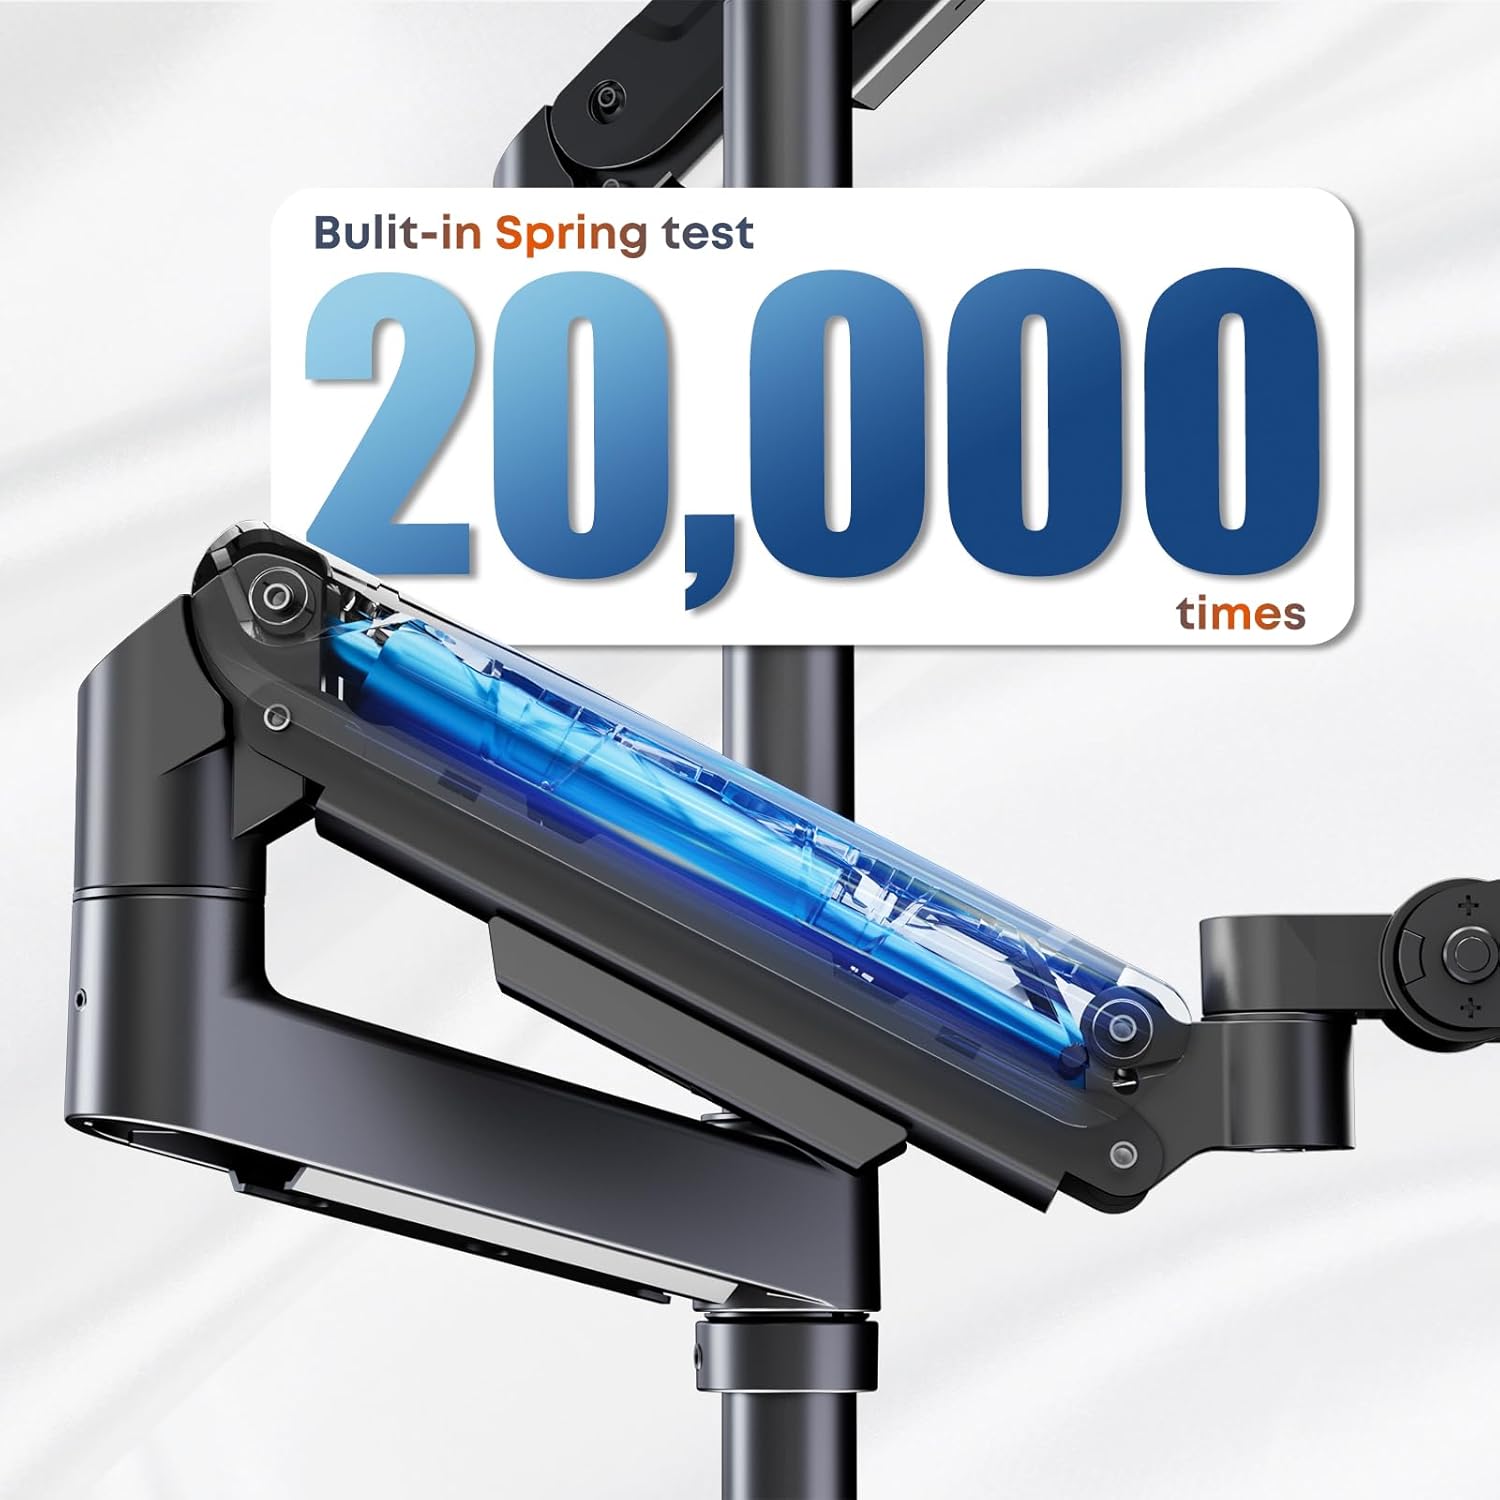
Image 3: Integrated cable management keeps your desk clutter-free.
3.6 Vídeos d'instal·lació
For visual guidance, please refer to the following installation videos:
Video 1: VIVO STAND-V300G Assembly Guide. This video demonstrates the assembly process for a triple monitor desk mount, including securing the clamp, attaching arms, and VESA plates.
Video 2: MOUNT PRO Triple Monitor Mount Installation. This video provides a step-by-step guide on how to install a triple monitor mount, covering various assembly stages.
4. Instruccions de funcionament
The PUTORSEN Triple Monitor Mount offers extensive adjustability for optimal ergonomic positioning.
- Ajust d'alçada: Use the gas spring arms to effortlessly raise or lower your monitors to your desired eye level.
- Inclinació: Adjust the monitor screen angle +50° to -20° to reduce glare and optimize viewing.
- Girar: Pivot your monitors 180° left or right to share your screen or change viewangles d'ajust.
- Rotació: Rotate your monitors 360° for portrait or landscape orientation.

Image 4: Visual guide to monitor tilt, swivel, and rotation capabilities.
4.1 Flexible Configurations
The independent gas-spring arms allow for various monitor layouts, including side-by-side, staggered, mixed-size, or portrait/landscape orientations, catering to multitaskers, designers, streamers, and gamers.

Image 5: Multiple setup options for enhanced productivity.
5. Manteniment
Per garantir la longevitat i el rendiment òptim del suport del monitor, seguiu aquestes pautes de manteniment:
- Neteja regular: Netegeu la muntura amb un drap suauamp cloth to remove dust and debris. Avoid harsh chemicals that may damage the finish.
- Comproveu les connexions: Periodically inspect all screws and bolts to ensure they remain tight. Re-tighten if necessary to maintain stability.
- Gas Spring Functionality: If you notice any changes in the gas spring's ability to hold the monitor, re-adjust the tension as described in Section 3.4.
6. Solució De Problemes
If you encounter issues with your monitor mount, refer to the following common problems and solutions:
- Monitor Sags or Does Not Stay in Position:
- The gas spring tension is too low for the monitor's weight. Increase the gas spring tension by turning the adjustment screw counter-clockwise (refer to Section 3.4).
- Monitor is Difficult to Move or Stays Too High:
- The gas spring tension is too high for the monitor's weight. Decrease the gas spring tension by turning the adjustment screw clockwise (refer to Section 3.4).
- Mount Feels Unstable or Wobbles:
- Assegureu-vos que el C-clamp or grommet base is securely tightened to the desk.
- Verify that all screws connecting the arms and VESA plates are firmly tightened.
- Cables are Not Neatly Organized:
- Re-route cables through the integrated cable management channels and use the provided clips (refer to Section 3.5).
7. Especificacions
| Característica | Detall |
|---|---|
| Número de model | FPT09-C036P-49B |
| Mida de pantalla compatible | 17"-49" (per monitor) |
| Capacitat de pes | Fins a 20 kg per braç |
| Compatibilitat VESA | 75x75mm, 100x100mm |
| Angle d'inclinació | +50° a -20° |
| Angle de gir | 180° |
| Angle de rotació | 360° |
| Opcions de muntatge | C-Clamp, Base d'orella |
| C-Clamp Gruix de l'escriptori | 0.4"-1.8" (10mm-45mm) |
| Gruix de la base de l'escriptori amb ullets | 0.4"-1.6" (10mm-40mm) |
| Grommet Base Hole Diameter | 0.39"-2.4" (10mm-60mm) |
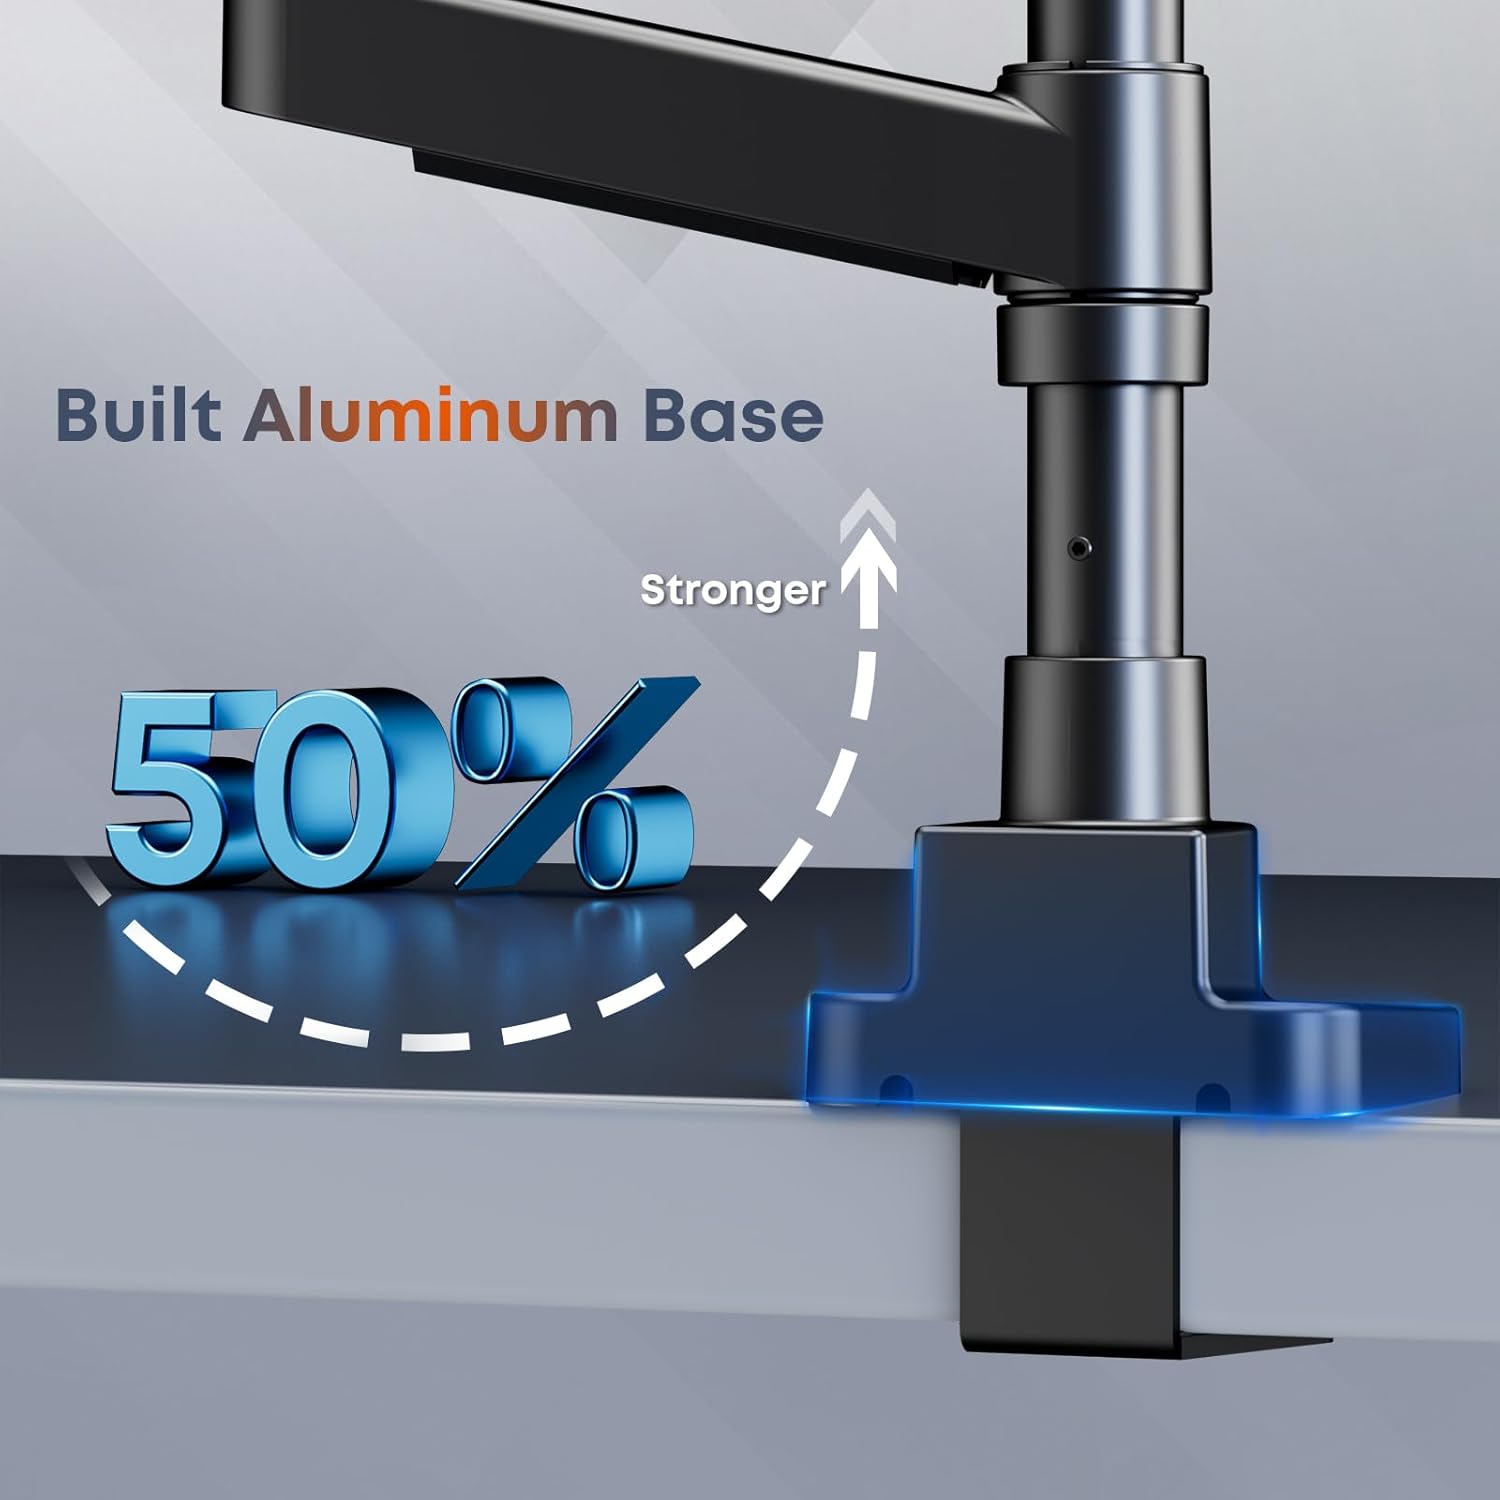
| Material | Acer d'aliatge, alumini |
| Color | Negre |
8. Garantia i Suport
For any questions, concerns, or assistance with your PUTORSEN Triple Monitor Mount, please contact our customer support team. We offer responsive 24-hour customer support to ensure a hassle-free experience.
Please retain your proof of purchase for warranty claims. Specific warranty details may vary; refer to your product packaging or contact customer support for more information.
Documents relacionatsFPT09-C036P-49B

Ask a question about this manual
Ask about setup, troubleshooting, compatibility, parts, safety, or missing instructions. Manuals+ will review the question and use this page’s manual context to help answer it.