1. Producte acabatview
This replacement carburetor is designed to provide optimal fuel delivery and engine performance for compatible Craftsman snow thrower models. It is a crucial component of the engine's fuel system, mixing air and fuel in the correct proportions for combustion.
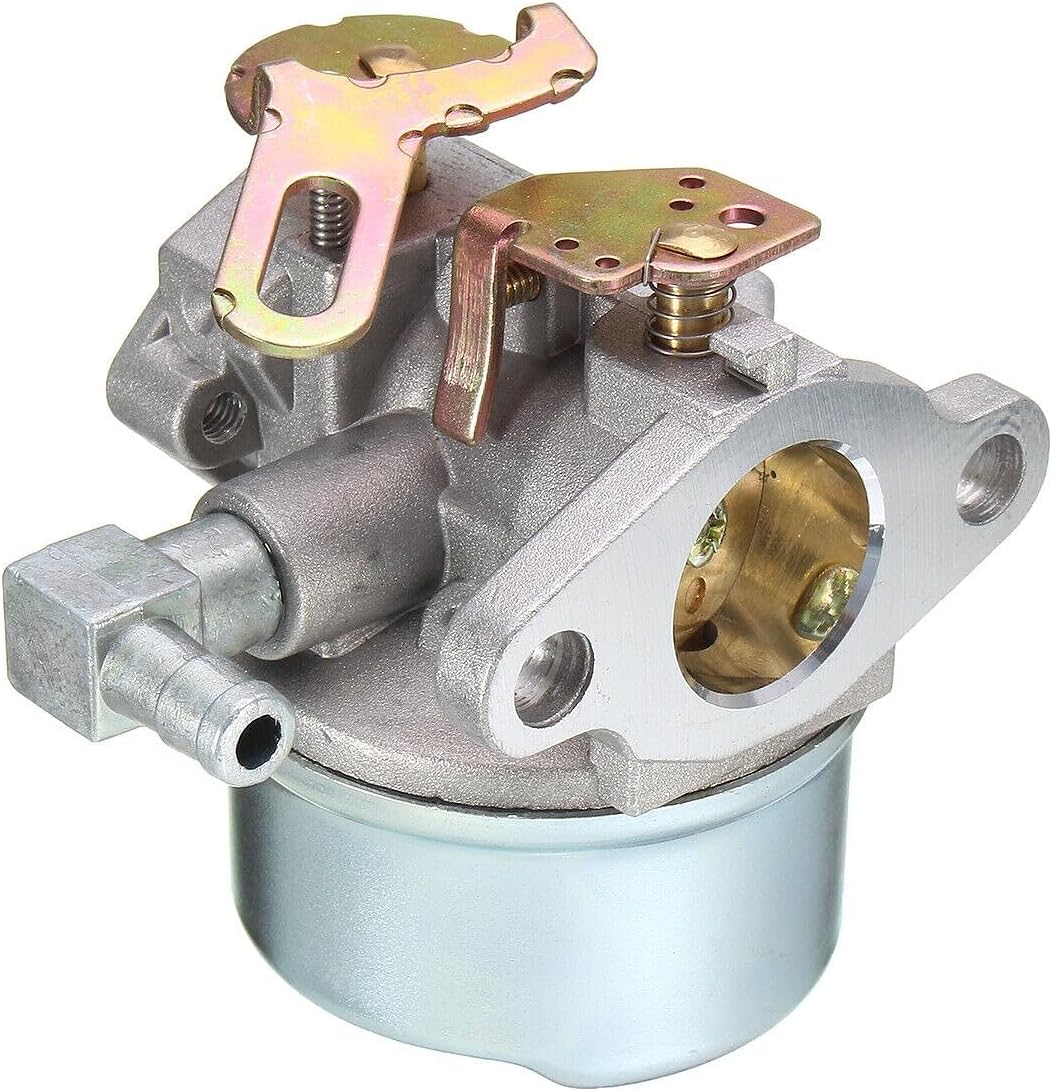
Figura 1: Frontal esquerre view of the carburetor, highlighting the throttle linkage and fuel inlet connection.
1.1 Compatibilitat
This carburetor is specifically designed as a direct replacement for the following Craftsman 5/23 Trac Drive Snow Thrower models:
- Artesà 536.884810
- Artesà 536.884811
Please verify your snow thrower's model number before proceeding with installation.
2. Informació de seguretat
Always prioritize safety when working with fuel systems and power equipment. Failure to follow these safety guidelines may result in serious injury or property damage.
- Read the Snow Thrower Manual: Consult your snow thrower's original instruction manual for specific safety procedures and warnings.
- Protecció ocular: Always wear safety glasses or goggles to protect your eyes from fuel splashes or debris.
- Guants: Wear appropriate gloves to protect your hands from fuel and sharp edges.
- Ventilació: Treballeu en una zona ben ventilada per evitar la inhalació de fums de combustible.
- Perill d'incendi: Keep open flames, sparks, and other ignition sources away from the work area. Fuel is highly flammable.
- Engine Off & Cool: Ensure the snow thrower engine is completely off and cool before beginning any work. Disconnect the spark plug wire to prevent accidental starting.
- Drenatge de combustible: Drain all fuel from the tank and fuel lines into an approved container before removing the old carburetor.
3. Contingut del paquet
El vostre paquet ha de contenir els elements següents:
- 1x Carburetor Assembly
- Gaskets (as pictured, may vary slightly)
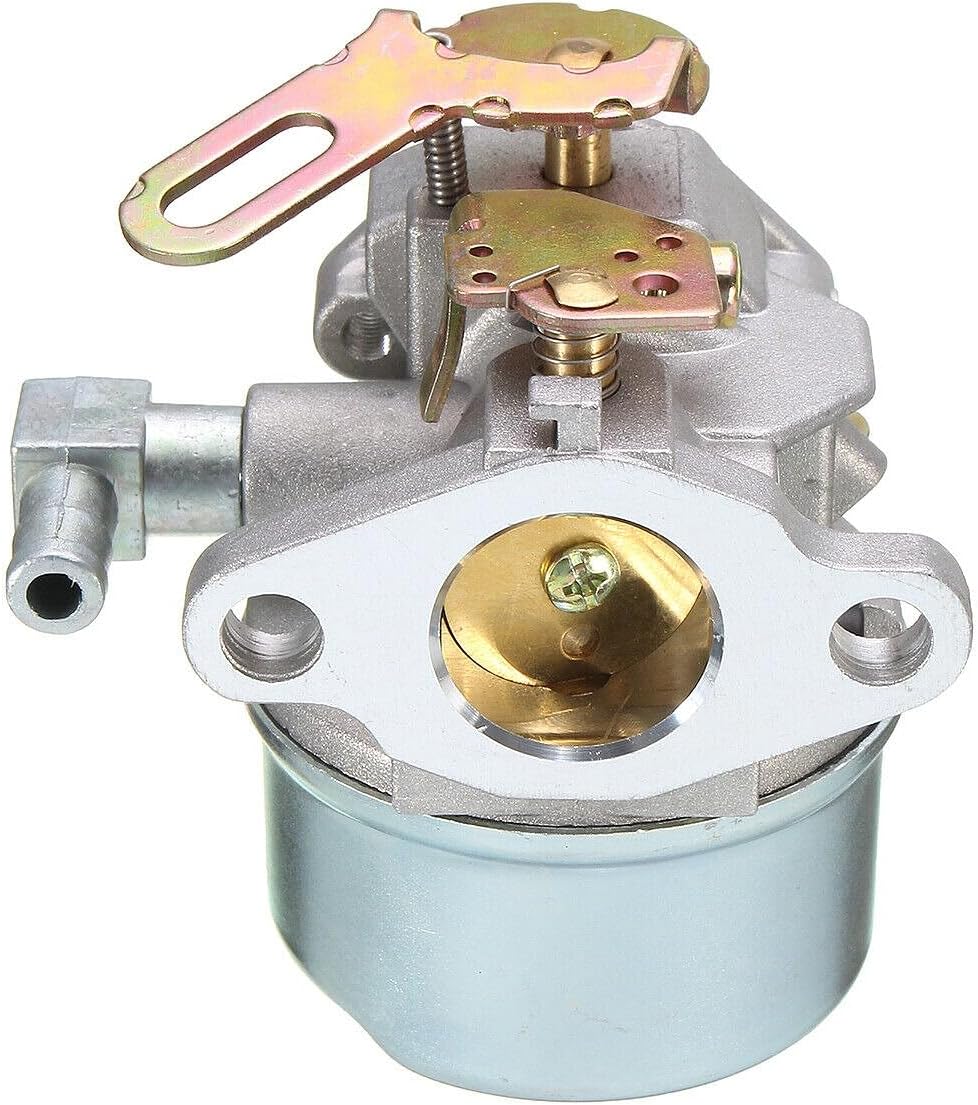
Figura 2: Frontal view of the carburetor, illustrating the air intake opening and mounting bolt locations.
4. Guia d'instal·lació
4.1 Abans de començar
- Gather necessary tools: Wrenches, screwdrivers, pliers, fuel line clamps, and a suitable container for draining fuel.
- Ensure the engine is cold and the spark plug wire is disconnected.
- Locate the carburetor on your snow thrower engine. It is typically mounted between the air filter housing and the engine intake manifold.
4.2 Removal of Old Carburetor
- Drenar combustible: Place the fuel drain container under the fuel tank and open the fuel valve or disconnect the fuel line to drain all fuel.
- Desconnecteu la línia de combustible: Carefully disconnect the fuel line from the old carburetor. Be prepared for residual fuel to spill.
- Desconnectar enllaços: Disconnect any throttle and choke linkages or springs attached to the carburetor. Take photos or make notes to remember their positions.
- Treure els cargols de muntatge: Unscrew the bolts or nuts that secure the carburetor to the engine intake manifold and air filter housing.
- Treure el carburador: Carefully remove the old carburetor and any old gaskets.
4.3 Installation of New Carburetor
- Superfícies de muntatge netes: Ensure all mounting surfaces on the engine and air filter housing are clean and free of old gasket material.
- Instal·leu juntes noves: Place the new gaskets in their correct positions. Refer to your snow thrower's service manual for the exact gasket order if unsure.
- Mount Carburetor: Carefully position the new carburetor onto the mounting studs or bolts.
- Carburador segur: Install and tighten the mounting bolts or nuts. Do not overtighten, as this can damage the carburetor or gaskets.
- Connect Linkages: Reattach the throttle and choke linkages and springs to the new carburetor. Refer to your notes or photos taken during removal.
- Connect Fuel Line: Reconnect the fuel line to the carburetor's fuel inlet. Ensure a secure connection to prevent leaks.

Figura 3: Part posterior dreta view of the carburetor, detailing the fuel inlet port and the choke mechanism.

Figure 4: Top-down perspective of the carburetor, illustrating the mounting holes and the throttle plate within the bore.
5. Funcionament
After installing the new carburetor, follow these steps to prepare your snow thrower for operation:
- Refill Fuel Tank: Fill the snow thrower's fuel tank with fresh, clean gasoline. Use fuel stabilizer if recommended by your snow thrower's manufacturer.
- Comproveu si hi ha fuites: Visually inspect all fuel line connections for any signs of leaks. Address any leaks immediately.
- Torneu a connectar la bugia: Torneu a connectar el cable de la bugia.
- Prime Engine (if applicable): If your snow thrower has a primer bulb, press it several times until fuel is visible in the bulb or fuel lines.
- Arrancar el motor: Follow your snow thrower's specific starting procedure (e.g., set choke, throttle, pull starter cord or use electric start). The engine may require a few extra pulls or attempts to start as the fuel system primes itself.
- Ajustaments: Once the engine is running, allow it to warm up. If necessary, minor idle speed adjustments may be made according to your snow thrower's service manual.
6. Manteniment
Proper maintenance of your carburetor ensures reliable performance and extends its lifespan. While this is a replacement part, general carburetor care applies.
- Use Fresh Fuel: Always use fresh, clean gasoline. Stale fuel can cause deposits and clog carburetor passages.
- Estabilitzador de combustible: Use a high-quality fuel stabilizer, especially during off-season storage, to prevent fuel degradation.
- Drain Fuel for Storage: For long-term storage (over 30 days), it is recommended to drain all fuel from the tank and run the engine until it runs out of fuel to clear the carburetor.
- Filtre d'aire: Regularly inspect and clean or replace the air filter as per your snow thrower's manual. A dirty air filter can affect carburetor performance.
- Inspeccioneu les línies de combustible: Periodically check fuel lines for cracks, leaks, or deterioration. Replace as needed.

Figure 5: Bottom-right view of the carburetor, highlighting the float bowl and the connection point for the fuel line.
7. Solució De Problemes
This section addresses common issues that may arise after carburetor installation. If problems persist, consult a qualified service technician.
| Problema | Causa possible | Solució |
|---|---|---|
| El motor no arrencarà | No fuel reaching carburetor; Choke not set correctly; Spark plug issue; Incorrect installation. | Check fuel level and fuel line connections. Ensure choke is in the correct position. Verify spark plug is clean and connected. Re-check installation steps. |
| El motor funciona de manera irregular o s'atura | Fuel mixture incorrect; Air leak; Dirty fuel. | Ensure all gaskets are sealed properly. Check for loose connections. Use fresh fuel. |
| Fuites de combustible del carburador | Loose fuel line connection; Damaged gasket; Float bowl issue. | Tighten fuel line connections. Inspect and replace gaskets if damaged. If leak persists, the float or needle valve may be faulty. |
| El motor no té potència | Restricted fuel flow; Air filter clogged. | Check fuel filter (if present) and fuel lines for obstructions. Clean or replace air filter. |
8. Especificacions
- Tipus de producte: Replacement Carburetor
- Compatibilitat: Craftsman 5/23 Trac Drive Snow Thrower Models 536.884810, 536.884811
- Pes aproximat de l'article: 1 lliures
- Dimensions aproximades del producte: 1 x 1 x 1 polzades (L x A x A)
- Material: Metal alloy construction
9. Garantia i Suport
For any questions regarding the installation, operation, or performance of this carburetor, please contact the seller directly through the platform where the purchase was made. Refer to your purchase documentation for specific warranty terms and conditions, if applicable.
Conserveu sempre el comprovant de compra per a reclamacions de garantia.


