
1. Introducció
This manual provides comprehensive instructions for the installation, operation, and maintenance of your plplaaoo 3W Monocrystalline Solar Panel. Please read this manual thoroughly before using the product to ensure proper function and longevity. Keep this manual for future reference.
2. Producte acabatview
Característiques clau
- High Efficiency Monocrystalline Silicon: Ensures stable and uninterrupted power output, even in low light conditions.
- Ports de càrrega versàtils: Equipped with Micro USB and Type-C ports for broad compatibility with security cameras and low-power devices.
- Integrated Protection Circuit: Offers protection against overcurrent, overcharging, overvoltage, curtcircuits i sobreescalfament.
- Rugged Weatherproof Construction: Designed to withstand rain, snow, and extreme temperatures for year-round outdoor use.
- Àmplia compatibilitat: Suitable for surveillance cameras, bird feeders, garden lights, emergency lights, and traffic signals.
Contingut del paquet
- 1 x plplaaoo 3W Monocrystalline Solar Panel
- 1 x suport de muntatge ajustable
- 1 x Set of Mounting Screws and Wall Plugs
- 1 x Micro USB to Type-C Adapter
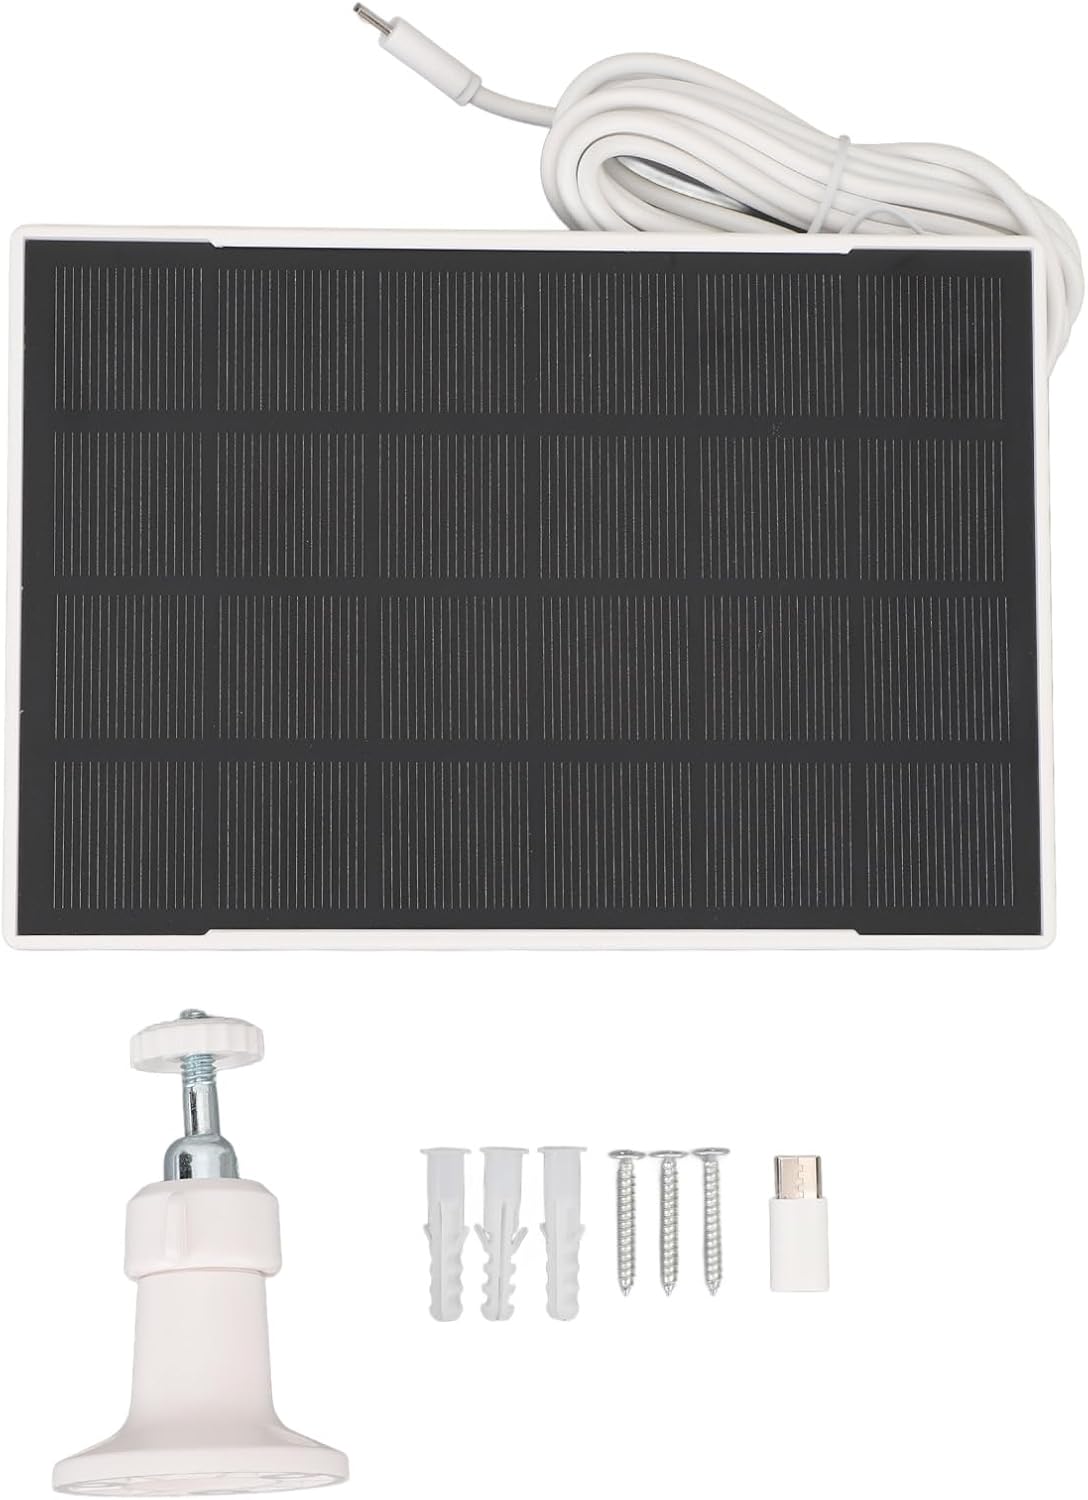
Figure 2.1: Contents of the plplaaoo Solar Panel package.
3. Instruccions de configuració
3.1 Muntatge del panell solar
- Trieu una ubicació: Select an outdoor location that receives direct sunlight for the majority of the day. Avoid areas with significant shade from trees, buildings, or other obstructions.
- Col·loqueu el suport de muntatge: Secure the adjustable mounting bracket to a stable surface (e.g., wall, fence post) using the provided screws and wall plugs. Ensure the bracket is firmly attached.
- Muntar el panell solar: Attach the solar panel to the adjustable mounting bracket.
- Ajusteu l'angle: Orient the solar panel to face the sun directly. The adjustable bracket allows for multi-angle rotation to optimize light absorption. Adjust the panel's angle to maximize exposure to sunlight throughout the day.
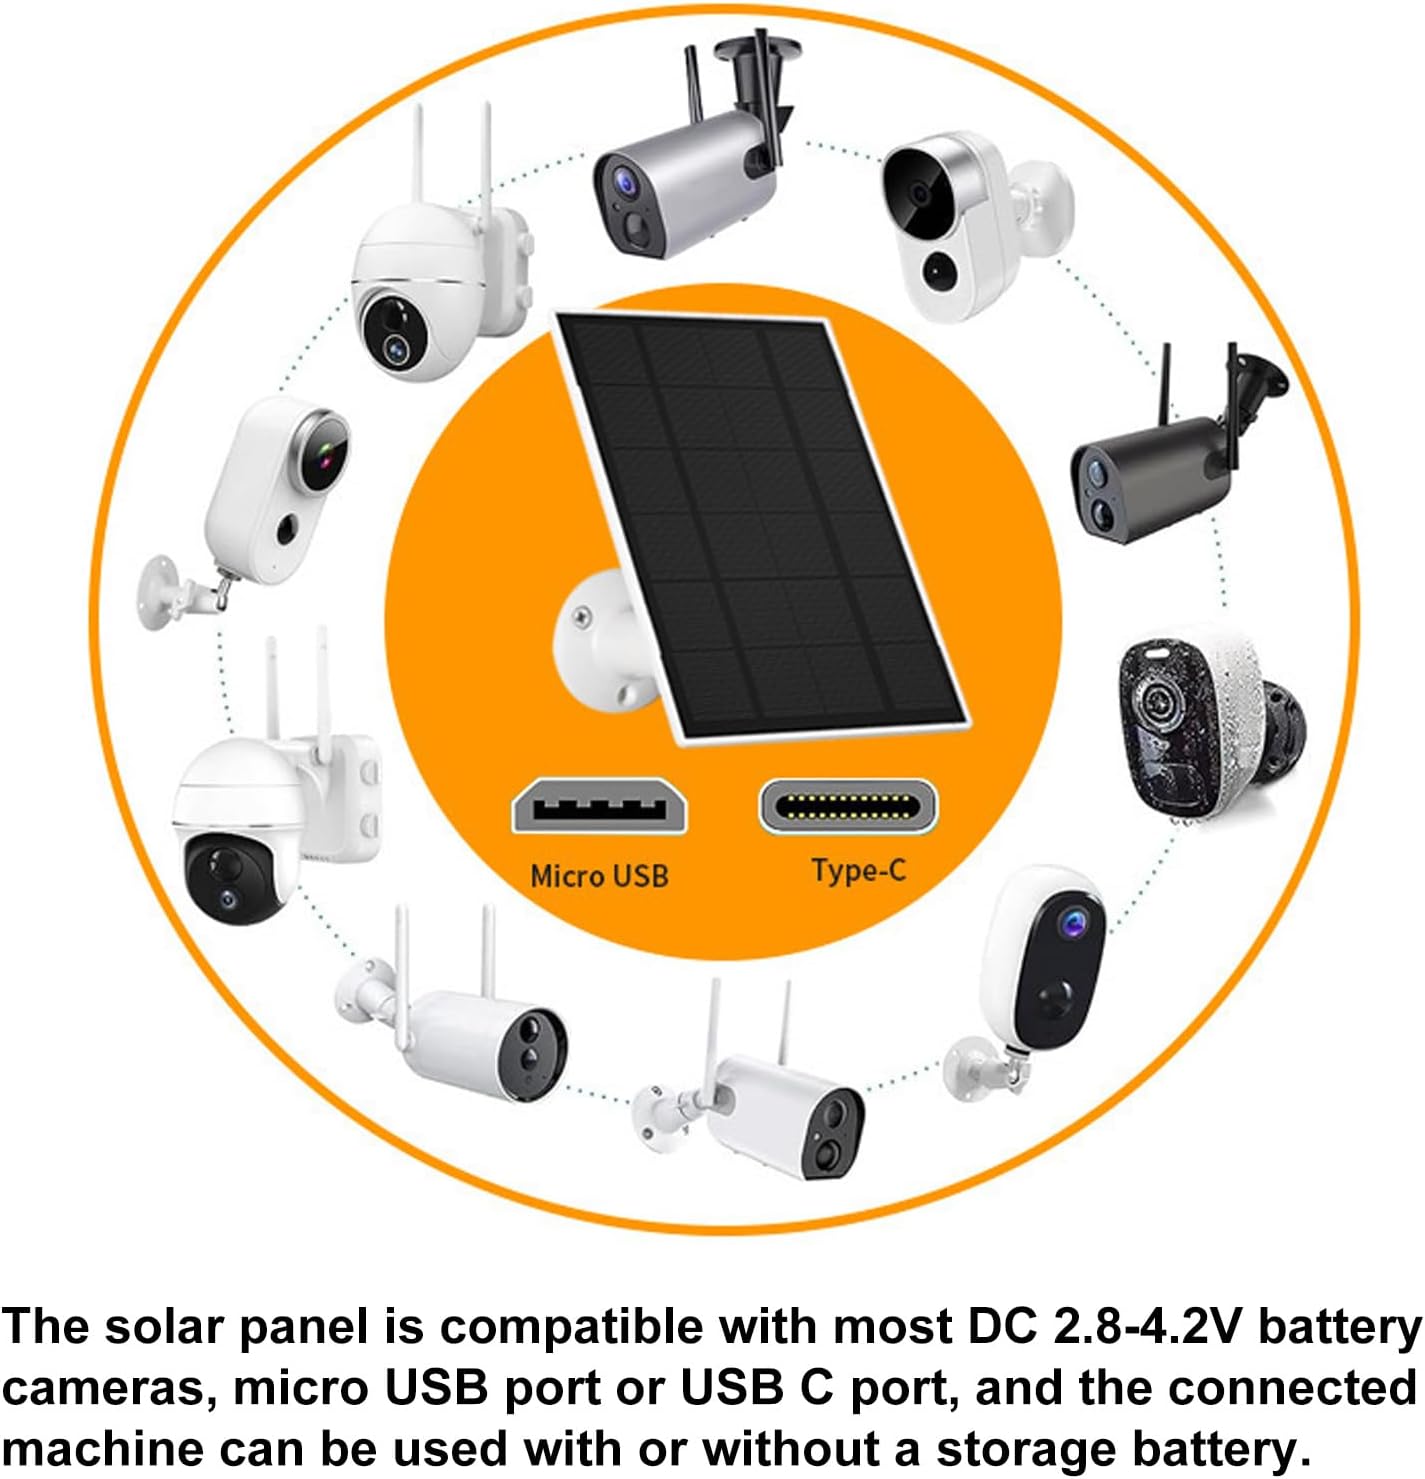
Figure 3.1: Adjustable mounting bracket for optimal sun exposure.

Figura 3.2: Example of solar panel installation with an outdoor camera.
3.2 Connexió al dispositiu
The solar panel is equipped with both Micro USB and Type-C output ports. Use the appropriate cable or the provided Micro USB to Type-C adapter to connect the solar panel to your compatible device (e.g., security camera, garden light). Ensure the connection is secure and weatherproof.

Figure 3.3: Universal compatibility with Micro USB and Type-C devices.
4. Funcionament
Once installed and connected, the plplaaoo solar panel will automatically begin converting sunlight into electrical energy to power and charge your connected device. The high-efficiency monocrystalline cells ensure consistent power delivery.
Consells de rendiment òptim:
- Ensure the solar panel receives at least a few hours of direct sunlight daily.
- Keep the surface of the solar panel clean and free from dust, dirt, snow, or debris.
- Verify that all connections are secure and free from corrosion.

Figure 4.1: Solar panel actively charging a connected device.
5. Manteniment
Regular maintenance ensures the longevity and efficiency of your solar panel.
- Neteja: Netegeu periòdicament la superfície del panell solar amb un suau, damp cloth to remove any accumulated dust, dirt, or debris. Avoid abrasive cleaners or harsh chemicals.
- Comprovació de la connexió: Annually inspect all cable connections for tightness and signs of wear or corrosion. Ensure the weatherproof seals are intact.
- Inspecció física: Check the panel and mounting bracket for any physical damage, cracks, or loose components, especially after severe weather conditions.
6. Solució De Problemes
If you encounter issues with your solar panel, refer to the following common problems and solutions:
- El dispositiu no es carrega:
- Assegureu-vos que el panell solar rebi la llum solar directa.
- Check all cable connections for proper seating and integrity.
- Verify that the connected device is compatible with the solar panel's output voltagi (2.8-4.2V).
- Clean the solar panel surface if it is dirty.
- Low Charging Efficiency:
- Adjust the panel's angle to optimize sun exposure.
- Ensure there are no obstructions (e.g., tree branches, eaves) casting shadows on the panel.
- Verify the panel surface is clean.
- Danys físics:
- If the panel or cable is physically damaged, discontinue use and contact customer support.
7. Especificacions
| Característica | Especificació |
|---|---|
| Material del producte | Silici monocristal·lí |
| Potència de sortida | 3W |
| Vol. De sortidatage Rang | 2.8-4.2V |
| Ports de càrrega | Micro USB, Tipus C |
| Pes de l'article | 13.8 unces (aproximadament 391 grams) |
| Dimensions del producte | 7.87 x 5.11 x 2.36 polzades (20 x 13 x 6 cm) |
| Número de model | plplaaoofqxm1pbakw |
| ASIN | B0FPDV9B9P |
8. Garantia i Suport
For warranty information or technical support, please refer to the product packaging or contact the manufacturer directly through their official website or the retailer where the product was purchased. Please have your model number (plplaaoofqxm1pbakw) and ASIN (B0FPDV9B9P) available when contacting support.