
DEVAISE AWJG016
DEVAISE 71-inch Metal Storage Cabinet Instruction Manual
Model: AWJG016 (Type 2: 3 Layers + 2 Drawers)
Introducció
This manual provides comprehensive instructions for the assembly, operation, maintenance, and safety of your DEVAISE 71-inch Metal Storage Cabinet. Please read all instructions carefully before beginning assembly and retain this manual for future reference.
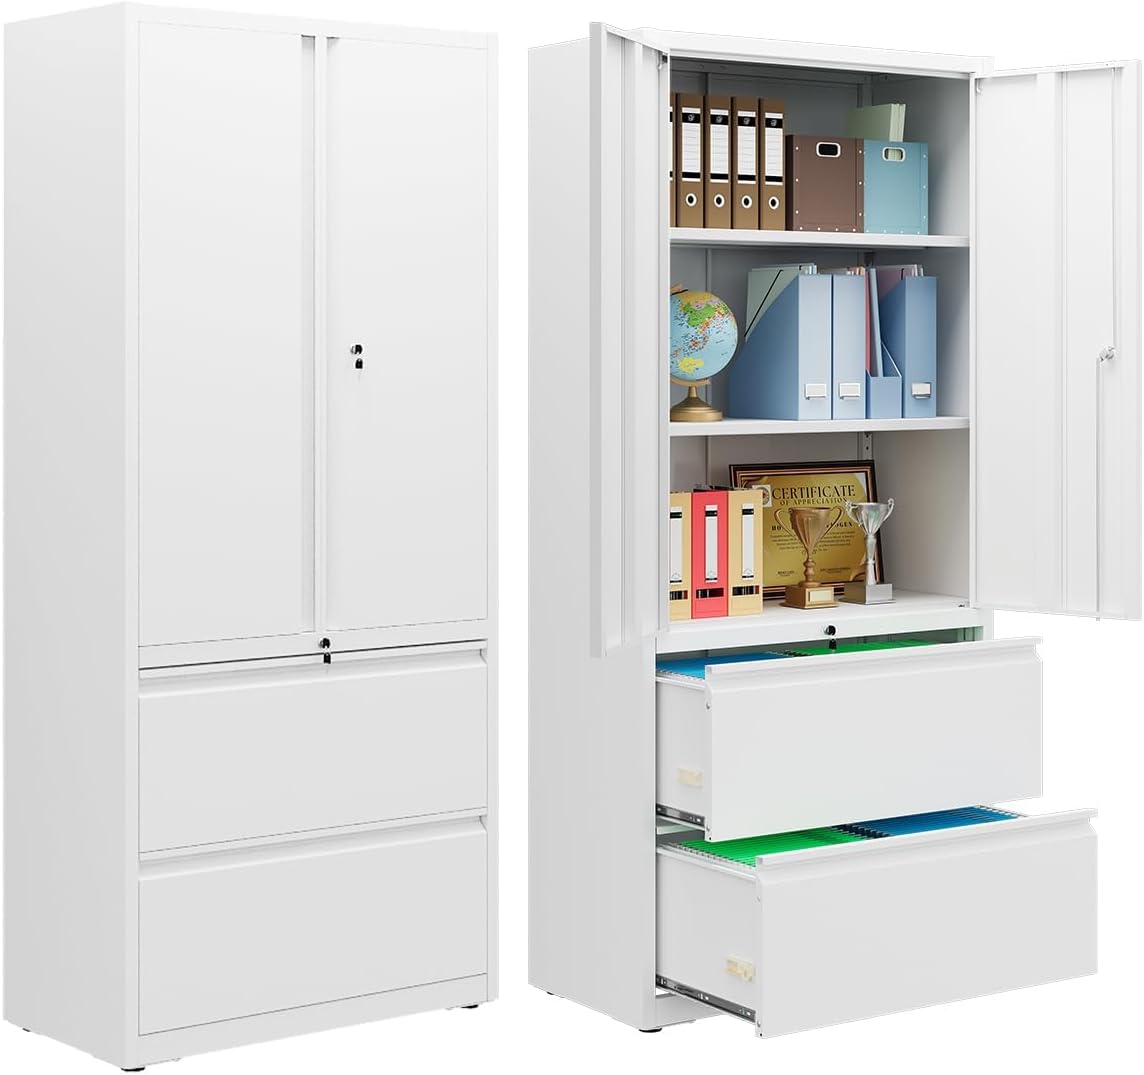
Image: The DEVAISE 71-inch Metal Storage Cabinet in its closed state, showcasing its white finish and dual-door design with two lower drawers.
Informació important de seguretat
- Kit antibolcada: Ensure the cabinet is securely anchored to the wall using the provided anti-tip kit to prevent accidental tipping. This is especially important when storing heavier items or in households with children or pets.
- Límits de càrrega: Adhere to the specified load limits for shelves (up to 150 lbs per shelf) and drawers (up to 55 lbs per drawer) to avoid overloading, which can lead to structural damage or injury.
- Muntatge: Follow all assembly steps precisely. Incorrect assembly can compromise the stability and safety of the cabinet.
- Col·locació: Place the cabinet on a level, stable surface. Avoid placing it in areas with high humidity or direct sunlight to prevent material degradation.
- Nens: Do not allow children to climb on or play with the cabinet, especially when drawers or doors are open.
Especificacions del producte
| Característica | Detall |
|---|---|
| Marca | DEVAISAR |
| Nom del model | AWJG016 Storage Cabinet |
| Color | Blanc |
| Material | Acer |
| Dimensions del producte (P x A x A) | 18.71"D x 74.22"W x 8.08"H (Note: These dimensions appear to be for packaging. Actual assembled dimensions are approximately 16"D x 32"W x 71"H based on product images.) |
| Pes de l'article | 101.1 lliures |
| Límit de pes a la prestatgeria | 150 lliures per prestatge |
| Límit de pes del calaix | 55 lliures per calaix |
| Característiques especials | Lockable, Adjustable Shelves, Anti-tipping Device, Adjustable Feet |
| Opcions d'emmagatzematge | 2 drawers, 2 adjustable shelves (within the upper cabinet section) |

Image: Visual representation of the cabinet's dimensions (71" H, 32" W, 16" D) and weight capacities for shelves (150 lbs) and drawers (50 lbs).
Llista de peces
Before assembly, verify that all components are present and undamaged. Refer to the assembly video for visual identification of parts.
Panells d'armaris
- A, B: Panells base
- C, D: Panells laterals
- E, G, Q: Crossbars (Top, Middle)
- F, H: Shelves (Middle, Top)
- I: Prestatgeries ajustables (2 peces)
- J, K: Portes
Components del calaix
- R, Z, X, Y: Drawer Panels (for two drawers)
- P: Penjant File Bars (for two drawers)
Maquinari i accessoris
- N: Screws (various sizes for panels)
- V: Screws (for support brackets and feet)
- W: Peus ajustables (4 peces)
- a: Suports de suport
- GG, HH, FF: Drawer Slides (various parts for left and right)
- O: Shelf Pins (8 pieces)
- S, T: Screws (for shelf pins)
- U: Imants de porta
- L, M: Anti-Tip Kit (screws and wall anchors)
- Gloves and Screwdriver (included for assembly)
Muntatge i muntatge
Follow these steps to assemble your DEVAISE Metal Storage Cabinet. It is recommended to have a second person assist with assembly for stability and ease of handling larger panels.
Guia de vídeo de muntatge
Video: Steel Filing Cabinet Installation Instructions. This video demonstrates the step-by-step assembly process for the DEVAISE metal storage cabinet.
Instruccions de muntatge pas a pas
- Desempaquetar i identificar les peces: Carefully unpack all components and lay them out. Refer to the parts list and the assembly video (0:01-0:05) to identify each piece.
- Muntar els panells base: Connect base panels A and B using screws N. (Video: 0:05-0:17)
- Fixeu els panells laterals: Attach side panel C to the assembled base panels A and B. Secure with screws N. Repeat for side panel D. (Video: 0:17-0:39)
- Instal·leu les barres transversals: Attach crossbar E to the top front section of the cabinet. (Video: 0:39-0:46)
- Fixeu els suports: Secure support brackets 'a' to the cabinet frame using screws V. (Video: 0:46-1:01)
- Instal·leu els peus ajustables: Attach the adjustable feet W to the bottom corners of the cabinet using screws V. (Video: 1:01-1:16)
- Install Top Crossbar: Attach crossbar G to the top rear section of the cabinet. (Video: 1:16-1:27)
- Fixeu el panell superior: Place and secure the top panel H using screws N. (Video: 1:27-1:47)
- Install Middle Crossbar: Attach middle crossbar Q and secure it with the spring pin mechanism. (Video: 1:47-2:17)
- Attach Middle Panel: Place and secure the middle panel F using screws N. (Video: 2:17-2:35)
- Panells posteriors segurs: Ensure all back panels are properly aligned and secured with screws N. (Video: 2:35-2:41)
- Muntar calaixos: Assemble the drawer panels R, Z, X, Y to form the drawer boxes. (Video: 2:41-3:11)
- Attach Drawer Slides to Drawers: Attach the FF drawer slide components to the sides of each assembled drawer. (Video: 3:11-3:45)
- Attach Drawer Slides to Cabinet: Attach the GG and HH drawer slide components to the interior sides of the cabinet where the drawers will be installed. (Video: 3:45-4:20)
- Inserir calaixos: Carefully slide the assembled drawers into the cabinet, aligning them with the installed drawer slides. (Video: 4:20-4:42)
- Instal·leu prestatges ajustables: Insert shelf pins O into the desired height holes on the cabinet sides. Place the adjustable shelves I onto the pins. (Video: 4:42-4:58)
- Fixar portes: Mount doors J and K to the cabinet hinges. (Video: 4:58-5:29)
- Install Door Magnets: Attach the door magnets U to ensure the doors close securely. (Video: 5:29-5:56)
- Instal·leu el kit antivuelco: Secure the anti-tip kit (L and M) to the top rear of the cabinet and to a wall stud to prevent tipping. (Video: 5:56-6:15)
Instruccions de funcionament
Prestatges ajustables
The upper cabinet section features two adjustable shelves. To adjust their height:
- Buideu el prestatge de tot el contingut.
- Remove the shelf by lifting it off its support pins.
- Relocate the shelf pins to the desired height holes on the cabinet's side panels. Ensure pins are level on both sides.
- Col·loqueu amb cura el prestatge sobre els passadors.

Image: The cabinet interior showing adjustable shelves and their height adjustment mechanism.
Mecanisme de bloqueig
The cabinet features a dual locking system for both the upper doors and the lower drawers.
- Upper Doors: Insert the key into the lock on the right door and turn to secure both doors. The left door is secured by a latch that engages with the right door when locked.
- Lower Drawers: Each drawer has an independent lock. Insert the key and turn to lock or unlock. The interlocking mechanism allows simultaneous locking of both drawers for enhanced security.
Funcionament del calaix
The two lateral file drawers are designed for smooth operation and can accommodate A4 and Letter-sized files using the adjustable hanging bars.
- To open, pull the drawer handle. To close, push the drawer until it is fully seated.
- The adjustable hanging bars can be repositioned within the drawer to fit different file mides.

Image: The cabinet's drawers configured for A4 and Letter-sized file emmagatzematge.
Manteniment
Regular maintenance will help prolong the life and appearance of your DEVAISE Metal Storage Cabinet.
- Neteja: Netegeu les superfícies amb un suau, damp cloth. For stubborn marks, use a mild soap solution and dry immediately with a clean cloth. Avoid abrasive cleaners or harsh chemicals, as these can damage the powder-coated finish.
- Trasllat de l'armari: If you need to move the cabinet, empty all contents first. If possible, lift the cabinet rather than dragging it to prevent damage to the adjustable feet and floor.
- Comprovació de maquinari: Reviseu periòdicament tots els cargols i elements de fixació per assegurar-vos que estiguin ben ajustats. Torneu a apretar-los si cal.
- Diapositives del calaix: If drawers become stiff, a small amount of silicone-based lubricant can be applied to the drawer slides.
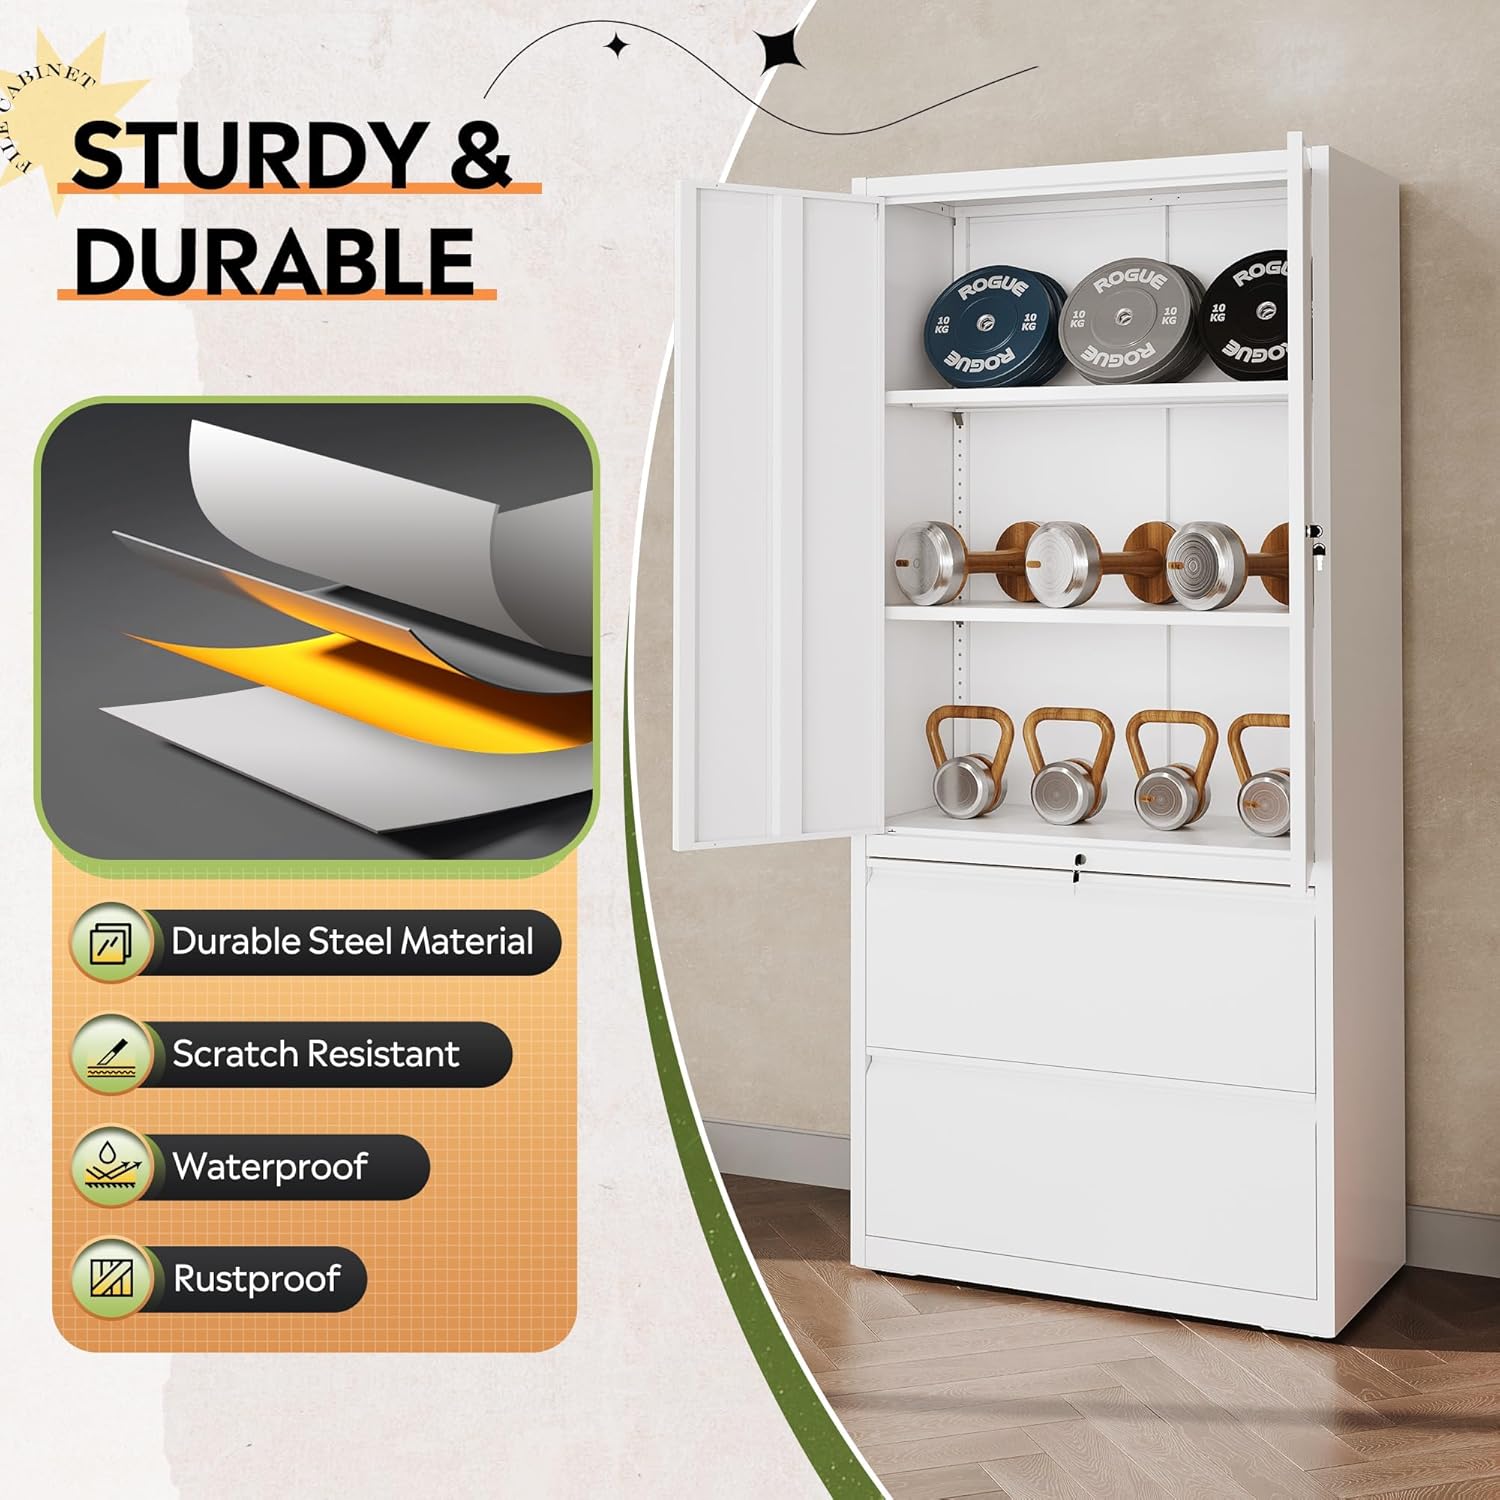
Image: Features of the cabinet's construction, including durable steel, scratch resistance, waterproof, and rustproof properties.
Resolució de problemes
| Problema | Causa possible | Solució |
|---|---|---|
| El gabinet està inestable o trontolla. | Sòl irregular; fixacions fluixes; kit antivuelco no instal·lat. | Adjust the leveling feet on the bottom of the cabinet. Tighten all assembly screws. Install the anti-tip kit as per instructions. |
| Els calaixos no llisquen suaument. | Drawer slides are misaligned or dirty; drawer is overloaded. | Check alignment of drawer slides and ensure they are free of debris. Apply a silicone lubricant if necessary. Reduce the weight in the drawer. |
| Les portes no tanquen correctament. | Hinges are misaligned; magnetic catches are not engaging; cabinet is not level. | Adjust door hinges. Check and adjust the position of the magnetic catches. Ensure the cabinet is level using the adjustable feet. |
| El mecanisme de bloqueig és rígid o no funciona. | Key is not fully inserted; mechanism is dirty or damaged. | Ensure the key is fully inserted and turned correctly. Do not force the key. If the issue persists, contact customer support. |
Garantia i Suport
For warranty information or technical support, please refer to the documentation included with your purchase or contact DEVAISE customer service directly. Keep your purchase receipt and product model number (AWJG016) handy when contacting support.
Ask a question about this manual
Ask about setup, troubleshooting, compatibility, parts, safety, or missing instructions. Manuals+ will review the question and use this page’s manual context to help answer it.