
1. Introducció
Thank you for choosing the Sharmeal Jump Starter with Air Compressor. This device is designed to provide reliable jump-starting for vehicles and convenient tire inflation. Please read this manual thoroughly before use to ensure safe and optimal operation.
2. Què hi ha a la caixa

El paquet inclou els articles següents:
- 1 x Portable Jump Starter with Air Compressor
- 1 x Safety Jump Cables
- 1 x Air Pump Hose
- 3 x Gas Nozzles (various types for inflation)
- 1 x cable de càrrega tipus C
- 1 x Manual d'usuari
- 1 x Caixa d'embalatge
This image displays all components included in the Sharmeal Jump Starter package, neatly arranged next to the main unit and its packaging.
3. Especificacions
| Característica | Especificació |
|---|---|
| Marca | Farina de xampinyons |
| Número de model | GL902 |
| Corrent màxima de sortida | 6000 Amps |
| Composició de les cèl·lules de la bateria | Ió de liti |
| Capacitat de la bateria | 8000 milionsamp Hores |
| Pressió del compressor d'aire | Fins a 150 PSI |
| Dimensions del producte (P x A x A) | 1.1" x 7" x 3" |
| Pes de l'article | 5.76 lliures |
| Tipus de servei del vehicle | All Gas/10.0L Diesel engines, 12V vehicles |
4. Informació de seguretat
Your safety is paramount. This jump starter incorporates multiple safety protections. Always follow these guidelines to prevent injury or damage.
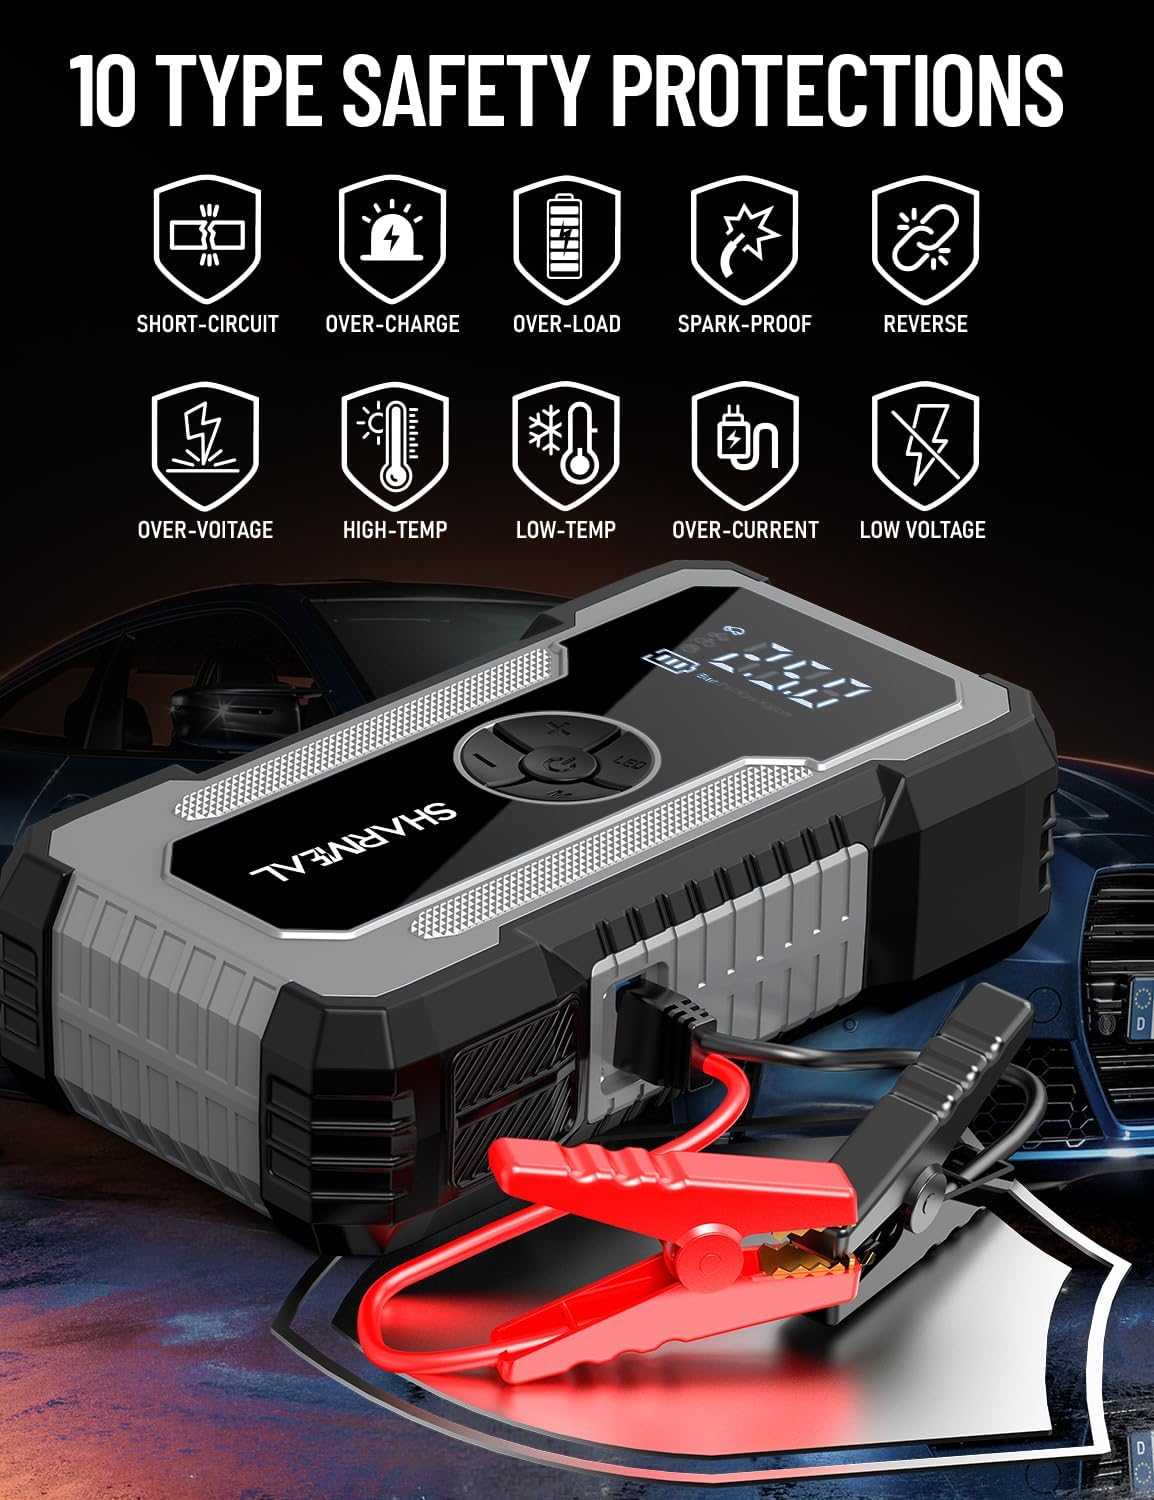
This image illustrates the ten types of safety protections integrated into the device, including short-circuit, over-charge, over-load, spark-proof, reverse connection, over-voltage, high-temperature, low-temperature, over-current, and low voltagprotecció.
- Protecció de connexió inversa: Evita danys si s'està escalfant.amps estan connectats incorrectament.
- Protecció contra sobreintensitat: Mesures de seguretat contra el flux excessiu de corrent.
- Overvoltage Protecció: Protects the device and vehicle from voltage pics.
- Protecció de sobrecàrrega: Prevents damage from exceeding the device's capacity.
- Overcharge/Discharge Protection: Extends battery life by preventing overcharging or deep discharging.
- Funcionament sense espurnes: Ensures safe connection without sparks.
- Mantenir fora de l'abast dels nens.
- No desmunteu la unitat.
- No exposar a temperatures o humitat extremes.
5. Configuració i càrrega inicial
5.1 Càrrega inicial
Before first use, fully charge the jump starter. Connect the provided Type-C charging cable to the jump starter's input port and a suitable USB power adapter (not included). The digital display will indicate the charging status. A full charge is recommended for optimal performance.
5.2 Comprovació del nivell de la bateria
The digital display shows the current battery level. Ensure the jump starter has sufficient charge before attempting to jump-start a vehicle or inflate tires.
6. Instruccions de funcionament
6.1 Arrencada amb salt d'un vehicle
Follow these steps carefully to jump-start a dead car battery:
- Step 1: Insert Jumper Cable. Insert the blue end of the smart jumper cable into the jump starter's 12V output port. Ensure a firm connection.
- Step 2: Connect Clamps. Connecteu el cl vermellamp al terminal positiu (+) de la bateria del cotxe i al cl negreamp to the negative (-) terminal. The smart cable's indicator light will show a successful connection (usually a solid green light).
- Step 3: Start Engine. Return to your vehicle and start the engine. If the car does not start immediately, wait 30 seconds and try again. Do not crank for more than 3 seconds per attempt.
- Step 4: Remove Clamps. Once the car starts, immediately remove the jumper clamps from the car battery, then disconnect the jumper cable from the jump starter.

This image visually guides the user through the four steps of jump-starting a vehicle: inserting the cable, connecting clamps, starting the engine, and removing clamps.
6.2 Using the Air Compressor for Tire Inflation
The integrated air compressor can inflate tires and other inflatables up to 150 PSI.
- Step 1: Assemble the Tube. Screw the air pump hose onto the air outlet port of the jump starter.
- Step 2: Connect Air Nozzle. Connect the appropriate gas nozzle to the air pump hose and then securely attach it to the tire valve or inflatable item.
- Step 3: Set Pressure. Use the '+' and '-' buttons on the device to adjust the desired inflation pressure. The digital display will show the preset value.
- Step 4: Start Inflation. Long press the power button (usually indicated by a 'U' or power symbol) to start inflating. The compressor will automatically stop once the preset pressure is reached.

This image demonstrates the four steps for using the air compressor: assembling the hose, connecting to the tire, setting the desired pressure, and starting inflation.
6.3 Ús de la llum LED
The device features an 800 lumens bright LED light with three modes:
- Llanterna: Per a il·luminació general.
- Mode SOS: Emits an SOS signal for emergencies.
- Mode estroboscòpic: Proporciona una llum intermitent per a la senyalització o l'advertència.
Press the light button to cycle through the modes.
6.4 Ús com a bateria externa portàtil
The jump starter can also function as a portable power bank to charge your electronic devices. Connect your phone, tablet, or other USB-powered devices to the USB output port using a compatible charging cable.
7. Manteniment
- Càrrega: Recharge the unit every 3-6 months, even if not used, to maintain battery health.
- Neteja: Wipe the unit with a dry, soft cloth. Do not use harsh chemicals or abrasives.
- Emmagatzematge: Guardeu l'arrencador de bateria en un lloc fresc i sec, allunyat de la llum solar directa i de temperatures extremes.
- Cura del cable: Inspect jumper cables and air hose for damage before each use. Replace if worn or damaged.
8. Solució De Problemes
| Problema | Causa possible | Solució |
|---|---|---|
| L'arrencador de botons no s'encén | Low battery or unit is off. | Charge the unit fully. Press the power button to turn it on. |
| El vehicle no arrenca després d'un intent de salt | cl. incorrectaamp connection, severely dead battery, or other vehicle issues. | Assegureu-vos que clamps are connected correctly (red to +, black to -). Wait 30 seconds between attempts. If still no start, the vehicle may have other problems requiring professional assistance. |
| El compressor d'aire no s'infla | Hose not connected properly, incorrect pressure setting, or low jump starter battery. | Check all connections. Ensure desired pressure is set. Charge the jump starter. |
| Smart cable indicator light not green | Reverse polarity, short circuit, or low voltage. | Comproveu clamp connections for correct polarity. Ensure the jump starter is adequately charged. |
9. Garantia i Suport
Sharmeal products are designed for reliability and performance. For warranty information, technical support, or service inquiries, please refer to the contact information provided on the product packaging or visit the official Sharmeal weblloc web. Conserveu el rebut de compra com a comprovant de compra.
For further assistance, you may contact Sharmeal customer service through their official channels.