
1. Introducció
Thank you for choosing the IBKINXX Automatic Chicken Coop Door. This solar-powered door is designed to provide convenience and security for your flock, featuring multiple automatic modes, anti-pinch protection, and remote control capabilities. Please read this manual thoroughly before installation and operation to ensure proper use and longevity of your product.
2. Característiques del producte
- Amplia obertura: Features an upgraded 9.45" x 10" opening for free movement of chickens.
- Energia solar: Equipped with a solar panel for continuous charging and a 2200mAh built-in battery.
- 4 modes automàtics: Customizable settings including timed, light-sensitive, or a combination of both (T-T, L-T, T-L, L-L).
- Funció anti-pinxament: Automatically reverses if an obstruction is detected, preventing injury to chickens.
- Alarma d'intrusió: Sounds an alarm if the door is forced open, deterring predators.
- Comandament a distància: Allows for manual opening and closing of the door.
- Resistent a la intempèrie: Designed for protection against rain, sun, and snow.
- USB Backup Charging: Type-C port for alternative charging.

Figura 2.1: Door dimensions and spacious opening. The door measures 9.4 inches wide and 13 inches high, providing ample space for chickens to pass through comfortably.
3. Informació de seguretat
- Always ensure the product is installed securely to prevent accidental detachment.
- Keep children and pets away from the moving door mechanism.
- Do not attempt to force the door open or closed manually when it is operating automatically.
- Assegureu-vos que el panell solar estigui posicionat per rebre la màxima llum solar per a una càrrega òptima.
- Before any maintenance, ensure the door is powered off or in a safe, stationary position.
- Do not immerse the control unit in water. The product is weather-resistant but not submersible.
4. Configuració i instal·lació
4.1 Càrrega inicial
Before first use, check the battery level on the LCD screen. A flashing battery icon indicates low battery. Fully charge the device using the solar panel or the Type-C USB port before installation.

Figura 4.1: Dual charging options. The door can be charged via the included solar panel (9.84 ft cable for flexible placement) or a Type-C USB cable for backup.
4.2 Mounting the Door
- Choose a suitable location on your chicken coop for installation. Ensure the area is flat and clear of obstructions.
- Mark the drilling points for the door frame.
- Drill pilot holes and securely attach the door frame to the coop using appropriate screws (not included).
- Insert the door panel into the frame.
4.3 Installing the Solar Panel
- Mount the solar panel in a location that receives direct sunlight for most of the day. The 9.84 ft cable allows for flexible placement.
- Connect the solar panel cable to the designated port on the chicken coop door control unit.
5. Instruccions de funcionament
5.1 Pantalla LCD acabadaview
The LCD display shows current time, mode, and battery status. Familiarize yourself with the icons and indicators.
5.2 Configuració de l'hora
Refer to the on-screen instructions or specific buttons (usually indicated by a clock icon or 'SET' button) to set the current time accurately. This is crucial for timed modes.
5.3 Automatic Modes
The door offers four automatic modes. Short press the M key to switch between modes. The current mode will be displayed on the LCD screen.

Figura 5.1: Explanation of the 4 automatic modes. Each mode combines timer and light sensor functions for opening and closing the door.
- T-T (Timer-Timer): Door opens and closes based on set times.
- L-T (Light Sensor-Timer): Door opens based on light sensor (sunrise) and closes based on set time.
- T-L (Timer-Light Sensor): Door opens based on set time and closes based on light sensor (sunset).
- L-L (Light Sensor-Light Sensor): Door opens based on light sensor (sunrise) and closes based on light sensor (sunset).
5.4 Setting Timed Operations
To set specific open/close times for T-T, L-T, or T-L modes, use the designated buttons (e.g., 'SET', 'UP', 'DOWN') to adjust the hours and minutes on the LCD screen. Confirm your settings to save.
5.5 Light Sensor Adjustment
For modes utilizing the light sensor, you may be able to adjust the sensitivity level. Refer to the display for light sensor settings (e.g., 'L-L' mode). A higher sensitivity means the door will react to lower light levels.
5.6 Funcionament del control remot
The remote control provides a manual override. Press the 'Open' button to open the door and the 'Close' button to close it. This is useful for immediate access or in case of power issues.

Figura 5.2: Backup manual solutions. The door can be operated using the included remote control or the manual open/close buttons on the unit itself.
5.7 Anti-Pinch Protection
The door is equipped with an intelligent sensor system. If an obstruction (like a chicken) is detected during closing, the door will automatically reverse its movement to prevent injury. It will then attempt to close again after a short delay.

Figura 5.3: Anti-pinch protection in action. The intelligent sensor system detects pressure and causes the door to rebound, preventing harm to chickens.
5.8 Intrusion Alarm
If the door is forced open while in the closed position, an alarm will sound to alert you and deter potential predators.
6. Manteniment
6.1 Neteja
- Regularly clean the door tracks to ensure smooth operation. Remove any dirt, debris, or feathers.
- Wipe the solar panel periodically with a soft, damp tela per mantenir l'eficiència de càrrega.
- Netegeu la pantalla LCD amb un drap suau i sec.
6.2 Cura de la bateria
- Ensure the solar panel receives adequate sunlight daily to keep the internal battery charged.
- If the door will be stored for an extended period, fully charge the battery before storage and recharge every few months to prevent deep discharge.
6.3 Protecció meteorològica
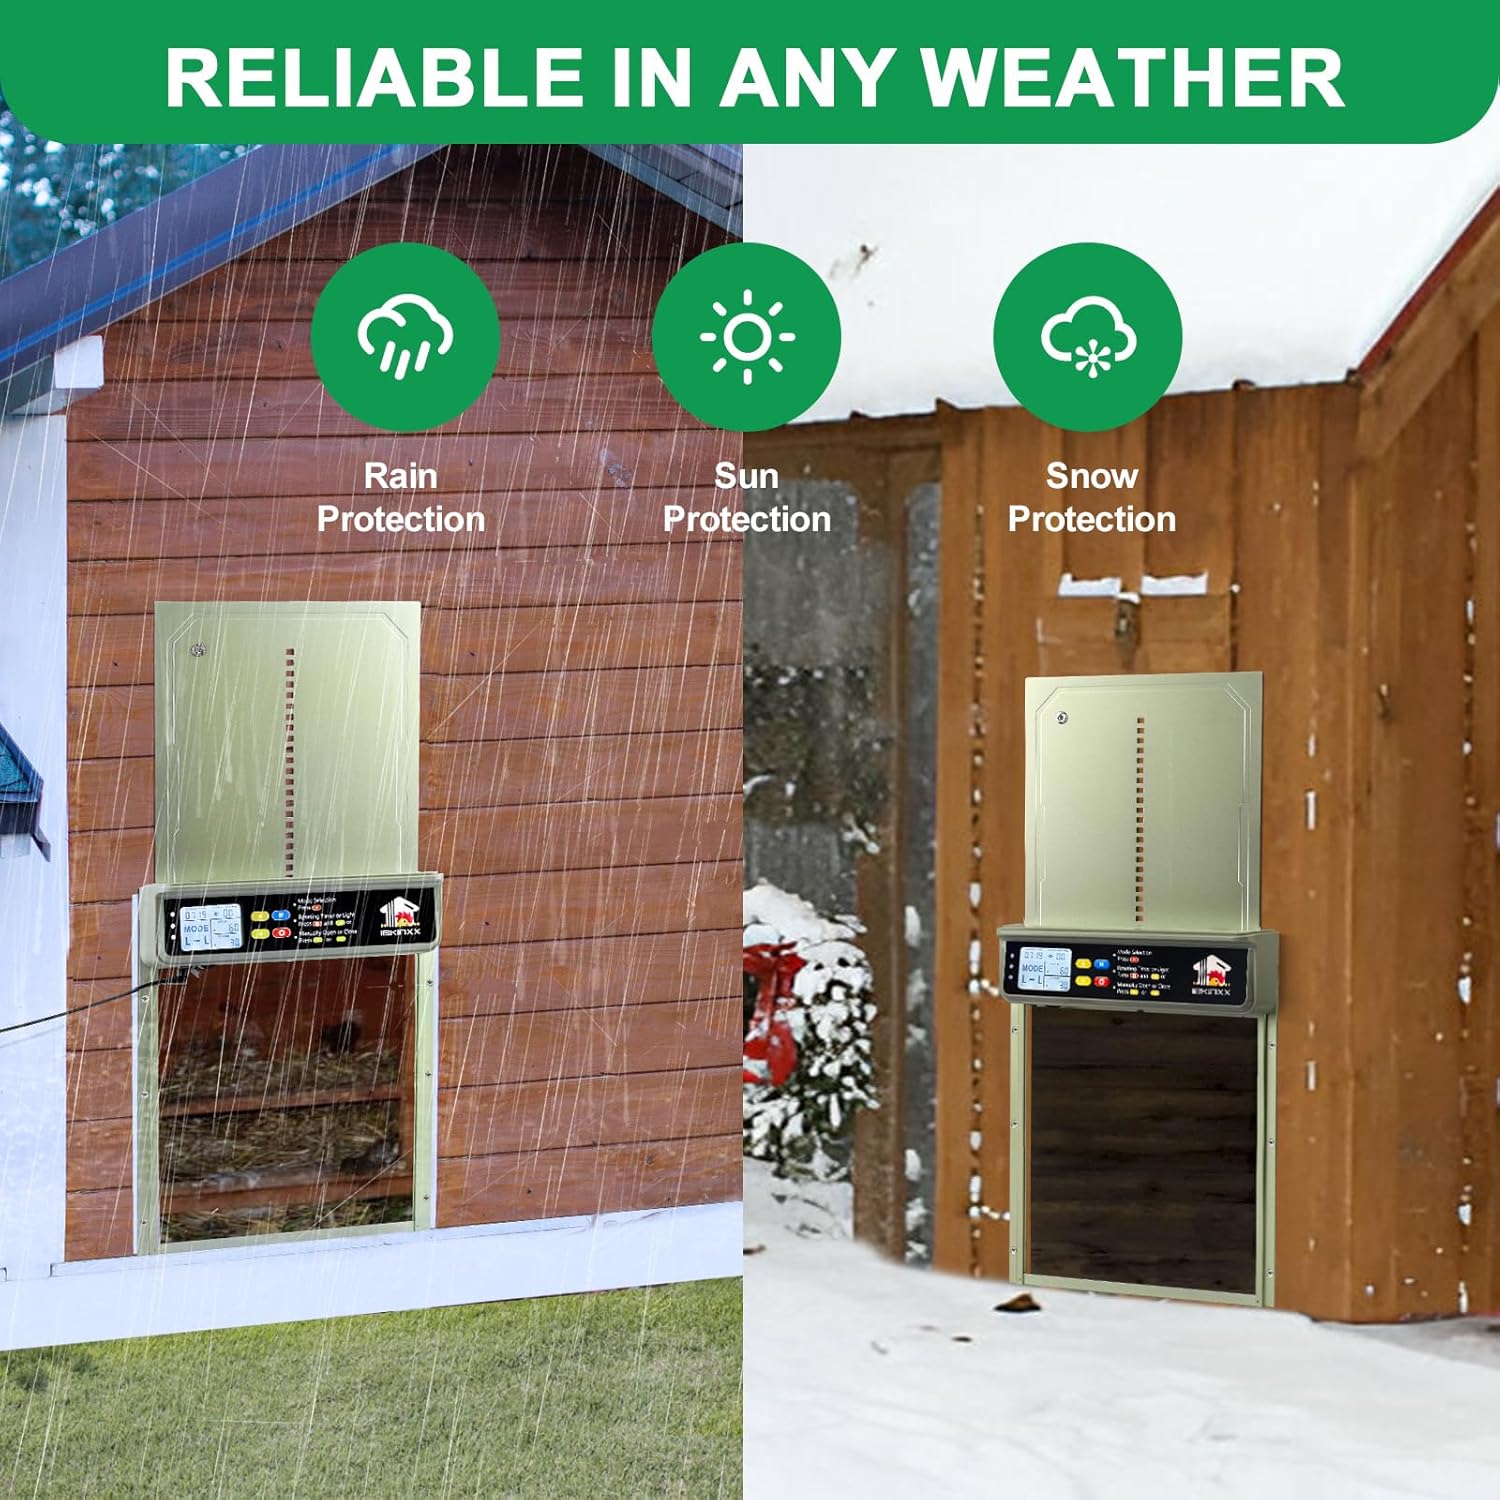
Figura 6.1: Reliable operation in various weather conditions. The door is designed with rain, sun, and snow protection.
While the door is weather-resistant, extreme conditions may affect performance. Ensure proper drainage around the coop to prevent water accumulation near the door mechanism.
7. Solució De Problemes
| Problema | Causa possible | Solució |
|---|---|---|
| La porta no s'obre/tanca | Low battery; incorrect mode setting; obstruction in track. | Charge the battery; check mode settings; clear any obstructions from the door track. |
| Light sensor not working correctly | Sensor dirty or blocked; incorrect sensitivity setting. | Clean the light sensor; adjust light sensitivity settings on the LCD. |
| El comandament a distància no respon | Remote battery low; out of range; interference. | Replace remote battery; operate within range; reduce interference. |
| Anti-pinch activates frequently | Obstruction in the path; sensor malfunction. | Ensure the path is clear; contact support if issue persists. |
8. Especificacions
| Característica | Detall |
|---|---|
| Nom del model | BSV-AD002 |
| Marca | IBKINXX |
| Material | Aliatge d'alumini |
| Dimensions d'obertura de la porta | 9.45" x 10" (approx. 24cm x 25.4cm) |
| Font d'alimentació | Solar Powered with 2200mAh Built-in Battery |
| Backup Charging | Tipus C USB |
| Característiques especials | Timer, Light Sensor, Remote Control, LCD Display, Anti-Pinch, Intrusion Alarm, Weather Resistant |
| Races recomanades | Chicken, Duck |
| Dimensions del producte (L x A x A) | 3L x 3W x 3H millimetres (Note: This seems to be a placeholder or incorrect data from source, actual door dimensions are larger as per feature bullets) |
Note: Product dimensions (L x W x H) from source data appear to be placeholder values. Refer to the "Door Opening Dimensions" for actual functional size.
9. Garantia i Suport
This product comes with a standard manufacturer's warranty. For specific warranty details, please refer to the product packaging or contact IBKINXX customer support.
If you encounter any issues not covered in this manual or require further assistance, please contact IBKINXX customer support through their official weblloc web o el venedor on vau comprar el producte.