
1. Introducció
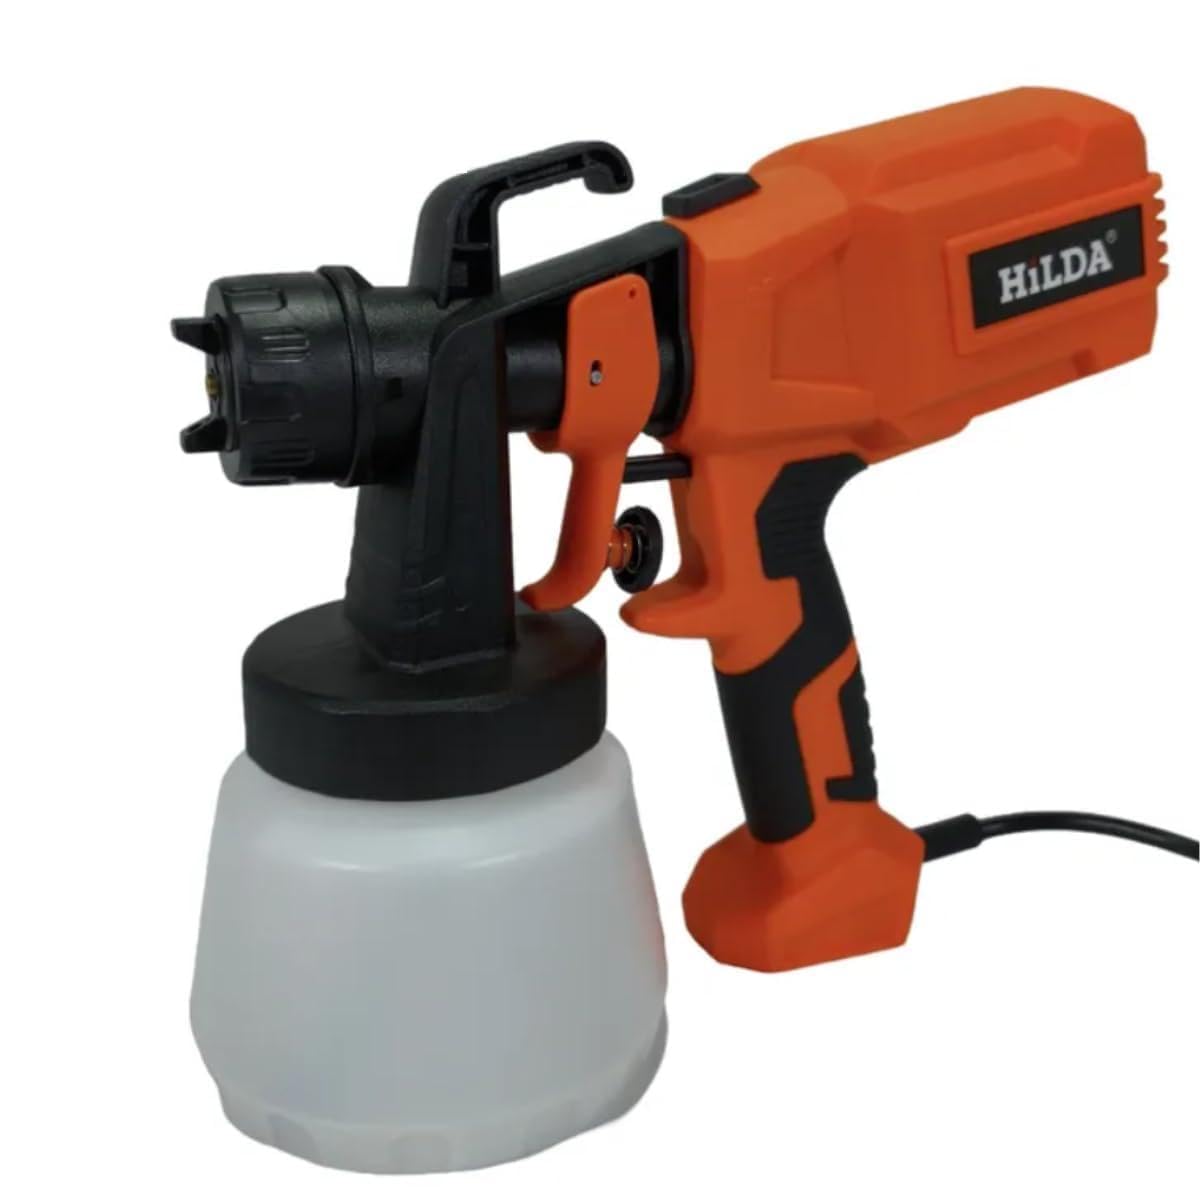
This manual provides essential instructions for the safe and efficient operation, setup, and maintenance of your HILDA Electric Paint Sprayer 002. Please read this manual thoroughly before first use and keep it for future reference. This HVLP (High Volume Low Pressure) paint sprayer is designed for applying various coatings to surfaces such as walls, fences, and furniture, providing a smooth and consistent finish.
2. Característiques i especificacions del producte
Característiques principals:
- Potència: 400W
- Viscositat màxima: 15 DIN/s
- Volum del tanc: 800 ml
- Air Outlet Pressure: 13 kPa (0.13 bar)
- Mida del broquet: 2.5mm (also includes 1.8mm, 2.0mm)
- Caudal: 180 ml/min
- Velocitat sense càrrega: 32,000 rpm
- Tipus de broquet: Multidireccional
- Longitud del cable d'alimentació: 1.5 metres
- Activador: Amb regulador de cabal
- Spraying System: HVLP (Alt Volum Baixa Pressió)
- Pistol Material: Plàstic
Especificacions tècniques:
| Marca | HILDA |
| Nom del model | Paint Sprayer 500W (Model 002) |
| Número de model | 002 |
| Volum del dipòsit | 800 mil·lilitres |
| Color | Orange (127V) |
| Dimensions del producte (L x A) | 26L x 28H centimeters |
| Ús recomanat | Pintura |
| Font d'alimentació | AC |
| UPC / GTIN | 789003342552 |
3. Contingut del paquet
Verify that all items listed below are present and undamaged upon opening the package.
- 1 x HILDA Paint Sprayer Unit
- 1 x Metal Nozzle 2.5mm (Pre-installed)
- 1 x Metal Nozzle 2.0mm
- 1 x Metal Nozzle 1.8mm
- 1 x Viscosity Funnel
- 1 x Manual d'usuari (aquest document)

4. Advertiments de seguretat importants
Adhere to these warnings to prevent damage to the equipment or personal injury.
- Dilution is Required: Always dilute paint according to the paint manufacturer's instructions and this manual. The sprayer cannot be used with undiluted paint.
- Avoid Textured Paints: Do not use the sprayer with textured paints or paints that cannot be diluted.
- Neteja immediata: Clean the sprayer immediately after each use to prevent paint from drying and clogging the system.
- Cleaning Solvents: Do not clean with aggressive solvents or leave parts soaking in solvent, as this may damage components.

5. Instruccions de configuració
- Desembalar: Traieu amb cura tots els components de l'embalatge.
- Inspeccionar: Reviseu totes les peces per detectar qualsevol signe de danys. No les utilitzeu si estan danyades.
- Assemble Nozzle: Ensure the desired metal nozzle (1.8mm, 2.0mm, or 2.5mm) is securely installed. The 2.5mm nozzle is typically pre-installed.
- Preparació de la pintura:
- Consult your paint manufacturer's instructions for recommended dilution ratios for spraying.
- Use the provided viscosity funnel to test the paint's viscosity. Fill the funnel with paint and time how long it takes for the paint to flow out. Adjust dilution until the flow time is within the recommended range (e.g., 15-30 seconds for typical latex paints, refer to paint instructions).
- Remeneu bé la pintura després de la dilució.
- Omplir el dipòsit: Unscrew the paint container from the sprayer body. Pour the prepared paint into the container, ensuring not to overfill.
- Connectar el tanc: Securely screw the paint container back onto the sprayer body.
- Connectar l'alimentació: Plug the sprayer into a grounded 127V AC power outlet.
6. Instruccions de funcionament
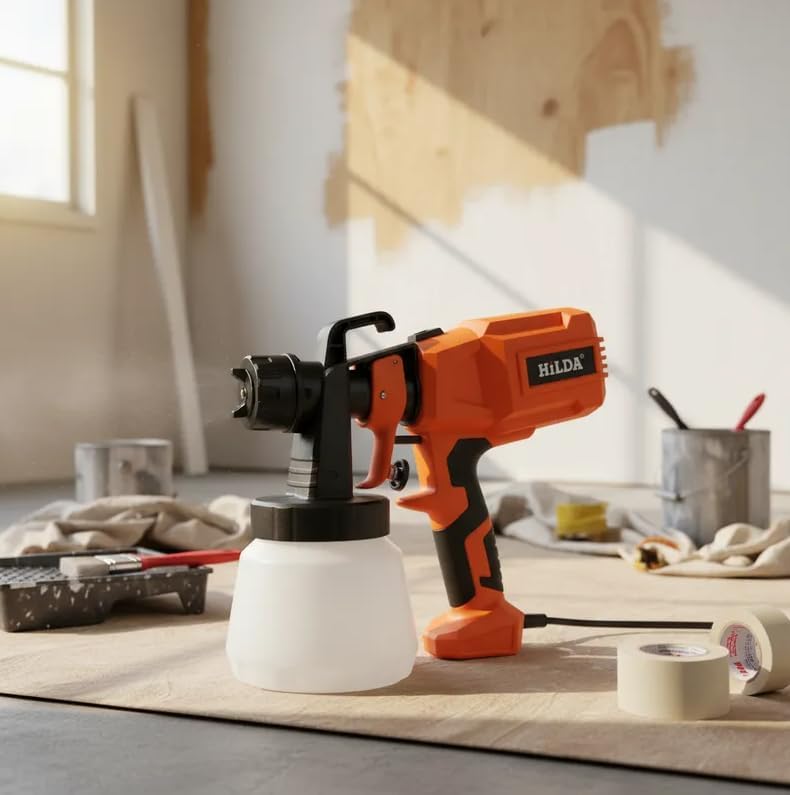
- Spray de prova: Before painting your actual surface, perform a test spray on a piece of cardboard or scrap material to check the spray pattern and consistency.
- Ajustar el patró de polvorització: The multi-directional nozzle allows for horizontal, vertical, or circular spray patterns. Rotate the nozzle cap to select the desired pattern.
- Ajustar el cabal: Use the flow regulator on the trigger to control the amount of paint being sprayed. Start with a lower setting and increase as needed.
- Mantenir la distància: Hold the sprayer approximately 6-12 inches (15-30 cm) from the surface, depending on the desired coverage and paint type.
- Traços parells: Apply paint using smooth, even strokes, moving your arm rather than just your wrist. Overlap each pass by about 50% to ensure uniform coverage.
- Evitar la inclinació: Keep the sprayer as level as possible to ensure consistent paint flow from the container.
- Allibera el disparador: Release the trigger at the end of each stroke to avoid paint buildup.

7. Neteja i Manteniment
Una neteja adequada després de cada ús és crucial per a la longevitat i el rendiment del vostre polvoritzador de pintura.
- Empty Paint: Disconnect power. Unscrew the paint container and pour any remaining paint back into its original can.
- Esbandida inicial: Fill the container with an appropriate cleaning solution (water for latex paints, mineral spirits for oil-based paints). Reattach the container.
- Sistema de buidatge: Plug in the sprayer and spray the cleaning solution into a waste container until the liquid runs clear.
- Desmuntar: Disconnect power. Unscrew the nozzle cap, remove the nozzle, and disassemble other removable parts (e.g., air cap, fluid tip).
- Neteja a fons: Clean all disassembled parts with the appropriate cleaning solution and a brush. Pay special attention to the nozzle and fluid tip to remove all paint residue.
- Cos de neteja: Wipe the exterior of the sprayer body with a damp cloth. Do not immerse the motor unit in liquid.
- Assecar i tornar a muntar: Ensure all parts are completely dry before reassembling. Store the sprayer in a clean, dry place.

8. Solució De Problemes
| Problema | Causa possible | Solució |
|---|---|---|
| Sense esprai o esprai feble |
|
|
| Patró de polvorització desigual |
|
|
| La pintura goteja o s'escorre |
|
|
9. Garantia i Suport
This HILDA product is covered by a standard manufacturer's warranty against defects in materials and workmanship. For specific warranty terms and conditions, please refer to the warranty card included in your package or contact HILDA customer support.
For technical assistance, spare parts, or any other inquiries, please contact your retailer or the HILDA customer service department. Keep your purchase receipt as proof of purchase for warranty claims.
Nota: Extended warranty plans may be available for purchase separately. Refer to your retailer for details.