
Introducció
This manual provides detailed instructions for the setup, operation, and maintenance of your Tera 9200 Omnidirectional Barcode Scanner. Designed for efficiency and versatility, this scanner supports both 1D and 2D QR codes, including those displayed on LCD screens, and features automatic detection for hands-free operation. Please read this manual thoroughly before using the device to ensure optimal performance and longevity.

Un acabatview of the Tera 9200 Omnidirectional Barcode Scanner, highlighting its wired USB connectivity and desktop design.
Configuració
- Desembalatge: Traieu amb cura l'escàner i tots els accessoris de l'embalatge.
- Eliminació de la pel·lícula protectora: The scanner lens comes with a protective film. Gently peel off this film before initial use to ensure clear scanning.
- Connecta't al dispositiu amfitrió: Connect the scanner to your computer or POS system using the provided USB cable. The scanner is plug-and-play, requiring no additional driver installation.
- Col·locació: Place the scanner on a stable, flat surface in a location that allows for easy presentation of barcodes.

This image shows the high-transparency acrylic screen and the process of removing the protective film from the scanner lens before use.

The scanner connects via USB and is compatible with various operating systems (Windows, Android, Linux, iOS) and devices (Laptop, PC, POS) without needing drivers.
Instruccions de funcionament
Modes d'escaneig
The Tera 9200 scanner offers three distinct scanning modes to suit various operational needs:
- Mode de lectura única: For scanning individual barcodes one at a time. The scanner will read a barcode only once per presentation.
- Mode d'escaneig continu: The scanner remains in an active scanning state, continuously reading barcodes as they are presented. Ideal for high-volume scanning.
- Automatic Detection Mode: The scanner automatically activates and reads a barcode when it detects an object (barcode) within its scanning field. This hands-free mode enhances efficiency in busy environments.

This image illustrates the three scanning modes: Single Read, Continuous Scan, and Automatic Detection, showing how each mode operates.
Codis de barres compatibles
The Tera 9200 is capable of reading a wide array of 1D and 2D barcode symbologies, including:
- Codis de barres 1D: UPC, EAN8, EAN13, Code128, Code39, Codabar (NW-7), Interleaved 2 of 5, etc.
- Codis de barres 2D: Codi QR, Data Matrix, PDF417, etc.
It can efficiently read barcodes from both printed labels and digital displays such as smartphone screens or computer monitors.
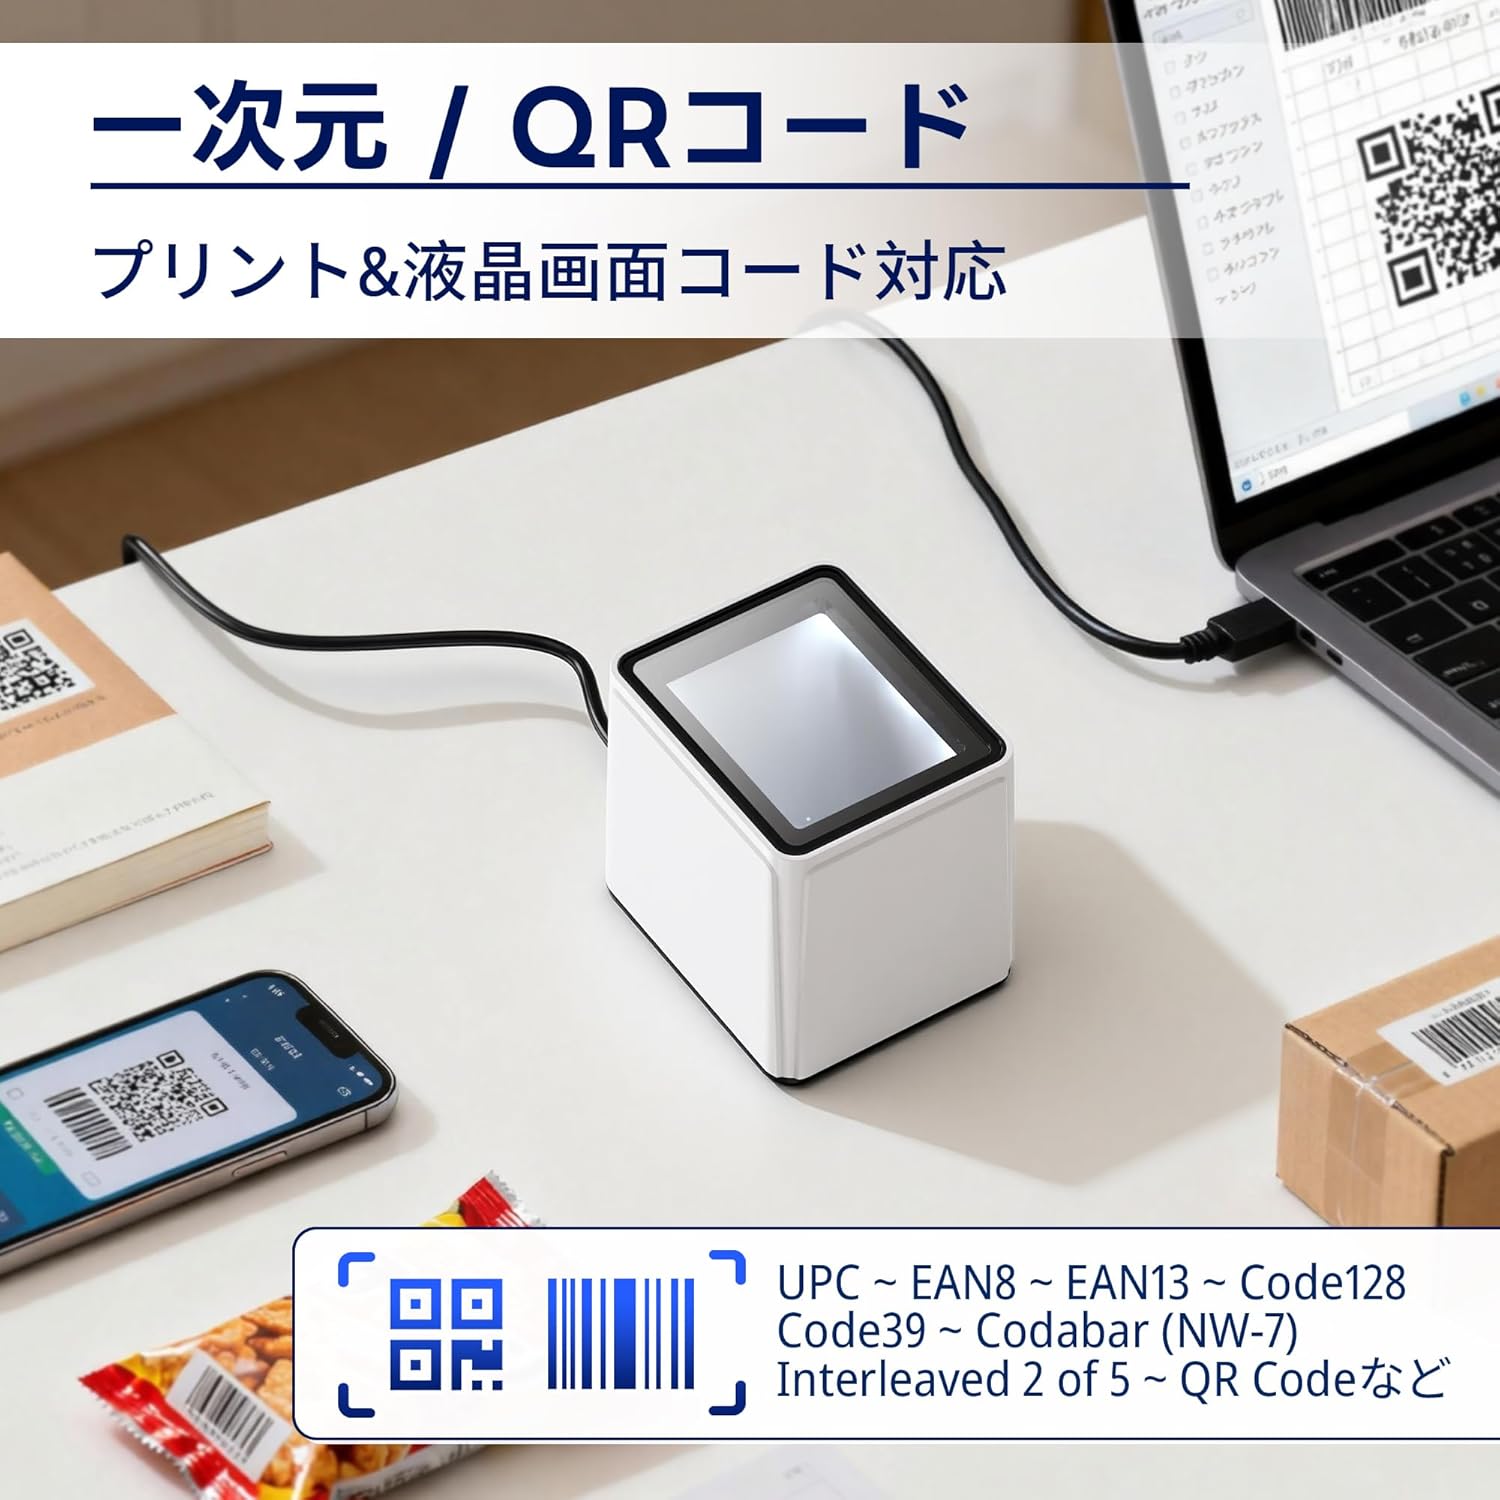
The image demonstrates the scanner's capability to read both printed 1D/2D codes and those displayed on LCD screens, such as on a smartphone or laptop.
Ajust de volum
The scanner's beep volume can be adjusted to suit your environment. Refer to the programming barcodes in the full user guide (if provided separately) or scan the appropriate configuration barcodes for volume levels (Off, Level 1-5).

This image illustrates the different volume levels available for the scanner's feedback beep, from off to level 5.
Configuració de Terminator
You can configure the data terminator to append specific characters after each successful scan, which is useful for data entry into various applications. Common options include:
- Add Carriage Return (CR) + Line Feed (LF): Simulates pressing Enter after scanning.
- Add Carriage Return (CR): Simulates pressing Enter.
- Add Tab: Simulates pressing the Tab key.
- Sense terminador: No additional characters are appended.
To change these settings, scan the corresponding programming barcode provided in the scanner's configuration guide.
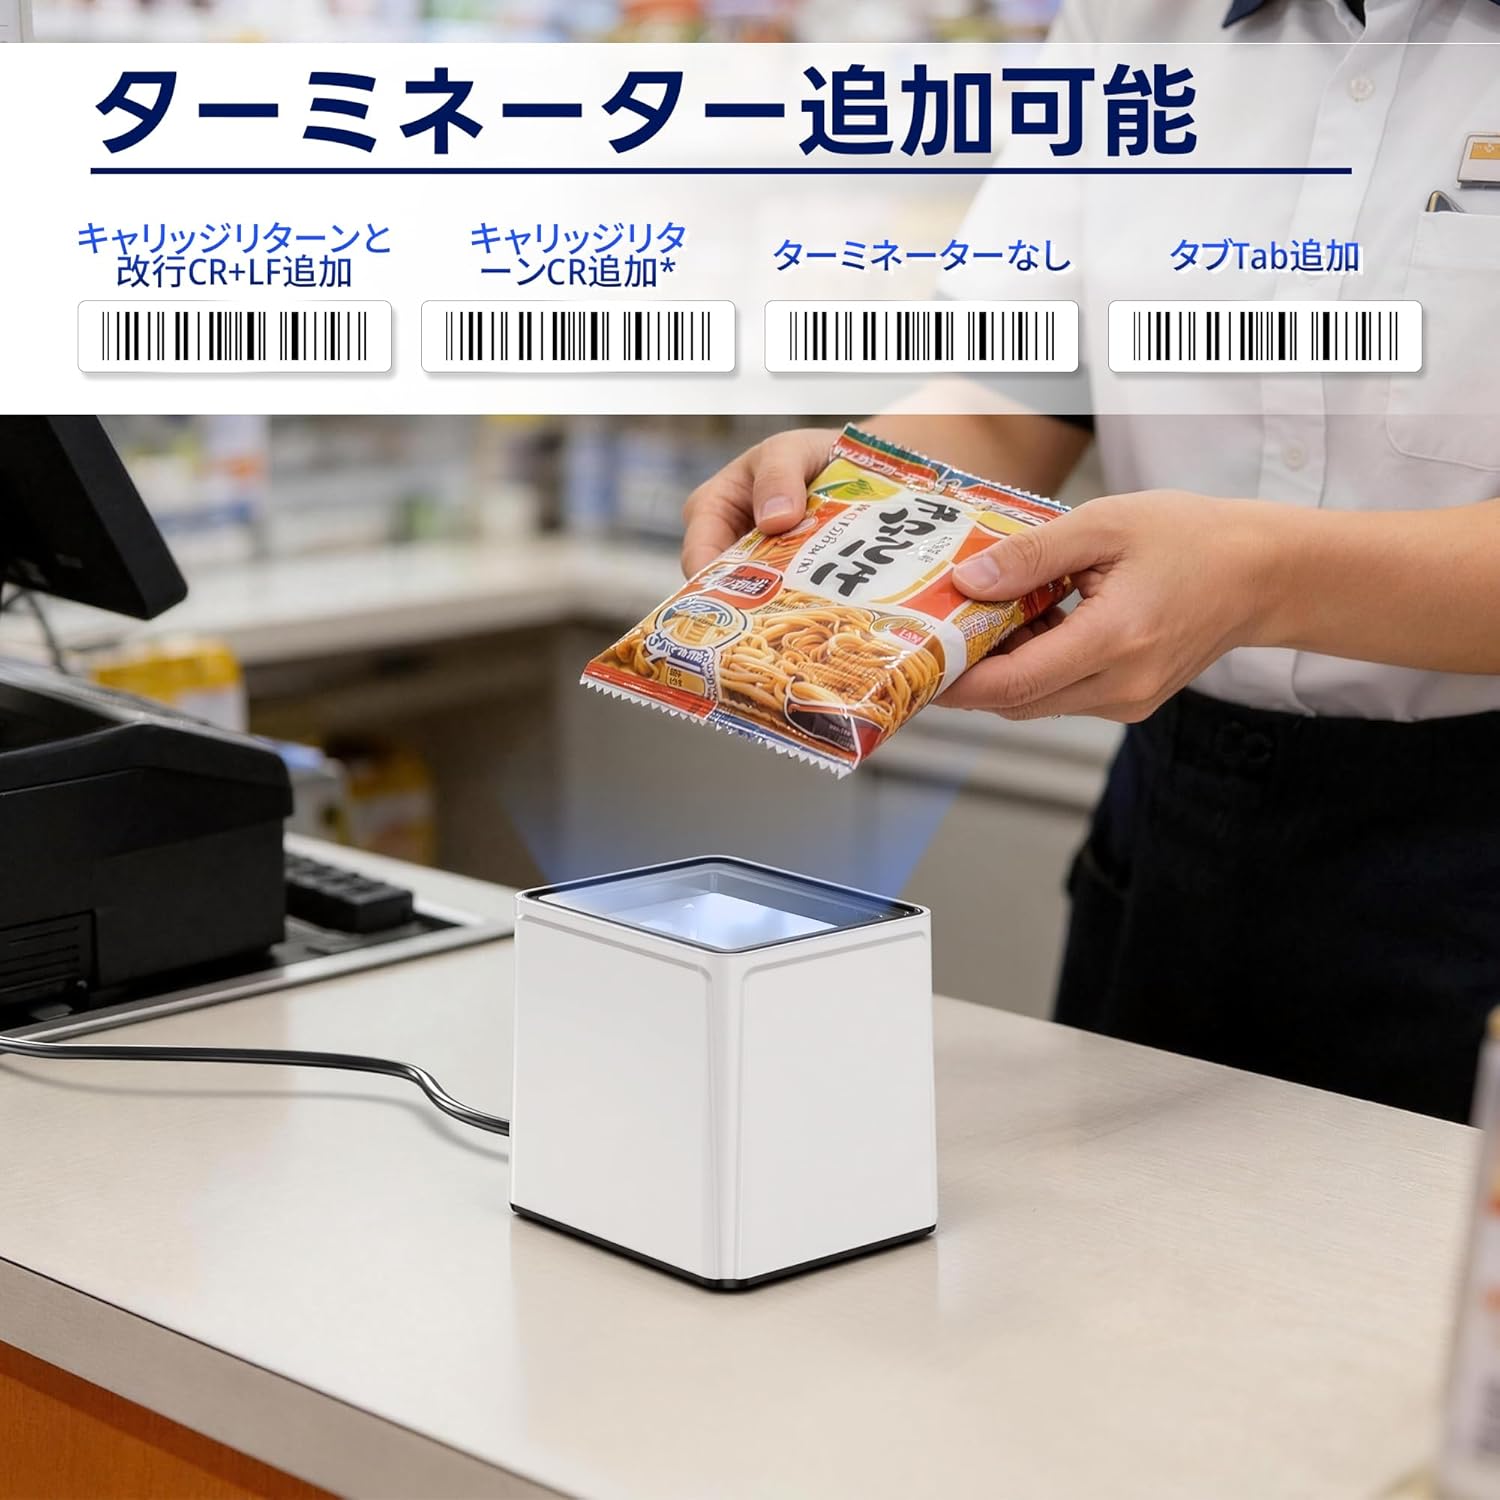
This image displays various barcode options for configuring the data terminator, such as adding CR+LF, CR, Tab, or no terminator.
Manteniment
- Cleaning the Scanner Window: Utilitzeu un drap suau i sense pelusa lleugerament dampened with water or a mild glass cleaner to wipe the scanning window. Avoid abrasive materials or harsh chemicals that could scratch the acrylic surface.
- Neteja general: Keep the exterior of the scanner clean by wiping it with a dry, soft cloth.
- Inspecció del cable: Periodically check the USB cable for any signs of damage or wear. Replace if necessary.
- Emmagatzematge: When not in use, store the scanner in a clean, dry environment away from direct sunlight and extreme temperatures.
Resolució de problemes
| Problema | Causa possible | Solució |
|---|---|---|
| L'escàner no s'encén. | USB cable not properly connected or damaged. | Ensure the USB cable is securely connected to both the scanner and the host device. Try a different USB port or cable. |
| L'escàner no llegeix codis de barres. | Protective film still on lens; incorrect scanning mode; barcode damaged or poorly printed; scanner window dirty. | Remove protective film. Verify the scanner is in the correct operating mode. Ensure the barcode is clear and undamaged. Clean the scanner window. |
| Data is not transmitted correctly. | Incorrect terminator settings; software compatibility issue. | Adjust terminator settings using programming barcodes. Ensure your application is compatible with the scanner's output. |
| Scanner beeps but no data is output. | Host device not recognizing input; application not in focus. | Ensure the cursor is in the correct input field of your application. Restart the host device. |
Especificacions
- Model: 9200
- Marca: Tera
- Connectivitat: Cable USB
- Taxa d'escaneig: Alta velocitat
- Angle d'escaneig: 360 degrees (Omnidirectional)
- Codis de barres compatibles: 1D (UPC, EAN, Code128, Code39, Codabar, Interleaved 2 of 5, etc.), 2D (QR Code, Data Matrix, PDF417, etc.)
- Compatibilitat: Windows, Android, Linux, iOS (via USB)
- Material: High-transparency acrylic screen
- Origen: Xina
Garantia i Suport
The Tera 9200 Omnidirectional Barcode Scanner comes with a Garantia del fabricant de 1 anys des de la data de compra. Aquesta garantia cobreix els defectes de materials i de mà d'obra en ús normal.
For technical support, warranty claims, or any questions regarding your product, please contact Tera customer service through the retailer where you purchased the device or visit the official Tera weblloc per obtenir informació de contacte.
Si us plau, conserveu el comprovant de compra per al servei de garantia.