
1. Introducció
Thank you for choosing the CHUBORY G9 Pluto GPS Drone. This manual provides essential information for the safe operation, setup, and maintenance of your drone. Please read it thoroughly before first use to ensure proper functionality and to prevent damage.
The G9 Pluto is a lightweight, foldable drone equipped with a high-definition camera featuring Electronic Image Stabilization (EIS), GPS for precise positioning and intelligent flight modes, and a dedicated controller with a 4.5-inch HD screen for real-time viewing.
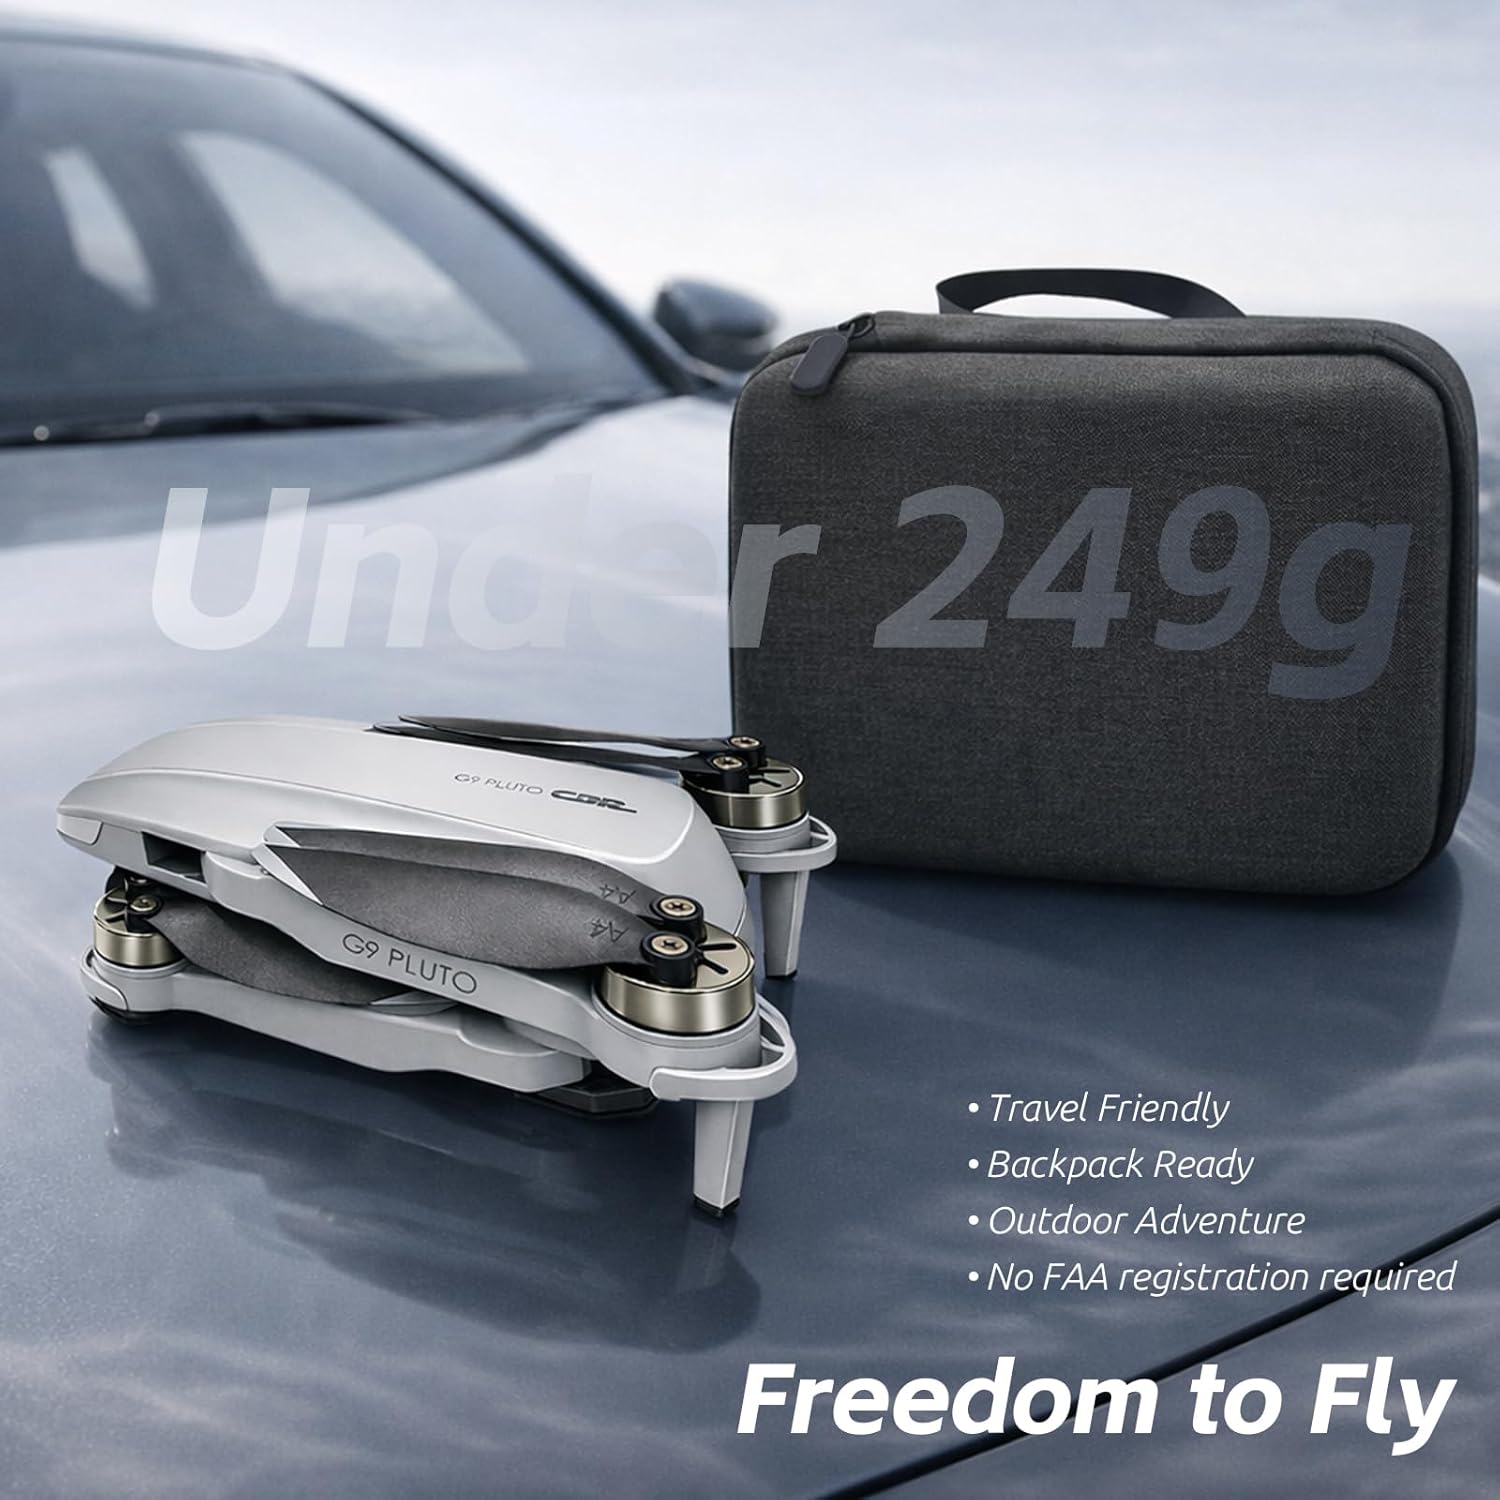
Figure 1: The CHUBORY G9 Pluto drone in its folded state, accompanied by its compact carrying case. This image highlights the drone's portability and its design to be under 249g, which may exempt it from certain registration requirements.
2. Configuració
2.1 Desembalatge i comprovació de components
Carefully remove all components from the packaging. Verify that all items listed in the product contents are present and undamaged.
- CHUBORY G9 Pluto Drone
- Remote Controller with 4.5" HD Screen
- 3 x Nonstandard Drone Batteries
- Cable de càrrega USB
- Hélices de recanvi
- Manual d'usuari

Figure 2: The CHUBORY G9 Pluto drone fully unfolded, showcasing its propellers and the integrated camera system. A detailed view of the camera highlights its design and placement on the drone's front.
2.2 Instal·lació i càrrega de la bateria
- Drone Bateria: Insert the drone battery into the designated compartment on the drone until it clicks securely into place.
- Càrrega: Connect the USB charging cable to the drone battery (or external charger if provided) and a suitable USB power adapter (not included). Charge all batteries fully before first use. The charging indicator will change when charging is complete.
2.3 Remote Controller Preparation
Ensure the remote controller is fully charged. The controller features an integrated 4.5-inch HD screen for direct FPV (First Person View) without needing a separate mobile device.
2.4 Instal·lació de l'hèlix (si cal)
If propellers are not pre-installed, attach them according to the markings (A and B) on the propellers and motor arms. Ensure they are securely fastened.
3. Instruccions de funcionament
3.1 Llista de verificació prèvia al vol
- Ensure drone and controller batteries are fully charged.
- Comproveu si les hèlixs estan danyades i assegureu-vos que estiguin ben fixades.
- Select an open, clear area for flight, away from obstacles, people, and animals.
- Power on the drone, then the remote controller. Wait for GPS signal acquisition (indicated on the controller screen).
3.2 Enlairament i aterratge
- Enlairament automàtic: Press the one-key take-off button on the controller. The drone will ascend to a safe height and hover.
- Enlairament manual: Push both joysticks down and outwards to arm the motors. Slowly push the left joystick up to ascend.
- Aterratge automàtic: Premeu el botó d'aterratge d'un sol botó. El dron descendirà i aterrarà automàticament.
- Aterratge manual: Slowly pull the left joystick down to descend. Once landed, push both joysticks down and inwards to disarm the motors.
3.3 Controls de vol
Use the joysticks on the remote controller to maneuver the drone:
- Joystick esquerre: Up/Down (Altitude), Left/Right (Yaw/Rotation).
- Joystick dret: Up/Down (Forward/Backward), Left/Right (Left/Right Sideways Flight).
3.4 GPS Features and Intelligent Flight Modes
The G9 Pluto utilizes GPS for enhanced stability and intelligent flight functions.
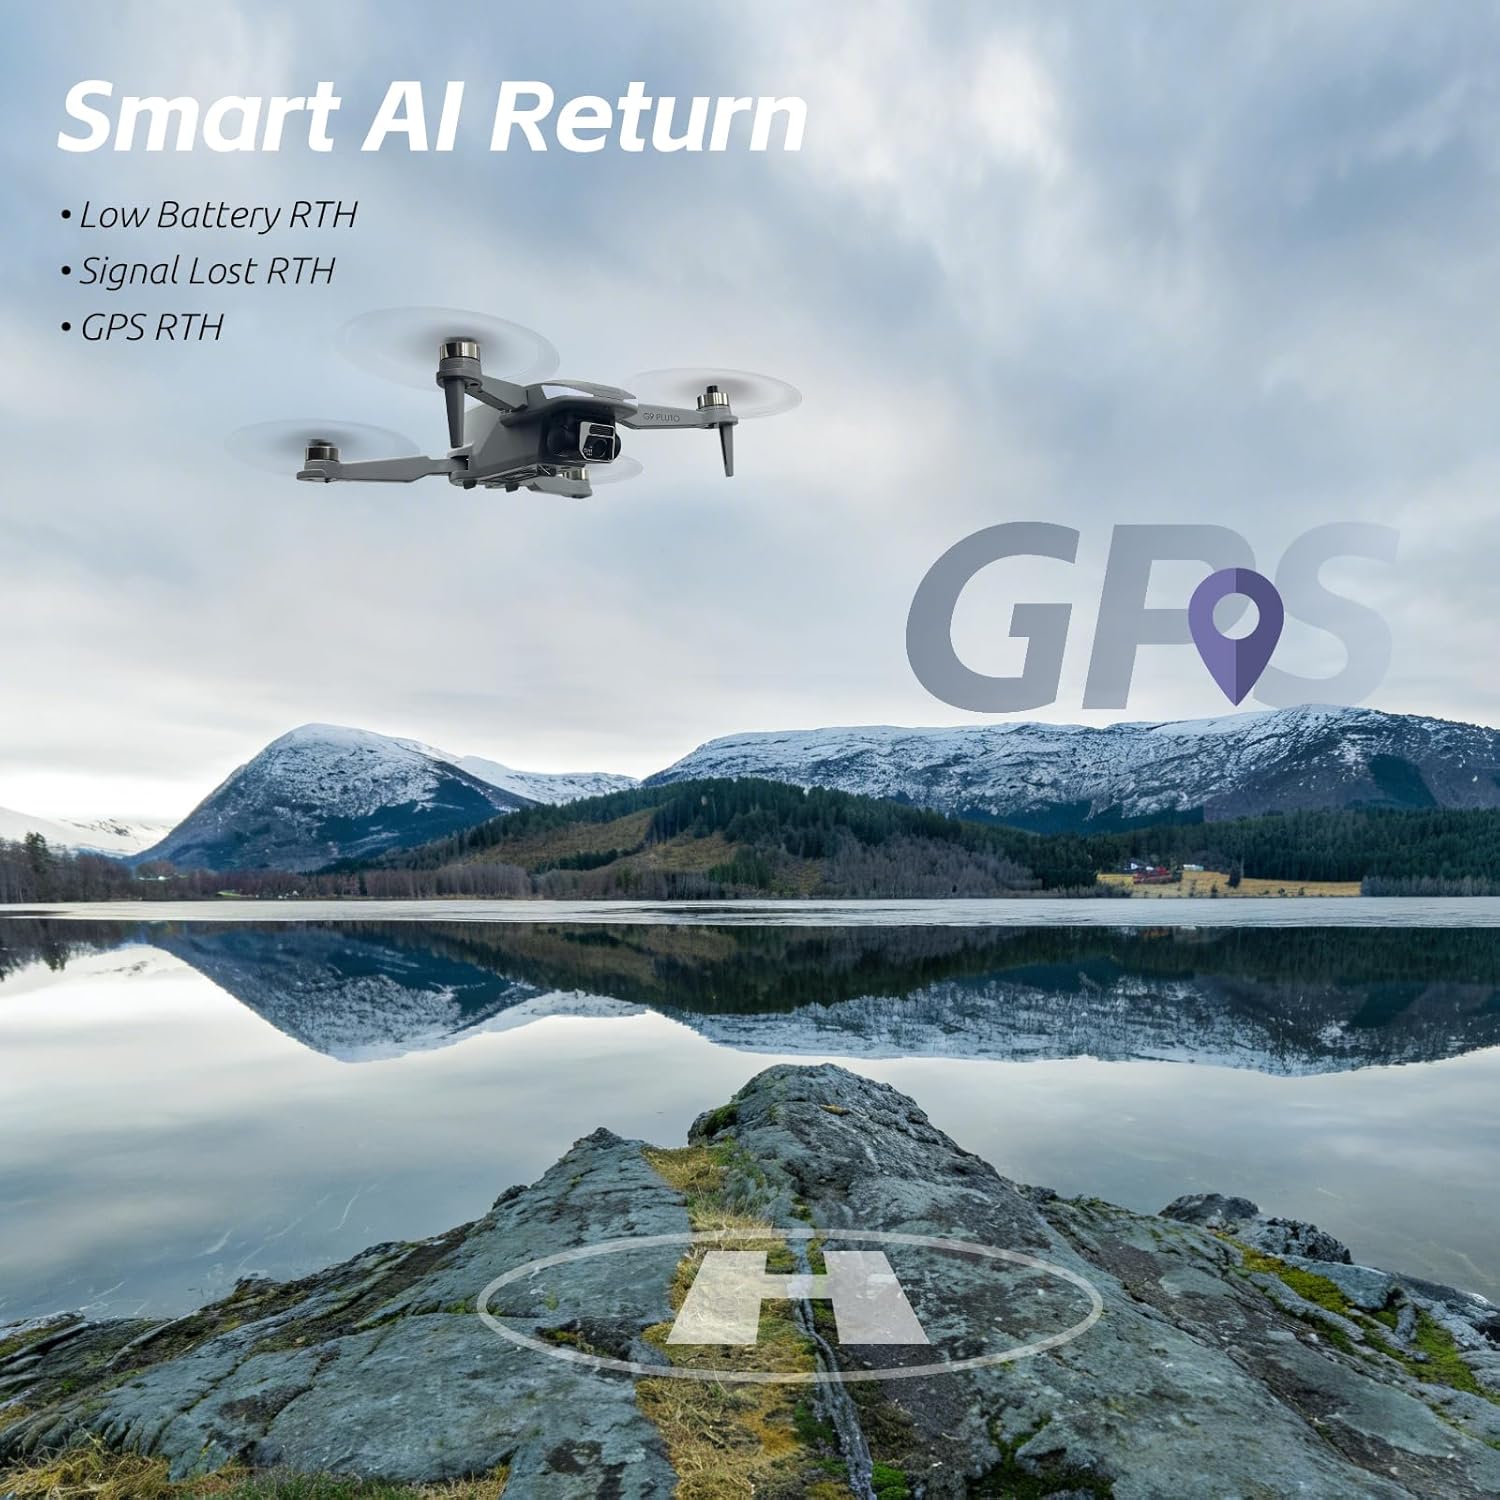
Figure 3: The CHUBORY G9 Pluto drone in flight above a scenic lake and mountains, demonstrating its Smart AI Return capabilities. This feature includes Return-to-Home (RTH) for low battery, signal loss, and GPS-initiated return.
- GPS Auto Return (RTH): The drone will automatically return to its take-off point if the battery is low, signal is lost, or the RTH button is pressed. Ensure a clear landing area.
- AI Follow: This mode allows the drone to automatically follow a designated subject, keeping it centered in the frame.

Figure 4: A close-up of the CHUBORY G9 Pluto remote controller's screen, showing the AI Follow mode actively tracking a person riding a skateboard. This illustrates the drone's ability to autonomously follow and record subjects.
3.5 Funcionament de la càmera
The integrated EIS camera captures smooth HD videos and photos. Use the dedicated buttons on the remote controller to start/stop recording or take pictures. The 4.5-inch HD screen provides a live feed from the camera.
4. Manteniment
4.1 Cura de la bateria
- No sobrecarregueu ni descarregueu excessivament les bateries.
- Emmagatzemeu les bateries en un lloc fresc i sec, lluny de la llum solar directa.
- If not used for extended periods, charge batteries to approximately 50-60% capacity.
4.2 Inspecció i substitució de l'hèlix
- Regularly inspect propellers for cracks, bends, or chips.
- Replace damaged propellers immediately using the provided spare parts. Ensure correct orientation (A/B) during replacement.
4.3 Neteja i emmagatzematge
- Clean the drone and controller with a soft, dry cloth. Avoid using solvents.
- Store the drone in its carrying case in a cool, dry environment.
5. Solució De Problemes
| Problema | Causa possible | Solució |
|---|---|---|
| El dron no s'encén. | Bateria no carregada o mal instal·lada. | Assegureu-vos que la bateria estigui completament carregada i inserida correctament. |
| Sense senyal GPS. | Flying indoors or in an area with signal interference. | Vola en una zona oberta a l'aire lliure amb claredat view of the sky. Wait for GPS lock before take-off. |
| El dron es desplaça durant el vol. | Calibratge incorrecte o vents forts. | Perform IMU and compass calibration. Avoid flying in strong winds. |
| Mala qualitat de vídeo/fotos. | Dirty camera lens, insufficient lighting, or high vibration. | Clean the camera lens. Ensure adequate lighting. Check for propeller damage causing excessive vibration. |
6. Especificacions
| Característica | Detall |
|---|---|
| Nom del model | G9 Pluto |
| Marca | CHUBORY |
| Dimensions del producte | 12 x 7.5 x 5 cm (plegat) |
| Pes de l'article | 180 grams |
| Bateries | 3 x Nonstandard Battery (included) |
| Composició de les cèl·lules de la bateria | Polímer de liti |
| Tecnologia de connectivitat | Wi-Fi |
| Pantalla del controlador | 4.5 inch HD FPV Screen |
| Característiques de la càmera | EIS (Electronic Image Stabilization) |
| Característiques especials | GPS Auto Return, AI Follow, Foldable Design |
| Referència del fabricant | A-G9-260123 |
| UPC | 718027500563 |
7. Garantia i Suport
For warranty information and technical support, please contact the manufacturer, Aerionix Tech Limited. Refer to your purchase documentation for specific warranty terms and contact details.
Informació de contacte del fabricant: Aerionix Tech Limited


