1. Introducció
This manual provides detailed instructions for the safe installation, operation, and maintenance of your Progress Lighting 2-Light Adjustable Swivel Flood Light, Model P5203-31. Please read this manual thoroughly before installation and retain it for future reference.
The Two-Light Adjustable Swivel Flood Light is designed to provide added safety and security for your home with its twin classic shades that direct light in two angled directions. Its durable aluminum construction and bold black finish ensure long-life performance and a touch of simple sophistication for exterior walls and garages.

Image 1.1: The Progress Lighting P5203-31 2-Light Adjustable Swivel Flood Light in black finish. This fixture features two adjustable lamp holders designed for outdoor use.
2. Informació de seguretat
WARNING: Read instructions carefully and turn electricity off at main circuit breaker panel before beginning installation.
- Seguretat elèctrica: All wiring must be in accordance with the National Electrical Code (NEC) and local electrical codes. If you are unsure about wiring, consult a qualified electrician.
- Instal·lació exterior: When installing outdoors or in a wet location, the edge of the fixture must be sealed to the mounting surface with a permanent waterproof caulking material (latex, silicone, urethane, etc.) to comply with U.L. requirements.
- Advertència de la proposta 65: Aquest producte conté productes químics coneguts a l’Estat de Califòrnia per causar càncer, defectes congènits i / o altres danys reproductius. Renteu-vos bé les mans després d’instal·lar, manipular, netejar o tocar aquest producte d’una altra manera.
- Manipulació de bombetes: Exercise caution when handling lamps (bulbs). All glass is fragile.
3. Contingut del paquet
Verify that all components are present before beginning installation. Refer to the installation diagram for visual identification.
- Fixture Assembly (2-Light Adjustable Swivel Flood Light)
- Maquinari de muntatge (cargols, femelles de cable)
- Full d’instal·lació

Image 3.1: Diagram showing the components and wiring for the P5203-31 flood light. This includes the fixture, lamp holders, cover plate, and wiring connections.
4. Especificacions
| Característica | Detall |
|---|---|
| Número de model | P5203-31 |
| Marca | Il·luminació de progrés |
| Color | Negre |
| Material | Alumini |
| Dimensions del producte (L x A x A) | 22.5" x 6.25" x 11.31" |
| Tipus de muntatge | Wall Mount (4-13/16" dia.) |
| Font d'alimentació | AC |
| Voltage | 120 Volts |
| Max Wattage per Bulb | 150 watts |
| Base del bulb | E26 (Base Mitjana) |
| Tipus de bombeta recomanat | PAR38 or BR30 (Halogen or LED) |
| Nombre de fonts de llum | 2 |
| Característica especial | Dimmable (with compatible dimmer and bulbs) |
| Ús interior/exterior | Outdoor (UL-CUL Wet location listed) |
| Garantia | Garantia limitada d'1 any |
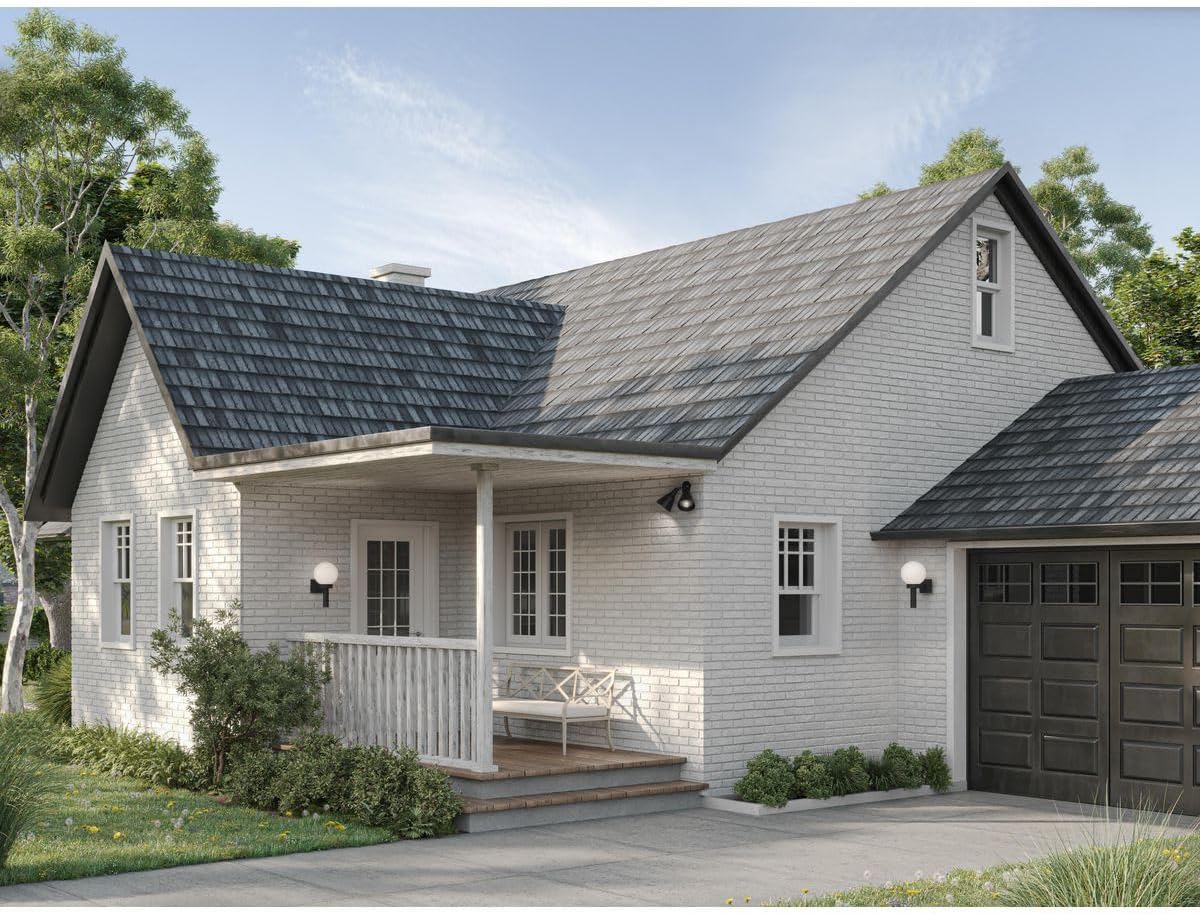
Image 4.1: Technical drawing illustrating the dimensions of the P5203-31 flood light, showing a width of 6-1/4 inches, height of 11-5/16 inches, and length of 22-1/2 inches.

Image 4.2: Information regarding compatible bulb types (E26 base, PAR30 or BR30 shape) and the dimmable feature of the fixture when used with appropriate bulbs and wall dimmer.
5. Configuració i instal·lació
Abans de començar: Ensure power is turned off at the circuit breaker. Gather necessary tools (screwdriver, wire strippers, caulk gun, caulk).
- Preparació del cablejat: Slip the fixture wires (3) of the lampholder(s) (7) through the hole(s) in the Cover Plate (5).
- Adjunta Lamptitulars: Secure each lampholder (7) to the Cover Plate (5) with one Locknut (4) per lampholder and one on each side of the Cover Plate (5).
- Connecteu els cables: Connect the fixture wires (3) to the supply wires as shown in the wiring diagram (refer to Image 3.1).
- Connect the black fixture wire to the black supply wire.
- Connect the white fixture wire to the white supply wire.
- Connect the green or bare copper fixture ground wire to the green or bare copper supply ground wire.
- Fixació de muntatge: Knock out appropriate mounting holes in the Cover Plate (5) to match the mounting holes in the outlet box (1). Slip machine screws (6) through these holes and thread into the outlet box (1). (PRE-WIRING IS ALWAYS).
- Fixació del segell: Slip Gasket (8) onto the lamp(s) (9), (5206 & 5207 ONLY).
- Instal·leu Lamps: Install the appropriate lamps (bulbs) (9) (not furnished).
CAUTION: All glass is fragile. Use care when handling lamps (bulbs).
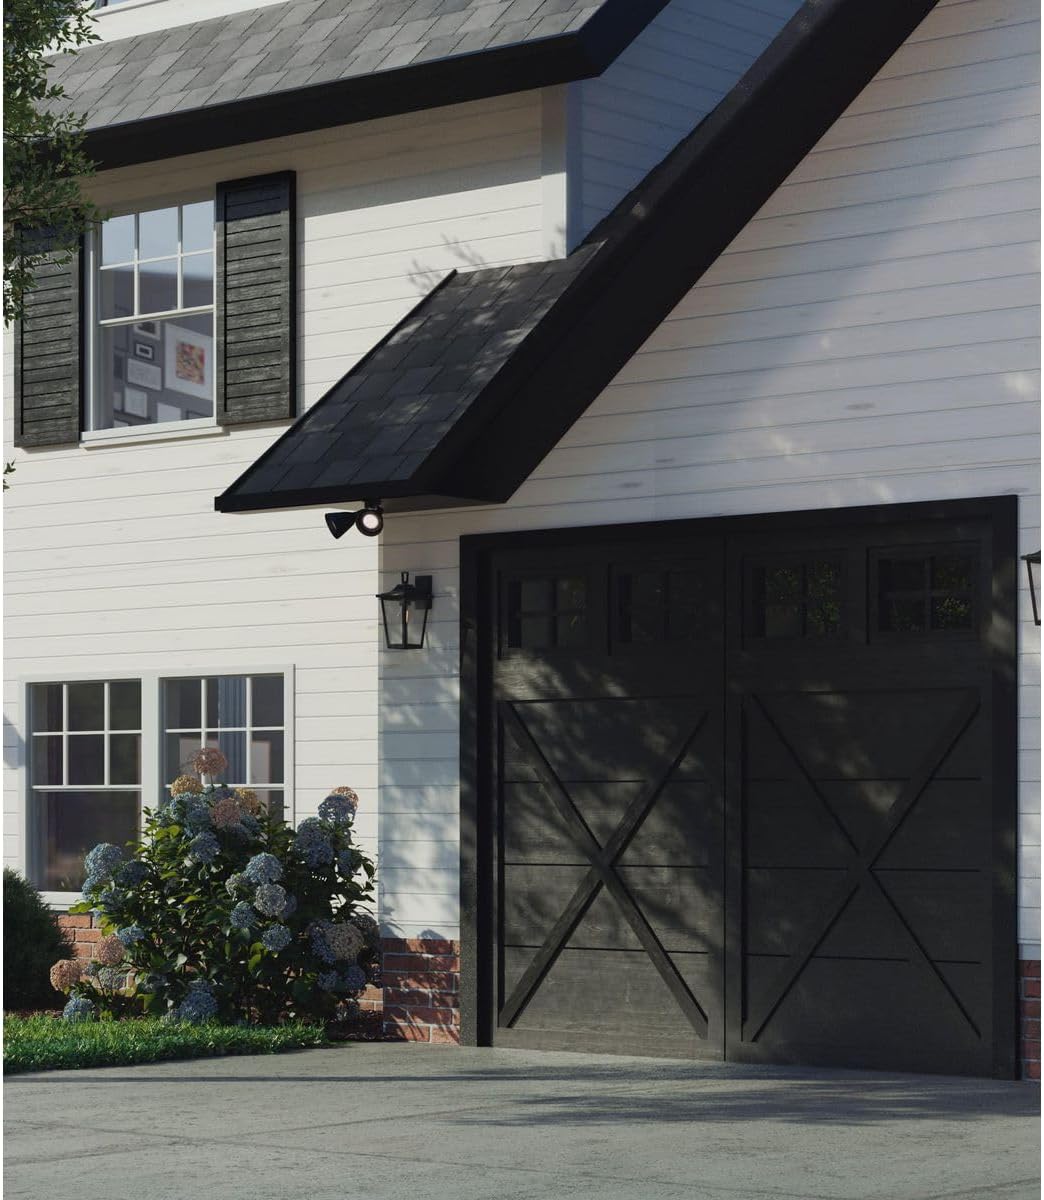
Image 5.1: The P5203-31 flood light installed on the exterior wall of a house, providing illumination for the pathway.

Image 5.2: The P5203-31 flood light mounted above a garage door, enhancing security and visibility for the garage area.
6. Instruccions de funcionament
Once installed and wired correctly, the flood light operates via your standard wall switch or dimmer switch.
- Encès/apagat: Use the wall switch connected to the fixture to turn the flood light on or off.
- Ajust de la direcció de la llum: Les dues lamp holders are adjustable. Gently swivel each lamp holder to direct the light beam to your desired area.
- Funció d'atenuació: If dimmable bulbs and a compatible wall dimmer switch are installed, you can adjust the brightness of the flood light using the dimmer control.
7. Manteniment
- Neteja: Per netejar l'aparell, assegureu-vos que l'alimentació estigui apagada. Netegeu amb un drap suau i sec.amp drap. No utilitzeu netejadors abrasius ni dissolvents, ja que poden danyar l'acabat.
- Substitució de bombetes:
- Desconnecteu l'alimentació a l'interruptor automàtic abans de substituir les bombetes.
- Deixeu que les bombetes es refredin completament abans de tocar-les.
- Unscrew the old bulb and screw in a new E26 base, max 150W PAR38 or BR30 bulb.
- Restaura el poder.
- Inspecció: Periodically inspect the fixture for any signs of damage, loose wiring, or wear. Address any issues promptly.
8. Solució De Problemes
| Problema | Causa possible | Solució |
|---|---|---|
| La llum no s’encén. | No hi ha energia a l’aparell. | Comproveu l'interruptor automàtic i l'interruptor de paret. Assegureu-vos que hi hagi corrent. |
| Connexions de cable soltes. | Turn off power at the breaker. Check all wire connections for tightness. | |
| Bombeta defectuosa. | Substituïu la bombeta per una de nova del tipus correcte i guardeu-la.tage. | |
| La llum parpelleja o s'atenua inesperadament. | Bombeta o cablejat solts. | Ensure bulbs are screwed in tightly. Check wire connections. |
| Interruptor regulador d'intensitat o bombetes incompatibles. | Ensure both bulbs and dimmer switch are rated for dimming and are compatible with each other. | |
| Water inside fixture or around mounting. | Segellat incorrecte durant la instal·lació. | Turn off power. Re-seal the edge of the fixture to the mounting surface with waterproof caulk. Ensure all gaskets are properly seated. |
9. Garantia i Suport
This Progress Lighting fixture is covered by a Garantia limitada d'1 any des de la data de compra. Aquesta garantia cobreix els defectes de materials i de mà d'obra en ús normal.
For warranty claims, technical support, or replacement parts, please contact Progress Lighting customer service. Refer to the official Progress Lighting weblloc web per obtenir informació de contacte actualitzada.
Fabricant: Il·luminació de progrés
Weblloc: www.progresslighting.com


