1. Introducció
This manual provides comprehensive instructions for the installation, operation, and maintenance of the On-Q 42-inch Enclosure Hinged Cover-Lock (Model EN4250). This enclosure is designed to house and organize structured wiring components for residential and light commercial applications, providing a centralized and secure location for your network, voice, and video distribution systems.
The On-Q enclosure features a durable 20 Gauge CRS (Cold Rolled Steel) construction with a protective powder coat finish, ensuring longevity and reliability. Its versatile design allows for both flush and surface mounting, adapting to various installation requirements. The hinged, locking door provides secure access to internal components while maintaining a clean aesthetic.
2. Producte acabatview
The On-Q 42-inch Enclosure is engineered for efficient cable management and component organization. Key features include:
- Hinged, Locking Door: Provides secure access and conceals wiring.
- Universal Mounting Holes: Compatible with all On-Q bay-style modules.
- Large Top Openings: Facilitate easier wire pulling.
- Additional Knockouts: For flexible cable entry and electrical outlets.
- Side Lances and Tabs: Offer versatile mounting options for internal components.
- Drywall Depth Indicators: Aid in correct flush-mount positioning.
- Self-Adhesive Cable Identification Table: For organized wiring.
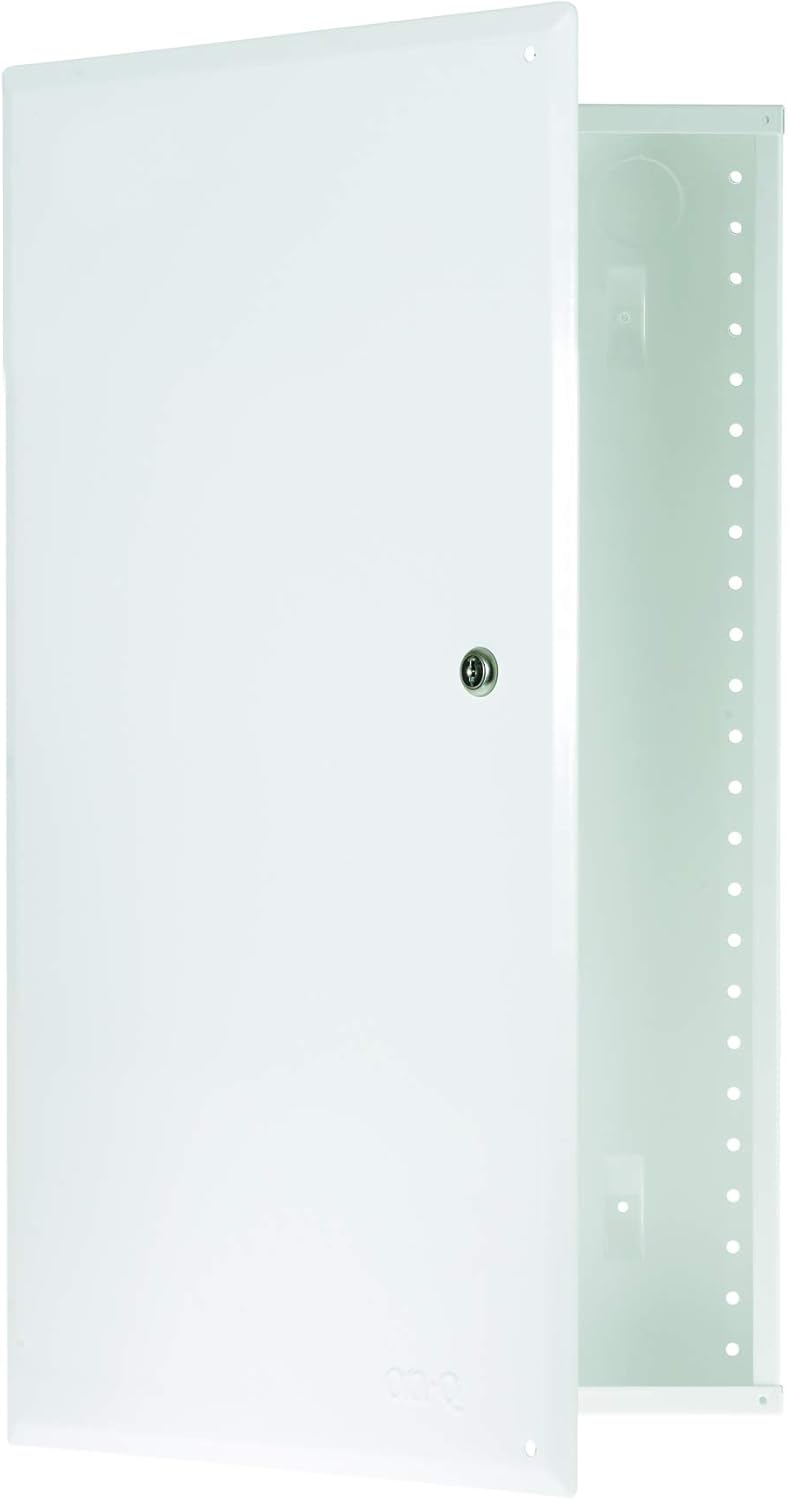
Figure 2.1: The On-Q 42-inch Enclosure with its hinged door open, showcasing the internal mounting points and cable management features.

Figure 2.2: Detailed dimensions of the EN4250 enclosure, including depth, width, and height measurements for both the enclosure body and the hinged door.

Figure 2.3: The keyed lock mechanism on the enclosure door, providing security for the housed components.
3. Instal·lació
The On-Q EN4250 enclosure can be installed using either recessed (in-wall) or surface mounting methods. Ensure all local electrical and building codes are followed during installation.
3.1 Eines i materials necessaris
- Trepant/Conductor
- Nivell
- Utility Knife or Hammer (for knockouts)
- Tornavís (es recomana el de capçal Phillips)
- Cinta mètrica
- Llapis
- Ulleres de seguretat
3.2 Muntatge de la carcassa
- Seleccioneu la ubicació: Choose a suitable location, typically between wall studs, that allows for easy access and cable routing. Ensure there is sufficient space for the enclosure's dimensions (approximately 14.3" W x 42.1" H x 3.7" D).
- Mark Keyhole Location: Hold the enclosure against the wall studs in the desired position. Mark the location of the top keyhole slot on the wall.
- Install Top Screw: Drive a screw into the marked keyhole location, leaving it slightly proud to allow the enclosure to hang.
- Hang and Level: Hang the enclosure on the top screw. Use a level to ensure the enclosure is plumb.
- Secure Remaining Tabs: Once level, drive screws into the remaining mounting tabs to secure the enclosure firmly to the wall studs.

Figure 3.1: Securing the enclosure to wall studs during installation. The enclosure can be recessed or surface mounted.

Figure 3.2: Details of the enclosure's rear access knockouts, keyhole opening for initial hanging, and standoffs for surface mounting.
3.3 Cable Entry and Power Installation
- Elimina els knockouts: Use a utility knife or hammer to remove the desired cable entry knockouts at the top or bottom of the enclosure. The top openings are larger (2.5 inches) for easier wire pulling.
- Install Grommets (Optional): For protected cable entry, install On-Q rubber grommets (AC1034, sold separately) into the removed knockouts.
- Cables de ruta: Pull all necessary low-voltage cables (network, voice, video) through the chosen entry points into the enclosure.
- Install Electrical Outlets: If power is required inside the enclosure, remove the appropriate electrical knockouts at the bottom. Install On-Q Tamper Resistant Outlet Power Kit (F7526) or Surge Protected Power Outlet Kit (364569-02-V1) (sold separately) using the provided screws to affix the box to the enclosure. Terminate AC cabling to the receptacle and secure with a cover plate.

Figure 3.3: The large 2.5-inch top openings facilitate easy routing of multiple cables into the enclosure.

Figure 3.4: The two bottom knockouts are designed for installing standard electrical outlets, such as the On-Q F7526 or 364569-02-V1 (sold separately).
3.4 Drywall and Trim Installation
- Protect with Cable Guard: During drywall installation, use the provided cardboard cable guard to protect internal cables and keep them tidy.
- Instal·leu l'anell de retall: Once drywall is complete, mount the top trim piece first, then snap in additional perimeter pieces around the enclosure. Use a level and screw into additional mounting holes as needed.
- Attach Hinged Door: Snap the hinged door into the trim ring. The door can be reversed to open from either the left or right side.
3.5 Guia de vídeo d'instal·lació
For a visual guide on the installation process, please refer to the official installation video below:
Video 3.1: Official installation guide for the On-Q Enclosure. This video demonstrates the steps for mounting the enclosure, managing cables, installing power outlets, and attaching the trim and hinged door.
4. Funcionament
The On-Q 42-inch Enclosure is primarily a passive housing unit designed to organize and protect your structured wiring components. Its operation involves managing the installed modules and cables.
- Accés als components: Use the provided key to unlock and open the hinged door. This allows full access to all installed modules, patch panels, and cables.
- Gestió de cables: Utilize the built-in lance points and cable management clips (AC1035-20, sold separately) to neatly route and secure cables within the enclosure, preventing tangles and improving airflow.
- Instal·lació del mòdul: On-Q bay-style modules (e.g., video, voice, network distribution, Gigabit switches like DA1008) can be easily snapped into the universal mounting holes. Ensure modules are securely fastened.
- Preses de corrent: If installed, the internal power outlets provide electricity to active components such as routers, switches, or media converters.

Figura 4.1: Un example of a fully populated On-Q enclosure, demonstrating organized cabling and various installed modules for a structured wiring system.

Figure 4.2: Components such as Ethernet switches and network interface modules neatly organized within the enclosure, with cables managed for optimal performance.

Figure 4.3: Internal features like lance points for cable ties, drywall depth indicators, and flexible mounting tabs that enhance the enclosure's versatility and ease of use.
5. Manteniment
The On-Q 42-inch Enclosure requires minimal maintenance to ensure its continued performance and the protection of your structured wiring system.
- Inspecció periòdica: Periodically open the enclosure and inspect all connections and components for any signs of wear, damage, or loose connections.
- Eliminació de pols: Use a soft, dry cloth or compressed air to remove any accumulated dust from inside the enclosure and from the components. Excessive dust can lead to overheating of active devices.
- Organització del cable: Ensure cables remain neatly organized and secured to the lance points. Re-tie or adjust cable ties as needed to maintain proper airflow and prevent strain on connections.
- Porta i pany: Check the hinged door and lock mechanism for smooth operation. Lubricate the lock if it becomes stiff.
- Condicions ambientals: Ensure the environment around the enclosure remains within specified humidity and temperature ranges to prevent damage to electronic components.
6. Solució De Problemes
This section addresses common issues you might encounter with your On-Q 42-inch Enclosure.
| Problema | Causa possible | Solució |
|---|---|---|
| Door does not close or latch properly. | Misalignment of door or trim ring; obstruction; damaged hinge/latch. | Check for obstructions. Ensure trim ring is properly seated. Inspect hinges and latch for damage and adjust if possible. |
| Difficulty pulling cables through knockouts. | Knockout not fully removed; sharp edges; too many cables. | Ensure knockouts are completely removed. Use rubber grommets (AC1034) for smoother entry. Reduce cable bundle size or use additional knockouts. |
| Internal components overheating. | Poor airflow; excessive dust; too many active devices. | Ensure cables are neatly managed to allow airflow. Clean dust regularly. Consider adding a small ventilation fan if multiple heat-generating devices are installed. |
| Enclosure feels loose on the wall. | Mounting screws are loose or not fully engaged. | Tighten all mounting screws. If necessary, remove the enclosure, re-drill pilot holes, and re-mount securely. |
7. Especificacions
| Atribut | Detall |
|---|---|
| Número de model | EN4250 |
| Dimensions (A x A x P) | 42.1" x 14.3" x 3.7" (Enclosure Body) 43.2" x 15.5" (Hinged Door) |
| Material | 20 Gauge CRS (Cold Rolled Steel) |
| Acabar | Protective Powder Coat (Glossy White) |
| Tipus d'instal·lació | Flush-Mount, Surface-Mount |
| Pes | 19.76 lliures |
| Humitat | Màxim 93% sense condensació |
| Compliment | Conforme a RoHS |
| Components inclosos | (1) 42" Metal Enclosure with Hinged Door |
| UPC | 804428023180 |
8. Garantia i Suport
The On-Q 42-inch Enclosure Hinged Cover-Lock (Model EN4250) comes with a 1 any de garantia des de la data de compra.
For technical support, warranty claims, or additional information, please contact On-Q customer service or visit their official website. Refer to the product packaging or the On-Q brand store on Amazon for the most current contact details.
Additional resources, including the full installation manual in PDF format, may be available online:


