1. Producte acabatview
The SINGER 5560 Computerized Sewing Machine is designed to make sewing easier for both beginners and experienced sewists. It features 203 stitch applications, a simple one-step buttonhole, and an automatic needle threader. The machine includes an accessory kit, hard cover, and extension table for enhanced functionality.

Image: SINGER 5560 Computerized Sewing Machine with its comprehensive accessory kit, including various presser feet, bobbins, needles, and an extension table.
2. Primers passos
2.1 Power and Foot Control Connection
Connect the power cord to the machine's power input and plug it into a suitable electrical outlet. Connect the foot control cable to the designated port on the machine. Use the power switch to turn the machine on or off.
Video: SINGER C5200 Series - Introduction and Machine Tour. This video provides an overview of the machine's main parts, including power and foot control connections.
2.2 Hand Wheel Operation
The hand wheel is located on the right side of the machine. Always turn the hand wheel towards you to manually move the needle up and down.
2.3 Enrotllament i inserció de la bobina
Place your thread spool on the spool pin. Guide the thread through the bobbin winding tension disk and onto the bobbin. Place the bobbin on the bobbin winding spindle and push it to the right. Press the foot control to wind the bobbin. Once full, trim the thread and insert the bobbin into the bobbin case, ensuring the thread unwinds in the correct direction.
2.4 Enfilat superior
Follow the numbered thread guides on the machine, ensuring the thread passes through the tension discs and the take-up lever. Raise the presser foot before threading to ensure proper tension engagement.
Enfilador d'agulles automàtic 2.5
Lower the presser foot and needle to its lowest position. Pull down the automatic needle threader lever and align the small hook with the needle eye. Guide the thread through the hook and release the lever to thread the needle.

Image: Effortless threading is demonstrated with the built-in needle threader and clear thread guides.
2.6 Presser Foot Lifter
The presser foot lifter is located at the back of the needle area. Use it to raise and lower the presser foot. An extra-high setting is available for thicker fabrics.
2.7 Removable Storage Compartment / Free Arm
The removable storage compartment slides off to reveal the free arm. The free arm is ideal for sewing small, circular items like cuffs, pant hems, and necklines. The compartment also stores your machine's accessories.

Image: The SINGER 5560 machine shown with its extension table, which provides a larger flat surface for bigger projects and can be removed for free-arm sewing.
3. Stitch Selection & Adjustment
The machine features an LCD screen that displays your selected stitch number, width, and length settings. A panel on the machine's front lists all 203 stitch applications by number.

Image: The LCD screen and touch buttons for stitch selection, showing stitch number, width, and length. A visual guide to 203 stitch applications is printed on the machine's front panel.
3.1 Selecting a Stitch
Use the arrow buttons below the LCD screen to navigate through the stitch numbers and select your desired stitch. The machine will automatically suggest a default width and length for each stitch.
Video: SINGER C5200 Series - Selecting a Stitch. This video demonstrates how to select different stitches using the machine's controls.
3.2 Adjusting Stitch Width and Length
Use the dedicated arrow buttons next to the stitch selection buttons to adjust the width and length of your chosen stitch. Experiment with different settings to achieve desired effects for your projects.

Image: The SINGER 5560 machine demonstrating customized stitches on fabric, highlighting the versatility of stitch adjustments.
4. Operacions bàsiques
4.1 Sewing a Buttonhole
The SINGER 5560 features a simple one-step buttonhole function for consistent results. Attach the buttonhole foot and follow the machine's instructions for automatic buttonhole creation.

Image: The SINGER 5560 machine using the buttonhole foot to create a precise buttonhole on denim fabric.
4.2 Changing Presser Feet
To change the presser foot, raise the needle and presser foot lifter. Press the release lever at the back of the presser foot holder to detach the current foot. Align the new presser foot with the holder and lower the presser foot lifter until it snaps into place.
4.3 Changing Needles
Raise the needle to its highest position. Loosen the needle clamp screw and remove the old needle. Insert a new needle with the flat side facing the back of the machine, pushing it up as far as it will go. Tighten the needle clamp cargol de manera segura.

Image: The SINGER 5560 machine actively sewing on a piece of quilted fabric, demonstrating its operational capability.
5. Funcions avançades
5.1 Taula d'ampliació
The included extension table provides a larger work surface, which is particularly useful for handling large projects like quilts or home decor items. It attaches easily to the free arm area.
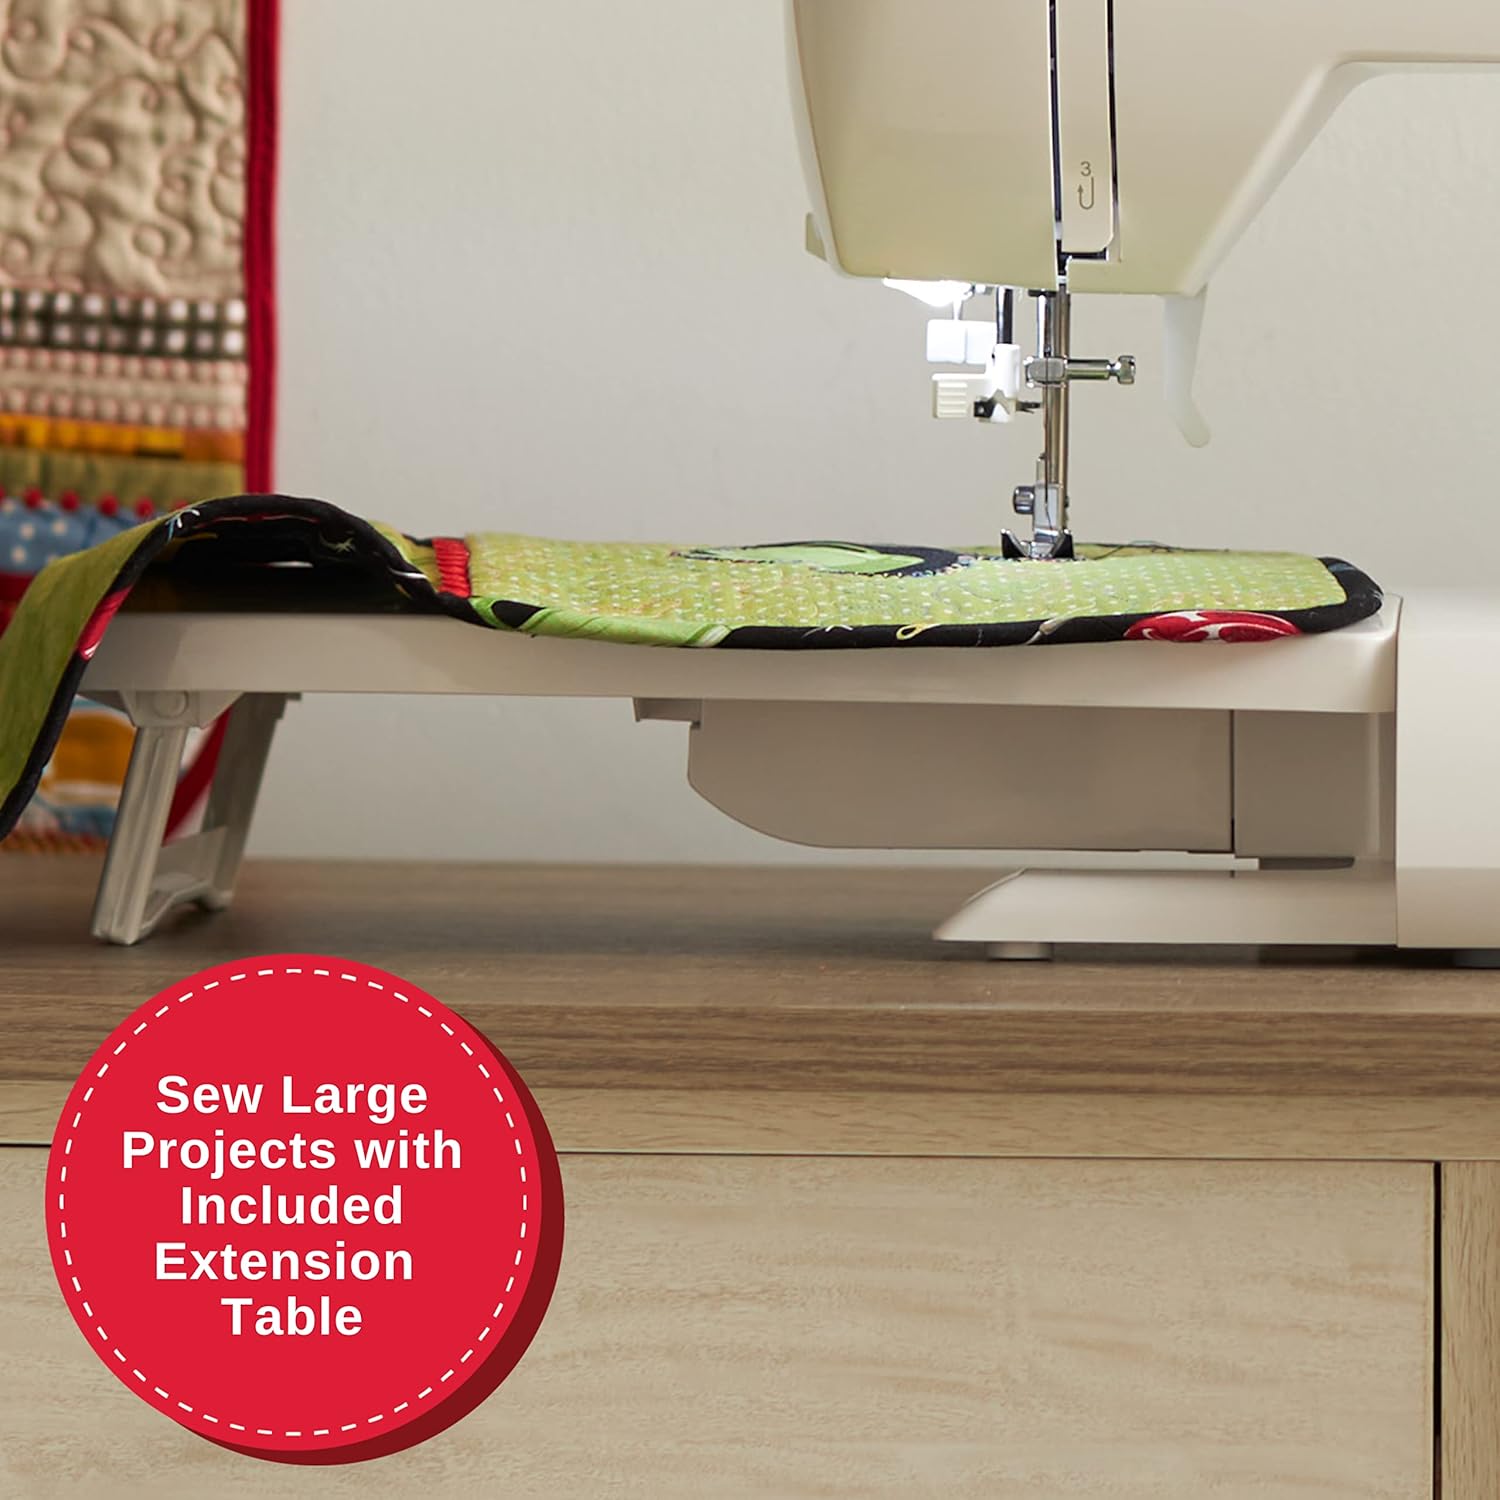
Image: The SINGER 5560 machine with its extension table in place, facilitating the sewing of large projects.
5.2 StayBright™ LED Lighting
The machine is equipped with StayBright™ LED lighting to illuminate the sewing area, providing clear visibility and reducing eye strain during prolonged use.

Image: The StayBright™ LED lighting feature of the SINGER 5560, providing clear illumination of the sewing area around the needle.
6. Manteniment
Regular cleaning is essential for optimal machine performance. Periodically remove the needle plate and clean out any lint or thread buildup from the bobbin area and feed dogs. Refer to the full instruction manual for detailed cleaning and lubrication procedures.
7. Solució De Problemes
If you encounter issues such as thread jamming, skipped stitches, or tension problems, first ensure the machine is correctly threaded (both upper thread and bobbin). Check that the needle is inserted correctly and is not bent or dull. Adjust the tension dial as needed. For persistent issues, consult the full instruction manual or contact SINGER customer support.
8. Especificacions
- Dimensions del producte: 22 x 13 x 15 polzades (13" de profunditat x 22" d'amplada x 15" d'alçada)
- Número de model de l'article: 5560
- Pes de l'article: 22 lliures
- Fabricant: CANTANT
- Marca: CANTANT
- Color: Blanc
- Material: Metall
- Font d'alimentació: Elèctric amb cable
- Stitch Applications: 203
- Ojala: Un pas
- Enfilador d'agulles: Automàtic

Image: The internal heavy-duty metal frame of the SINGER 5560, ensuring durability and stability.
9. Garantia i assistència
For detailed information, a full instruction manual is available on the official SINGER website. SINGER sewing machines are delivered pre-threaded and factory tested. A free Beginner's Machine Class is available with your machine purchase. Visit singer.com/my-class for more information.


