1. Introducció
This manual provides detailed instructions for the installation, operation, and maintenance of your GIGABYTE GA-H77N-WIFI Mini ITX Motherboard. This motherboard supports 3rd and 2nd generation Intel Core processors with an LGA1155 socket, features Intel H77 chipset, integrated Wi-Fi and Bluetooth 4.0, dual Gigabit LAN, and multiple display outputs including HDMI and DVI.
2. Configuració i instal·lació
2.1 Disseny de la placa base
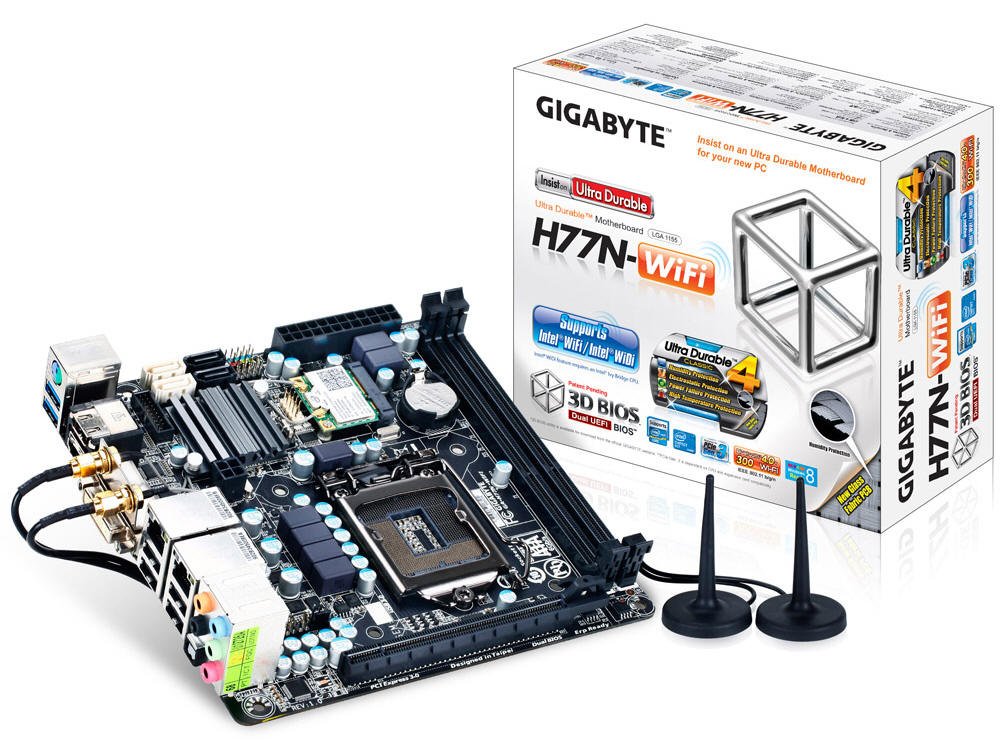
Figura 1: De dalt a baix view of the GA-H77N-WIFI motherboard, showing CPU socket, DIMM slots, and various connectors.
Familiarize yourself with the layout of the motherboard before proceeding with installation. Refer to Figure 1 for a general overview of component placement.
2.2 Instal·lació de la CPU
- Localitza el sòcol de la CPU LGA1155 a la placa base.
- Gently lift the load lever and open the CPU socket cover.
- Alineeu la marca triangular de la CPU amb la marca corresponent del sòcol. Col·loqueu amb cura la CPU al sòcol sense forçar-la.
- Close the socket cover and press down the load lever until it locks into place.
- Instal·leu el refrigerador de CPU segons les instruccions del fabricant.
2.3 Instal·lació de memòria (RAM)
- Locate the two DDR3 DIMM sockets.
- Open the clips at both ends of the DIMM socket.
- Align the notch on the DDR3 memory module with the key in the DIMM socket.
- Insert the memory module firmly into the socket until the clips snap into place. Ensure both clips are closed.
2.4 Instal·lació del dispositiu d'emmagatzematge
Connect your SATA 6Gb/s storage devices (HDDs, SSDs) to the SATA ports on the motherboard using SATA data cables. Ensure the power cables from your power supply are also connected to the storage devices.
2.5 Connexions d'alimentació
- Connect the 24-pin ATX main power connector from your power supply to the corresponding socket on the motherboard.
- Connect the 4-pin ATX 12V power connector to its socket, typically located near the CPU.
2.6 Panell frontal i connexions perifèriques

Figura 2: Angle view of the GA-H77N-WIFI motherboard, showing various onboard headers and rear I/O ports.
Connect the front panel headers (power switch, reset switch, HDD LED, power LED, front audio, front USB) from your computer case to the corresponding pins on the motherboard. Refer to the motherboard's printed labels for correct orientation.
2.7 Connexions del panell d'E/S posterior

Figure 3: Rear I/O panel of the GA-H77N-WIFI motherboard, showing connectivity options.
Connect your peripherals to the rear I/O panel (Figure 3):
- Ports USB: Connect USB devices such as keyboard, mouse, and external drives.
- Sortides de vídeo: Connect your monitor(s) to the HDMI or DVI ports.
- Ports LAN: Connect Ethernet cables for network access.
- Preses d'àudio: Connect speakers, headphones, or microphones.
- Antenes sense fil: Screw in the included Wi-Fi antennas to the connectors.
3. Instruccions de funcionament
3.1 Configuració de la BIOS/UEFI
En l'encesa inicial, premeu el botó DEL key during the POST (Power-On Self-Test) to enter the BIOS Setup Utility. The GIGABYTE 3D BIOS (Dual UEFI) provides an intuitive interface for configuring system settings, boot order, and hardware parameters.
3.2 Instal·lació del sistema operatiu
Insert your operating system installation media (USB drive or DVD) and set the boot priority in the BIOS to boot from the installation media. Follow the on-screen instructions to install your preferred operating system.
3.3 Instal·lació del controlador
After installing the operating system, install the necessary drivers for the motherboard components. These typically include chipset drivers, graphics drivers (if using integrated graphics), audio drivers, LAN drivers, and Wi-Fi/Bluetooth drivers. Drivers are usually provided on a support CD or can be downloaded from the GIGABYTE weblloc.
3.4 Configuració de la xarxa
The motherboard features dual Realtek Gigabit Ethernet LAN for wired network connections and an Intel Wi-Fi module for wireless connectivity. Configure your network settings within your operating system. For Wi-Fi, ensure the antennas are connected and select your network from the available options.
3.5 GIGABYTE On/Off Charge
The GIGABYTE On/Off Charge feature allows for faster charging of USB devices, even when the PC is turned off or in standby mode. Ensure the necessary drivers/utilities are installed for this feature to function.
4. Manteniment
4.1 Neteja
Regularly clean the interior of your computer case to prevent dust buildup, which can lead to overheating. Use compressed air to remove dust from components, especially heatsinks and fans. Ensure the system is powered off and unplugged before cleaning.
4.2 BIOS and Driver Updates
Revisa periòdicament el GIGABYTE website for updated BIOS versions and drivers. Updating these can improve system stability, performance, and compatibility. Follow the instructions provided by GIGABYTE carefully when performing updates.
5. Solució De Problemes
Si teniu problemes, tingueu en compte els passos bàsics següents per resoldre'ls:
- Sense energia: Check all power connections from the power supply to the motherboard and components. Ensure the power supply switch is on.
- Sense pantalla: Verify that the monitor is connected correctly to the motherboard's video output (HDMI/DVI) and is powered on. Try reseating the memory modules.
- Inestabilitat del sistema: Ensure all components are properly seated. Check for overheating by monitoring CPU and system temperatures. Update BIOS and drivers.
- Problemes de xarxa: Verify Ethernet cables are securely connected. Check Wi-Fi antenna connections. Ensure network drivers are installed and configured correctly.
- Perifèric no detectat: Ensure USB devices are connected to functional ports. Check device manager for driver issues.
For more advanced troubleshooting or persistent issues, refer to the GIGABYTE support weblloc web o poseu-vos en contacte amb el seu servei d'assistència tècnica.
6. Especificacions
| Component | Especificació |
|---|---|
| Socket de CPU | LGA 1155 |
| Processadors compatibles | Intel Core i7/i5/i3/Pentium/Celeron (3rd and 2nd Gen) |
| Chipset | Intel H77 Express |
| Ranures de memòria | 2 x connectors DIMM DDR3 |
| Capacitat màxima de memòria | 16 GB |
| Tipus de memòria | DDR3 1600/1333/1066/800 MHz |
| LAN | 2 x Realtek GbE LAN (10/100/1000 Mbit) |
| Sense fil | Intel Wi-Fi module, Bluetooth 4.0 |
| Ports SATA | SATA 6 Gb/s |
| Ports USB | USB 3.0, USB 2.0 |
| Sortides de vídeo | HDMI, DVI |
| Ranures d'expansió | PCI Express Gen 3.0 |
| Factor de forma | Mini ITX |
| Dimensions | 17 x 16 x 10 polzades (dimensions del producte) |
| Pes | 1.6 lliures |
7. Garantia i Suport
For information regarding product warranty, please refer to the warranty card included with your motherboard or visit the official GIGABYTE website. For technical support, driver downloads, and BIOS updates, please visit the GIGABYTE support portal:


