1. Introducció
Gràcies per la compraasing the Excelvan LK-T091 Digital LED Alarm Clock Radio. This manual provides detailed instructions for the proper setup, operation, and maintenance of your device. Please read this manual thoroughly before use and retain it for future reference.
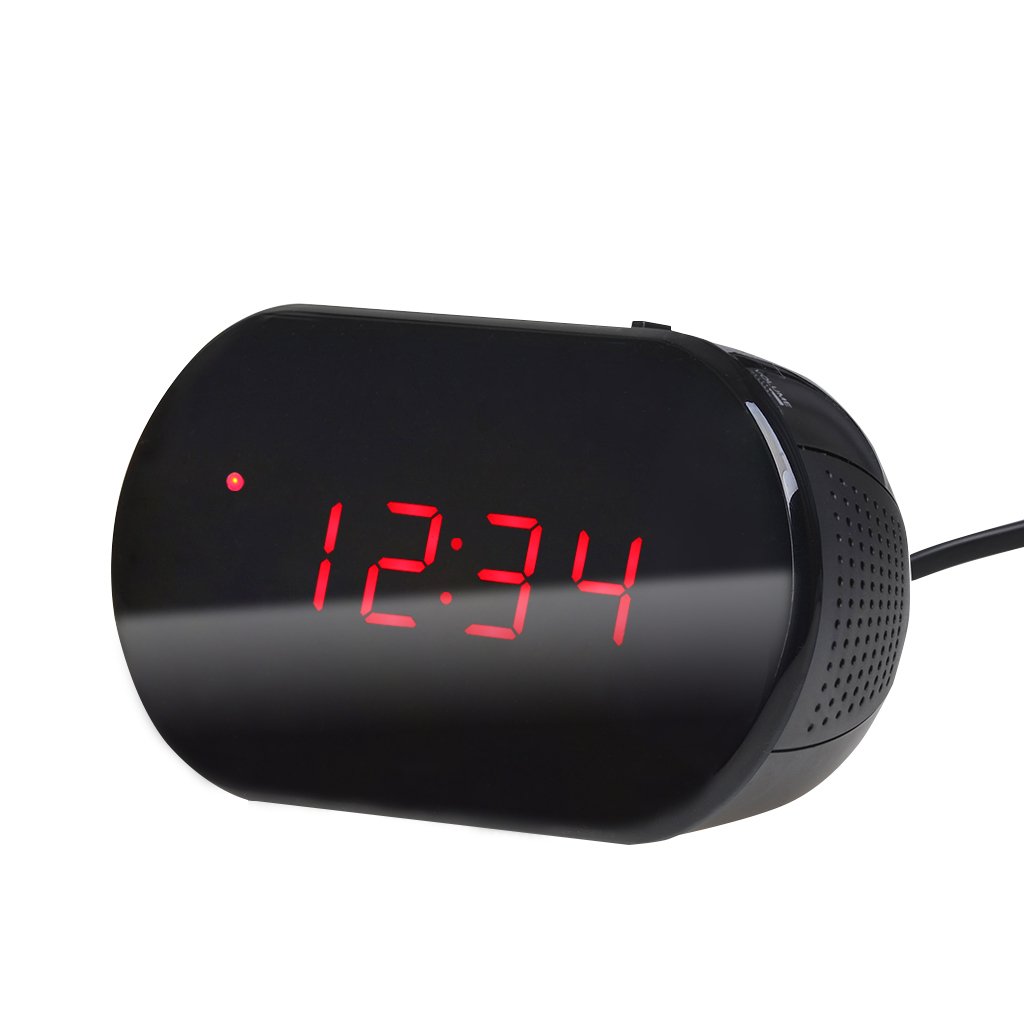
Figura 1: Frontal view of the Excelvan LK-T091 Digital LED Alarm Clock Radio.
Contingut del paquet:
- 1 x Excelvan Digital LED Alarm Clock Radio (Model LK-T091)
- 1 x Manual d'usuari
2. Informació important de seguretat
- No utilitzeu piles recarregables for the backup power. Alkaline or lithium batteries are recommended for optimal performance and longevity.
- Ensure the power adapter is compatible with your local power supply (AC230V ~ 50Hz).
- No exposeu el dispositiu a l'aigua, la humitat ni a temperatures extremes.
- Eviteu col·locar el dispositiu a prop de fonts de calor o sota la llum solar directa.
- No intenteu desmuntar ni reparar la unitat vosaltres mateixos. Encarregueu tot el manteniment a personal qualificat.
- Mantenir fora de l'abast dels nens.
3. Producte acabatview
Controls i visualització:

Figure 2: Top panel controls of the Excelvan LK-T091.
- Pantalla LED: Mostra l'hora, l'estat de l'alarma i la freqüència de ràdio.
- Botó SNOOZE: Silencia temporalment l'alarma.
- SET / PRESET Button: Used to set time/alarm and save radio presets.
- ALARM / MEM Button: Activates alarm setting mode and recalls radio presets.
- Botó de reset: Resets the unit.
- Tuning Buttons (▲ / ▼): Adjust time, alarm, and radio frequency.
- RADIO / SLEEP Button: Turns radio on/off and activates sleep timer.
- ALARM OFF / BUZZER / RADIO Switch: Selects alarm sound source (off, buzzer, or radio).
- Botó de VOLUM: Adjusts radio volume.

Figura 3: posterior view showing the battery compartment for backup power.
4. Configuració
4.1 Connexió d'alimentació
- Connect the AC power cord to the power input jack on the back of the clock radio.
- Plug the other end of the power cord into a standard AC230V ~ 50Hz wall outlet.
- The LED display will light up, indicating the unit is powered on.
4.2 Instal·lació de la bateria de reserva
The clock radio uses one 9V (6F22 type) battery (not included) for backup power. This battery maintains time settings during a power outage.
- Localitzeu el compartiment de la bateria a la part inferior de la unitat.
- Obriu la tapa del compartiment de la bateria.
- Insert one 9V (6F22 type) alkaline or lithium battery, ensuring correct polarity (+ and -).
- Tanqueu bé la tapa del compartiment de la bateria.
- Note: The battery backup only maintains time settings; the display will not be visible during a power outage. Do not use rechargeable batteries.
4.3 Configuració de l'hora
- Manteniu premut el botó SET button until the hour digits start flashing.
- Utilitza el ▲ or ▼ (Tuning) buttons to adjust the hour.
- Premeu el botó SET de nou; els dígits dels minuts parpellejaran.
- Utilitza el ▲ or ▼ (Tuning) buttons to adjust the minutes.
- Premeu el botó SET button once more to confirm and exit time setting mode. The time is displayed in 24-hour format.
5. Instruccions de funcionament
5.1 Configuració de l'alarma
The alarm can be set to wake you with a buzzer or your favorite FM radio station.
- Manteniu premut el botó ALARMA button until the alarm hour digits start flashing.
- Utilitza el ▲ or ▼ (Tuning) buttons to adjust the alarm hour.
- Premeu el botó ALARMA button again; the alarm minute digits will flash.
- Utilitza el ▲ or ▼ (Tuning) buttons to adjust the alarm minutes.
- Premeu el botó ALARMA button once more to confirm and exit alarm setting mode.
- Per activar l'alarma, feu lliscar el ALARM OFF / BUZZER / RADIO switch to either BUZZERS or RÀDIO. An alarm indicator will appear on the display.
- To turn off the alarm, slide the switch to ALARMA DESACTIVADA.

Figure 4: Choose to wake up to a buzzer sound or your preferred radio station.
5.2 Funció de repetició
Quan soni l'alarma, premeu el botó gran DORMITAR button to temporarily silence the alarm for approximately 9 minutes. The alarm will sound again after this period. To cancel snooze and turn off the alarm, slide the ALARM OFF / BUZZER / RADIO canviar a ALARMA DESACTIVADA.

Figure 5: The snooze function allows for a short delay before the alarm sounds again.
5.3 Funcionament de la ràdio FM
5.3.1 Tuning the Radio
- Premeu el botó RÀDIO botó per encendre la ràdio FM.
- Utilitza el ▲ or ▼ (Tuning) buttons to manually tune to your desired FM frequency (87.5 – 108 MHz).
- Per cercar automàticament la següent emissora disponible, manteniu premut el botó ▲ or ▼ (Tuning) buttons for a few seconds until the frequency starts scanning.
- Ajusteu el volum amb el botó VOLUM perilla.
- Premeu el botó RÀDIO de nou el botó per apagar la ràdio.
5.3.2 Desar i recuperar preajustos
The clock radio can store up to 10 FM radio station presets.
- Tune to your desired station using the tuning method described above.
- Manteniu premut el botó SET / PRESET fins que "P01" (o el següent número preestablert disponible) parpellegi a la pantalla.
- Utilitza el ▲ or ▼ (Tuning) buttons to select the desired preset number (P01-P10).
- Premeu el botó SET / PRESET button again to save the station to the selected preset.
- To recall a saved preset, press the ALARM / MEM button repeatedly to cycle through the saved stations.

Figure 6: Digital FM tuning allows for precise station selection and saving presets.
5.4 Funció de temporitzador de son
El temporitzador de son permet que la ràdio funcioni durant un temps determinat abans d'apagar-se automàticament.
- Mentre sona la ràdio, premeu el botó DORMIR button repeatedly to cycle through the available sleep timer durations: 90, 75, 60, 45, 30, 15, 00 minutes.
- La durada seleccionada es mostrarà breument. La ràdio s'apagarà automàticament després del temps configurat.
- Per cancel·lar el temporitzador de repòs, premeu el botó DORMIR button until "00" is displayed, or turn off the radio manually.
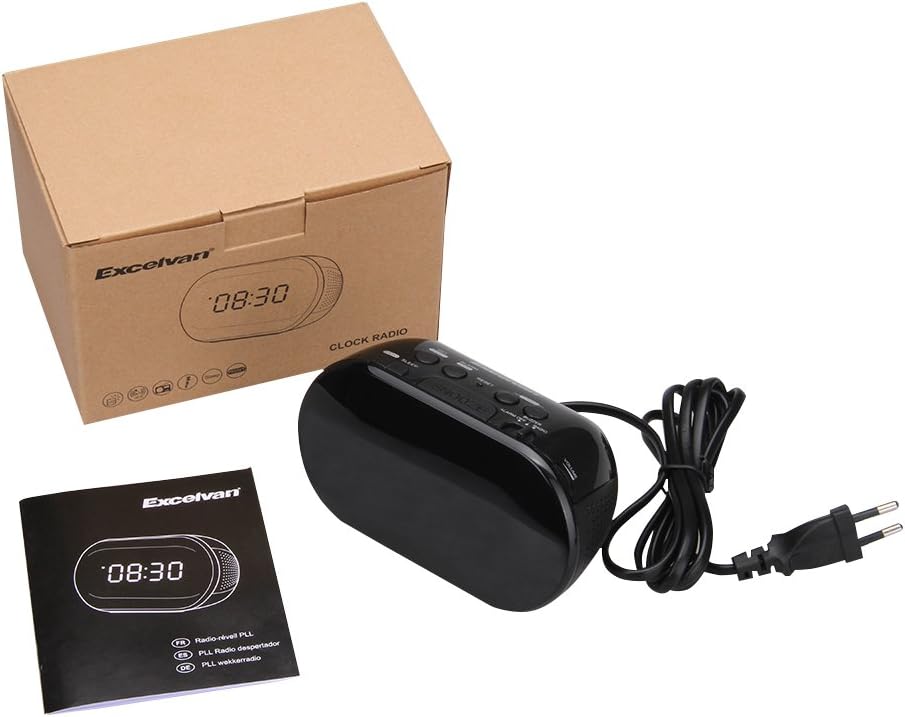
Figure 7: The sleep timer allows you to fall asleep to music, which then automatically turns off.
6. Manteniment
6.1 Neteja
- Netegeu l'exterior de la unitat amb un drap suau i sec.
- No utilitzeu netejadors abrasius, ceres o dissolvents, ja que poden danyar l'acabat.
- Assegureu-vos que la unitat estigui desendollada de la presa de corrent abans de netejar-la.
6.2 Substitució de la bateria
If the time settings are lost during a power outage, the 9V backup battery may need to be replaced. Follow the instructions in Section 4.2 for battery installation.
7. Solució De Problemes
| Problema | Causa possible | Solució |
|---|---|---|
| No hi ha pantalla / La unitat no s'encén | Power cord not connected or power outlet not active. | Ensure the power cord is securely plugged into the unit and a working wall outlet. |
| La configuració de l'hora/alarma es perd després d'un apagadatage | La bateria de reserva està morta o no està instal·lada. | Install a new 9V alkaline or lithium battery in the battery compartment. |
| Mala recepció de ràdio FM | Antena no estesa o zona amb senyal deficient. | Extend the FM wire antenna fully. Try repositioning the unit for better reception. |
| L'alarma no sona | Alarm not set or alarm switch is in "OFF" position. | Verify alarm time is set correctly. Ensure the ALARM OFF / BUZZER / RADIO l'interruptor està configurat a BUZZERS or RÀDIO. |
| Display is too bright/dim | No brightness adjustment feature on this model. | The display brightness is fixed. |
8. Especificacions
- Model: LK-T091
- Visualització: LED, 24-hour format
- Tipus d'alarma: Single alarm (Buzzer or FM Radio)
- Rang de freqüència de FM: 87.5 – 108 MHz
- Temporitzador de son: 00, 15, 30, 45, 60, 75, 90 minuts
- Entrada d'alimentació: CA 230V ~ 50Hz
- Bateria de seguretat: 1 x 9V (6F22 type) battery (not included)
- Product Dimensions (L x H x D): Aproximadament 14.15 cm x 7.14 cm x 0.89 cm
- Pes: Aproximadament 380 g
- Material: AC (Plastic)
- Color: Negre
9. Garantia i Suport
Excelvan products are designed to provide reliable performance. For specific warranty information, please refer to the warranty card included with your purchase or contact your retailer. If you encounter any issues or require technical assistance, please contact Excelvan customer support through their official weblloc web o la informació de contacte proporcionada amb el vostre producte.
Please have your model number (LK-T091) and purchase details ready when contacting support.


