Introducció
This manual provides instructions for the setup, operation, and maintenance of your myTouchSmart Digital Bar Outlet Timer, Model 26745. Please read these instructions carefully before use and retain them for future reference.
The myTouchSmart Digital Bar Outlet Timer is designed to automate the ON/OFF cycles of indoor lights, lamps, small appliances, and electronics. It features a space-saving design, a digital display, and two programmable custom ON/OFF times.
Instruccions importants de seguretat
- Només per a ús interior.
- Do not exceed electrical ratings: 125V AC, 60Hz, 15A (1875W) General Purpose/Resistive, 5A (625W) Tungsten, 1/2 HP.
- Do not use with appliances that have heating elements, such as coffee makers, toasters, or heaters, as this may create a fire hazard.
- Assegureu-vos que el temporitzador estigui completament inserit a la presa de corrent.
- Do not immerse in water or use in wet locations.
- Mantingueu els nens allunyats del temporitzador.
- Do not disassemble the unit. There are no user-serviceable parts inside.
Característiques del producte
- Space-saving slim bar design.
- One (1) polarized outlet.
- Digital display for easy programming.
- Two custom daily ON/OFF times.
- Backup battery to save settings during power outages.
- Compatible with CFL, LED, incandescent, and halogen light sources.
Descripció de la imatge: A detailed diagram of the myTouchSmart Digital Bar Outlet Timer, highlighting its components such as the custom ON/OFF time buttons, clock/set mode indicator, active program indicator, AM/PM indicator, and scroll buttons. This image helps users identify the different parts of the timer for programming.
Configuració i configuració inicial
1. Charging the Backup Battery
Before initial use, plug the timer into a live electrical outlet for at least 30 minutes to charge the internal backup battery. This battery retains your settings during power outages o quan el temporitzador està desendollat.
2. Configuració de l'hora actual
- Manteniu premut el botó RELOJ botó.
- Mentre aguanta RELOJ, premeu ▲ (amunt) o ▼ (down) button to adjust the hour. The AM/PM indicator will change accordingly.
- Allibera el RELOJ button when the correct hour is set.
- Manteniu premut el botó RELOJ botó de nou.
- Mentre aguanta RELOJ, premeu ▲ (amunt) o ▼ (down) button to adjust the minutes.
- Allibera el RELOJ button when the correct minute is set.

Descripció de la imatge: This image illustrates the "Simple Setup" process for the timer. It shows the digital display and buttons, with arrows pointing to the scroll buttons for setting the current time and the "my on time" and "my off time" buttons for custom programming. The image emphasizes the ease of setting up the device.
Instruccions de funcionament
Programming Custom ON/OFF Times
The timer allows for two custom daily ON/OFF programs. Follow these steps to set your desired schedules:
Programa 1:
- Premeu el botó MY ON TIME button (left side) once. The display will show "1 ON".
- Premeu el botó ▲ (amunt) o ▼ (down) button to adjust the desired ON hour for Program 1.
- Premeu el botó MY ON TIME button again to confirm the hour and move to minutes.
- Premeu el botó ▲ (amunt) o ▼ (down) button to adjust the desired ON minutes for Program 1.
- Premeu el botó MY ON TIME button again to save the ON time.
- Premeu el botó MY OFF TIME button (left side) once. The display will show "1 OFF".
- Premeu el botó ▲ (amunt) o ▼ (down) button to adjust the desired OFF hour for Program 1.
- Premeu el botó MY OFF TIME button again to confirm the hour and move to minutes.
- Premeu el botó ▲ (amunt) o ▼ (down) button to adjust the desired OFF minutes for Program 1.
- Premeu el botó MY OFF TIME button again to save the OFF time.
Programa 2:
Repeat the steps above using the MY ON TIME i MY OFF TIME botons del fitxer costat dret of the timer. The display will show "2 ON" and "2 OFF" respectively.

Descripció de la imatge: This image displays two examples of how to program the timer. Program 1 is set to turn ON at 6:00 A.M. and OFF at 9:00 A.M. Program 2 is set to turn ON at 4:00 P.M. and OFF at 10:00 P.M. This visual guide helps users understand how to set their own custom schedules.
Connecting an Appliance
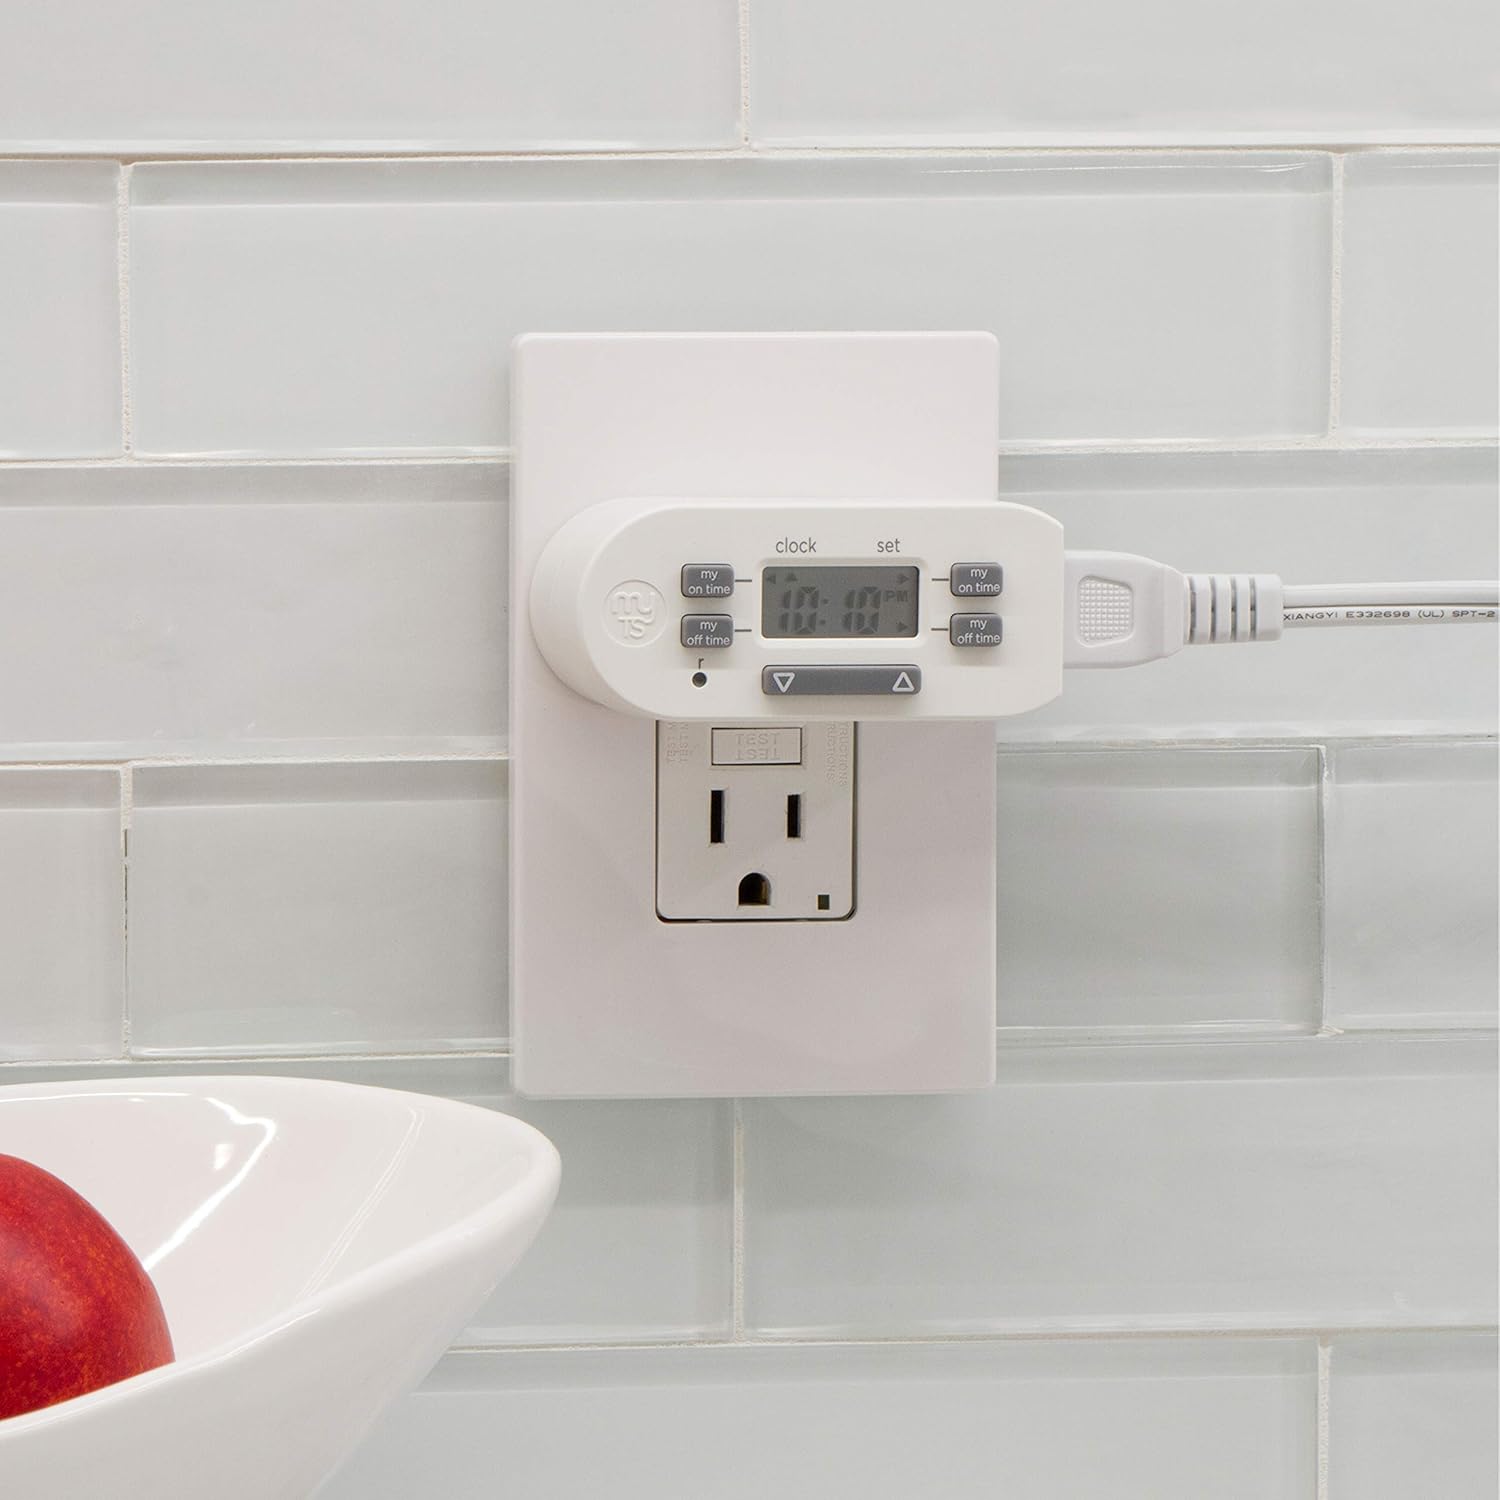
Once programmed, plug the appliance or light you wish to control into the polarized outlet on the side of the timer. Ensure the appliance's power switch is in the ON position for the timer to control its power cycle.

Descripció de la imatge: The image shows the myTouchSmart Digital Bar Outlet Timer plugged into a standard wall outlet. A lamp's power cord is then plugged into the polarized outlet on the side of the timer, demonstrating how to connect a device for timed operation. The slim design of the timer is visible, not obstructing the second wall outlet.
Manteniment
- Neteja: Disconnect the timer from the power outlet before cleaning. Wipe with a dry, soft cloth. Do not use liquid or abrasive cleaners.
- Bateria: The internal backup battery is not user-replaceable. If the display becomes dim or settings are not retained after charging, the unit may need replacement.
- Emmagatzematge: Guardeu el temporitzador en un lloc fresc i sec quan no l'utilitzeu.
Resolució de problemes
| Problema | Causa possible | Solució |
|---|---|---|
| L'aparell no s'encén/apaga a les hores programades. |
|
|
| La pantalla està tènue o en blanc. |
|
|
| La configuració es perd després d'apagar l'alimentaciótage or unplugging. | Backup battery is not sufficiently charged or has reached end of life. | Plug the timer into a live outlet for at least 30 minutes. If the issue persists, the internal battery may need replacement (unit replacement). |
Especificacions
- Model: 26745
- Valoració elèctrica: 125V CA, 60Hz
- Càrrega màxima: 15A (1875W) General Purpose/Resistive
- Tungsten Load: 5 A (625 W)
- Càrrega del motor: 1 / 2 HP
- Punts de venda: 1 Polarized
- Dimensions: Aproximadament 2 x 2.5 x 1.25 polzades
- Certificació: CSA
Garantia i Suport
This product is backed by a one-year limited warranty. For warranty claims or technical support, please contact myTouchSmart customer service. Refer to the product packaging or the manufacturer's weblloc per obtenir informació de contacte.
Fabricant: Jasco Products Company, LLC


