1. Introducció i finalview
This manual provides essential information for the proper installation, operation, and maintenance of your Smartwares Optical Smoke Detector, model 10.044.62. This device is designed to detect smoke and alert occupants to potential fire hazards, contributing to home safety. Please read these instructions carefully before use and retain them for future reference.
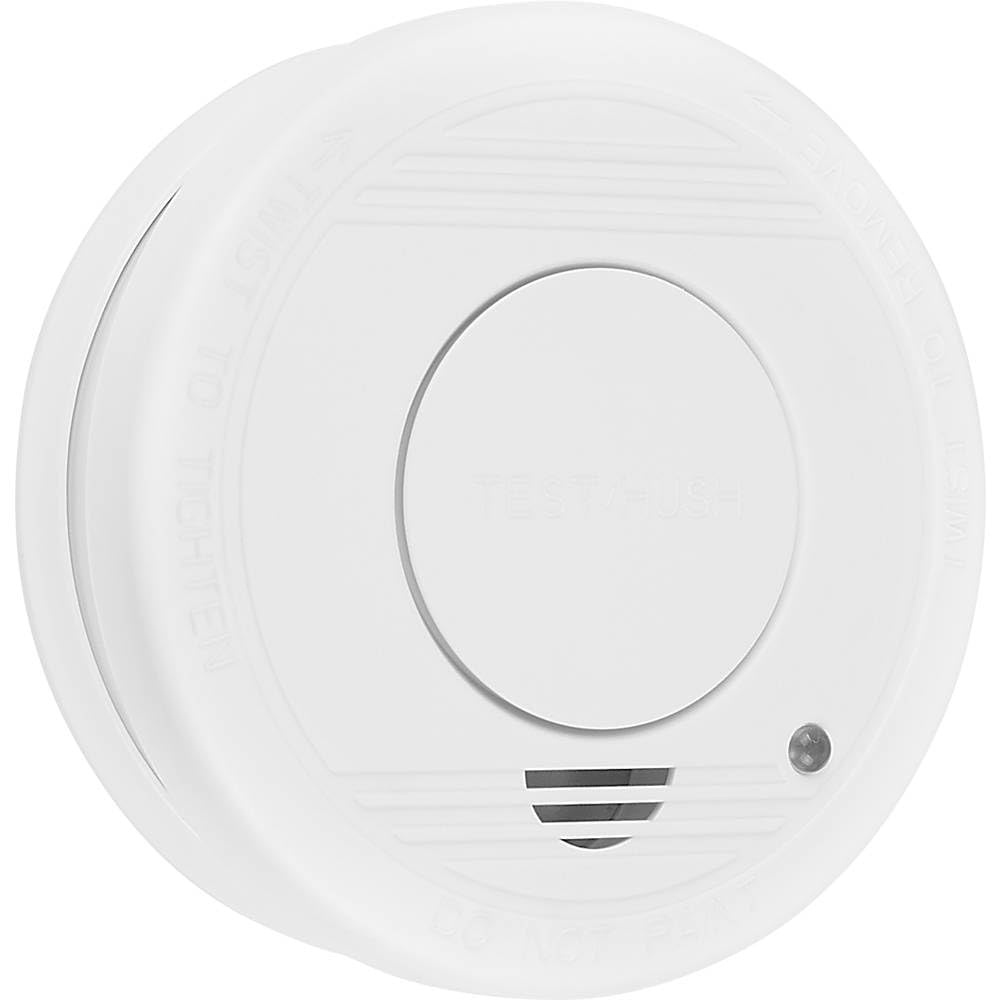
Image 1.1: Smartwares Optical Smoke Detector mounted on a ceiling.
2. Informació de seguretat
- Certificació Europea: This smoke detector complies with European safety standards (EN14604).
- Col·locació: Install at least one smoke detector per floor. For optimal coverage, place one detector for every 20 to 40 m² of area. Avoid placing detectors in kitchens, bathrooms, or garages where steam, cooking fumes, or exhaust can cause false alarms.
- Manteniment: Regularly test the detector and replace the battery as indicated.
- Alarma: The detector emits an 85 dB siren upon smoke detection. Familiarize yourself and your household with the sound of the alarm.
3. Contingut del paquet
Verifiqueu que tots els components siguin presents al paquet:
- 1x Smartwares Optical Smoke Detector (Model 10.044.62)
- 1x 6F22 Lithium-ion battery (pre-installed or separate)
- Maquinari de muntatge (cargols i ancoratges de paret)
- Optional: Double-sided adhesive pad for mounting
- Manual d'usuari
4. Configuració i instal·lació
Follow these steps to install your smoke detector:
- Tria la ubicació: Select a suitable location on the ceiling, away from corners, vents, and areas prone to steam or fumes. Refer to Section 2 for placement guidelines.
- Preparació de la superfície de muntatge: Ensure the ceiling surface is clean and dry.
- Suport de muntatge:
- Ús de cargols: Mark the drilling points on the ceiling using the mounting bracket. Drill holes, insert wall anchors, and secure the mounting bracket with screws.
- Using Adhesive (Optional): If using the adhesive pad, attach it firmly to the back of the mounting bracket, then press the bracket onto the chosen ceiling location for at least 30 seconds.
- Insereix la bateria: If not already installed, open the battery compartment on the back of the detector and insert the included 6F22 Lithium-ion battery, observing polarity.
- Connecteu el detector: Align the smoke detector with the mounted bracket and twist clockwise until it clicks securely into place.
- Prova inicial: Press the test button on the detector to confirm proper function. A loud alarm sound indicates it is working correctly.

Imatge 4.1: Part inferior view of the smoke detector with the test button.
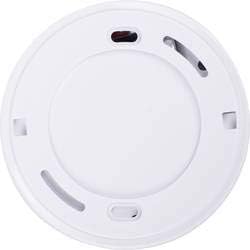
Imatge 4.2: Darrere view of the smoke detector with mounting holes.
5. Instruccions de funcionament
- Funcionament normal: The detector is continuously monitoring for smoke. A small LED indicator may flash periodically (e.g., every 40-60 seconds) to confirm normal operation.
- Activació d'alarma: If smoke is detected, the detector will emit a loud, pulsating 85 dB alarm sound. The LED indicator will also flash rapidly.
- Botó de prova: Press and hold the test button (usually located on the front or bottom of the unit) for a few seconds to perform a functional test. The alarm should sound. Release the button to stop the alarm.
- Funció de silenci: In case of a false alarm (e.g., from cooking fumes), you can temporarily silence the alarm by pressing the test/silence button. The detector will typically remain silent for a few minutes before re-entering monitoring mode.
- Avís de bateria baixa: When the battery is low, the detector will emit a short chirp or beep at regular intervals (e.g., every 30-60 seconds) and the LED may flash. This indicates that the battery needs to be replaced immediately.

Imatge 5.1: Part superior view of the smoke detector showing the LED indicator.
6. Manteniment
Un manteniment regular garanteix el rendiment òptim i la longevitat del detector de fum:
- Prova setmanal: Press the test button weekly to ensure the alarm sounds.
- Neteja mensual: Aspireu suaument o netegeu l'exterior del detector amb un drap suau i sec.amp cloth to remove dust and cobwebs. Do not use cleaning sprays or solvents.
- Substitució de la bateria: The included 6F22 Lithium-ion battery has an approximate lifespan of 1 year. Replace the battery immediately when the low battery warning (chirping sound) occurs.
- Detector Replacement: The optical sensor has a lifespan of 10 years. After 10 years from the date of manufacture (usually printed on the detector), the entire unit must be replaced, even if it appears to be functioning correctly.
7. Solució De Problemes
| Problema | Causa possible | Solució |
|---|---|---|
| Detector chirps periodically | Bateria baixa | Replace the 6F22 battery immediately. |
| Detector alarms without visible smoke | False alarm due to steam, cooking fumes, or dust. | Press the silence button. Ventilate the area. Clean the detector. Relocate if false alarms persist due to environmental factors. |
| Detector does not alarm during test | Battery is dead or incorrectly installed; unit is faulty. | Check battery installation and replace if necessary. If still no alarm, the unit may be faulty and needs replacement. |
| LED indicator not flashing | No power or unit is faulty. | Check battery. If battery is new and correctly installed, the unit may be faulty and needs replacement. |
8. Especificacions
| Característica | Especificació |
|---|---|
| Número de model | 10.044.62 |
| Tipus de sensor | Òptic (fotoelèctric) |
| Volum de l'alarma | 85 dB |
| Font d'alimentació | 1x 6F22 Lithium-ion battery (included) |
| Durada de la bateria | Approx. 1 year (replaceable) |
| Vida útil del sensor | 10 anys |
| Vol. Operatiutage | 9 Volts |
| Humitat de funcionament | del 25% al 85% |
| Temperatura de funcionament | Fins a 40°C |
| Dimensions (L x A x A) | 10.2 x 10.2 x 3 cm |
| Pes | 135 grams |
| Funcions especials | Alarm mute function, wireless mounting |
| Certificació | EN14604 |
9. Garantia i Suport
For warranty information and technical support, please refer to the documentation provided with your purchase or contact Smartwares customer service directly. Keep your proof of purchase for any warranty claims.
Informació de contacte: Please visit the official Smartwares weblloc web per obtenir les dades de contacte i els recursos d'assistència més actualitzats.


