1. Introducció
This manual provides detailed instructions for the installation, operation, and maintenance of your Zebronics H61 Motherboard. Please read this manual thoroughly before proceeding with installation to ensure proper setup and functionality.
The Zebronics H61 Motherboard is designed to support Intel LGA 1155 socket processors (i7/i5/i3/Pentium/Celeron series) and DDR3 dual-channel memory. It features an Intel H61 chipset, providing a stable and efficient platform for your computing needs.
2. Informació de seguretat
- Desconnecteu sempre l'alimentació abans d'instal·lar o desmuntar qualsevol component.
- Handle the motherboard by its edges to avoid electrostatic discharge (ESD) damage. Use an anti-static wrist strap if available.
- Assegureu-vos de ventilar adequadament la carcassa de l'ordinador per evitar que s'escalfi.
- No exposeu la placa base a la humitat ni a temperatures extremes.
- Refer to the component manufacturer's manuals for specific installation instructions for your CPU, RAM, and other peripherals.
3. Contingut del paquet
Verifiqueu que tots els elements siguin presents al paquet:
- Zebronics H61 Motherboard
- Escut d'E / S
- SATA Data Cable(s)
- Driver CD (for operating systems that do not automatically install drivers)
- Manual d'usuari (aquest document)
4. Especificacions
| Característica | Descripció |
|---|---|
| Model | H61 |
| Chipset | Intel H61 Express |
| Socket de CPU | LGA 1155 |
| Processadors compatibles | Intel i7/i5/i3/Pentium/Celeron processors (2nd and 3rd Generation) |
| Ranures de memòria | 2 x DDR3 Dual-channel slots |
| Suport de memòria | DDR3 1066/1333/1600MHz, up to 16GB |
| Interfície gràfica | 1 x PCI-Express x16 slot |
| Ranures d'expansió | 1 ranura PCI Express x1 |
| Emmagatzematge | 4 x SATA II ports |
| LAN | Realtek 8106E 10/100 Mbps Ethernet |
| Àudio | 6-Channel HD Audio Codec onboard (5.1 surround sound support) |
| Ports d'E/S posterior | 1 x HDMI, 1 x VGA, 6 x USB 2.0, 1 x RJ45, 1 x 3-in-1 Audio Jacks (Line-in, Line-out, Mic-in), PS/2 (Keyboard/Mouse) |
| Factor de forma | ATX |
| Dimensions | 25 x 20 x 3 cm |
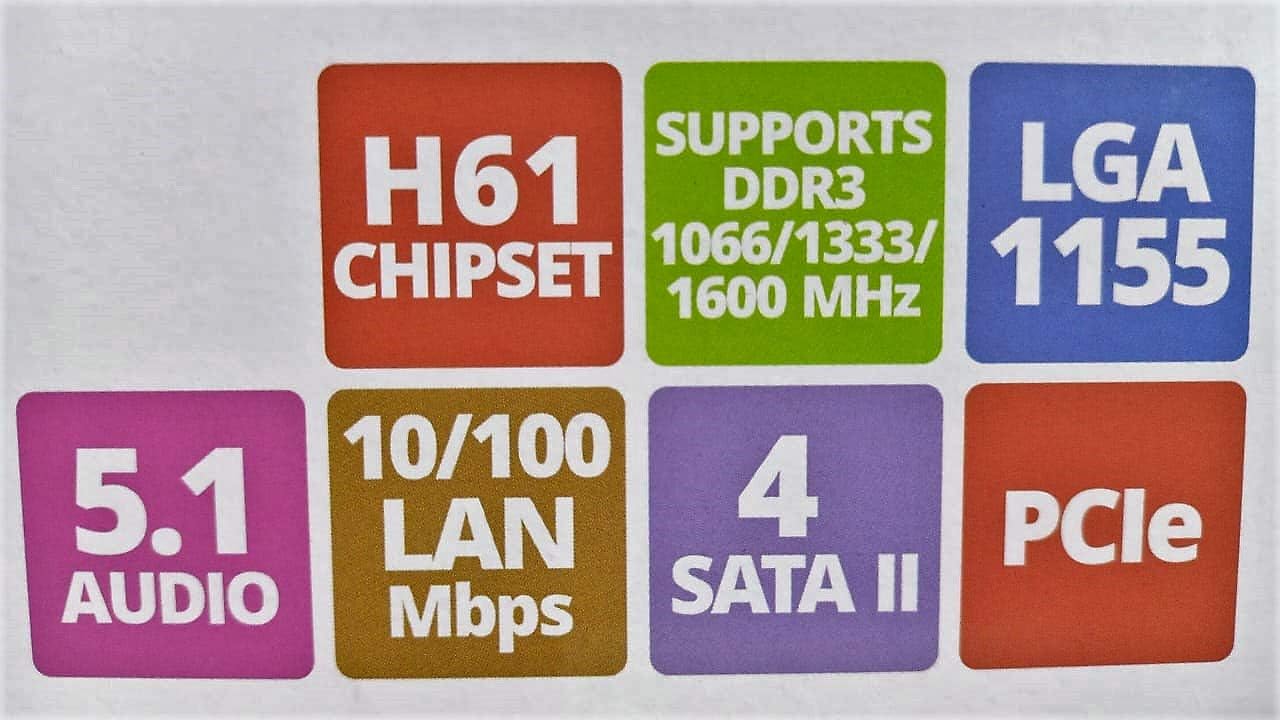
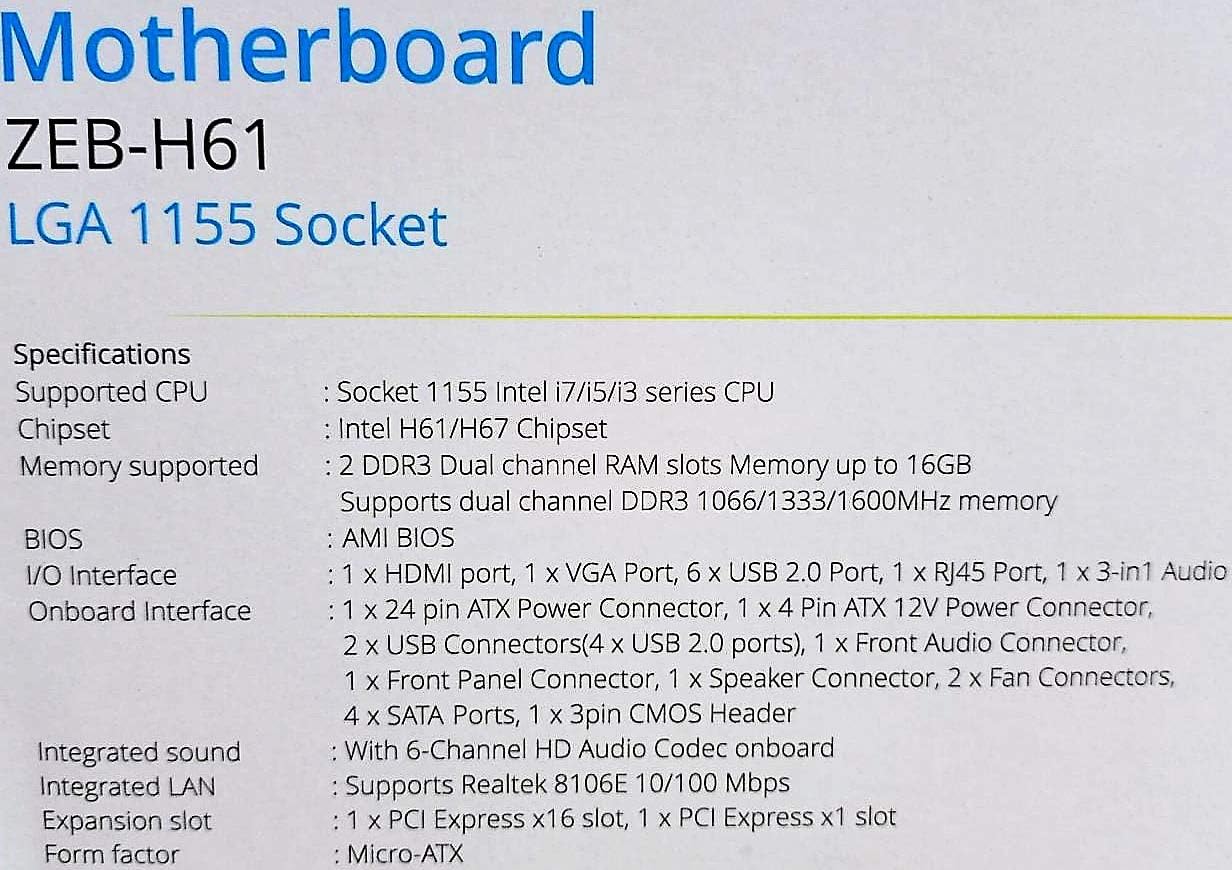
Image: Detailed specifications of the Zebronics H61 Motherboard, including chipset, CPU socket, memory support, and I/O interfaces.

Image: Visual representation of key features such as H61 Chipset, DDR3 support, LGA 1155 socket, 5.1 Audio, 10/100 LAN, 4 SATA II ports, and PCIe.
5. Configuració i instal·lació
5.1 Disseny de la placa base

Imatge: De dalt a baix view of the Zebronics H61 Motherboard, showing the CPU socket, RAM slots, PCIe slot, and various headers.

Image: Another top-down perspective of the Zebronics H61 Motherboard, highlighting component placement.
5.2 Panell d'E/S posterior

Image: Rear I/O panel of the Zebronics H61 Motherboard, displaying ports for PS/2 keyboard/mouse, VGA, HDMI, USB 2.0, LAN, and audio jacks.
Imatge: Un tancador view of the rear I/O ports, detailing the VGA, HDMI, USB, LAN, and audio connections.
5.3 Component Installation Steps
- Instal·leu la CPU:
- Obriu la palanca del sòcol de la CPU.
- Carefully align the CPU with the socket, ensuring the golden triangle on the CPU matches the mark on the socket.
- Col·loca suaument la CPU al sòcol sense forçar-la.
- Tanqueu la palanca per fixar la CPU.
- Apliqueu pasta tèrmica i instal·leu el refrigerador de CPU segons les instruccions del fabricant.
- Instal·lació de la memòria RAM:
- Obriu els clips als dos extrems de les ranures de memòria DDR3.
- Alineeu el mòdul de memòria amb la ranura, assegurant-vos que l'osca del mòdul coincideixi amb la clau de la ranura.
- Premeu fermament els dos extrems del mòdul de memòria fins que els clips encaixin al seu lloc.
- Instal·leu la targeta gràfica (opcional):
- Locate the PCI-Express x16 slot.
- Traieu la coberta de la ranura d'expansió corresponent de la carcassa del vostre PC.
- Align the graphics card with the slot and press down firmly until it is seated correctly.
- Fixeu la targeta amb un cargol a la carcassa de l'ordinador.
- Connectar dispositius d'emmagatzematge:
- Connect SATA data cables from the motherboard's SATA ports to your hard drives or SSDs.
- Ensure power cables from the power supply are connected to these devices.
- Connecteu la font d'alimentació:
- Connecteu el connector d'alimentació ATX de 24 pins de la font d'alimentació a la placa base.
- Connect the 4-pin ATX 12V power connector (CPU power) to the motherboard.
- Connecteu els encapçalaments del panell frontal:
- Connect the power switch, reset switch, HDD LED, and power LED cables from your PC case to the corresponding pins on the motherboard's front panel header. Refer to the motherboard diagram for pin assignments.
- Connect front USB and audio headers.
6. Instruccions de funcionament
6.1 Primer arrencada i configuració de la BIOS
- Després de muntar tots els components, connecteu el monitor, el teclat i el ratolí.
- Enceneu l'ordinador.
- Premeu la tecla designada (normalment DEL or F2) repeatedly during startup to enter the BIOS/UEFI setup utility.
- In the BIOS, verify that all installed components (CPU, RAM, storage) are detected correctly.
- Configura l'ordre d'arrencada per instal·lar el sistema operatiu des d'una unitat USB o una unitat òptica.
- Desa els canvis i surt de la BIOS. El sistema es reiniciarà.
6.2 Instal·lació del controlador
After installing your operating system, install the necessary drivers for optimal performance. Drivers can be found on the included driver CD or downloaded from the official Zebronics weblloc.
- Controladors de xips
- Graphics Drivers (if using integrated graphics or a dedicated GPU)
- Controladors LAN
- Controladors d'àudio
- USB Drivers (if applicable)
7. Manteniment
- Mantingueu-lo net: Regularly clean dust from inside your PC case, especially from fans and heatsinks, to ensure proper airflow and prevent overheating. Use compressed air.
- Actualitzacions de la BIOS: Check the Zebronics website periodically for BIOS updates. BIOS updates can improve system stability, compatibility, and performance. Follow update instructions carefully.
- Actualitzacions de controladors: Mantingueu els controladors actualitzats per garantir la compatibilitat i un rendiment òptim amb el vostre sistema operatiu i les aplicacions.
- Bateria CMOS: The motherboard uses a CR2032 battery to retain BIOS settings. If your system frequently loses time or BIOS settings, the battery may need replacement.
8. Solució De Problemes
- Sense alimentació / El sistema no arrenca:
- Ensure all power cables (24-pin ATX, 4-pin ATX 12V) are securely connected to the motherboard.
- Check if the power supply unit (PSU) is switched on and functioning.
- Verifiqueu la connexió de l'interruptor d'alimentació del panell frontal.
- Try reseating RAM modules and the graphics card.
- Sense pantalla al monitor:
- Ensure the monitor is connected to the correct video output (either integrated graphics on the motherboard or dedicated graphics card).
- Check monitor power and input selection.
- Reseat the graphics card (if installed) and RAM modules.
- Inestabilitat / Fallades del sistema:
- Comproveu les temperatures de la CPU i la GPU. El sobreescalfament pot causar inestabilitat.
- Ensure RAM modules are properly seated and compatible. Test with one RAM stick if multiple are installed.
- Actualitzeu els controladors i la BIOS a les versions més recents.
- Executeu eines de diagnòstic de memòria per comprovar si hi ha defectes a la memòria RAM.
- CMOS Battery Issue (Loss of Time/Settings):
- If the system loses time or BIOS settings after being powered off, the CMOS battery (CR2032) may need replacement.
- To reset CMOS: Disconnect power, remove the CMOS battery, short the battery socket's positive and negative terminals for 30 seconds, then reinsert the battery.
9. Garantia i Suport
For warranty information and technical support, please refer to the official Zebronics weblloc web o poseu-vos en contacte amb el seu departament d'atenció al client. Conserveu el rebut de compra com a comprovant de compra per a reclamacions de garantia.
Zebronics Oficial Weblloc: www.zebronics.com


