1. Introducció i finalview
Thank you for choosing the Magic Chef Countertop Ice Maker. This appliance is designed to provide a convenient and efficient way to produce ice in your home or office. With its compact design and robust ice production capabilities, it is an ideal solution for your ice needs.
This ice maker is capable of producing up to 27 pounds of ice per day, making it suitable for various occasions. Please read this manual thoroughly before operating your new ice maker to ensure safe and optimal performance.

Figura 1.1: Frontal view of the Magic Chef Countertop Ice Maker.
2. Informació important de seguretat
Per reduir el risc d'incendi, descàrrega elèctrica o lesions quan utilitzeu la màquina de gel, seguiu aquestes precaucions bàsiques:
- Llegiu totes les instruccions abans d'utilitzar l'aparell.
- Do not touch the evaporator or ice basket when the unit is operating.
- No submergiu l'aparell, el cable d'alimentació ni l'endoll en aigua ni en altres líquids.
- És necessària una supervisió estreta quan qualsevol aparell és utilitzat per o a prop dels nens.
- Desconnecteu-lo de la presa de corrent quan no utilitzeu i abans de netejar-lo.
- No feu servir cap aparell amb un cable o un endoll danyats, o després que l'aparell funcioni malament o s'hagi fet malbé de cap manera.
- No utilitzar a l'aire lliure.
- No deixeu que el cable pengi de la vora d'una taula o taulell, ni toqui superfícies calentes.
- No col·loqueu-lo sobre o prop d'un cremador de gas o elèctric calent, ni en un forn calent.
- Ensure proper ventilation around the unit. Maintain at least 6 inches of clearance from walls and other objects.
- Utilitzeu només aigua potable per a la producció de gel.
3. Contingut del paquet
Please check the contents of your package. If any items are missing or damaged, contact customer support immediately.
- Magic Chef Countertop Ice Maker (Model: HNIM27ST)
- Scoop de gel
- Manual d'usuari (aquest document)
4. Configuració
4.1 Desembalatge
- Traieu amb cura la màquina de gel del seu embalatge.
- Remove all packing materials, including foam and tape.
- Inspect the unit for any signs of damage. If damaged, do not operate and contact customer service.
4.2 Col·locació
Choose a suitable location for your ice maker:
- Place the unit on a flat, stable, and level surface.
- Ensure there is adequate ventilation around the unit. Leave at least 6 inches (15 cm) of space on all sides for proper air circulation.
- Eviteu col·locar la unitat a prop de fonts de calor (per exemple, forns, radiadors) o sota la llum solar directa.
- Do not place the unit in an enclosed cabinet or small, unventilated area.
4.3 Neteja inicial
Before first use, clean the ice maker:
- Obriu la tapa i traieu la cistella de gel.
- Netegeu l'interior amb un drap suau dampamb aigua tèbia i un detergent suau.
- Rinse thoroughly with clean water and drain any remaining water.
- Netegeu l'exterior amb un suau, damp tela.
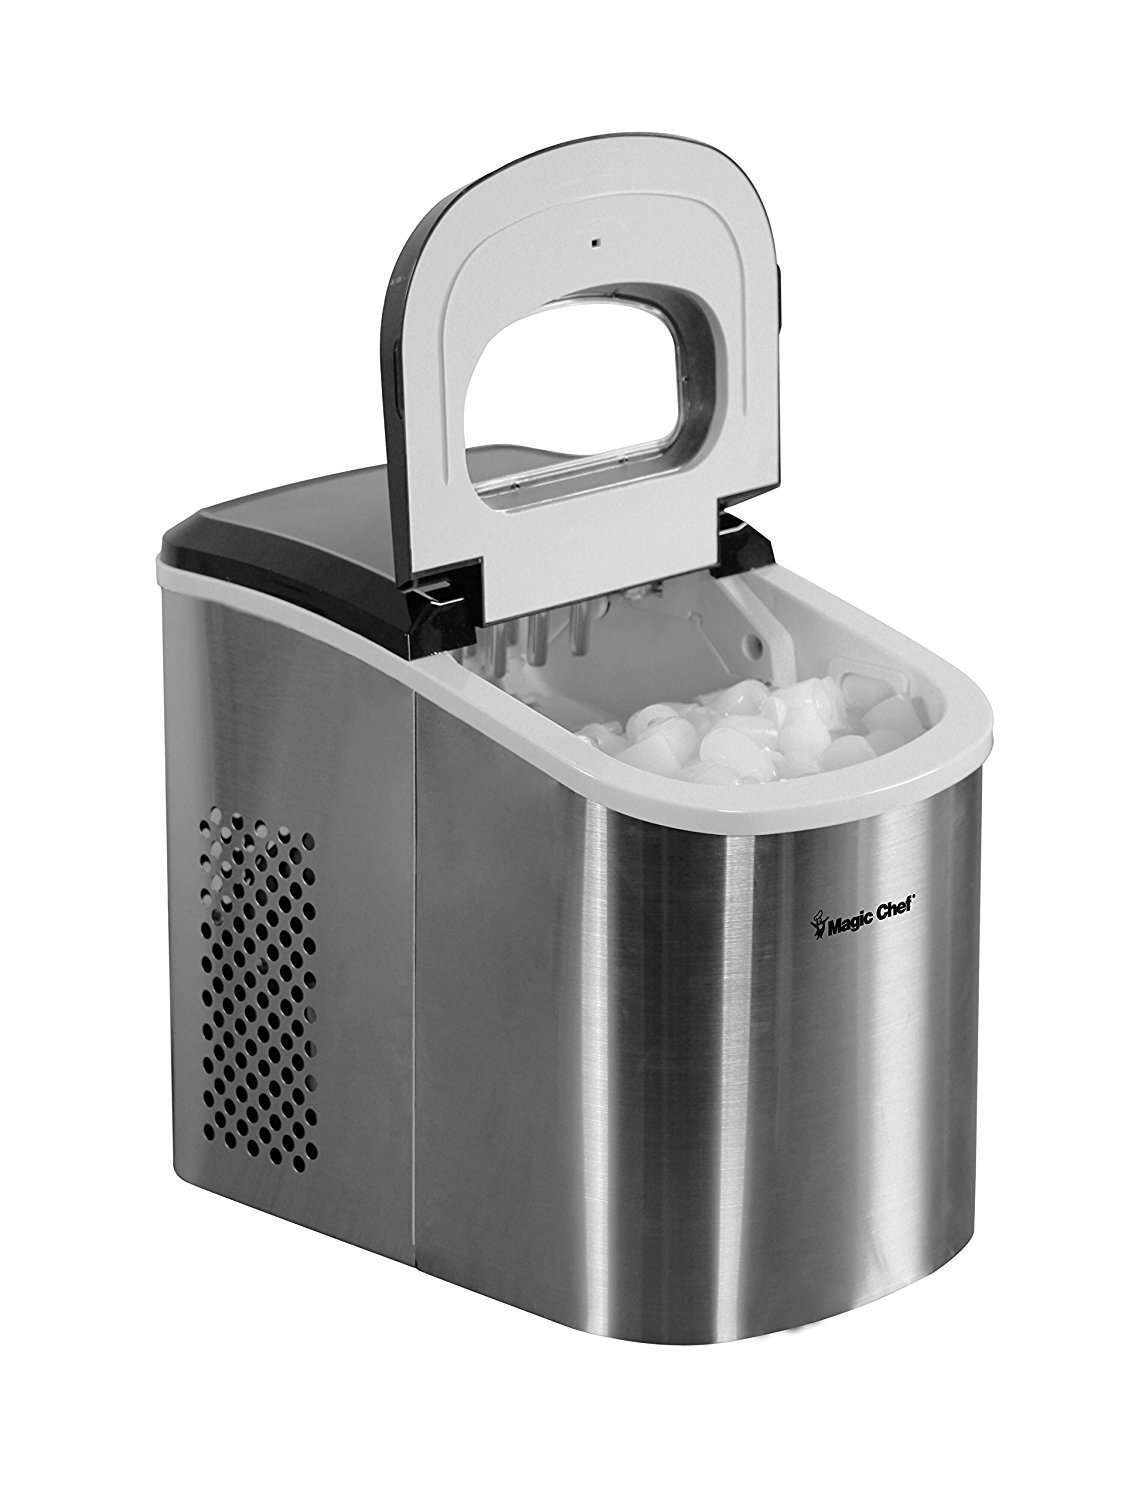
Figura 4.1: lateral view of the ice maker with the lid open, showing the internal components.
5. Instruccions de funcionament
5.1 Omplir el dipòsit d'aigua
- Open the lid of the ice maker.
- Traieu la cistella de gel.
- Ompliu el dipòsit d'aigua amb aigua potable fins a la línia d'ompliment MÀX. No l'ompliu massa.
- Substituïu la cistella de gel i tanqueu la tapa.
5.2 Inici de la producció de gel
- Connecteu el cable d'alimentació a una presa de corrent amb connexió a terra (120 V).
- Premeu el botó ON/OFF button on the control panel. The unit will begin the ice-making cycle.
- The first batch of ice may take slightly longer to produce (approximately 6-13 minutes). Subsequent cycles will be faster.
5.3 Indicadors del tauler de control

Figura 5.1: superior view of the ice maker showing the control panel.
- AFEGEIX AIGUA indicator: Illuminates when the water reservoir needs refilling. The unit will pause ice production until water is added.
- ICE PLE indicator: Illuminates when the ice basket is full. The unit will automatically stop ice production. Remove ice to resume.
- ON/OFF button: Powers the unit on or off.
- SELECCIONA button: Allows you to choose between small and large ice cube sizes.
5.4 Harvesting Ice
Quan el ICE PLE indicator lights up, the ice basket is full. Open the lid and use the provided ice scoop to remove the ice. The unit will automatically resume ice production once ice is removed and the sensor is clear.

Figura 5.2: superior view of the ice maker with the lid open, showing ice cubes in the basket.
6. Manteniment i Neteja
Una neteja i un manteniment regulars garantiran la longevitat i el rendiment òptim de la vostra màquina de gel.
6.1 Neteja diària
- After each use, drain any remaining water from the reservoir.
- Netegeu l'interior i l'exterior amb un drap suau iamp tela.
- Assecar bé abans de guardar.
6.2 Weekly Cleaning (or as needed)
- Desendolleu la màquina de gel de la presa de corrent.
- Traieu la cistella de gel.
- Prepare a solution of warm water and a small amount of mild dish soap.
- Clean the water reservoir, ice basket, and ice scoop with the solution. Use a soft brush for hard-to-reach areas.
- Esbandiu bé tots els components amb aigua neta.
- Drain the unit completely.
- Netegeu totes les superfícies amb un drap net.
6.3 Descaling (Monthly or Bi-Monthly)
Mineral deposits from water can build up over time. To descale:
- Barregeu una solució d'aigua i vinagre (proporció 1:1) o un descalcificador comercial segons les instruccions del producte.
- Aboqueu la solució al dipòsit d'aigua.
- Feu funcionar la màquina de gel durant uns quants cicles (sense consumir el gel) per fer circular la solució.
- Escorreu completament la solució.
- Rinse the reservoir thoroughly with clean water multiple times to remove any residue or vinegar smell.
- Run a few cycles with clean water and discard the ice to ensure no descaling agent remains.
6.4 Emmagatzematge
Si la màquina de gel no s'utilitzarà durant un període prolongat:
- Perform a thorough cleaning and descaling.
- Ensure the unit is completely dry inside and out.
- Emmagatzemar en un lloc fresc i sec, allunyat de la llum solar directa i de temperatures extremes.
7. Solució De Problemes
Before contacting customer service, please refer to the following troubleshooting guide:
| Problema | Causa possible | Solució |
|---|---|---|
| La màquina de gel no funciona | No power; Unit is unplugged; Power outage. | Comproveu la connexió del cable d'alimentació; Comproveu l'interruptor automàtic; Proveu una altra presa de corrent. |
| "ADD WATER" light is on | Water reservoir is empty or below minimum level. | Afegiu aigua potable al dipòsit fins a la línia d'ompliment MÀX. |
| "ICE FULL" light is on | Ice basket is full; Ice is blocking the sensor. | Remove ice from the basket; Rearrange ice to clear the sensor. |
| Els glaçons són massa petits o no es formen | Water temperature is too high; Ambient temperature is too high; Insufficient water. | Use colder water; Ensure unit is in a cool, well-ventilated area; Ensure water level is sufficient. |
| La unitat és sorollosa | Sons de funcionament normal (compressor, bomba d'aigua); Unitat no anivellada. | Ensure unit is on a flat, stable surface; Some noise is normal during operation. |
8. Especificacions
| Marca | Xef màgic |
| Nom del model | Fàbrica de gel de taulell |
| Referència del fabricant | HNIM27ST |
| Capacitat | 27 lliures (producció diària) |
| Dimensions del producte | 38.1 x 24.13 x 30.73 cm (15 x 9.5 x 12.1 polzades) |
| Pes de l'article | 9.16 kg (20.19 lliures) |
| Voltage | 120 Volts |
| Material | Acer inoxidable |
| ASIN | B074TK4NXG |
| UPC | 665679006052 |
| Primera data disponible | 15 d'agost de 2017 |
9. Garantia i Suport
This Magic Chef ice maker is covered by a limited warranty. Please refer to the warranty card included with your purchase for specific terms and conditions, including warranty period and coverage details.
For technical support, troubleshooting assistance, or to inquire about warranty claims, please contact Magic Chef customer service. Contact information can typically be found on the manufacturer's weblloc web o a l'embalatge del producte.
Please have your model number (HNIM27ST) and proof of purchase ready when contacting support.


