1. Introducció
This manual provides detailed instructions for the assembly, operation, and maintenance of your PUTORSEN Triple Monitor Stand, model MAS-3. This monitor stand is designed to securely hold three LCD/LED screens ranging from 13 to 27 inches, with VESA compatibility of 75x75mm or 100x100mm, and a maximum weight capacity of 7kg (15.4 lbs) per arm. Please read this manual thoroughly before installation and use to ensure proper setup and safe operation.

Image 1.1: The PUTORSEN Triple Monitor Stand MAS-3 supporting three monitors on a desk.
2. Informació de seguretat
ADVERTIMENT: Failure to read and follow all instructions may result in personal injury or damage to the product. Keep this manual for future reference.
- Ensure your desk can support the combined weight of the monitor stand and three monitors (up to 7kg per arm).
- Do not exceed the maximum weight capacity of 7kg (15.4 lbs) per arm.
- Verify that your monitors are compatible with VESA mounting patterns of 75x75mm or 100x100mm.
- Feu servir tot el maquinari proporcionat. No substituïu les peces.
- Perform a stability check after installation and before placing monitors on the stand.
- Mantingueu els nens i les mascotes allunyats durant la instal·lació.
3. Contingut del paquet
Before beginning installation, ensure all parts are present and undamaged. If any parts are missing or damaged, contact customer support.
| Part | Descripció | Quantitat |
|---|---|---|
| A | Pol principal | 1 |
| B | Horizontal Arm Assembly | 1 |
| C | Placa VESA | 3 |
| D | Escriptori Clamp | 1 |
| E | Placa base de ojales | 1 |
| F | Mounting Hardware Kit (screws, washers, allen keys) | 1 conjunt |
4. Instruccions de configuració
4.1 Comprovacions prèvies a la instal·lació
- Compatibilitat del monitor: Ensure your monitors are between 13 and 27 inches and have VESA 75x75mm or 100x100mm mounting holes.
- Gruix de l'escriptori: Per escriptori clamp installation, your desk thickness should be between 10mm and 88mm. For grommet base installation, your desk thickness should be between 10mm and 75mm, with a hole aperture diameter of 35mm.

Image 4.1: Compatibility guidelines for 24-inch and 27-inch monitors, noting potential limitations for 27-inch monitors regarding maximum angle and desk edge clearance.
4.2 Opcions d'instal·lació
The PUTORSEN MAS-3 offers two installation methods: Desk Clamp and Grommet Base.

Image 4.2: Visual representation of the two installation methods: Desk Clamp and Grommet Base.
4.2.1 Escriptori Clamp Instal·lació
- Col·loca l'escriptori clamp (Part D) to the bottom of the main pole (Part A).
- Position the stand on your desk and tighten the clamp securely to the desk edge. Ensure it is stable.

Image 4.2.1: Detail of the C-Clamp mount, suitable for desk thicknesses of 10-88mm.
4.2.2 Instal·lació de la base del grommet
- If your desk has a grommet hole, attach the grommet base plate (Part E) to the bottom of the main pole (Part A).
- Introduïu el pal pel forat de l'olla i fixeu-lo des de sota l'escriptori amb els elements de fixació proporcionats.

Image 4.2.2: Detail of the Grommet mount, suitable for desk thicknesses of 10-75mm with a 35mm hole diameter.
4.3 Attaching Monitors
- Attach the VESA plates (Part C) to the back of each monitor using the appropriate screws from the hardware kit. Ensure they are tightened securely.
- Slide the horizontal arm assembly (Part B) onto the main pole (Part A) and secure it at the desired height.
- Carefully lift each monitor and slide the VESA plate attached to the monitor onto the corresponding arm on the horizontal arm assembly. Secure with the locking mechanism.
- Adjust the arms and VESA plates to align the monitors as desired.

Image 4.3.1: Detachable VESA plate design for simplified monitor attachment.

Image 4.3.2: The double joint connection allows for flexible positioning of the monitor arms.
5. Instruccions de funcionament
5.1 Ajust de la posició del monitor
The MAS-3 stand offers extensive adjustability for optimal viewcomoditat.
- Ajust d'alçada: Loosen the collar on the main pole to slide the entire horizontal arm assembly up or down. Re-tighten to secure. The maximum height adjustment is 450mm.
- Individual Height Adjustment (Micro Adjustment): Each VESA plate can be micro-adjusted vertically by up to 40mm to perfectly align monitors of different heights. Use the provided allen key to adjust the screw behind the VESA plate.

Image 5.1.1: The monitor stand allows for vertical height adjustment of the entire arm assembly.

Image 5.1.2: Individual height adjustment feature allows fine-tuning of monitor alignment.

Image 5.1.3: Micro adjustment (0-40mm) behind the VESA plate for precise monitor alignment.
- Ajust d'inclinació: Each monitor can be tilted ±90° (up/down). Loosen the tilt knob/screw on the VESA plate, adjust the angle, and re-tighten.

Image 5.1.4: The monitor mount allows for a wide tilt range to reduce glare and optimize viewangles d'ajust.
- Ajust de gir: Each monitor arm can swivel ±90° (left/right) at the joint.

Image 5.1.5: The monitor arms offer a swivel range for flexible screen positioning.
- Ajust de rotació: Each monitor can be rotated 360° (landscape to portrait mode).

Image 5.1.6: Monitors can be rotated 360 degrees for landscape or portrait orientation.

Imatge 5.1.7: Ex.ample of a multi-monitor setup utilizing the rotation feature for varied screen orientations.
5.2 Gestió de cables
Integrated cable clips along the arms and pole help keep your workspace tidy and free of clutter.
- Route monitor cables (power, video) along the underside of the monitor arms.
- Use the provided cable clips to secure the cables to the arms and down the main pole.
- Ensure enough slack is left in the cables to allow for full range of motion of the monitors without strain.
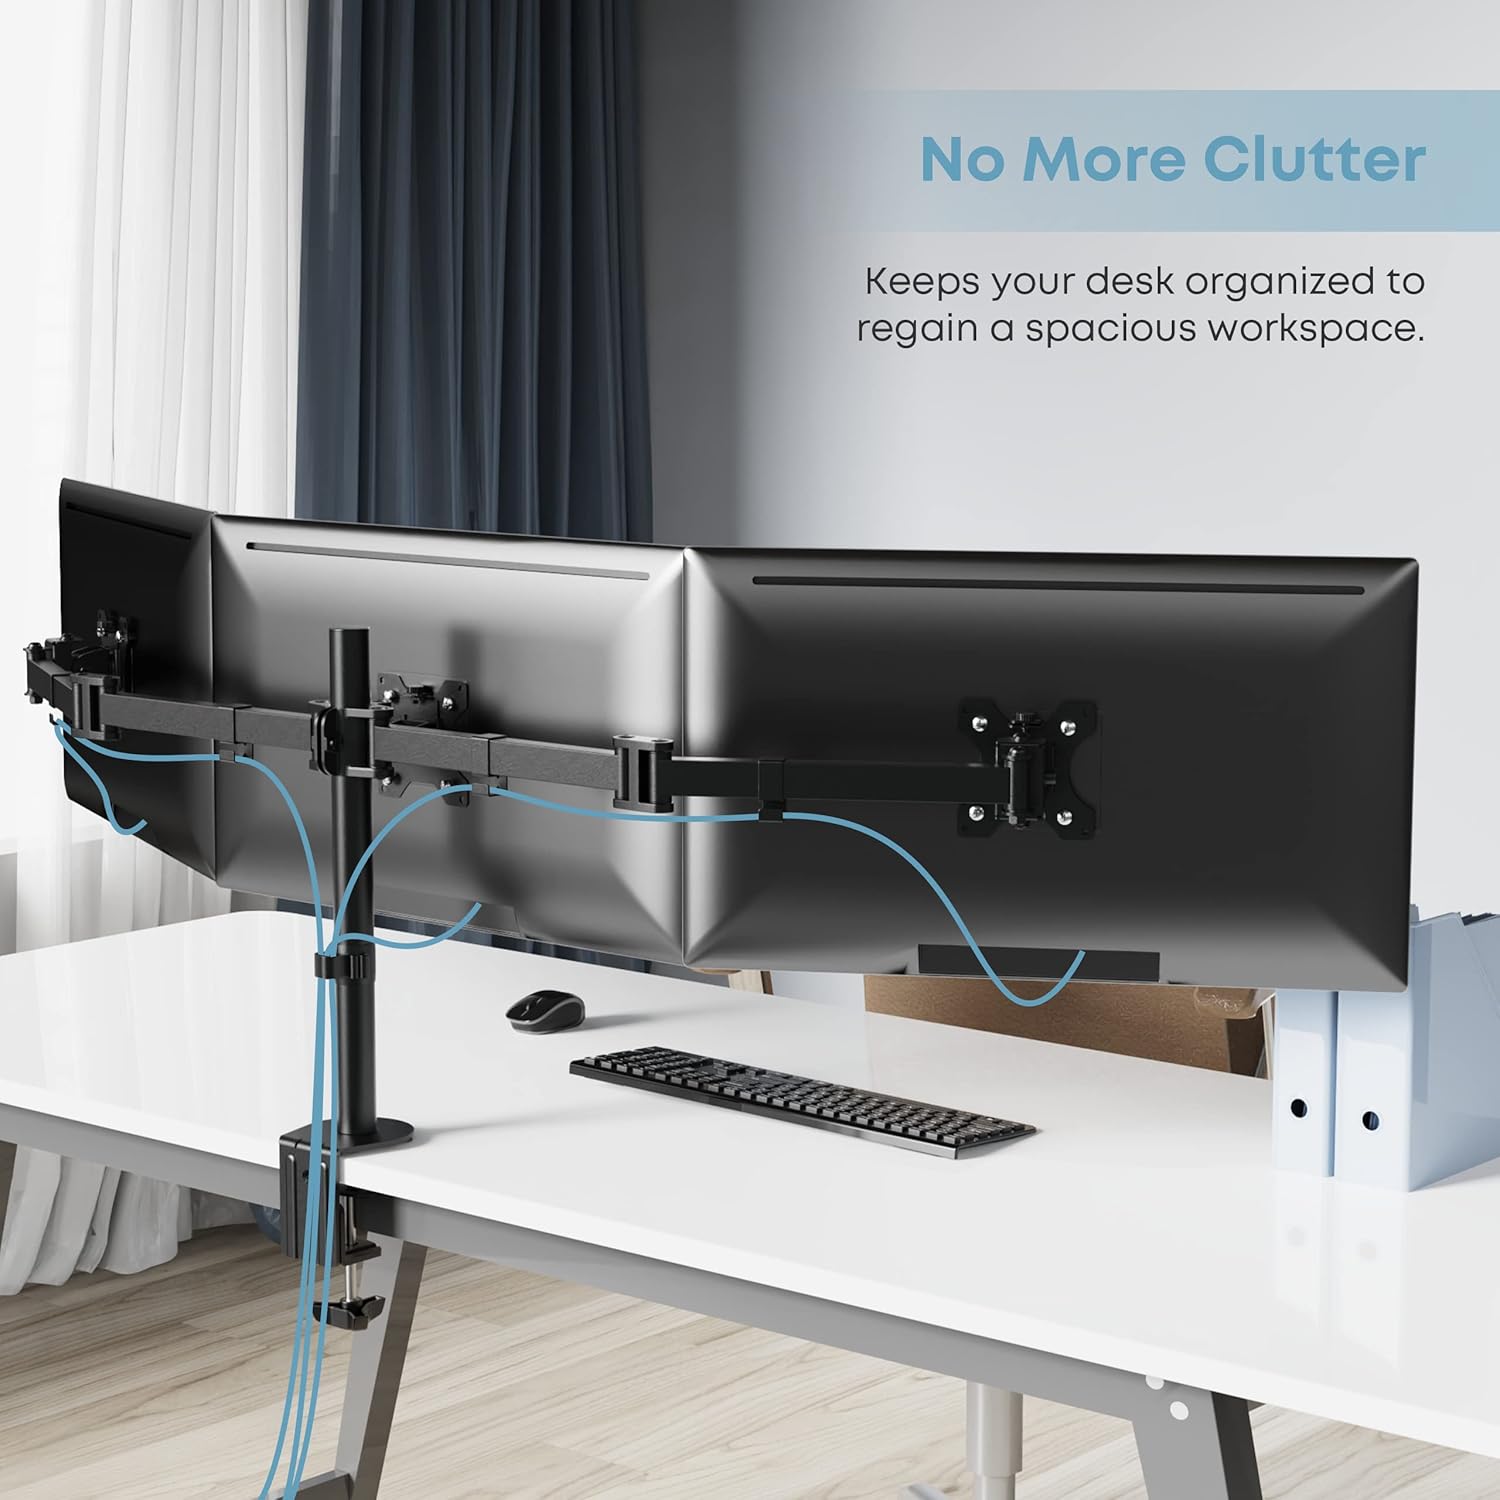
Image 5.2.1: The integrated cable management system helps maintain a clean and organized workspace.
6. Manteniment
Regular maintenance ensures the longevity and safe operation of your monitor stand.
- Neteja: Netegeu el suport amb un drap suauamp drap. Eviteu productes de neteja o dissolvents abrasius.
- Comprovacions periòdiques: Periodically check all screws and bolts to ensure they remain tight. Re-tighten if necessary, especially after making significant adjustments to monitor positions.
- Lubricació: No lubrication is required for the moving parts.
7. Solució De Problemes
If you encounter issues with your monitor stand, refer to the following common problems and solutions.
- Els monitors no estan anivellats: Use the individual height adjustment (micro adjustment) feature behind each VESA plate to fine-tune the height of each monitor. Ensure all VESA plates are securely fastened.
- La posició de suport es nota inestable: Assegureu-vos que l'escriptori clamp or grommet base is tightened securely to the desk. Verify that the main pole and horizontal arm assembly are properly secured. Check that the combined weight of your monitors does not exceed the 7kg per arm limit.
- Monitors sag or tilt unexpectedly: Tighten the tilt adjustment screws on the VESA plates. Ensure the monitors are within the specified weight limit.
- Dificultat per ajustar els braços: Check for any obstructions. Ensure all adjustment points are loosened before attempting to move, and re-tighten once the desired position is achieved.
8. Especificacions
| Característica | Especificació |
|---|---|
| Número de model | MAS-3 |
| Mida de pantalla compatible | 13" - 27" |
| Compatibilitat VESA | 75x75mm, 100x100mm |
| Capacitat de pes per braç | Fins a 7 kg (15.4 lliures) |
| Interval d'inclinació | ±90° |
| Gamma giratòria | ±90° |
| Rotació | 360° |
| Ajust d'alçada | Màxim 450 mm |
| Material | Acer d'aliatge, alumini |
| Tipus de muntatge | Escriptori Clamp (10-88mm), Grommet Base (10-75mm, 35mm hole) |
| Pes de l'article | 13.29 lliures (aprox. 6.03 kg) |
| UPC | 661273023501 |
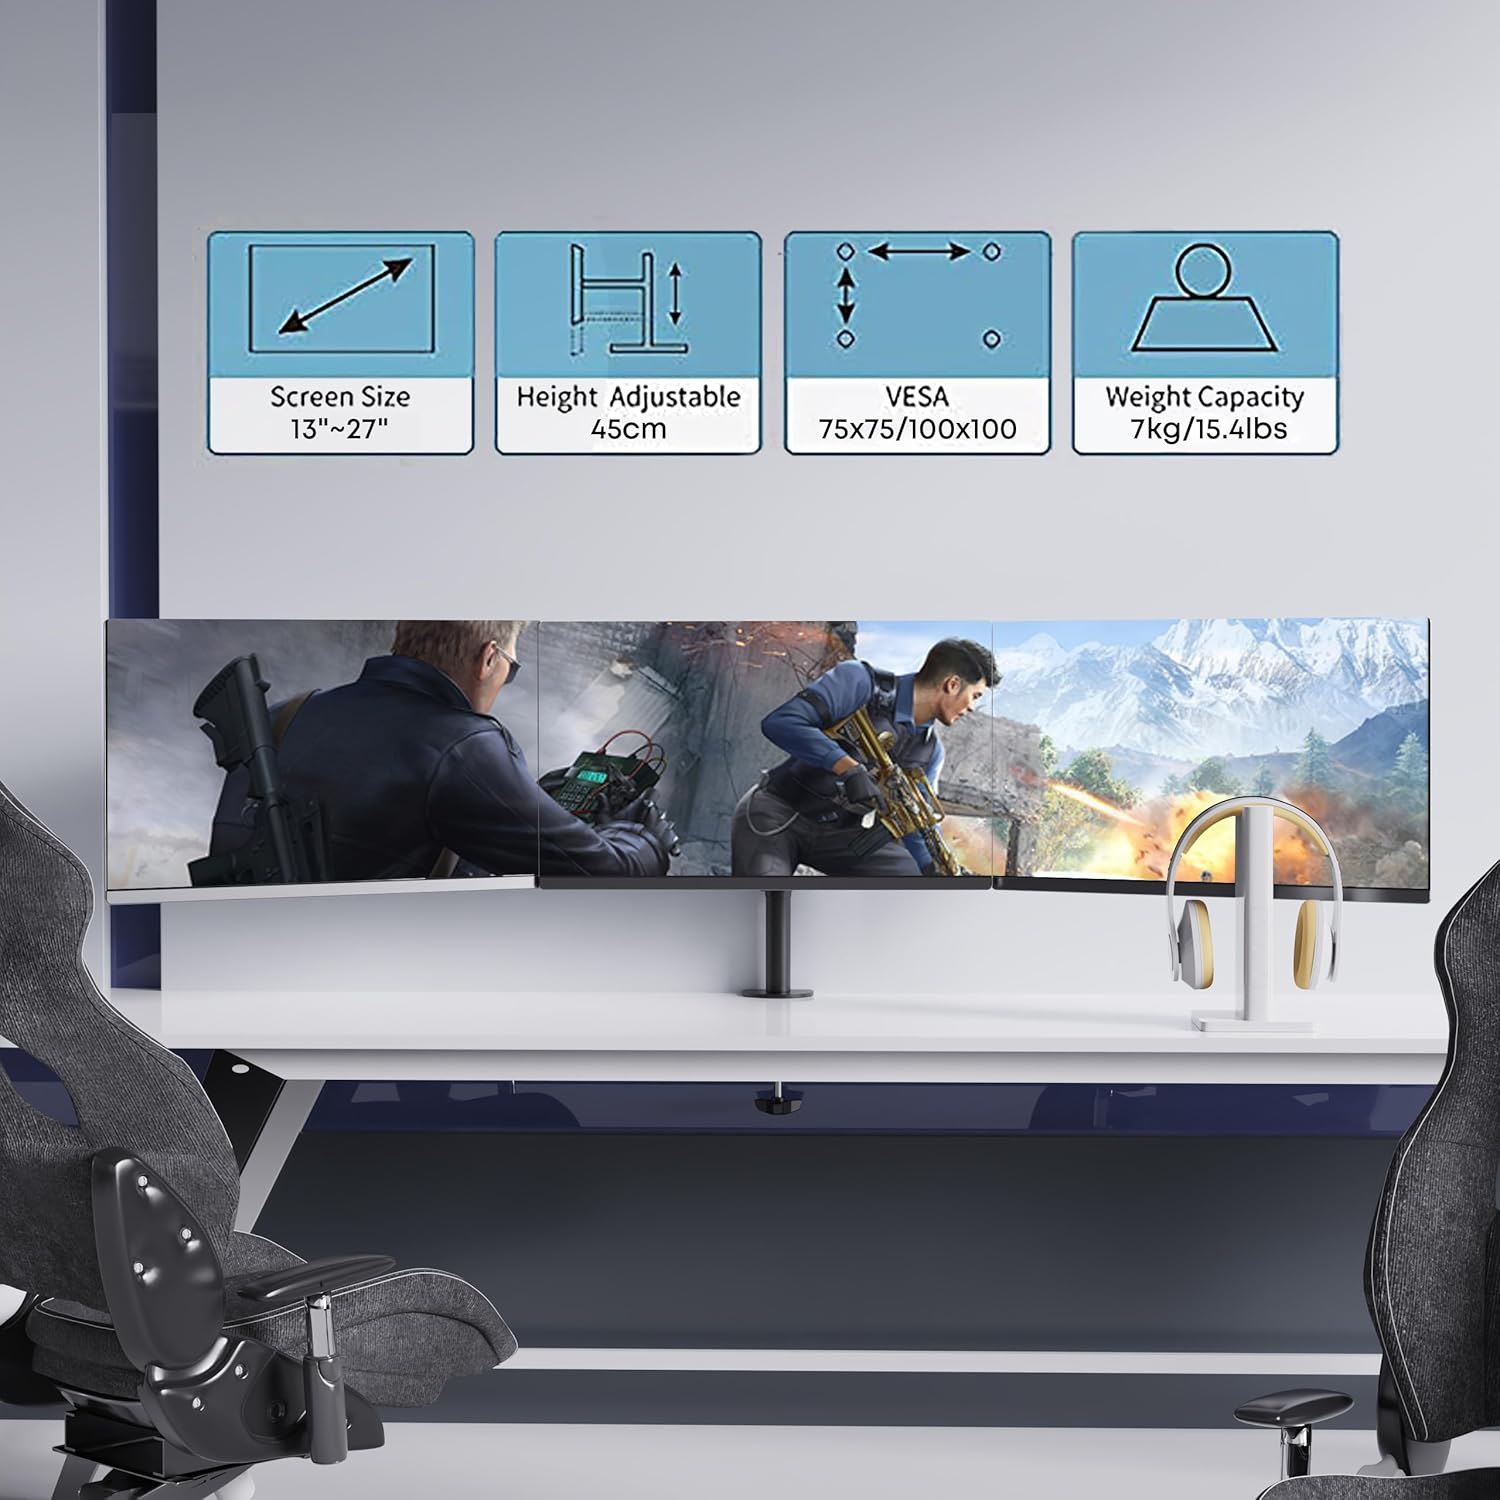
Imatge 8.1: acabatview of key product specifications including screen size, height adjustment, VESA compatibility, and weight capacity.
9. Informació de la garantia
PUTORSEN products are manufactured with quality and durability in mind. For specific warranty details, including coverage period and terms, please refer to the warranty card included with your product or visit the official PUTORSEN weblloc web. Conserveu el comprovant de compra per a reclamacions de garantia.
10. Atenció al client
If you have any questions, require assistance with installation, or need to report a missing/damaged part, please contact PUTORSEN customer support. Contact information can typically be found on the product packaging, the official PUTORSEN weblloc web o a través del vostre distribuïdor.