1. Introducció
Welcome to the user manual for your IBM Selectric III Correcting Typewriter. This document provides essential information to help you set up, operate, and maintain your typewriter effectively. The IBM Selectric III is renowned for its reliability and correcting capabilities, making it a valuable tool for various typing needs.
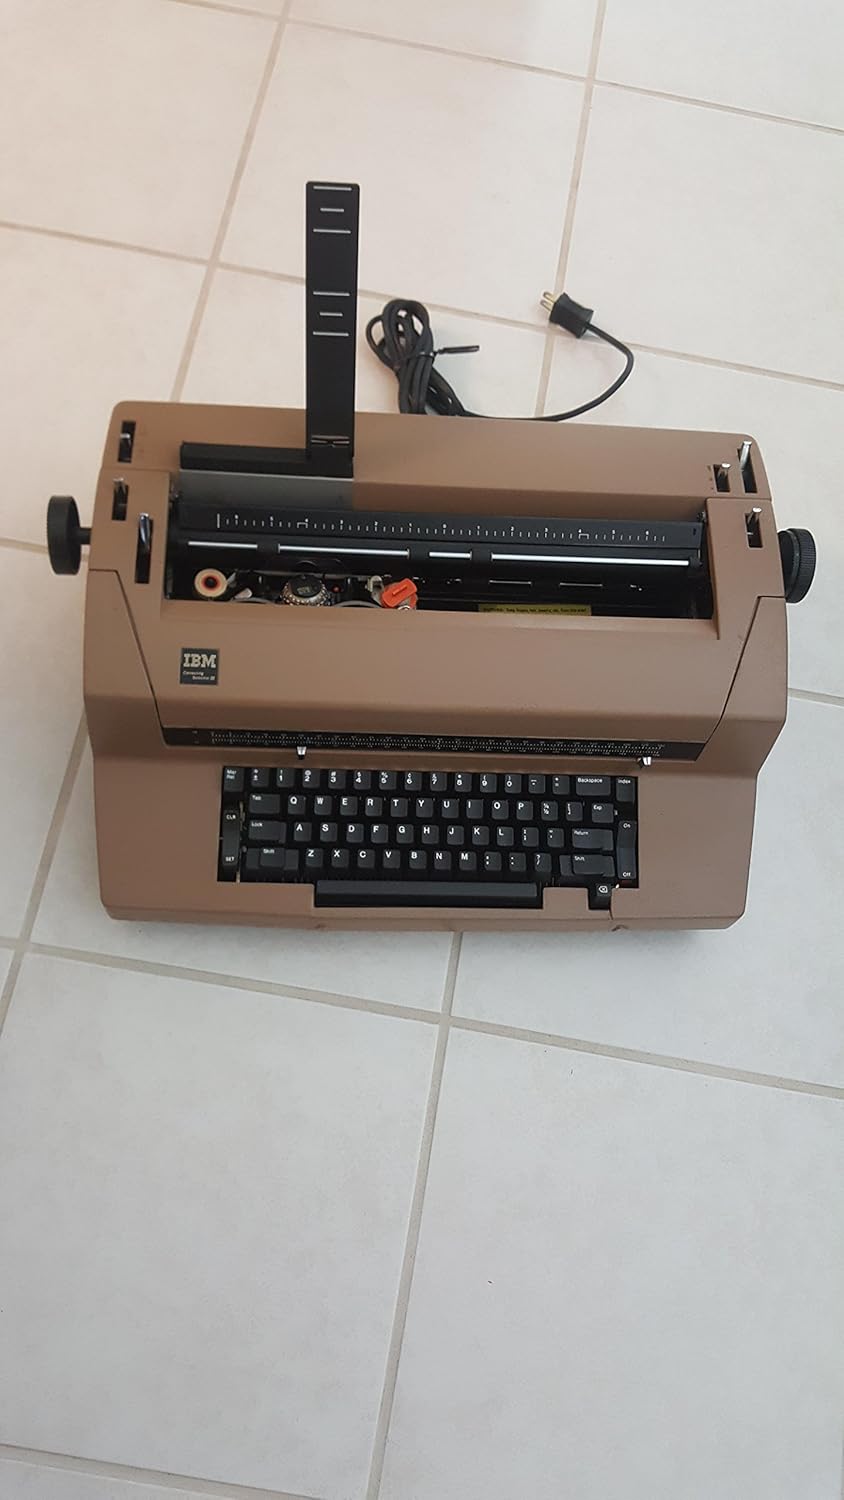
Figure 1: IBM Selectric III Correcting Typewriter with cover closed.
2. Configuració
2.1 Desembalatge
Carefully remove the typewriter from its packaging. Ensure all packing materials, including any protective inserts around the print mechanism and platen, are removed before operation.

Figura 2: superior view of the typewriter with the cover open, revealing the internal mechanism.
2.2 Connexió de potència
Locate the power cord at the rear of the typewriter. Plug the power cord into a standard 110V electrical outlet.
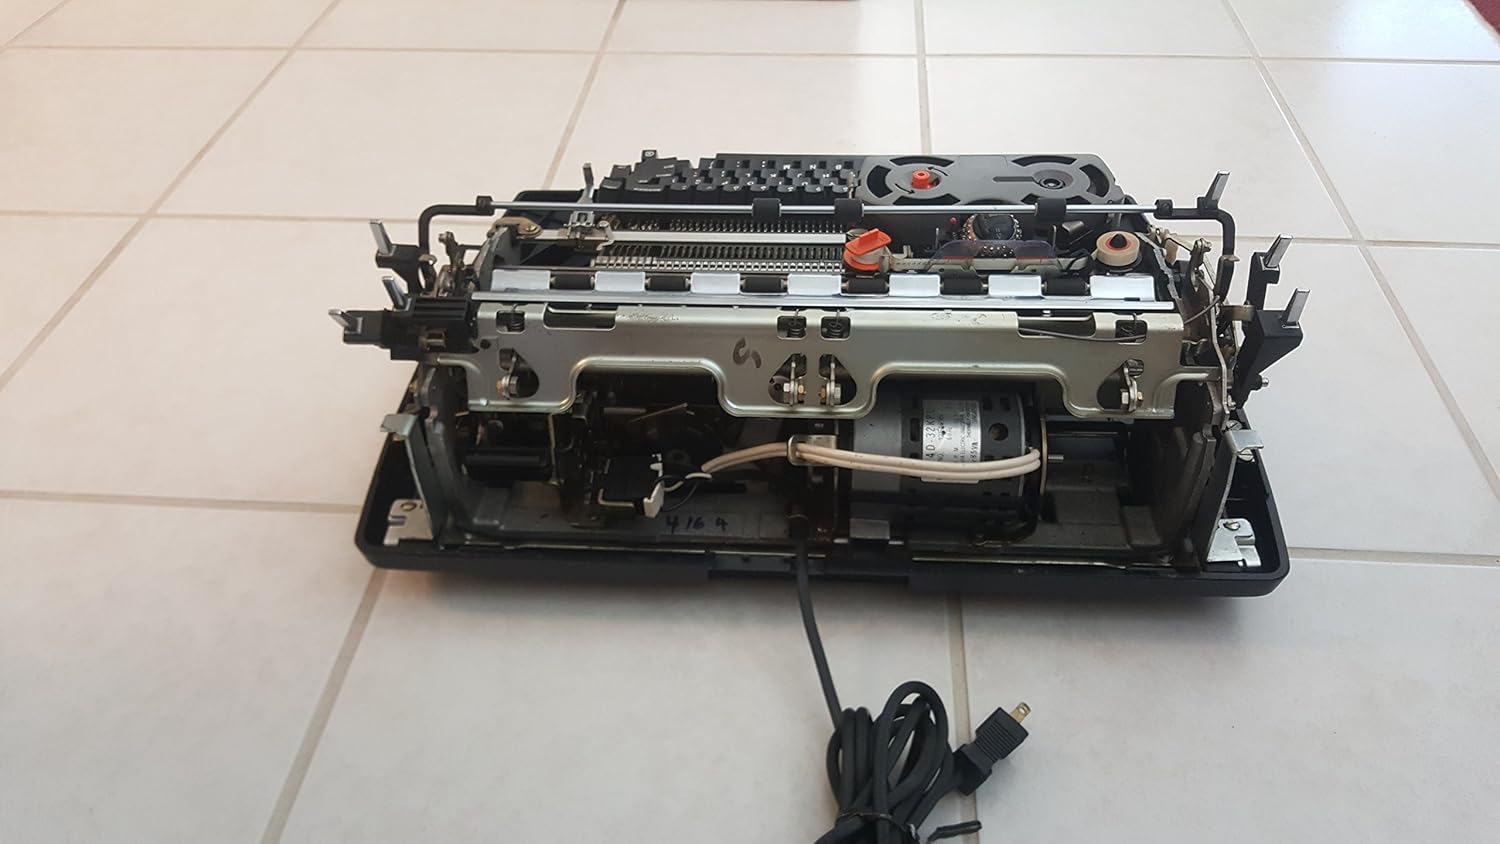
Figure 3: Power cord connection point on the underside of the typewriter.
2.3 Encès/Apagat
The power switch is located on the right side of the machine. Flip the switch to the 'I' position to turn the typewriter on. The power LED on the keyboard will illuminate. To turn off, flip the switch to the 'O' position.

Figure 4: Location of the power on/off switch.
2.4 Inserting Paper
- Lift the paper support up.
- Align a sheet of letter-size paper with the left paper guide.
- Insert the paper into the paper feed slot until it engages with the platen.
- Turn the platen knob (located on the right side) to advance the paper to your desired starting position.
- Ensure the paper release lever is in the locked position to secure the paper.

Figure 5: Paper feed knob on the side of the typewriter.
3. Funcionament
3.1 Disposició del teclat
The IBM Selectric III features a full-size keyboard with 45 keys and 17 function keys, designed for efficient typing.

Figura 6: Detallada view of the keyboard layout.
3.2 Mecanografia bàsica
To type, simply press the desired keys. The typewriter operates at a speed of 12 characters per second. For fast typists, a 20-character keystroke buffer helps prevent missed characters.
3.3 Correction Feature
The Selectric III includes a correcting feature. If you make a typing error, press the Correcció key (often labeled "Correction" or "Word Correction") to automatically erase the last typed character or word. This feature utilizes a correction ribbon.
3.4 Advancing Paper
You can advance the paper using the platen knob on the right side of the machine or by pressing the Tornar key for a line feed.
3.5 Special Typing Functions
- Automatic Underlining: Use the dedicated key for automatic underlining.
- Bold Typing: Activate the bold function for emphasized text.
- Superscript and Subscript: Keys are available for typing characters above or below the normal line.
- Margin Set and Release: Adjust left and right margins as needed.
- Auto Indent: For automatic indentation at the beginning of paragraphs.
- Tab Set and Release: Set and clear tab stops for columnar typing.
- Decimal Tabulation: Align numbers by their decimal points.
- Auto Centering: Automatically centers text on the page.
- Flush Right Margin: Aligns text to the right margin.
4. Manteniment
Regular maintenance ensures the longevity and optimal performance of your IBM Selectric III.

Figure 7: Internal mechanism, including the ribbon cassette and printwheel.
4.1 Ribbon Cassette Replacement
When the print quality diminishes, it's time to replace the ribbon cassette.
- Turn the typewriter OFF.
- Open the top cover of the typewriter.
- Gently grasp the ribbon cassette and lift it out.
- Remove the plastic ribbon from the take-up knob.
- Insert a new ribbon cassette, ensuring it is correctly seated and the ribbon feeds properly.
- Tanqueu la coberta superior.
- Turn the typewriter ON.
4.2 Correction Tape Replacement
The correction tape is essential for the correcting feature. Replace it when it runs out or becomes ineffective.
- Turn the typewriter OFF.
- Obriu la coberta superior.
- Unpack the new correction tape and hold the two spools in each hand.
- Insert the tape behind the correction tape guides and the printhead, ensuring the powdered side of the tape faces the paper.
- Mount the spools onto the take-up and supply spindles.
- Tanqueu la coberta superior.
- Turn the typewriter ON.
4.3 Printwheel Replacement
To change the font style, you will need to replace the printwheel.
- Turn the typewriter OFF.
- Obriu la coberta superior.
- Gently grasp the edge of the printwheel and carefully pull it away from the printhead.
- Align the new printwheel with the printhead and press it into place until it clicks.
- Tanqueu la coberta superior.
- Turn the typewriter ON.
5. Solució De Problemes
If you encounter issues with your typewriter, refer to the following common problems and solutions:
- Typewriter does not function:
- Ensure the power cord is securely plugged into a live 110V outlet.
- Comproveu si l'interruptor d'alimentació està en la posició "ON".
- Mala qualitat d'impressió:
- Comproveu si el casset de cinta està instal·lat correctament.
- Replace the ribbon cassette if the ink is faded or dry.
- Ensure the printwheel is clean and free of debris.
- Correction feature not working:
- Verify that the correction tape is properly installed.
- Replace the correction tape if it is used up or damaged.
- Paper not feeding correctly:
- Ensure the paper is aligned with the paper guides.
- Check that the paper release lever is in the locked position.
- Inspect the platen for any obstructions.
6. Especificacions
| Característica | Detall |
|---|---|
| Marca | IBM |
| Número de model | III |
| Dimensions del producte | 20 x 16 x 7 polzades |
| Pes de l'article | 40 lliures |
| Capacitat de paper | 13 polzades |
| Typing Width | 9 polzades |
| Teclat | 45 keys, 17 function keys |
| Keystroke Buffer | 20 caràcters |
| Tipus de velocitat | 12 caràcters per segon |
| Memòria de correcció | Sí |
7. Garantia i Suport
Information regarding the specific warranty period and customer support contacts for the IBM Selectric III Correcting Typewriter is not provided within this manual. Please refer to your purchase documentation or contact the vendor for details on warranty coverage and technical assistance.


