1. Introducció
This manual provides detailed instructions for the ELECROW 7-inch 1024x600 HD IPS TFT LCD Touch Monitor. This versatile display is designed for various applications, including use with Raspberry Pi, Windows PCs, and other compatible devices. It features a capacitive USB touch screen and supports multiple display modes.
2. Què hi ha a la caixa?
Si us plau, verifiqueu que tots els elements que s'enumeren a continuació estiguin inclosos al vostre paquet:

Imatge: Contingut de l'embalatge del producte.
- 7-inch Touch Monitor x1
- Cable HD a HD x1
- HD to Micro HD Adapter x1
- USB A to Micro USB Cable x1
- DVD x1 (containing drivers/software)
- Manual d'usuari x1
- Copper Screws Pack x1
3. Especificacions
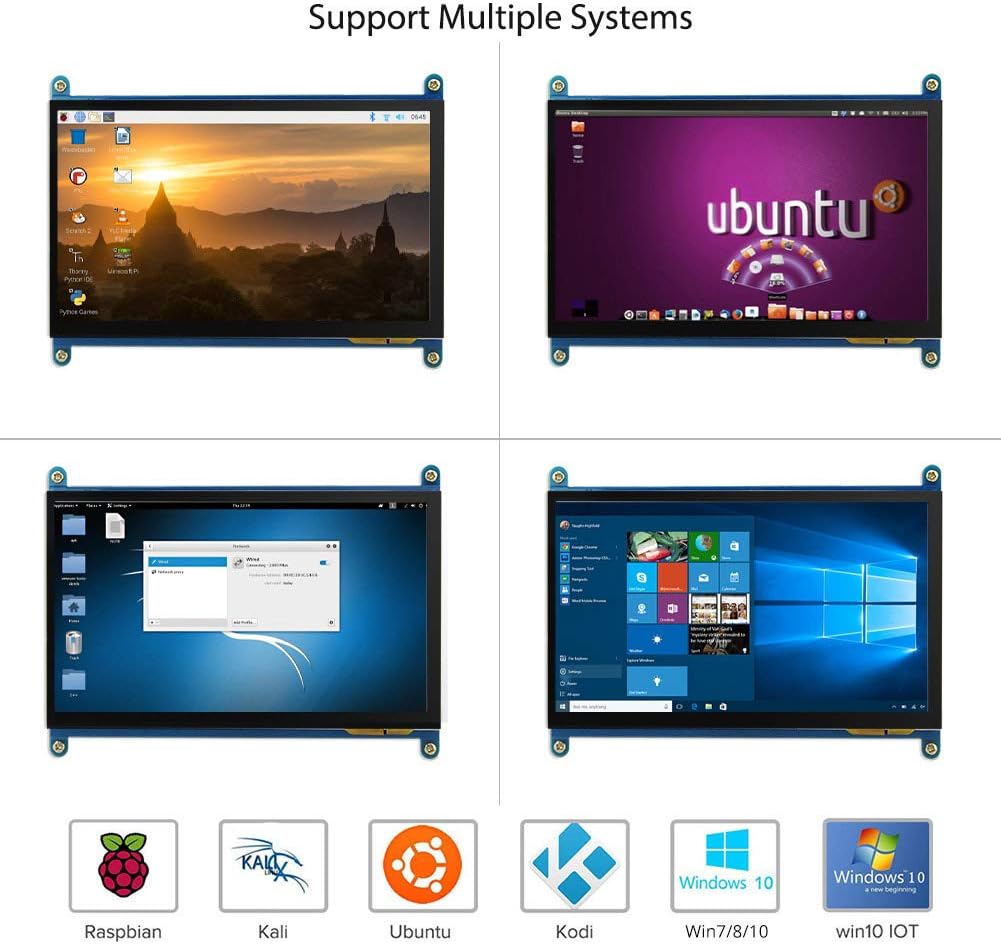
Image: The 7-inch IPS display highlighting its 1024x600 resolution.
| Característica | Detall |
|---|---|
| Marca | ELECROW |
| Número de model de l'article | 7-inch 1024x600 Monitor |
| Sèrie | Pantalla tàctil |
| Color | Diversos Colors |
| Tipus de pantalla | LCD |
| Mida de la pantalla | 7 polzades |
| Resolució de pantalla | 1024 x 600 |
| Resolució de visualització màxima | 1024 x 600 |
| Interfície del maquinari | HDMI, Micro-HDMI, USB |
| Nombre de ports HDMI | 1 |
| Tipus de connector | HDMI, USB |
| Compatibilitat de dispositius | Raspberry Pi (5/400/4/3/2/1/3B+/BB), Banana Pi, Jetson Nano, BB Black |
| Dimensions de l'article L x W x H | 15 x 164 x 123 mil·límetres |
| Característica especial | Pantalla tàctil |
| Relació d'aspecte | 1.71:1 |
| Descripció de la superfície de la pantalla | suau |
| Relació de contrast de la imatge | [Estimated] 800:1 |
| Temps de resposta | 5 mil·lisegons |
| Freqüència d'actualització | 60 Hz |
| Disponibilitat de peces de recanvi | Informació no disponible |
| Actualitzacions de programari garantides fins a | Informació no disponible |
4. Instruccions de configuració
Follow these steps to connect and set up your ELECROW 7-inch monitor.
4.1 Maquinari acabatview
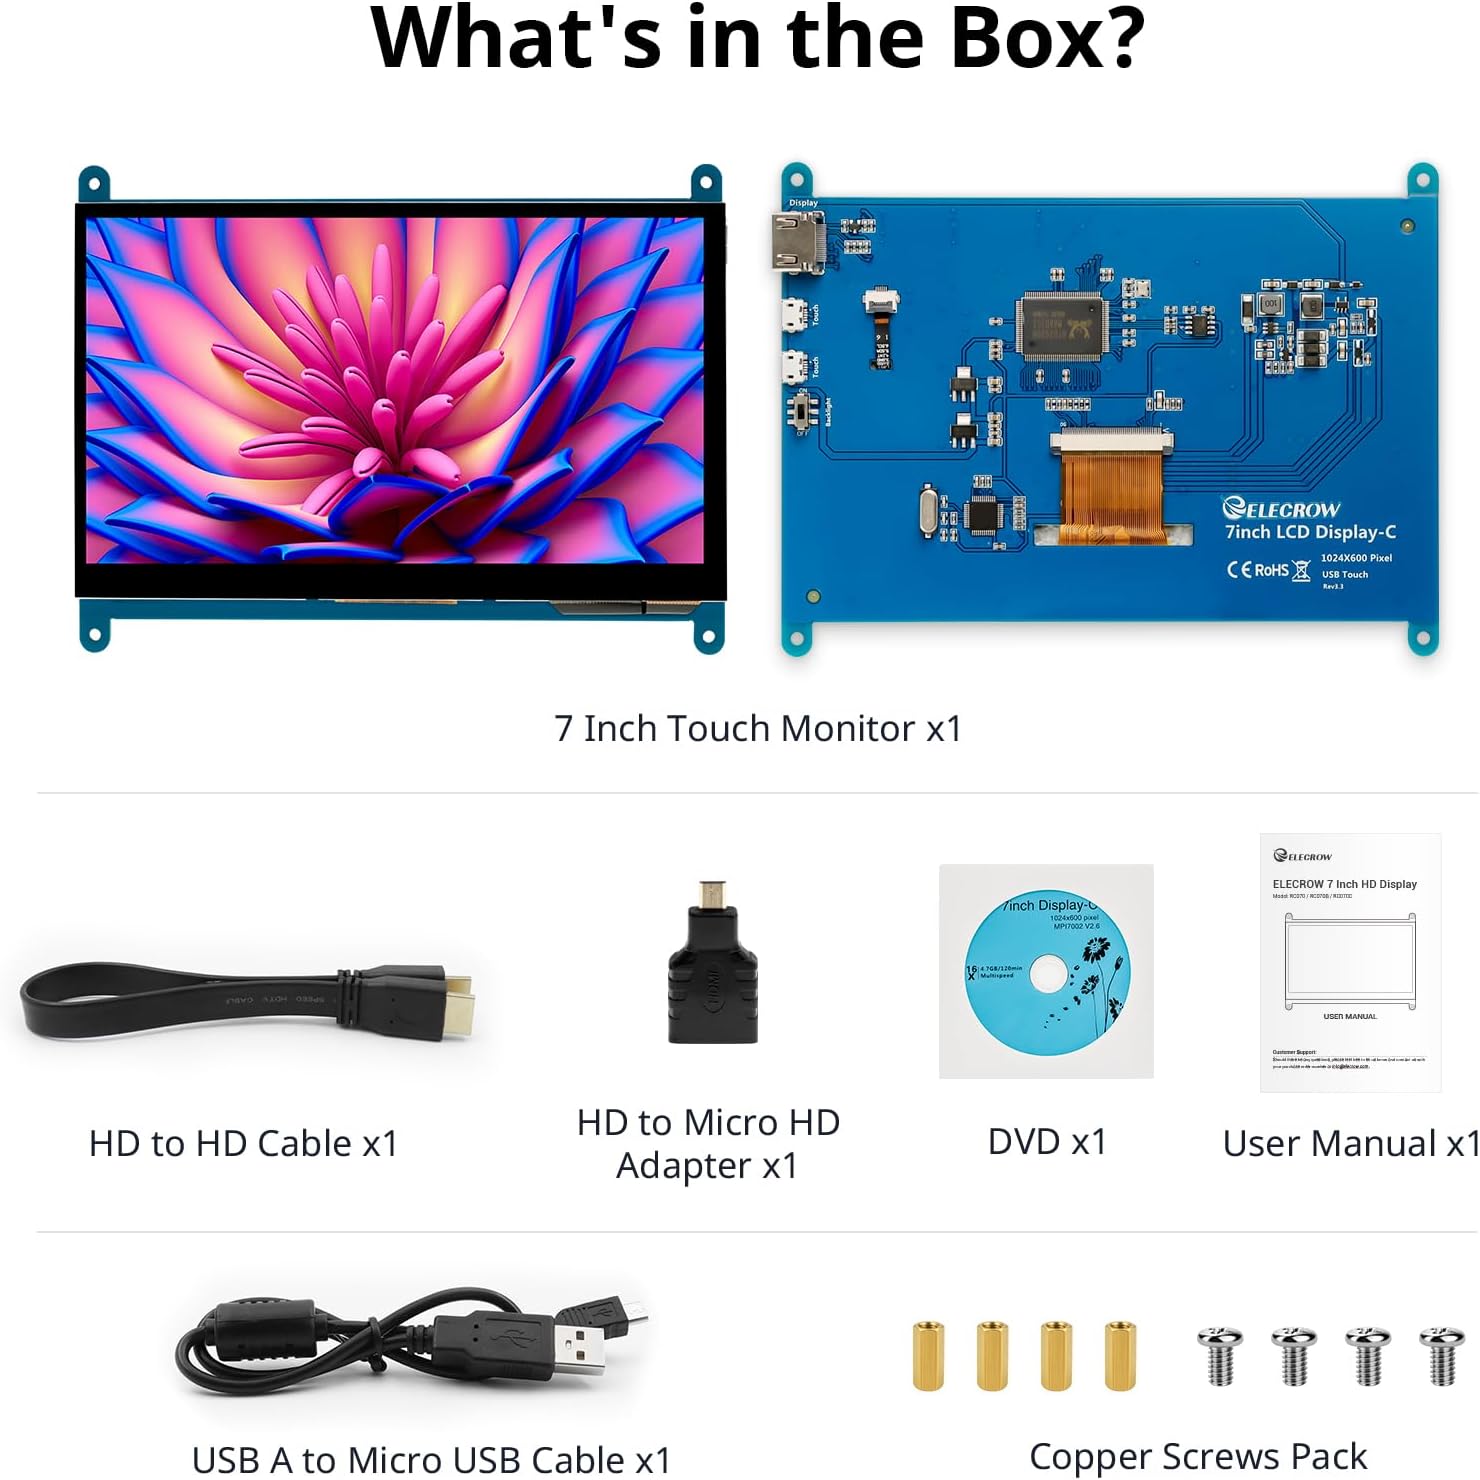
Image: Hardware overview of the monitor, indicating ports and backlight.
El monitor inclou:
- Standard HD Port for Data Transfer
- Micro USB Port for Touch and Power
- Backlight (control)
4.2 Connexió general
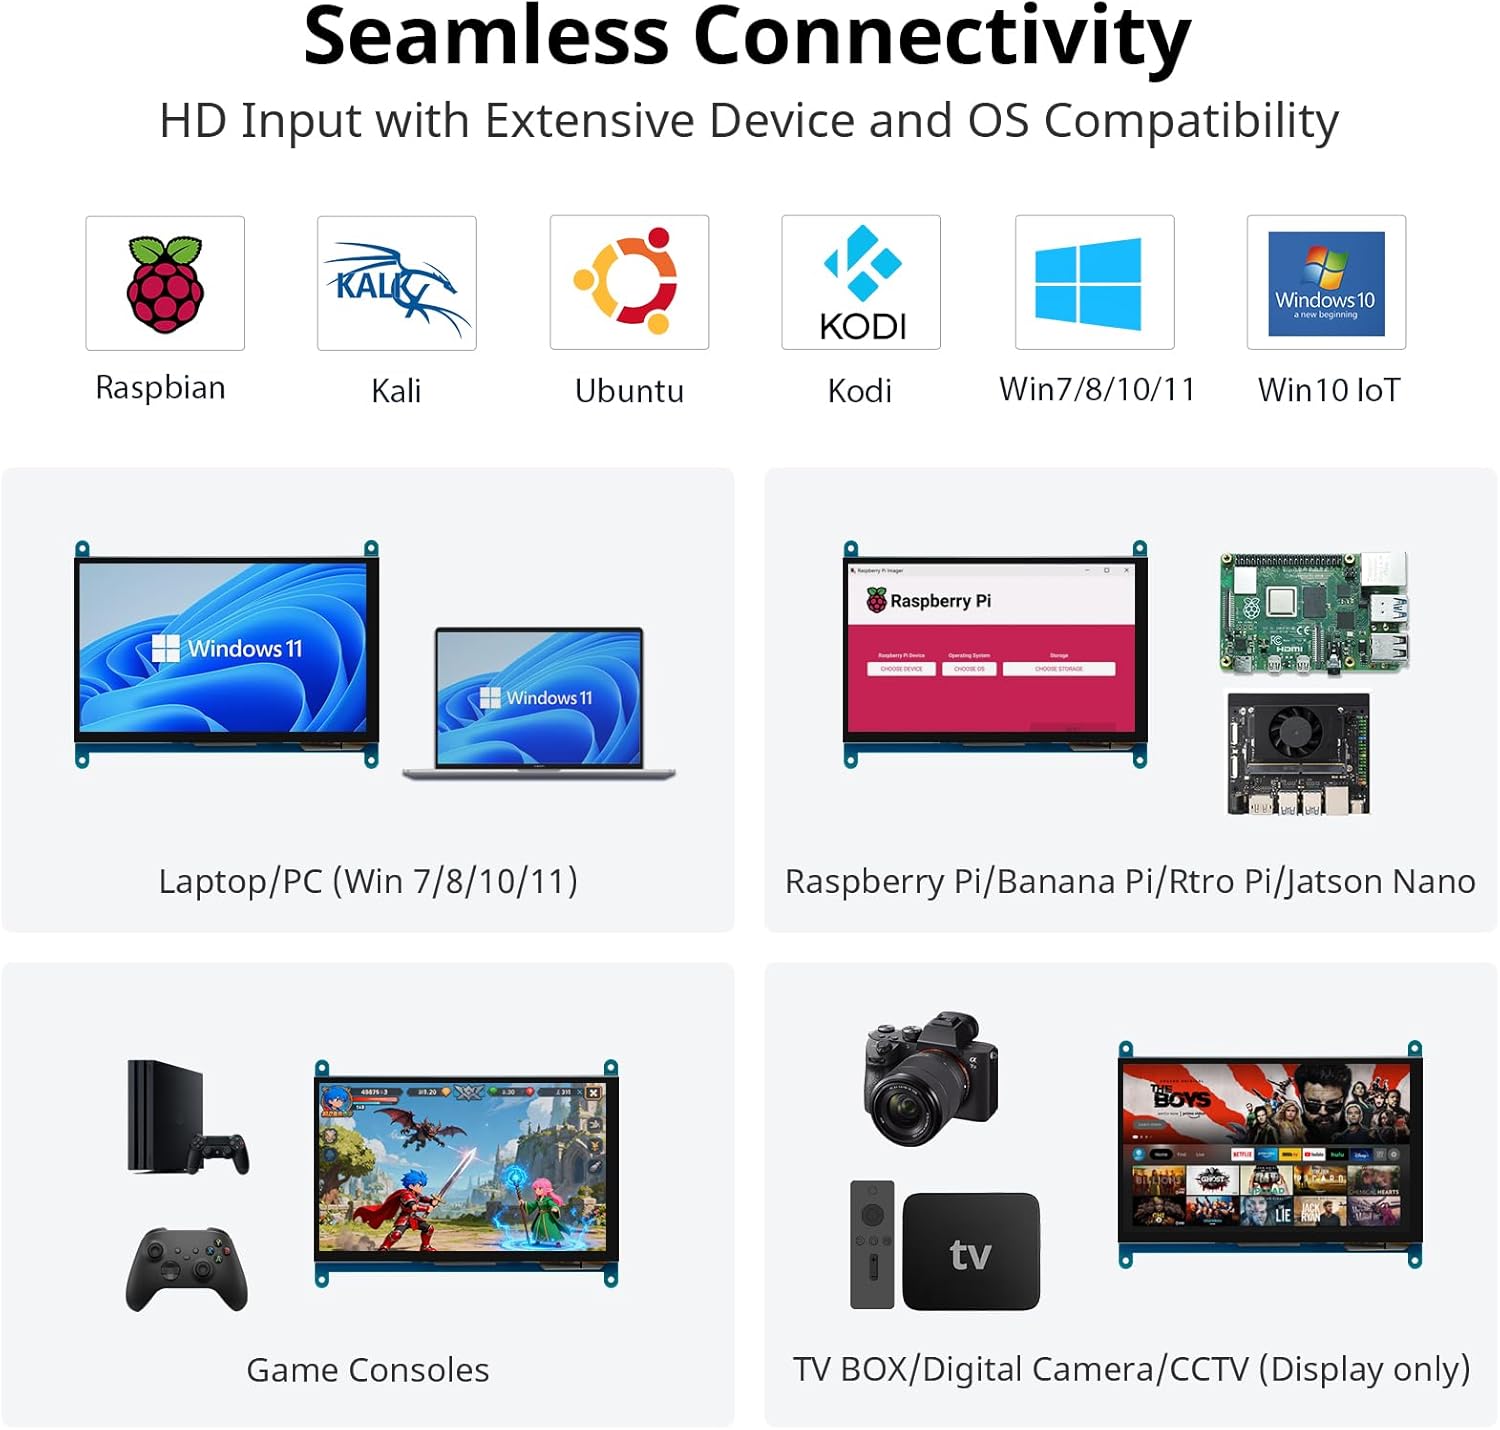
To enable both display and touch functionality, connect the monitor to your device using both the HD cable for video and the USB cable for touch and power.

Image: Seamless connectivity options for various devices.
4.3 Connecting to Raspberry Pi
The monitor is fully compatible with Raspberry Pi models (5/400/4/3/2/1/3B+/BB). For touch functionality with Raspberry Pi, ensure the USB touch port is powered. The monitor supports Raspbian, Ubuntu, and single-touch input.
- Connect the HD cable from the Raspberry Pi to the monitor's HD port.
- Connect the USB A to Micro USB cable from a USB port on the Raspberry Pi to the monitor's Micro USB port. This provides power for the touch function.
- For initial boot or if experiencing issues, use an external power source for the Raspberry Pi, then unplug the USB power from the monitor and reconnect it to the Raspberry Pi's USB port.

Image: Raspberry Pi monitor setup diagram.
4.4 Connecting to a PC (Windows)
When used as a computer monitor, it supports Windows 10/8/7 with 5-point touch. No driver installation is typically required; it's plug and play.
- Connect the HD cable from your PC's HD output to the monitor's HD port.
- Connect the USB A to Micro USB cable from a USB port on your PC to the monitor's Micro USB port. This enables the touch functionality.

Image: Monitor connected to a laptop as a PC monitor.
5. Instruccions de funcionament
5.1 Funcionalitat tàctil
The monitor features a capacitive touch screen. When connected to a Windows PC, it supports 5-point multi-touch for a smooth and responsive experience. With Raspberry Pi, it supports single-touch.
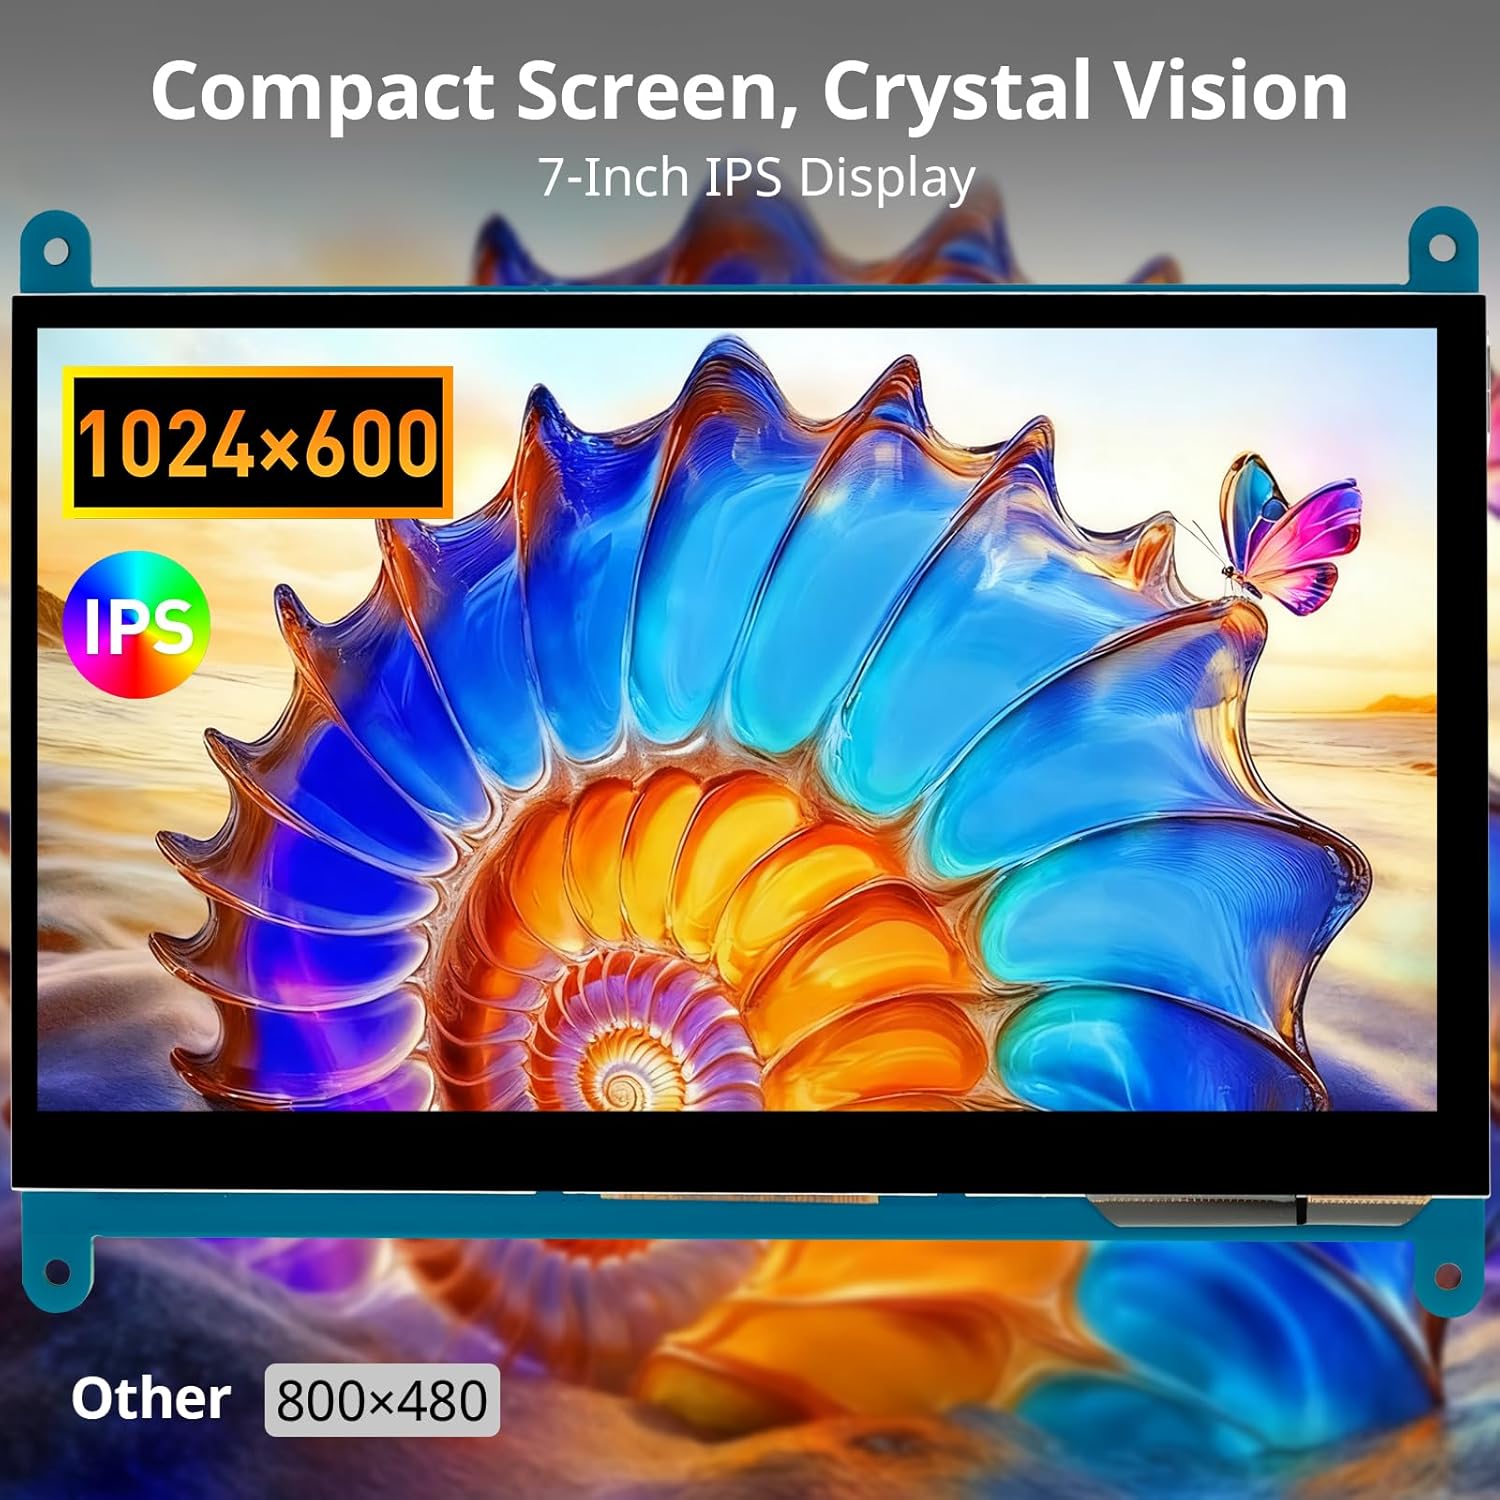
Image: Demonstration of 5-point multi-touch gestures.
5.2 Modes de visualització
This mini monitor operates in three modes when connected to a compatible system:
- Mode de còpia: Duplicates the primary display's content.
- Mode estès: Extends the desktop across both displays, providing more screen real estate.
- Mode de segona pantalla: Uses only the monitor as the primary display.
5.3 Aplicacions versàtils
The monitor's compact size and features make it suitable for various uses:
Imatge: Examples of versatile display applications.
- Raspberry Pi Monitor: Ideal for DIY projects and embedded systems.
- Windows PC Monitor: Functions as a secondary or primary display for Windows 10/8/7.
- Gaming Monitor: Can be used with mini gaming setups.
- Marc de fotos digital: Display photos or other media.
- Home Monitoring Display: Integrate into smart home systems.
- In-Case System Monitor: Mount inside PC cases for system stats.
6. Manteniment
Per garantir la longevitat i el rendiment òptim del monitor, seguiu aquestes pautes de manteniment:
- Neteja de la pantalla: Utilitzeu un drap suau i sense pelusa lleugerament dampnetejar amb aigua o una solució netejadora de pantalles. Eviteu productes químics agressius, materials abrasius o humitat excessiva.
- Neteja de la Casing: Netegeu el monitor casinamb un drap suau i sec.
- Emmagatzematge: Quan no l'utilitzeu durant períodes prolongats, guardeu el monitor en un lloc fresc i sec, allunyat de la llum solar directa i de temperatures extremes.
- Manipulació: Avoid dropping the monitor or subjecting it to strong impacts. Do not apply excessive pressure to the screen.
- Ventilació: Ensure proper airflow around the monitor to prevent overheating.
7. Solució De Problemes
If you encounter issues with your ELECROW monitor, refer to the following common problems and solutions:
| Problema | Possible causa/solució |
|---|---|
| Screen remains black / No signal |
|
| La funció tàctil no funciona |
|
| Display resolution incorrect |
|
| Pantalla parpellejant o imatge distorsionada |
|
8. Garantia i Suport
8.1 Informació de la garantia
Specific warranty details for this product are typically provided at the point of purchase or within the product packaging. Please refer to your purchase documentation for information regarding warranty duration and terms. Spare parts availability information is not available at this time.
8.2 Atenció al client
For further assistance, technical support, or inquiries not covered in this manual, please contact ELECROW customer service through their official weblloc web o el distribuïdor on vau comprar el producte.


