1. Introducció
Thank you for choosing the Walfront 1/2-inch Flat Rubber Washer Kit. This manual provides essential information for the proper use, installation, and maintenance of your new rubber washers. Please read this manual thoroughly before use to ensure optimal performance and longevity of the product.
2. Producte acabatview
2.1 Característiques
- Material: Constructed from high-quality, abrasion-resistant rubber for enhanced durability and extended service life.
- Sealing Performance: Designed to provide excellent sealing, ensuring high reliability and preventing leaks in various applications.
- Quantitat: Each kit contains 12 pieces of 1/2-inch flat rubber washers.
- Aplicació versàtil: Suitable for fasteners, plugs, water fittings, and hydraulic fittings, commonly used in faucets, shower heads, and other plumbing connections.
2.2 Especificacions
| Especificació | Detall |
|---|---|
| Número de model | Wal frontptwv2675fy-01 |
| Material | Cautxú |
| Tipus de rentadora | Rentadora de segellat |
| Mida de la fixació | 1/2 polzada |
| Diàmetre interior (ID) | Uns 12 mm |
| Diàmetre exterior (OD) | Uns 20 mm |
| Dimensions del producte | 5.12 x 3.54 x 0.39 polzades (embalatge) |
| Pes | 0.35 unces (envàs) |

Figure 1: Approximate dimensions of a single 1/2-inch rubber washer.
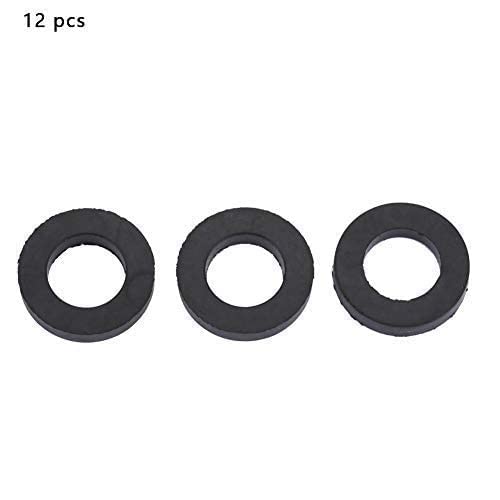
Figure 2: Contents of the Walfront 1/2-inch Flat Rubber Washer Kit, showing 12 pieces.
3. Instal·lació
These flat rubber washers are designed for easy replacement in various plumbing applications, such as faucets and shower heads. Follow these general steps for installation:
- Tanqueu el subministrament d'aigua: Before beginning any plumbing work, ensure the main water supply to the fixture is turned off to prevent leaks or flooding.
- Disassemble Fixture: Carefully disassemble the part of the faucet, shower head, or pipe connection that requires a new washer. This may involve unscrewing nuts or connectors.
- Treure la rentadora antiga: Locate and remove the old, worn-out, or damaged washer. Inspect the area for any debris or residue and clean it thoroughly.
- Insert New Washer: Place the new Walfront 1/2-inch flat rubber washer into the designated groove or seating area. Ensure it sits flat and is not twisted or pinched.
- Remuntar el dispositiu: Carefully reassemble the fixture, tightening all connections securely but without over-tightening, which can damage the washer or threads.
- Restaurar el subministrament d'aigua: Slowly turn the water supply back on and check for any leaks. If leaks occur, gently tighten the connection further or re-check the washer's placement.

Figura 3: Example of a rubber washer installed in a shower hose connection to prevent leaks.

Figure 4: Walfront rubber washers are suitable for various plumbing applications, including kitchen and bathroom faucets.
4. Ús
The Walfront flat rubber washers are designed to create a watertight seal between two surfaces, preventing fluid leakage. They are commonly used in:
- Faucets: To seal connections in kitchen and bathroom faucets.
- Shower Heads: To prevent leaks at the connection point of shower hoses and shower heads.
- Water Pipes: For general sealing in water pipe connectors and fittings.
- Hydraulic Fittings: In applications requiring a seal against fluid pressure.

Figure 5: Wide range of applications for Walfront rubber washers, from household plumbing to outdoor water systems.
Video 1: Demonstration of the flexibility and durability of the Walfront flat rubber washers. This video illustrates the material's ability to conform and create a tight seal.
5. Manteniment
Rubber washers are consumable items and may require periodic replacement. Proper maintenance can extend their lifespan:
- Inspecció periòdica: Periodically check connections for signs of wear, cracking, or hardening of the rubber.
- Neteja: Ensure the seating surfaces are clean and free of mineral deposits or debris before installing a new washer.
- Emmagatzematge: Store unused washers in a cool, dry place away from direct sunlight and extreme temperatures to preserve their material integrity.
- Eviteu productes químics durs: Do not expose rubber washers to harsh chemical cleaners or solvents, as these can degrade the rubber material.
6. Solució De Problemes
If you encounter issues after installing the rubber washers, consider the following troubleshooting steps:
| Problema | Causa possible | Solució |
|---|---|---|
| Leakage after installation |
|
|
| Washer appears damaged quickly |
|
|
7. Garantia i Suport
For specific warranty information or technical support regarding your Walfront 1/2-inch Flat Rubber Washer Kit, please refer to the product packaging or contact Walfront customer service directly. Contact details can typically be found on the official Walfront weblloc web o a través del vostre punt de compra.
Fabricant: Walfront
Data de primera disponibilitat: 19 de desembre de 2018


