1. Introducció
This manual provides detailed instructions for the installation, setup, and operation of your LoraTap WiFi Smart Relay Switch (Model RR400W). Please read this manual thoroughly before use to ensure proper functionality and safety.
Contingut del paquet:
- LoraTap WiFi Smart Relay Switch (RR400W)
- Manual d'usuari
- Mounting accessories (screws, anchors, mini screwdriver, electrical wires)

Image 1.1: LoraTap WiFi Smart Relay Switch (Model RR400W) and its mobile application interface.
2. Informació de seguretat
- ADVERTIMENT: Electrical installation should only be performed by a qualified electrician or in accordance with local electrical codes.
- Desconnecteu sempre l'alimentació a l'interruptor automàtic abans d'instal·lar o fer el manteniment del dispositiu.
- Aquest dispositiu està dissenyat només per a ús en interiors.
- No supereu la càrrega màxima de 10 A / 2500 W.
- Ensure the device is installed in a location with a neutral wire for correct electrical supply.
- Mantenir fora de l'abast dels nens.
3. Especificacions del producte
| Característica | Especificació |
|---|---|
| Número de model | RR400W |
| Entrada Voltage | 100-250V AC, 50/60Hz |
| Càrrega màxima | 10 A / 2500 W |
| Protocol sense fils | Wi-Fi 2.4 GHz (IEEE 802.11 b/g/n) |
| Dimensions (L x A x A) | 4.8 x 4.2 x 2.3 cm (1.89 x 1.65 x 0.91 polzades) |
| Mètode de control | Remote (App), Voice |
| Compatibilitat | Amazon Alexa, Google Assistant, Smart Life App, Tuya App |
| Certificacions | CE, RoHS, FCC |
4. Guia d'instal·lació
The LoraTap WiFi Smart Relay Switch is designed for easy integration into existing electrical systems. It requires a neutral wire for operation.
Diagrama de cablejat:
- Desconnecteu l'alimentació: Before starting, turn off the power at the main circuit breaker to avoid electrical shock.
- Identificar els cables: Locate the Live (L) and Neutral (N) input wires from your power source, and the Live (L) and Neutral (N) load wires going to your appliance (e.g., lamp).
- Entrada de connexió: Connect the Live input wire to the 'L in' terminal and the Neutral input wire to the 'N in' terminal on the LoraTap switch.
- Connexió de sortida: Connect the Live load wire to the 'L out' terminal and the Neutral load wire to the 'N out' terminal on the LoraTap switch.
- Connexions segures: Ensure all wire connections are secure. The device supports 26-16AWG wires.
- Muntar dispositiu: The compact size allows installation in narrow spaces, such as behind a socket or in a ceiling rose. Use the provided mounting accessories if needed.
- Restaura l'alimentació: Once all connections are secure and the device is properly mounted, restore power at the circuit breaker.

Image 4.1: Simplified wiring diagram for the LoraTap Smart Relay Switch. Ensure a neutral wire is present for installation.
5. Configuració i emparellament de l'aplicació
To control your LoraTap Smart Relay Switch, you need to download the Smart Life or Tuya app and pair the device.
Requisits:
- A smartphone (Android or iOS).
- A 2.4GHz Wi-Fi network. 5GHz networks are not supported.
- The Smart Life or Tuya app installed on your smartphone.
Passos d'aparellament:
- Descarregar l'aplicació: Cerca "Smart Life" or "Tuya Smart" in your smartphone's app store (App Store for iOS, Google Play for Android) and install it.
- Registra't/Inici de sessió: Obre l'aplicació i registra un compte nou o inicia la sessió amb un d'existent.
- Afegeix un dispositiu: Tap the "+" icon in the top right corner of the app to add a new device. Select "Electrical Switch" or "Switch (Wi-Fi)".
- Introduïu el mode de vinculació: Power on the LoraTap switch. If the indicator light is not blinking rapidly, press and hold the button on the switch for approximately 5 seconds until it blinks rapidly. This indicates pairing mode.
- Connecta't a Wi-Fi: In the app, confirm the indicator is blinking rapidly. Enter your 2.4GHz Wi-Fi network name and password.
- Maridatge complet: L'aplicació cercarà i s'hi connectarà. Un cop connectat, pots canviar el nom del dispositiu per facilitar-ne el control.

Image 5.1: Easy pairing process with the Smart Life/Tuya app. Ensure your Wi-Fi network is 2.4GHz.
6. Funcionament
The LoraTap Smart Relay Switch offers multiple control options for convenience.
6.1. Control d'aplicacions
Once paired, you can control your device from anywhere using the Smart Life or Tuya app on your smartphone.
- Control d'encesa/apagada: Tap the switch icon in the app to turn your connected appliance on or off.
- Estat en temps real: The app displays the current status of your appliance, allowing you to verify if it's on or off remotely.
- Control de grup: You can group multiple LoraTap switches together in the app to control them simultaneously.
- Compartició de dispositius: Comparteix el control del dispositiu amb els membres de la família a través de l'aplicació.

Image 6.1: Remote control via the Smart Life app.
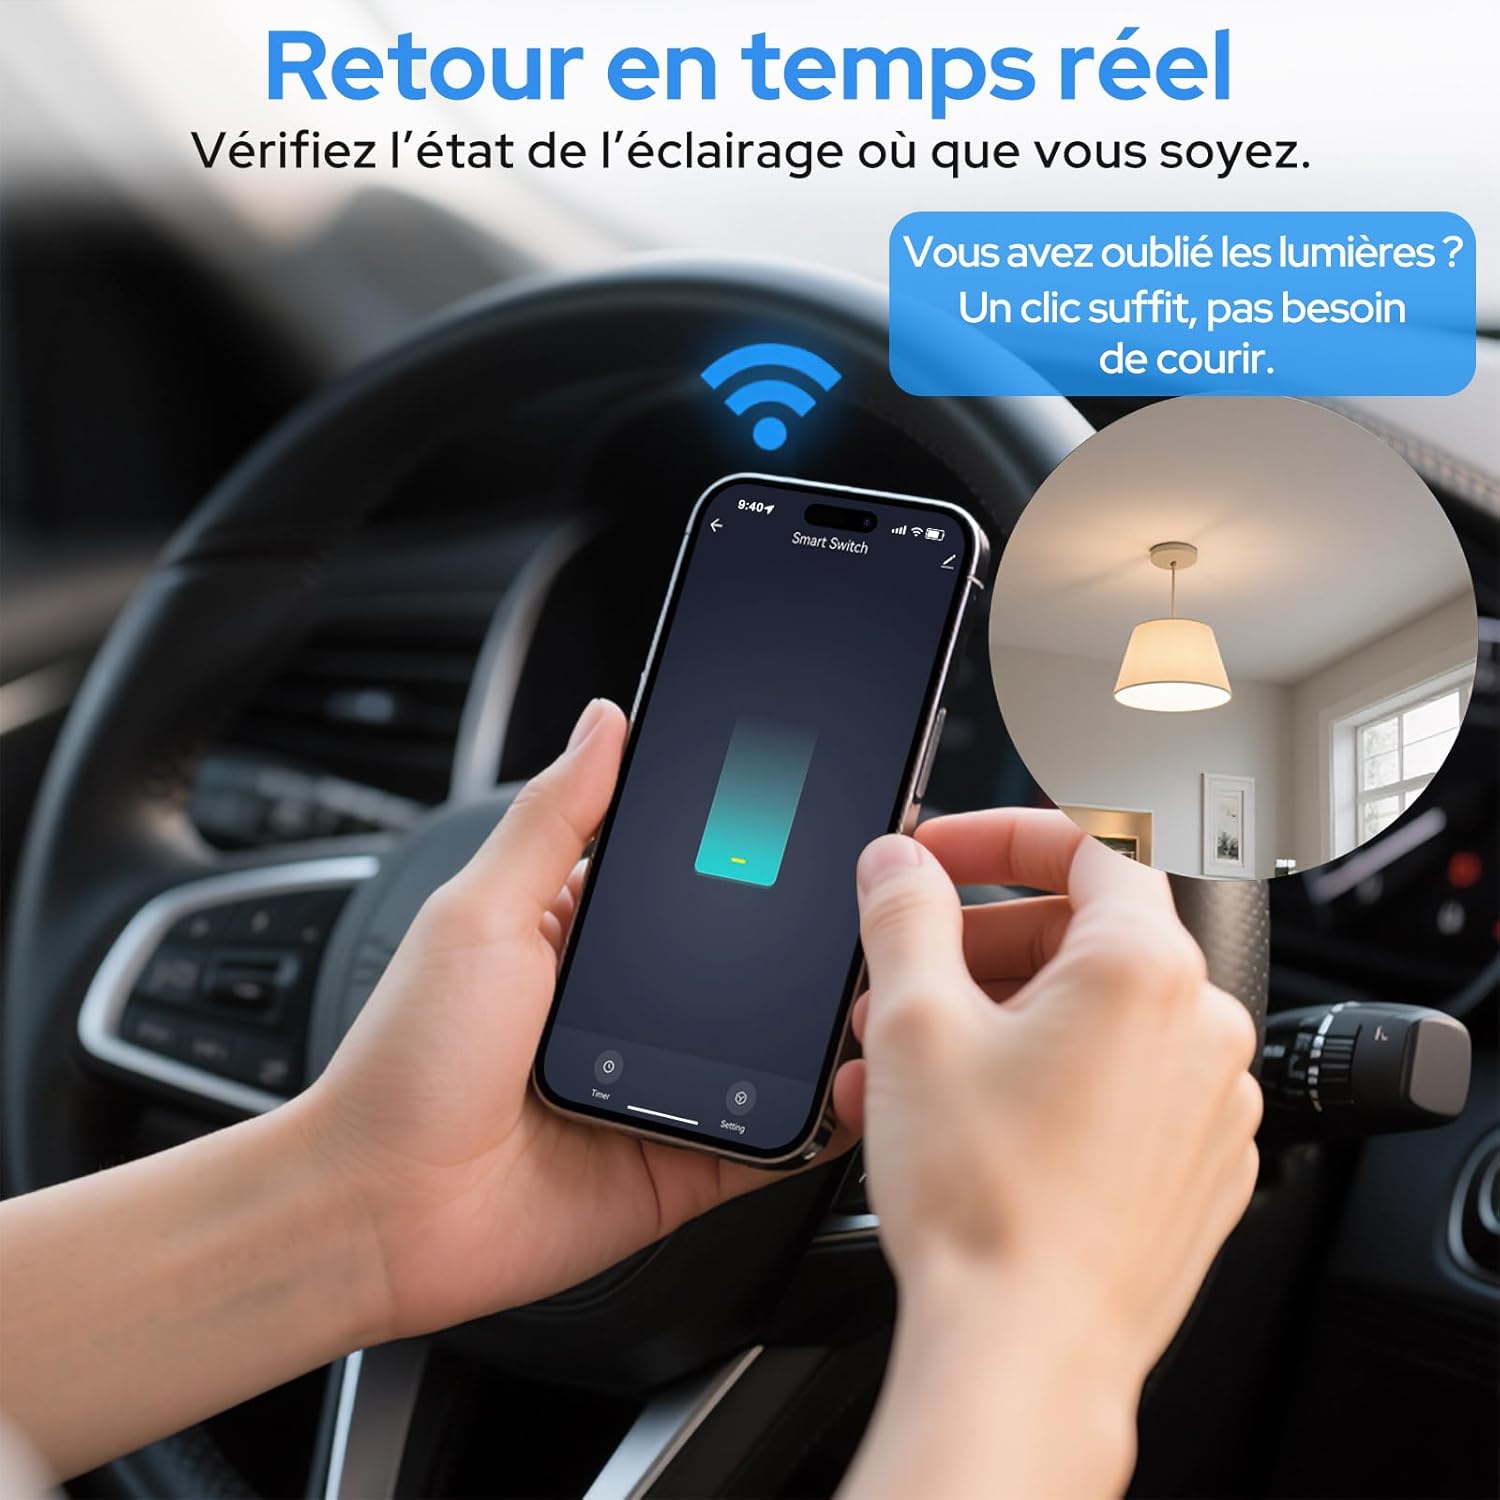
Image 6.2: Real-time status monitoring from anywhere.

Image 6.3: Device sharing feature for family members.
6.2. Control per veu
The LoraTap Smart Relay Switch is compatible with Amazon Alexa and Google Assistant for convenient voice control.
- Enllaça el compte: In the Alexa or Google Home app, link your Smart Life/Tuya account.
- Descobriu els dispositius: Demana a Alexa o a l'Assistent de Google que descobreixin dispositius nous.
- Comandaments de veu: Use commands like "Alexa, turn on [device name]" or "Hey Google, turn off [device name]".

Imatge 6.4: Integració del control per veu amb Amazon Alexa i Google Assistant.

Image 6.5: Family using voice commands for smart home control.
6.3. Programació i temporitzadors
Automate your appliances by setting schedules and timers within the Smart Life/Tuya app.
- Funció de temporitzador: Set a countdown timer for the switch to turn on or off automatically after a specified duration.
- Programació: Create daily or weekly schedules for your appliance to turn on or off at specific times (e.g., turn on lights at sunset, turn off at bedtime).
- Funció de repetició: Configure schedules to repeat on selected days of the week.

Image 6.6: Automate lighting with countdown timers.

Image 6.7: Program your lights with custom schedules.
6.4. Restart Status Settings
Configure the power-on state of your smart switch after a power outage.
- DESACTIVAT: The device will remain off after power is restored.
- ACTIVITAT: The device will turn on automatically after power is restored.
- Remember Last Status: The device will return to its last known state (on or off) before the power outage.

Image 6.8: Configure the device's restart status after a power interruption.
7. Manteniment
- Netegeu el dispositiu amb un drap suau i sec. No utilitzeu productes químics agressius ni netejadors abrasius.
- Ensure the device is kept in a dry environment and away from direct sunlight or extreme temperatures.
- Comproveu regularment si hi ha actualitzacions de firmware a l'aplicació Smart Life/Tuya per garantir un rendiment i una seguretat òptims.
8. Solució De Problemes
| Problema | Possible causa/solució |
|---|---|
| Device not pairing / Indicator not blinking rapidly. |
|
| Dispositiu fora de línia a l'aplicació. |
|
| El control per veu no funciona. |
|
| Device not responding to manual switch. |
|
9. Garantia i Suport
LoraTap offers a 3-year warranty for this product. For technical support or warranty claims, please contact LoraTap customer service through their official weblloc web o el venedor on vau comprar el producte.
Informació de contacte: Please refer to the packaging or LoraTap's official weblloc web per obtenir les dades de contacte d'assistència més actualitzades.


