1. Introducció
Thank you for choosing the FLYLINKTECH Portable Car Battery Jump Starter. This device is designed to provide a reliable and safe solution for jump-starting 12V vehicles with up to 5.0L gas or 4.0L diesel engines. It also functions as a portable power bank and features an integrated LED flashlight. Please read this manual thoroughly before use to ensure proper operation and safety.

Image: The FLYLINKTECH Portable Car Battery Jump Starter, showing the main unit, smart clamps, and charging cables.
2. Informació de seguretat
AVÍS: Llegiu tots els avisos i les instruccions de seguretat abans d'utilitzar aquest producte. Si no seguiu els avisos i les instruccions, podeu patir descàrregues elèctriques, incendis i/o lesions greus.
- Do not attempt to jump-start vehicles with engines larger than specified (5.0L gas or 4.0L diesel).
- No utilitzeu l'arrencador si la bateria està carregada.amps o cables estan danyats.
- Ensure proper polarity connection: Red clamp a positiu (+), Cl negreamp to negative (-). Reverse polarity can cause damage.
- Mantenir fora de l'abast dels nens.
- No exposar el producte a la pluja o la neu.
- No desmunteu la unitat. Encarregueu tot el manteniment a personal qualificat.
- Eviteu curtcircuitar el clamps.
- The device features intelligent chip protection against overcurrent, short-circuit, overload, overvoltage, overcharge, over-discharge, and reverse polarity. However, always exercise caution.
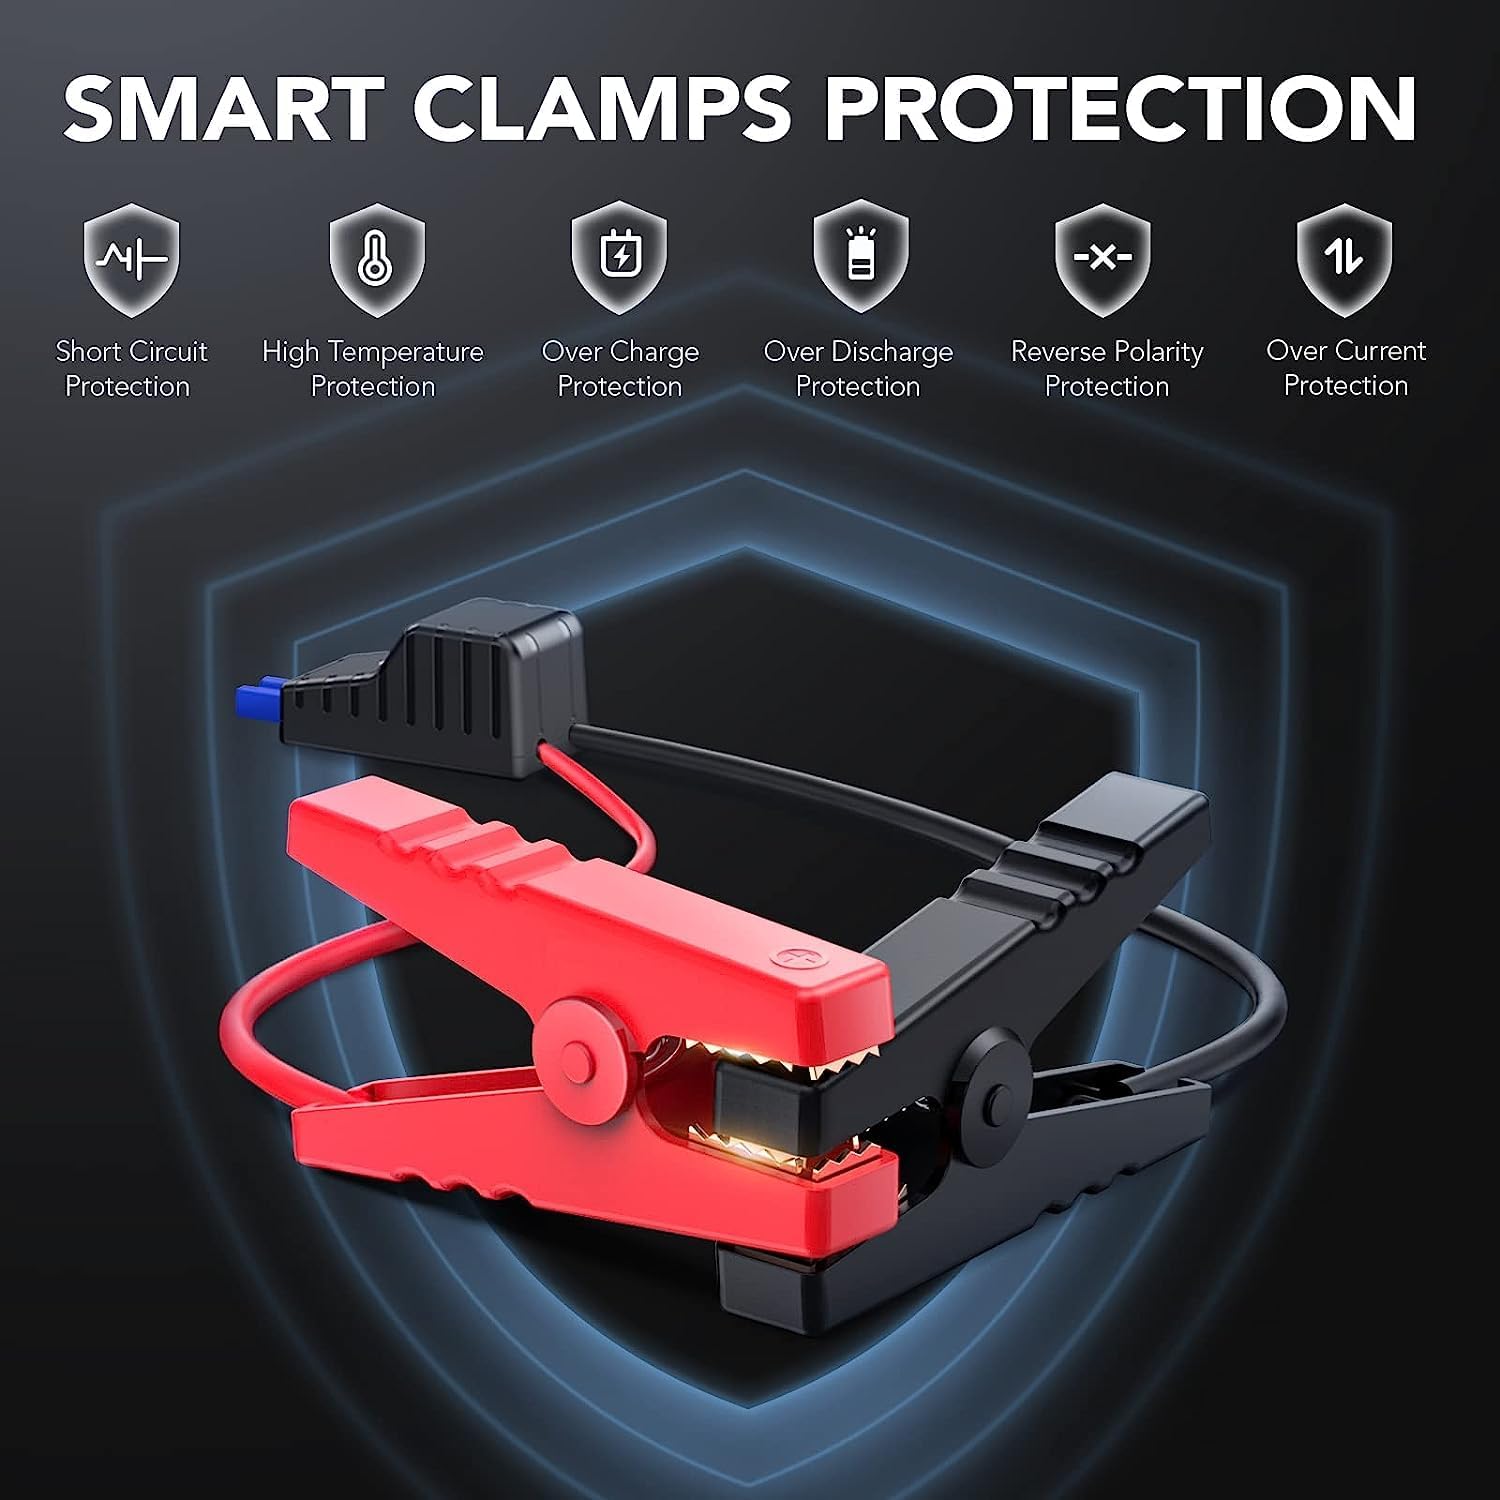
Image: Illustration of the smart clamps and their integrated safety protection features.
3. Contingut del paquet
Verifiqueu que tots els elements siguin presents al vostre paquet:
- FLYLINKTECH Jump Starter Unit
- Smart Jumper Cables (with Red and Black clamps)
- Cable de càrrega micro USB
- Manual d'usuari
- EC5 Cigarette Lighter Adapter (Optional, may vary by package)

Imatge: Tots els components inclosos al paquet del producte.
4. Producte acabatview
Familiarize yourself with the components of your jump starter:

Image: Detailed diagram labeling the various ports, buttons, and indicators on the jump starter unit and its clamps.
- Botó d'encesa: Turns the unit on/off and cycles through flashlight modes.
- Llums indicadores LED: Show the battery charge level.
- Llanterna: Llum LED integrada amb múltiples modes.
- Entrada micro USB: For charging the jump starter unit.
- Sortida USB: For charging external devices (e.g., smartphones, tablets).
- Auto Jump Port: Es connecta als cables de pont intel·ligents.
- Cables de connexió intel·ligents: Red (+) and Black (-) clamps with built-in safety features.
5. Càrrega de l'arrencador de bateria
Before first use, fully charge the jump starter. It is recommended to recharge the unit every 3-6 months to maintain battery health, even if not in use.
- Connect the Micro USB charging cable to the Micro USB Input port on the jump starter.
- Connecteu l'altre extrem del cable USB a un adaptador de paret USB de 5 V/2 A (no inclòs) o a un carregador de cotxe.
- The LED indicator lights will illuminate and flash to show the charging progress. All lights will be solid when fully charged.
6. Instruccions de funcionament
6.1. Arrencada d'un vehicle amb ajuda d'un cable
Ensure the jump starter is at least 75% charged (3 LED lights illuminated) before attempting to jump-start a vehicle.

Imatge: L'arrencador connectat a la bateria d'un vehicle, llest per al seu ús.

Image: Visual guide for vehicle compatibility based on engine displacement.
- Connecta Smart Clamps: Insert the blue plug of the smart jumper cables into the Auto Jump Port on the jump starter. Ensure a firm connection.
- Connectar a la bateria del cotxe: Connecteu el cl vermell (+).amp al terminal positiu de la bateria del cotxe i al born negre (-)amp to the negative terminal. The smart clamps will indicate a successful connection (e.g., a green light). If an error is detected (e.g., reverse polarity), an alarm may sound or a red light may appear.
- Inici del vehicle: Un cop el clamps are correctly attached and the indicator is green, start your vehicle.
- Eliminar Clamps: Després que el vehicle arrenqui, traieu immediatament el clauer intel·ligentampde la bateria del cotxe i, a continuació, desconnecteu el carregador intel·ligentamps de la unitat d'arrencada de bateria.

Image: Step-by-step visual instructions for jump starting a vehicle.
6.2. Ús com a bateria externa portàtil
The jump starter can charge various USB-powered devices.
- Connect your device's USB charging cable to the USB Output port on the jump starter.
- L'arrencador començarà a carregar el dispositiu automàticament.
- Superviseu l'estat de càrrega del vostre dispositiu.

Image: The jump starter functioning as a power bank, charging a smartphone and a tablet.
6.3. LED Flashlight Modes
La llanterna LED integrada té tres modes:
- Llum normal: Premeu el botó d'engegada una vegada per encendre.
- Mode SOS: Press the power button a second time to activate the SOS signal.
- Llum estroboscòpica: Press the power button a third time for a flashing strobe light.
- Premeu el botó d'engegada per quarta vegada per apagar la llanterna.

Image: The jump starter's LED flashlight in use, highlighting its three modes.
7. Manteniment i emmagatzematge
- Neteja: Netegeu la unitat amb un drap sec i suau. No utilitzeu productes químics agressius ni materials abrasius.
- Càrrega: Recharge the unit every 3-6 months to prevent deep discharge and prolong battery life.
- Emmagatzematge: Guardeu l'arrencador de bateria en un lloc fresc i sec, allunyat de la llum solar directa i de temperatures extremes.
- Interval de temperatura: The device is designed to operate and be stored within a temperature range of -20°C to 60°C (-4°F to 140°F).
- Resistència a l'aigua i a la pols: The unit has an IP67 rating, making it resistant to water and dust. However, avoid prolonged submersion.
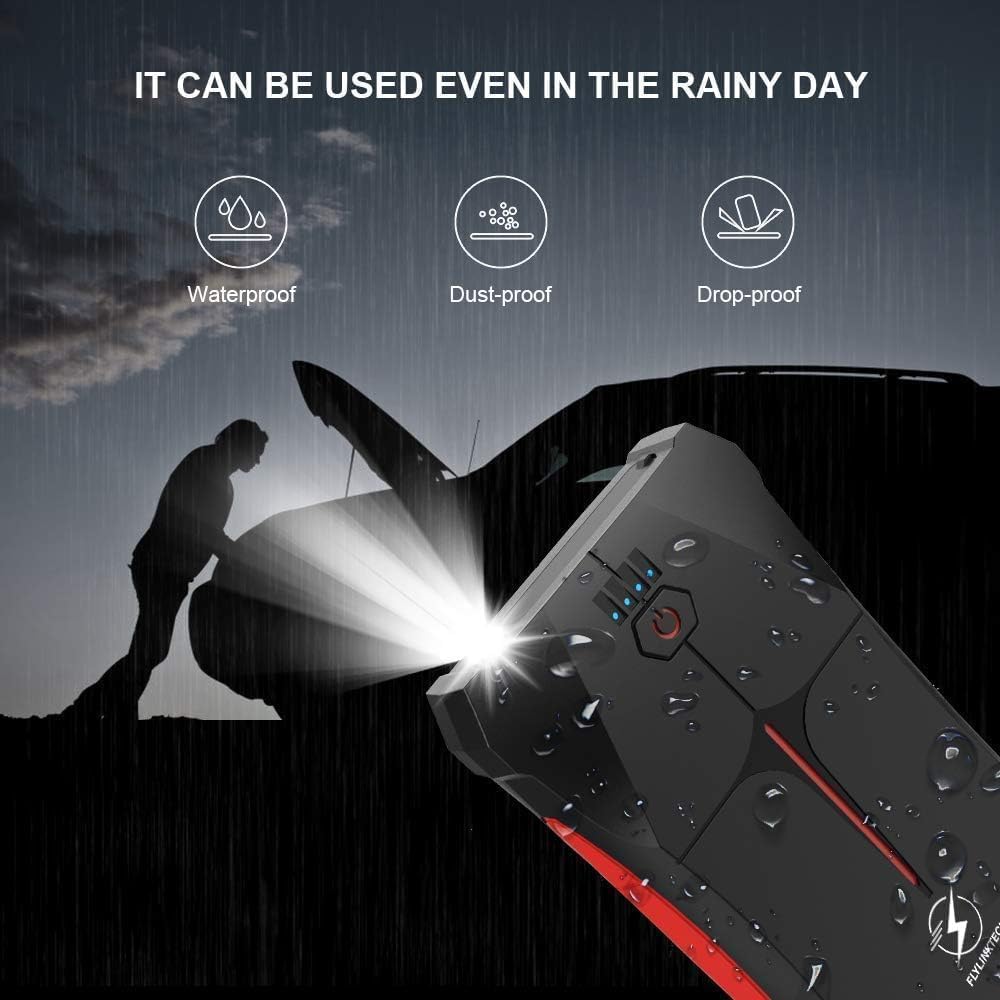
Image: The jump starter demonstrating its weather-resistant properties (waterproof, dust-proof, drop-proof).

Image: The jump starter's operational temperature range from -20°C to 60°C.
8. Solució De Problemes
| Problema | Causa possible | Solució |
|---|---|---|
| L'arrencador de botons no s'encén. | La bateria està completament descarregada. | Carregueu completament l'arrencador de bateria. |
| El vehicle no arrenca. | cl. incorrectaamp connexió. | Assegureu-vos que el cl vermellamp is on positive (+), black on negative (-). Check smart clamp indicador. |
| La bateria de l'arrencador de botons és baixa. | Recarregueu l'arrencada de salt. | |
| La bateria del vehicle està greument danyada. | Consulta un mecànic professional. | |
| Smart clamps show error/alarm. | Reverse polarity or short circuit. | Disconnect immediately and re-attach clamps correctament. |
| El dispositiu USB no es carrega. | La bateria de l'arrencador de botons és baixa. | Recarregueu l'arrencada de salt. |
| USB cable or device fault. | Prova un altre cable o dispositiu USB. |
9. Especificacions
| Característica | Detall |
|---|---|
| Model | CF200 |
| Corrent màxima | 800A |
| Capacitat de la bateria | 13200mAh (Lithium-polymer/Lithium-ion) |
| Inici Voltage | 12 V |
| Valoració del motor de gas | Fins a 5.0 L |
| Valoració del motor dièsel | Fins a 4.0 L |
| Sortida USB | 5V/2.1A |
| Entrada micro USB | 5V/2A |
| Temperatura de funcionament | -20 °C a 60 °C (-4 °F a 140 °F) |
| Dimensions (L x A x A) | 15.8 x 8.5 x 2 cm (6.2 x 3.3 x 0.8 polzades) |
| Pes | 370 g (0.82 lliures) |
| Resistència a l'aigua/pols | IP67 |
| Certificacions | CE |
10. Garantia i Suport
FLYLINKTECH provides a 3-year warranty for this product from the date of purchase. This warranty covers manufacturing defects and workmanship under normal use. It does not cover damage caused by misuse, accidents, unauthorized modifications, or natural disasters.
For warranty claims, technical support, or any questions regarding your product, please contact FLYLINKTECH customer service. Please have your purchase receipt and product model number (CF200) ready when contacting support.
Informació de contacte:
- Correu electrònic: support@flylinktech.hk
- Weblloc: www.flylinktech.com (Please check for the most current contact details)
Nota: No s'han trobat vídeos oficials del producte a les dades proporcionades per incrustar-les en aquest manual.


