1. Informació de seguretat
Please read these instructions carefully before installation. If you do not understand these instructions or have doubts about the safety of the installation, assembly, or use of this product, please contact customer service. Improper installation may cause damage or serious injury.
- Assegureu-vos que la superfície de muntatge pugui suportar amb seguretat el pes combinat de l'equip i de tot el maquinari connectat.
- Never exceed the maximum load capacity of 60 kg (132 lbs).
- Utilitzeu aquest producte només per al propòsit previst, tal com es descriu en aquest manual.
- No utilitzeu accessoris no recomanats pel fabricant.
- This product is designed for installation on wood studs, solid concrete, or brick walls. Do not install on drywall, hollow walls, or soft walls.
- Feu servir sempre un localitzador de muntants de fusta per localitzar-los amb precisió.
2. Contingut del paquet
Verify that all components are included and undamaged. If any parts are missing or defective, contact PERLESMITH customer service.

Image: The complete PERLESMITH Full Motion TV Wall Mount PSPILFK1 package, showing the main mount assembly, TV attachment arms, cable management ties, and a spirit level for installation.
3. Especificacions del producte
| Característica | Valor |
|---|---|
| Compatibilitat de la mida del televisor | 37 - 85 inches (94cm - 216cm) |
| Capacitat de càrrega màxima | 60 kg (132 lliures) |
| Compatibilitat VESA | De 200x100mm a 600x400mm (per exemple, 200x100, 200x200, 300x200, 300x300, 400x200, 400x300, 400x400, 500x300, 600x200, 600x400) |
| Angle d'inclinació | +5° / -15° |
| Angle de gir | ±60° (maximum angle depends on TV size) |
| Distància a la paret | 72 mm (retracted) - 390 mm (extended) |
| Ajust de nivell | ±3° |
| Material | Acer d'aliatge |
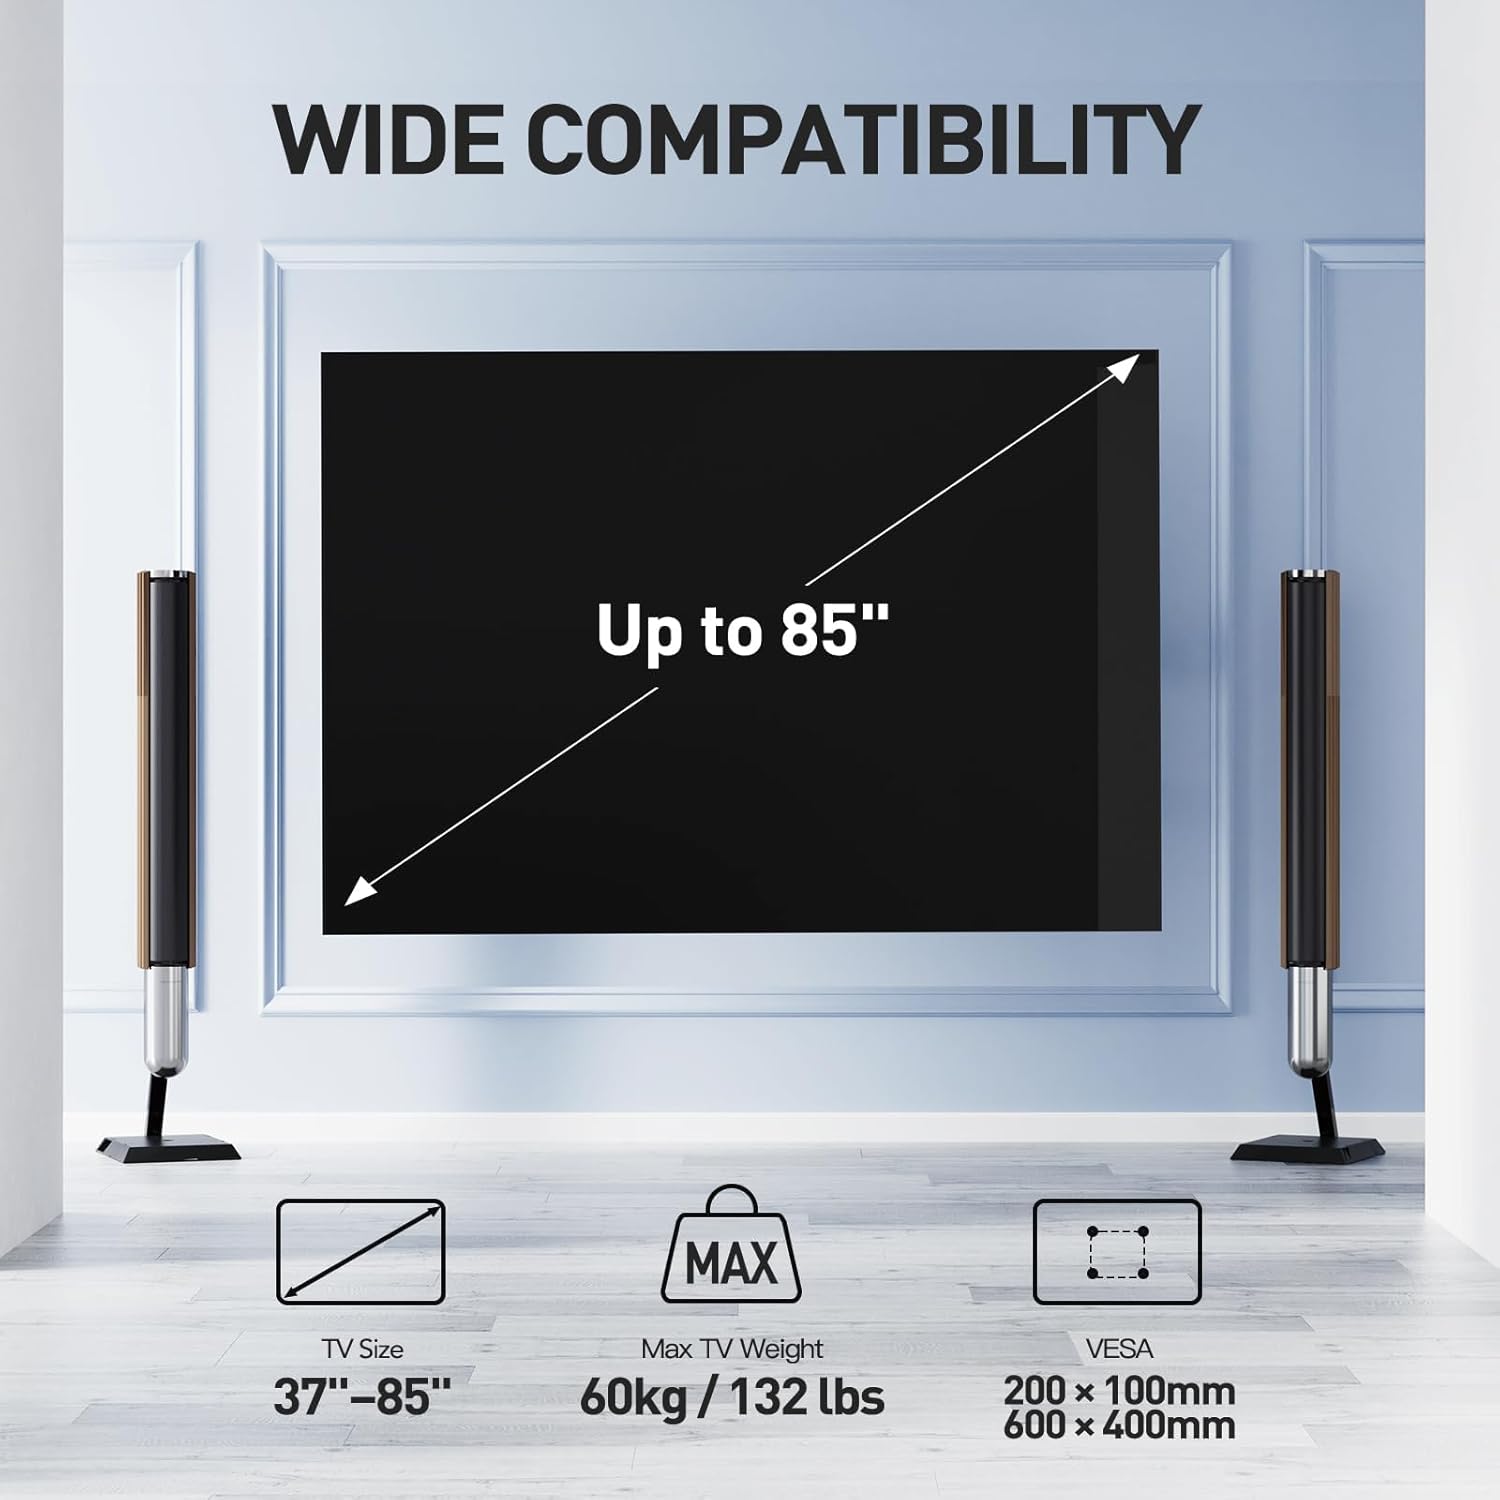
Image: Visual representation of the wall mount's wide compatibility, indicating support for TVs up to 85 inches, a maximum weight of 60kg (132 lbs), and VESA patterns ranging from 200x100mm to 600x400mm.
4. Eines necessàries
Ensure you have the following tools before beginning installation:
- Llapis
- Trepant
- Tornavís Phillips
- Llave de presa
- Cinta mètrica
- Cercador de muntants (per a la instal·lació de muntants de fusta)
- Nivell de bombolla (inclòs)
5. Instruccions d'instal·lació
Follow these steps carefully to install your PERLESMITH TV wall mount.
5.1. Wall Plate Installation
Important: Before drilling, ensure there are no electrical wires or plumbing behind the wall.
For Concrete Wall Installation:
- Position the wall plate at the desired height on the concrete wall. Use the included spirit level to ensure it is perfectly horizontal.
- Mark the drill hole locations through the wall plate onto the wall.
- Drill pilot holes at the marked locations. The drill bit size should match the wall anchors provided.
- Insert the concrete anchors into the pilot holes, ensuring they are flush with the wall surface.
- Attach the wall plate to the wall using the concrete bolts and washers, tightening them securely.
For Wood Stud Wall Installation:
- Feu servir un cercador de muntants per localitzar les vores i el centre dels muntants de fusta. Marqueu el centre dels muntants on voleu muntar la placa de paret.
- Position the wall plate at the desired height, aligning the mounting holes with the center of the studs. Use the spirit level to ensure it is horizontal.
- Mark the drill hole locations through the wall plate onto the studs.
- Drill pilot holes at the marked locations. The drill bit size should be appropriate for the lag bolts provided.
- Attach the wall plate to the wood studs using the lag bolts and washers, tightening them securely.
Video: Detailed installation guide for the PERLESMITH Full Motion TV Wall Mount, demonstrating wall plate attachment to both concrete and wood stud walls, and TV bracket installation.
5.2. TV Bracket Installation
The TV brackets attach to the back of your television. Ensure you select the correct screws, washers, and spacers for your TV model.
- Lay your TV face down on a soft, clean surface to prevent scratches.
- Identifiqueu els forats de muntatge VESA a la part posterior del vostre televisor.
- Select the appropriate screws (M4, M6, M8), washers, and spacers from the hardware kit that fit your TV's mounting holes. For curved TVs, additional spacers may be required to ensure a flat mounting surface.
- Attach the two vertical TV brackets to the back of your TV, ensuring they are centered and securely fastened. The hooks on the brackets should face upwards.
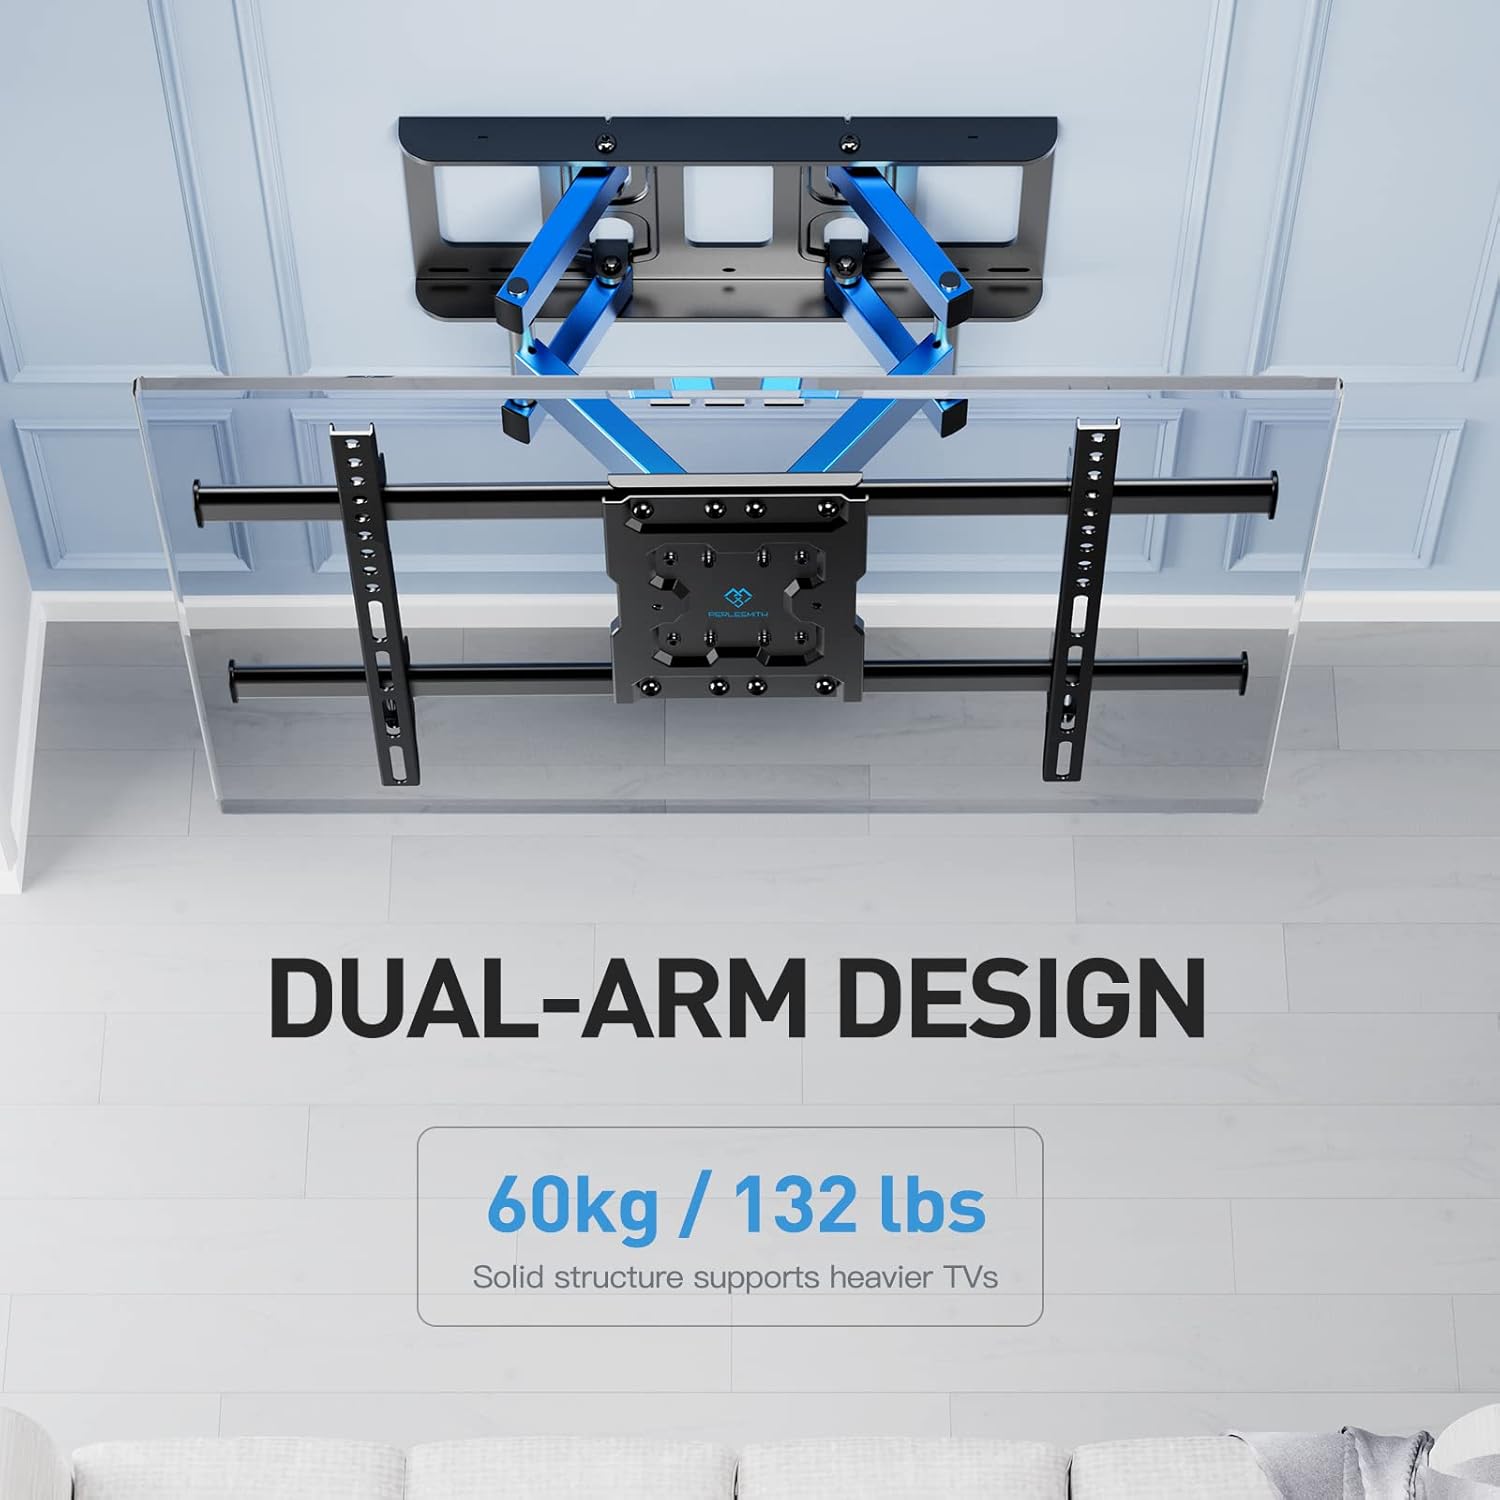
Image: Illustration of the mount's dual-arm design, emphasizing its strength and stability for supporting TVs up to 60kg (132 lbs).
5.3. Attaching TV to Wall Plate
- Amb ajuda, aixequeu amb cura el televisor amb els suports adjunts.
- Enganxeu els suports del televisor a la placa de paret. Assegureu-vos que el televisor estigui ben fixat a la placa de paret.
- Tighten the safety screws located on the bottom of the TV brackets to prevent accidental dislodgement.

Image: Depiction of two individuals performing the final step of installation, carefully lifting and attaching the TV to the pre-mounted wall plate, highlighting the ease of the process.
6. Funcionament i ajust
The PERLESMITH PSPILFK1 mount offers various adjustments for optimal viewing.
6.1. Ajust de la inclinació
The mount allows for a tilt range of +5° to -15°. To adjust the tilt, loosen the tilt adjustment knobs on the TV brackets, set the desired angle, and then re-tighten the knobs securely.

Image: The TV mount demonstrating its tilt capability, allowing adjustment from +5° to -15° to reduce glare and optimize viewcomoditat.
6.2. Ajustament del gir
The mount can swivel up to ±60° left or right, depending on the size of your TV. Gently push or pull the TV to the desired viewangle de ing.
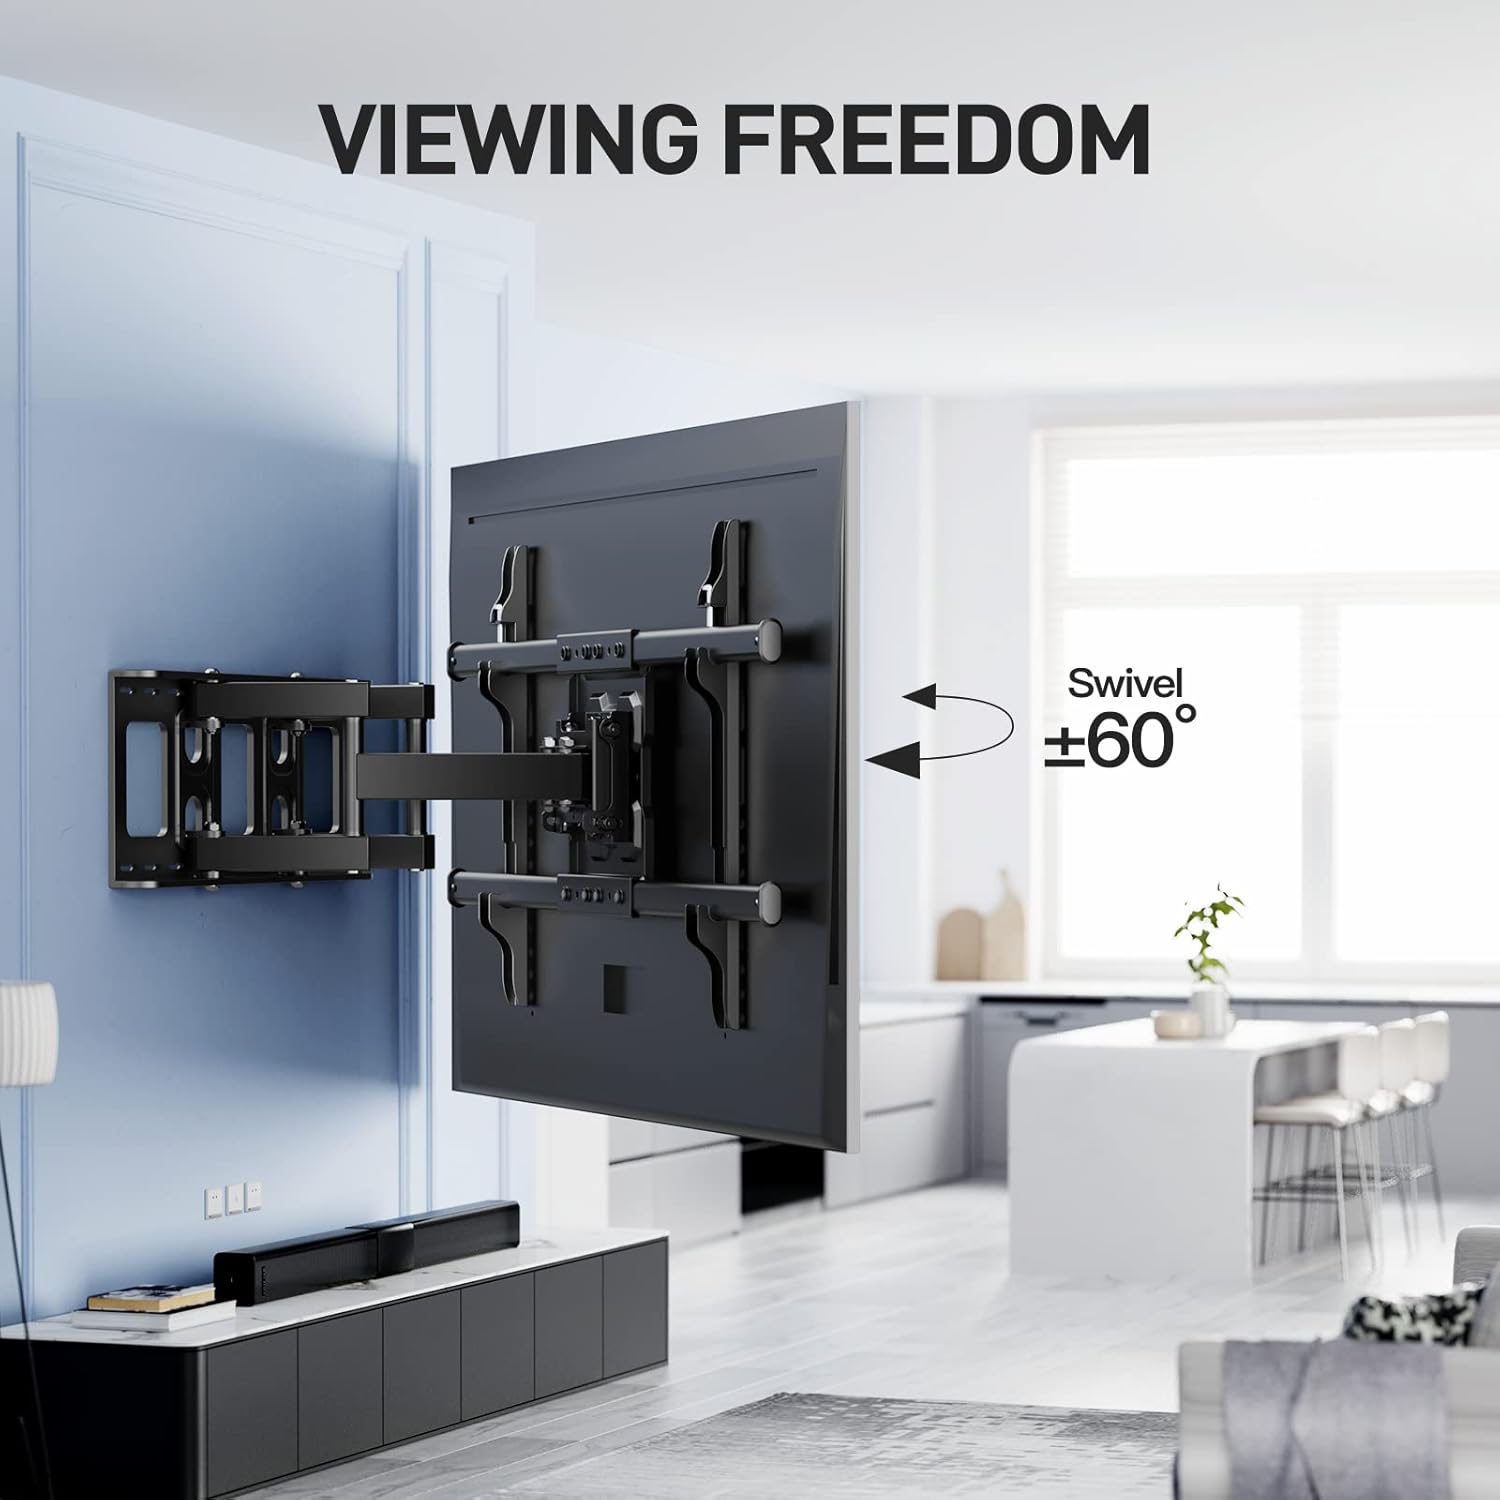
Image: The TV mount extended and swiveled, showcasing its flexibility to achieve various viewing angles, with a maximum swivel of ±60°.
6.3. Ajust de nivell
After installation, you can fine-tune the TV's level by ±3°. Use the adjustment screws on the TV plate to achieve a perfectly horizontal display.

Image: Instructions for easily leveling the television using the integrated adjustment mechanism, allowing for a ±3° rotation to ensure a perfect horizontal alignment.
6.4. Extensió i retracció
The mount can extend up to 390 mm from the wall and retract to a minimum of 72 mm. Gently pull the TV outwards or push it inwards to adjust the distance from the wall.
Vídeo: Un breu resumview of the PERLESMITH Full Motion TV Wall Mount's features, including its extension, retraction, tilt, and swivel capabilities, and VESA compatibility.
7. Manteniment
Un manteniment regular garanteix la longevitat i el funcionament segur del suport de paret per a televisors.
- Comproveu periòdicament: Ensure all screws and connections are tight and secure. Re-tighten if necessary.
- Neteja: Netegeu el suport amb un drap suau i sec. Eviteu utilitzar productes de neteja o dissolvents abrasius.
- Lubricació: If the arms become stiff, apply a small amount of silicone-based lubricant to the moving joints.
8. Solució De Problemes
Si teniu algun problema, consulteu els següents problemes i solucions habituals:
| Problema | Causa possible | Solució |
|---|---|---|
| El televisor no està anivellat | Level adjustment screws are loose or not properly set. | Adjust the level screws on the TV plate using an Allen key until the TV is level, then tighten. |
| La muntura sembla inestable | Wall plate not securely fastened; TV exceeds weight limit; incorrect wall type. | Re-check all wall plate fasteners. Ensure TV weight is within 60kg. Confirm wall type is suitable (wood stud, concrete, brick). |
| TV does not tilt/swivel smoothly | Tilt/swivel mechanisms are too tight or require lubrication. | Loosen tilt adjustment knobs slightly. Apply silicone-based lubricant to moving joints if necessary. |
9. Garantia i Suport
PERLESMITH provides a one-year warranty against manufacturing defects for this product. For warranty claims, technical support, or any questions regarding your PERLESMITH Full Motion TV Wall Mount PSPILFK1, please contact our customer service team.
You can find more information and support on the official PERLESMITH weblloc: www.perlesmith.com


