1. Producte acabatview
The Walfront XH-M609 is a digital low voltage disconnect module designed to protect 12-36V DC batteries from over-discharge, over-charge, over-current, and short-circuit conditions. It automatically disconnects the load when the battery voltage drops below a user-defined threshold and reconnects when the voltage recovers, ensuring battery longevity and system stability. This module is suitable for various battery types, including lithium batteries.
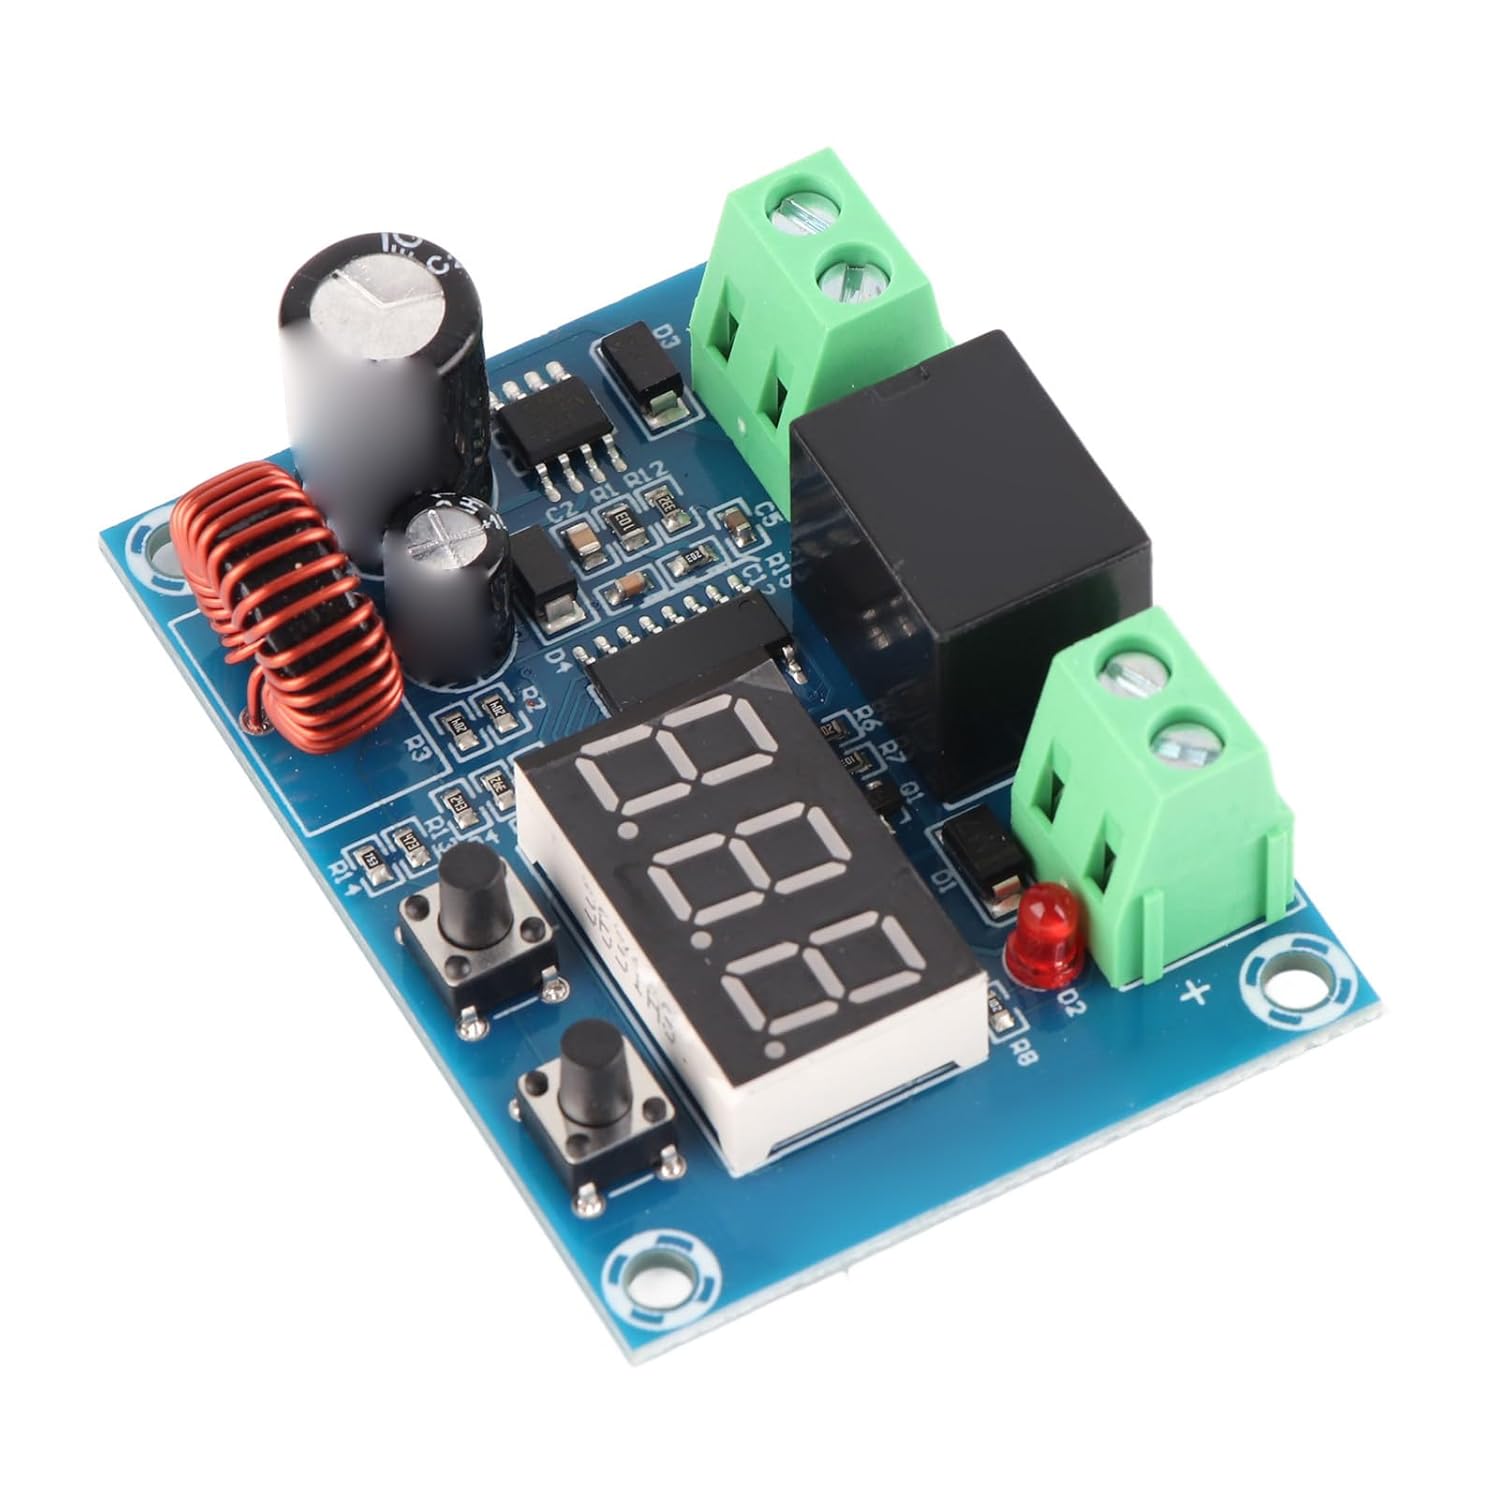
Figura 1: superior view of the XH-M609 module, showing the digital display, control buttons, and terminal blocks.
2. Especificacions tècniques
| Especificació | Valor |
|---|---|
| Subministrament Voltage | 12-36V DC (Battery) |
| Vol. De sortidatage | Equal to Supply Voltage |
| Control de precisió | 0.1 V |
| Consum d'energia | Aproximadament 1.5W |
| Dimensions del producte | 57 mm x 42 mm x 19 mm (2.24 x 1.65 x 0.75 polzades) |
| Pes net | Aproximadament 28 g (1.0 oz) |
| Àmbit d'aplicació | Various batteries, including lithium batteries |
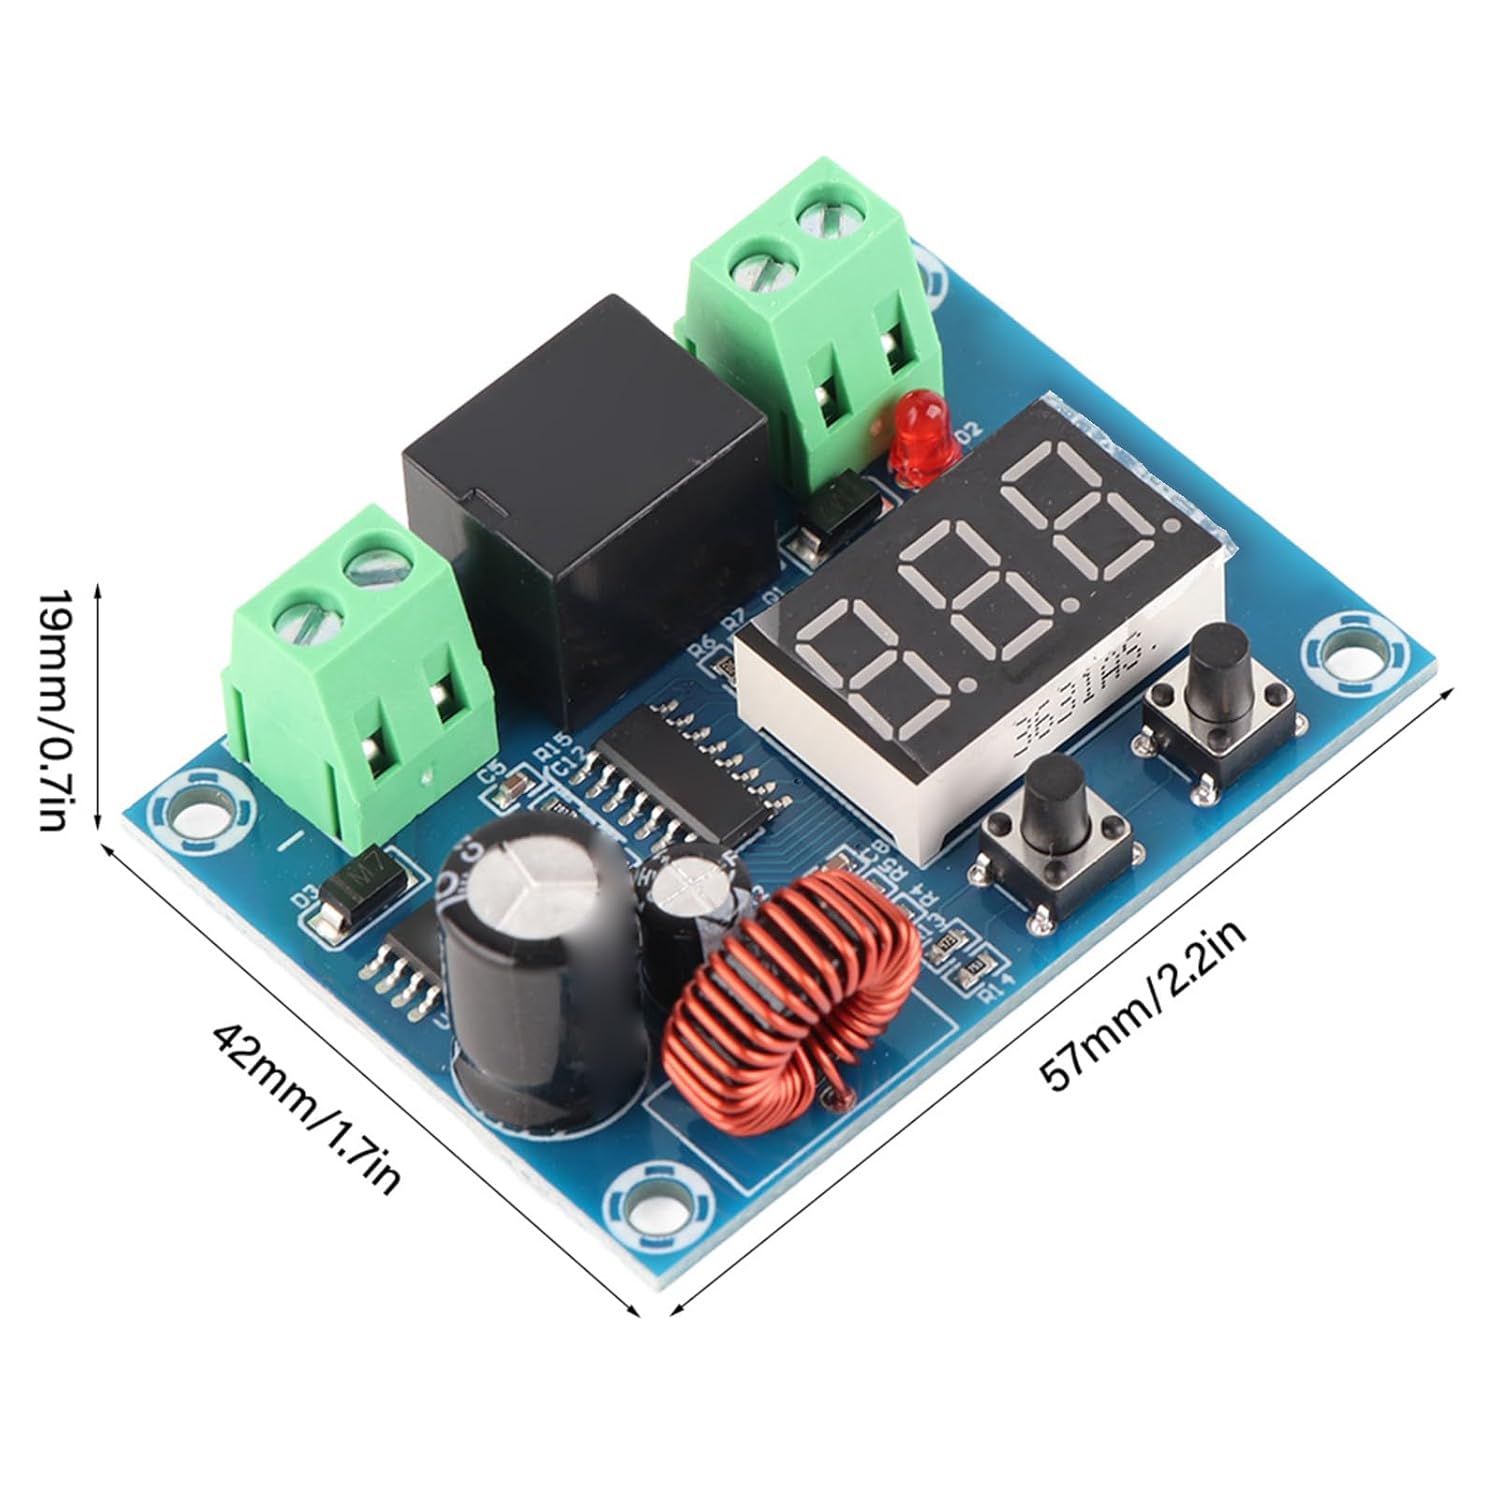
Figure 2: XH-M609 module illustrating its physical dimensions.
3. Components i connexions
The XH-M609 module features clearly labeled input and output terminals, a digital display for voltage readings, and two push-buttons for configuration.
- Input Terminals (+IN, -IN): Connect to the 12-36V DC battery. Ensure correct polarity.
- Output Terminals (+OUT, -OUT): Connect to the load that requires protection. Ensure correct polarity.
- Pantalla digital: Shows current voltage readings and configuration values.
- Botó esquerre: S'utilitza per al voltage calibration and setting the low voltage tall.
- Botó dret: Used for setting the reactivate voltage (hysteresis) and the debounce timer.
- LED vermell: Indicates when the output relay is active (load is connected).

Figura 3: superior view of the XH-M609 module, highlighting the input and output screw terminals.

Figura 4: A baix view of the XH-M609 module, displaying the model number and circuit board traces.
4. Configuració i configuració
Before connecting the module to your battery and load, ensure all connections are secure and correctly polarized. It is recommended to perform initial setup with a stable power supply and a multimeter for accurate calibration.
Passos de configuració:
- Calibrate Input Voltage Lectura:
- Connect the module to your power source (battery).
- Mesura el volum realtage of your power source using a multimeter.
- On the XH-M609 module, press and hold the Left Button for approximately 3 seconds until the displayed numbers begin to flash.
- Use the Left and Right Buttons to adjust the module's displayed voltage to match the reading on your multimeter.
- Release the buttons and wait for the display to stop flashing to save the calibration.
- Set Low Voltage Cut-Off (LVC):
- From the main voltage pantalla, single-click the Left Button to momentarily display the current LVC value.
- To change the LVC, double-click the Left Button (two quick clicks). The middle decimal point on the display will flash.
- Use the Left and Right Buttons to adjust the desired low voltage llindar de tall.
- Release the buttons and wait for the display to stop flashing to save the setting.
- Set Reactivate Voltage (Hysteresis):
- From the main voltage pantalla, single-click the Right Button to momentarily display the current reactivate voltage value. This value represents the voltage difference above the LVC at which the load will be reconnected.
- To change this value, double-click the Right Button (two quick clicks). The middle decimal point on the display will flash.
- Use the Left and Right Buttons to adjust the desired reactivate voltage. Per example, if LVC is 12V and reactivate voltage is set to 2V, the load will reconnect at 14V.
- Release the buttons and wait for the display to stop flashing to save the setting.
- Set Debounce Timer (Reactivate Time):
- From the main voltage pantalla, press and hold the Right Button for approximately 3 seconds. The rightmost decimal point will flash, and the display will show the timer value in minutes.
- Use the Left and Right Buttons to adjust the debounce timer. A value of '0' means instantaneous reconnection. A value of '1' means a 1-minute delay before reconnection, and so on.
- Release the buttons and wait for the display to stop flashing to save the setting.
- Reset All Values to Default:
- To restore all settings to their factory defaults, press and hold both the Left and Right Buttons simultaneously until the display indicates a reset.
Nota important: All settings are saved automatically to the module's memory once the display stops flashing after an adjustment. Disconnecting power will not erase your configured settings.
5. Principis de funcionament
Once configured, the XH-M609 module operates autonomously. When the battery voltage is above the set Low Voltage Cut-Off (LVC), the module's relay remains closed, allowing power to flow to the connected load. The red LED will be illuminated, indicating the output is active.
Si la bateria voltage drops to or below the LVC, the module will open the relay, disconnecting the load to prevent further discharge and potential damage to the battery. The red LED will turn off. The module will then monitor the battery voltage. Quan la bateria voltage recovers to the LVC plus the set Reactivate Voltage (hysteresis), and after the Debounce Timer (if set) has elapsed, the module will close the relay, reconnecting the load. This cycle ensures the battery operates within safe voltage límits.
6. Cura i Manteniment
- Condicions ambientals: Operate the module within a dry environment, away from excessive moisture, dust, and extreme temperatures.
- Neteja: If necessary, gently clean the module with a soft, dry cloth. Avoid using liquids or abrasive cleaners.
- Connexions: Reviseu periòdicament totes les connexions del cablejat per assegurar-vos que estiguin ben fixades i sense corrosió.
- Danys físics: Avoid dropping or subjecting the module to physical shock, which can damage internal components.
7. Guia de resolució de problemes
- Module Does Not Power On:
- Comproveu que l'entrada voltage is within the 12-36V DC range.
- Check input wiring for correct polarity (+IN to positive, -IN to negative) and secure connections.
- Ensure the power source (battery) is charged and providing sufficient voltage.
- Vol incorrectetage Reading on Display:
- Perform the voltage calibration procedure as described in Section 4.1 using a reliable multimeter.
- Check for loose connections at the input terminals.
- Load Not Disconnecting at LVC / Not Reconnecting:
- Verify the Low Voltage Cut-Off (LVC) setting (Section 4.2) is correctly configured.
- Verify the Reactivate Voltage (Hysteresis) setting (Section 4.3) is correctly configured.
- Check the Debounce Timer setting (Section 4.4). A longer timer will delay reconnection.
- Ensure the load is properly connected to the output terminals and is not drawing excessive current that could cause a short-circuit protection activation.
- If the red LED is not illuminating when the voltage is above LVC + Hysteresis, the internal relay may be faulty.
- Module Malfunctions or Behaves Erratically:
- Try resetting the module to factory defaults (Section 4.5).
- Ensure the module is not exposed to electromagnetic interference.
- If issues persist, the module may be faulty and require replacement.
8. Informació sobre la garantia i atenció al client
Walfront products typically come with a standard manufacturer's warranty covering defects in materials and workmanship. Specific warranty duration and terms may vary based on your region and point of purchase. Please retain your proof of purchase for warranty claims.
For technical assistance, troubleshooting beyond this manual, or warranty inquiries, please contact your retailer or the Walfront customer support channel provided at the time of purchase. Always refer to the official Walfront website or product packaging for the most current support information.


