1. Introducció
This manual provides detailed instructions for the assembly, operation, maintenance, and troubleshooting of your CLATINA MELLET Ergonomic High Swivel Executive Office Chair. Please read this manual thoroughly before assembly and use to ensure proper function and longevity of your chair.

Image: Two CLATINA MELLET ergonomic office chairs, black fabric, with headrests and adjustable features, shown from the front-side angle.
2. Informació de seguretat
- Capacitat de pes màxim: The chair is designed to support a maximum weight of 400 lbs (181 kg). Do not exceed this limit.
- Assegureu-vos que tots els cargols i perns estiguin ben ajustats abans d'utilitzar-los. Comproveu-los periòdicament i torneu-los a apretar si cal.
- Eviteu estar dret a la cadira o utilitzar-la com a tamboret.
- Do not use the chair on uneven surfaces.
- Mantingueu les mans i els dits allunyats de les peces mòbils durant l'ajust.
- This chair is intended for indoor office use only.
3. Contingut del paquet
Verifiqueu que tots els components siguin presents abans de començar el muntatge. Si falta alguna peça o hi ha alguna peça danyada, poseu-vos en contacte amb el servei d'atenció al client.
- Muntatge del respatller
- Muntatge del seient
- Reposacaps
- Reposabraços (esquerra i dreta)
- Base (Base Estel·lar)
- Cilindre d'elevació de gas
- Rodes (5 peces)
- Kit de ferramenta (cargols, volanderes, clau Allen)
- Manual d'usuari (aquest document)
4. Instruccions de muntatge
Assembly is designed to be straightforward and can typically be completed in five steps. It is recommended to assemble the chair on a soft, clean surface to prevent damage.
- Fixeu les rodes a la base: Introduïu cadascuna de les cinc rodes als forats de l'extrem de cada pota de la base d'estrella. Premeu fermament fins que encaixin al seu lloc.
- Inseriu l'elevador de gas: Col·loqueu el cilindre d'elevació de gas al forat central de la base d'estrella muntada.
- Fixar els reposabraços al seient: Secure the left and right armrests to the underside of the seat assembly using the provided screws and Allen wrench. Ensure they are oriented correctly.
- Fixar el respatller al seient: Connect the backrest assembly to the seat assembly using the designated screws. Ensure a secure fit.
- Fixar el reposacaps: Slide the headrest into the top slot of the backrest until it is securely in place.
- Connecteu el seient a l'elevador de gas: Carefully place the assembled seat and backrest onto the gas lift cylinder, ensuring the center mechanism aligns with the top of the gas lift. Press down firmly to secure.
After assembly, test all adjustments to ensure proper function.
5. Instruccions d'ús i ajustos
The CLATINA MELLET chair offers multiple adjustment points to customize your seating experience for optimal comfort and ergonomic support.
5.1. Ajust d'alçada del seient
Per ajustar l'alçada del seient, localitzeu la palanca al costat dret, sota el seient. Mentre esteu asseguts, estireu la palanca cap amunt per baixar el seient. Per aixecar el seient, aixequeu-vos lleugerament i estireu la palanca cap amunt. Deixeu anar la palanca a l'alçada desitjada.
5.2. Ajust de la profunditat del seient
The seat depth can be adjusted by 3.15 inches. Locate the lever on the left side beneath the seat. Pull the lever and slide the seat forward or backward to achieve the desired depth. Release the lever to lock the position.
5.3. Reposabraços ajustables en 3D
The armrests offer three-dimensional adjustments:
- Ajust d'alçada: Press the button on the side of each armrest and move the armrest up or down (2.8 inches range). Release the button to lock.
- Moviment horitzontal: Slide the armrest pads forward or backward (1.2 inches range).
- Rotació: Rotate the armrest pads inward or outward (40 degrees range).

Image: Illustration of 3D adjustable armrests, detailing vertical, horizontal, and rotational movements.
5.4. Adjustable Lumbar Support
The lumbar support can be adjusted in height by 1.57 inches to adapt to different users. Gently push the lumbar support pad up or down on the backrest to find your preferred position.

Image: Adjustable lumbar support, showing vertical movement range.
5.5. Backrest Recline and Tilt Tension
The backrest reclines from 90 to 135 degrees with 4-level locking tilt. To recline, pull the recline lever (typically on the left side, similar to seat height lever) and lean back. Release the lever to lock the backrest at your desired angle. The chair also features a 5-position tilt tension knob located underneath the seat. Turn the knob clockwise to increase tension (making it harder to recline) or counter-clockwise to decrease tension (making it easier to recline).

Image: Deep reclining angle and tilt tension knob illustration.
5.6. Ergonomic Headrest Adjustment
The headrest can be adjusted for height and angle:
- Ajust d'alçada: Move the headrest up or down (2.4 inches range) to align with your neck and head.
- Rotació: Rotate the headrest up to 90 degrees to find the most comfortable angle.
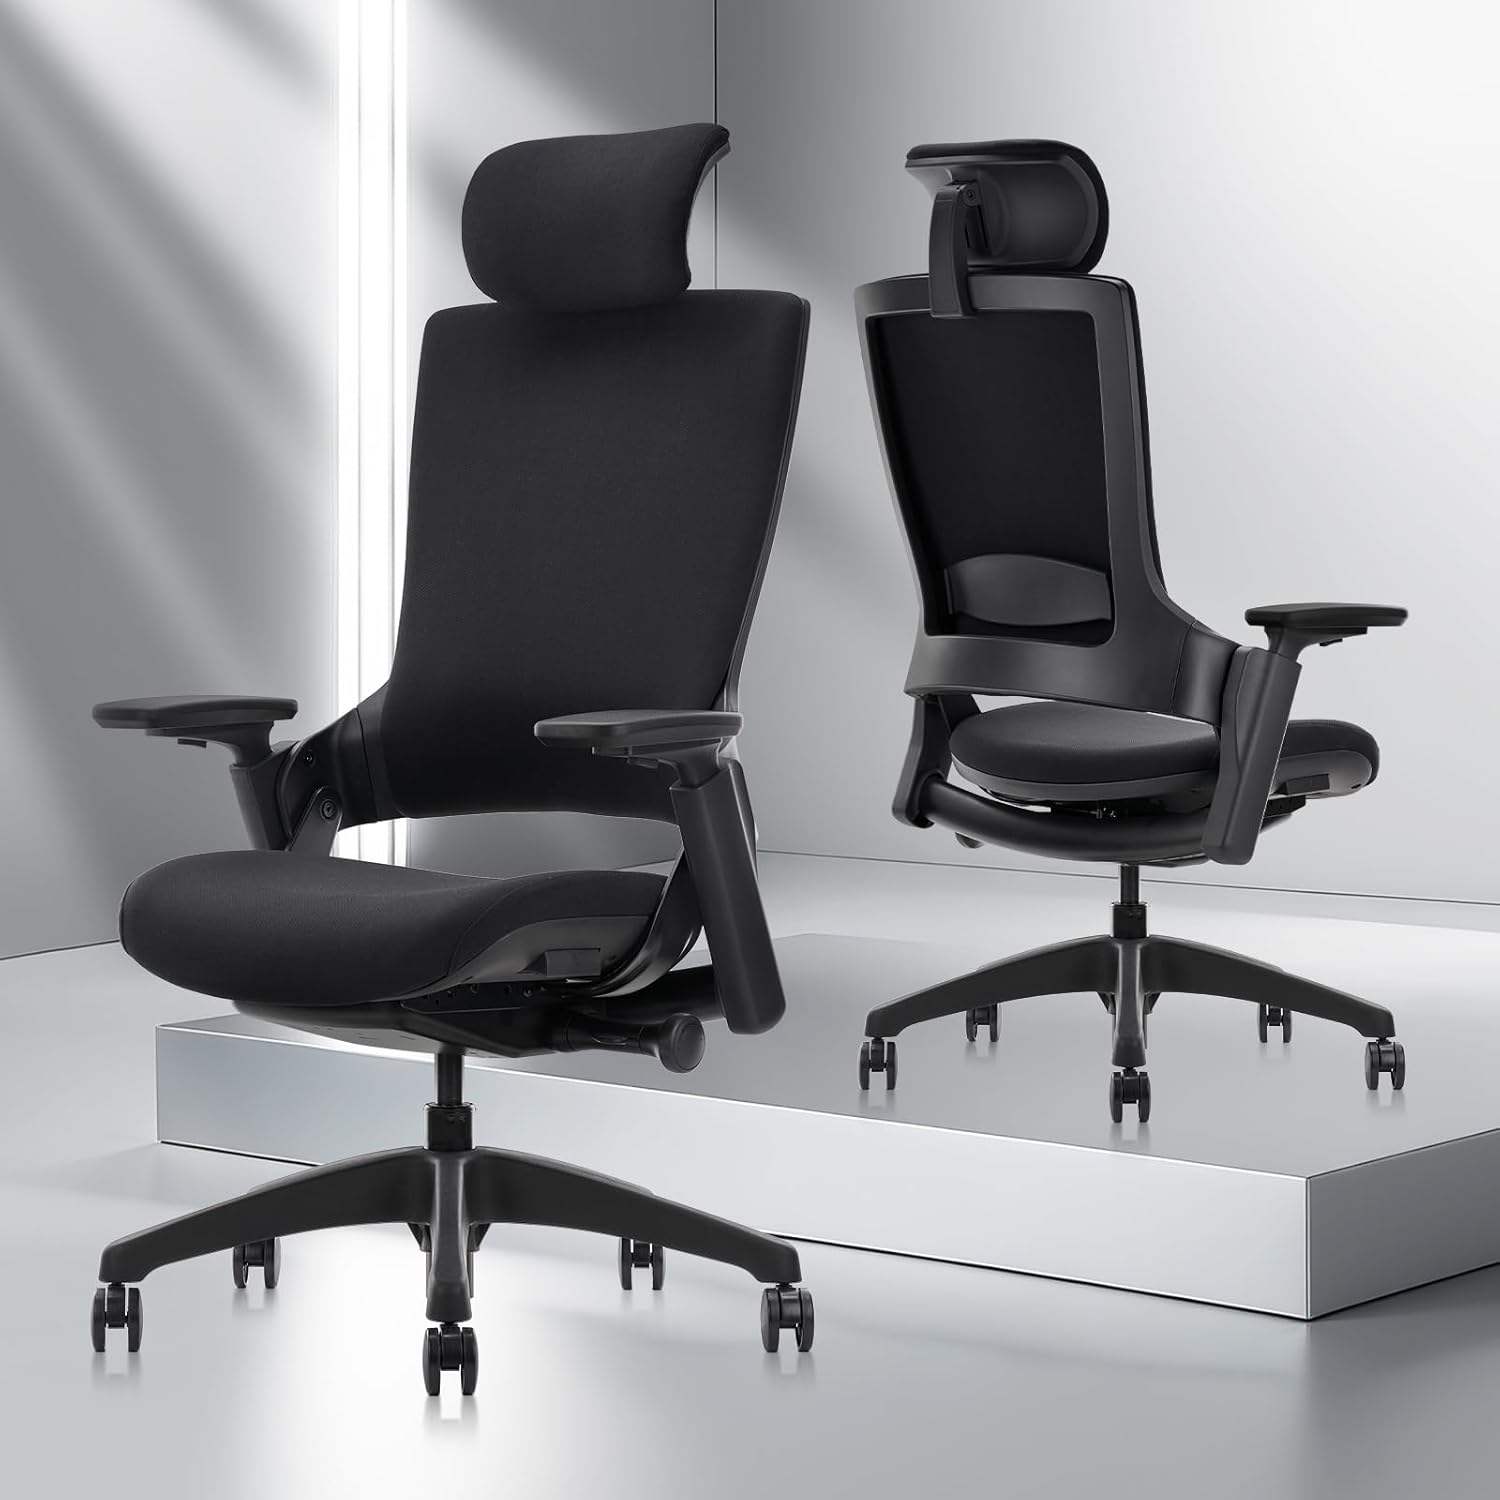
Image: Ergonomic headrest adjustments, showing vertical and rotational movement.
5.7. Seat and Back Synchronization
The chair features a synchronized tilt mechanism where the seat and backrest move together, maintaining a consistent ergonomic posture as you recline. This design helps to support your hip curve and distribute pressure evenly.
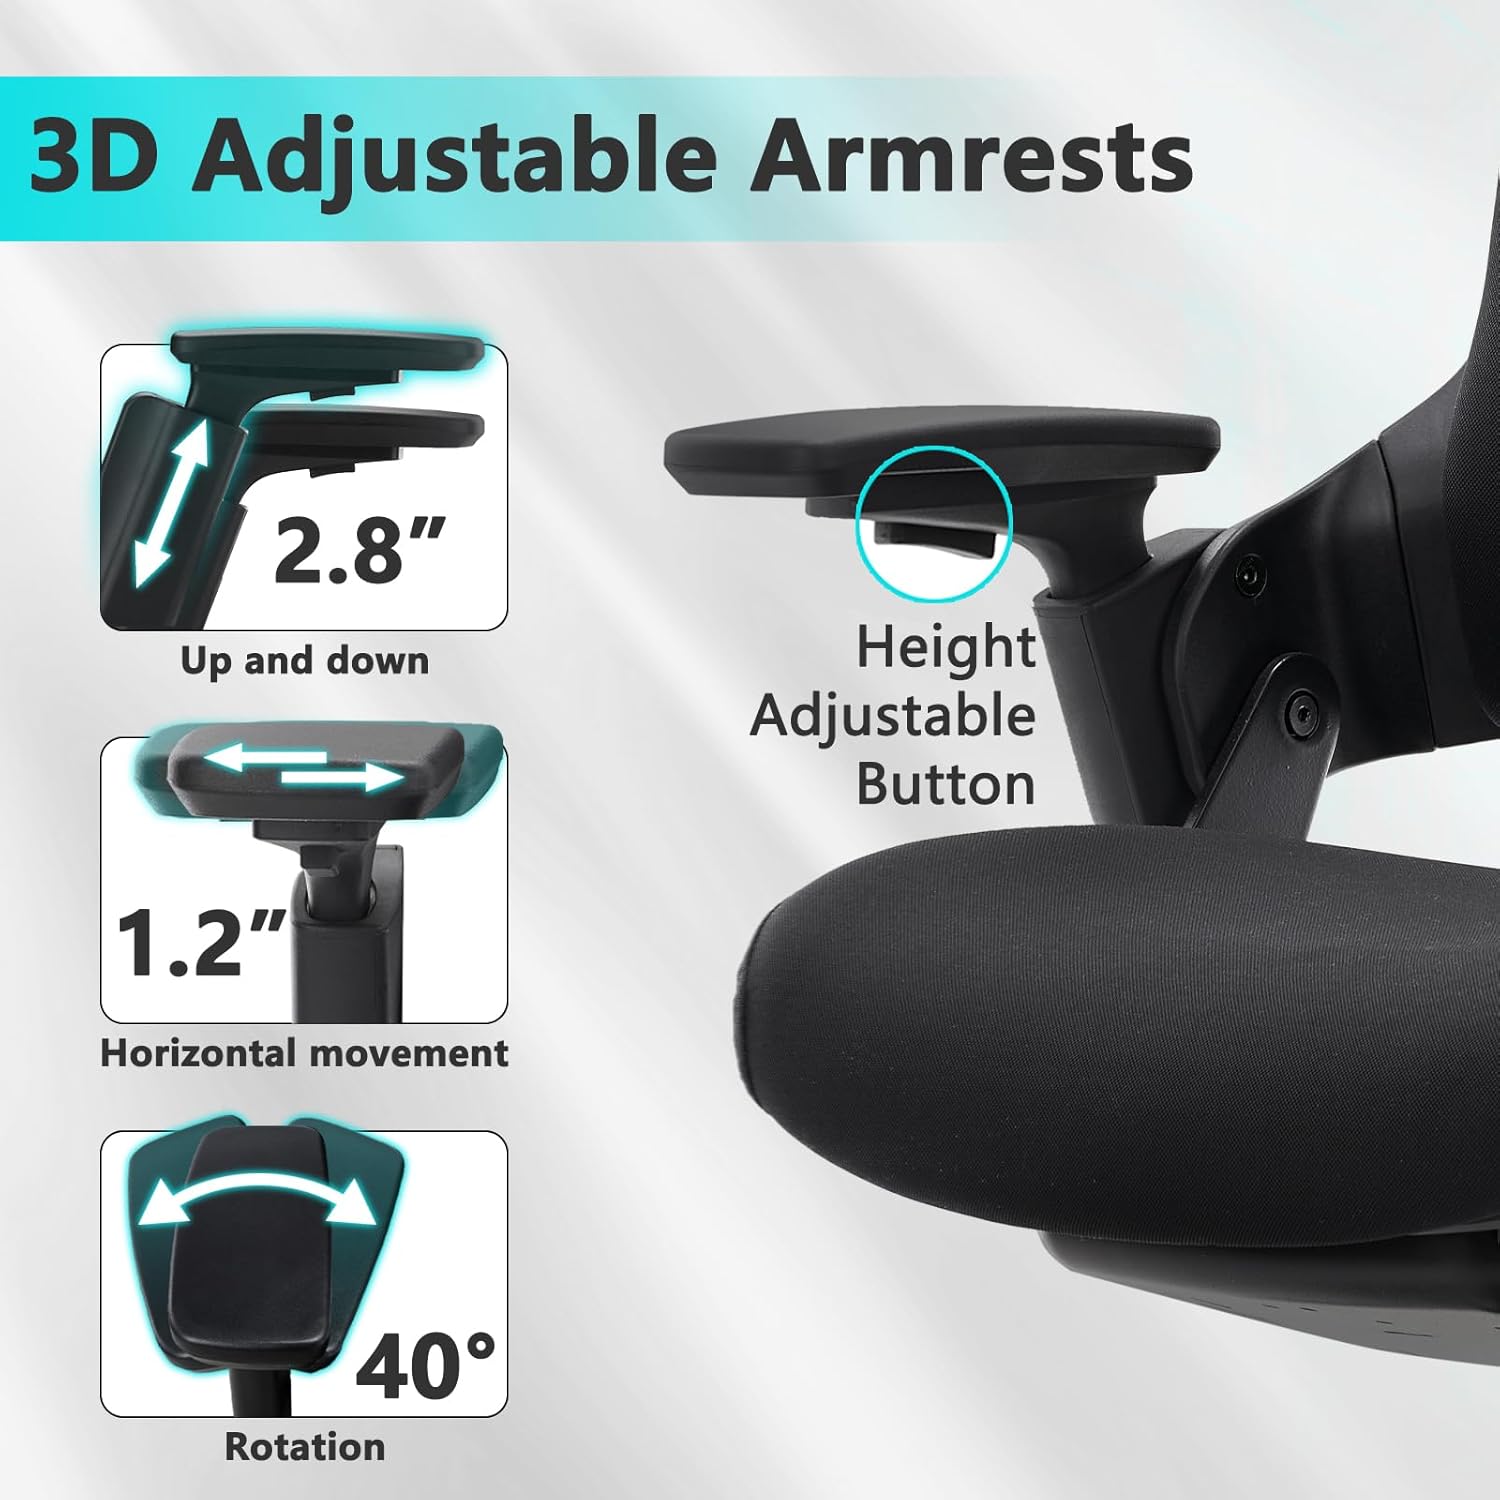
Image: Seat and back synchronization mechanism.
6. Cura i Manteniment
- Neteja: Netegeu amb un anunciamp cloth. For fabric surfaces, use a mild fabric cleaner if necessary, and test on an inconspicuous area first. Avoid harsh chemicals or abrasive cleaners.
- Inspecció: Inspeccioneu periòdicament tots els cargols i perns per assegurar-vos que romanen ajustats. Torneu a apretar-los segons calgui per mantenir l'estabilitat i la seguretat.
- Rodes: Mantingueu les rodes lliures de cabells i deixalles per garantir un moviment suau.
- Eviteu la llum solar directa: Prolonged exposure to direct sunlight can cause fabric fading and material degradation.
7. Solució De Problemes
- La cadira s'enfonsa o no es manté dreta: This indicates a potential issue with the gas lift cylinder. Contact customer support for assistance.
- La cadira tremola: Ensure all assembly screws are securely tightened, especially those connecting the seat to the mechanism and the base. Check that the casters are fully inserted into the base.
- Dificultat per reclinar-se o ajustar la inclinació: Check the tilt tension knob. Turn it counter-clockwise to loosen the tension. Ensure the recline lock lever is disengaged.
- Sorolls de grinyols: Apply a small amount of silicone lubricant to moving parts or connection points if squeaking occurs. Avoid oil-based lubricants on plastic components.
- Rodes que no giren suaument: Remove any hair or debris wrapped around the caster wheels. Clean the wheels and axles.
- Center Post Slipping/Scratching Floor: This suggests the gas lift cylinder may not be properly seated or is damaged. Disassemble and reassemble the gas lift and base, ensuring a firm connection. If the issue persists, contact customer support.
8. Especificacions del producte
| Característica | Especificació |
|---|---|
| Marca | CLATINA |
| Nom del model | MELLET |
| Color | Black-fabric |
| Dimensions del producte (P x A x A) | 27.8 "P x 27.9" W x 43.3" H |
| Capacitat màxima de pes | 400 lliures |
| Estil d'esquena | Espatlla sòlida |
| Estil de braç | 3D Adjustable Arms |
| Angle de reclinació | 90-135 degrees (5 positions) |
| Ajust de profunditat del seient | 3.15 polzades |
| Ajust de suport lumbar | 1.57 polzades (alçada) |
| Ajust del reposacaps | 2.4 inches (height), 90 degrees (rotation) |
| Ascensor de gas | Class 4, BIFMA/SGS Certified |
| Material de farciment | Escuma |
| Usos recomanats | Oficina |

Image: Product dimensions and weight capacity diagram.
9. Garantia i Suport
For information regarding the product warranty, including terms, conditions, and duration, please refer to the warranty card included with your purchase or contact CLATINA customer support directly. Contact details can typically be found on the manufacturer's official weblloc web o a través del vostre punt de compra.
For technical assistance, missing parts, or any other inquiries, please reach out to CLATINA customer service.


