1. Introducció
Welcome to the Keurig K-Mini Single Serve Coffee Maker. This compact and efficient brewer is designed to deliver a fresh, delicious cup of coffee with minimal counter space. This manual provides essential information for setting up, operating, maintaining, and troubleshooting your new coffee maker.

2. Informació de seguretat
Please read all safety instructions before using your Keurig K-Mini coffee maker.
- Always use fresh, cold water in the reservoir.
- Do not immerse the brewer in water or other liquids.
- Ensure the brewer is placed on a stable, flat surface.
- Mantenir fora de l'abast dels nens.
- Unplug the brewer when not in use or before cleaning.
- No feu servir cap aparell amb un cable o un endoll danyats.
- Only use a plastic cup when brewing over ice to avoid glass breakage.
3. Configuració i primer ús
Follow these steps for initial setup and your first brew.
3.1 Desembalatge i col·locació
- Remove all packaging materials and tape from the brewer.
- Place the brewer upright on a stable, level surface.
- The K-Mini is less than 5 inches wide, making it suitable for various spaces.
- The power cord is 26 inches long and features integrated cord storage at the back for a tidy countertop.

3.2 Initial Cleansing Brew
Before brewing your first cup of coffee, perform a cleansing brew to rinse the internal components.
- Connecteu la cafetera a una presa de terra.
- Place a large mug (at least 10 oz) on the drip tray.
- Aixequeu el mànec de la cafetera.
- Pour fresh water into the reservoir (6-12 oz). Do not insert a K-Cup pod.
- Baixeu el mànec.
- Press the brew button. The brew button will flash, then illuminate steadily as the water heats. Once heated, the brew will begin.
- Discard the hot water. The one-time setup process is now complete.
Important: The cleansing brew is essential for proper machine function and to ensure optimal taste for your first coffee.
4. Instruccions de funcionament
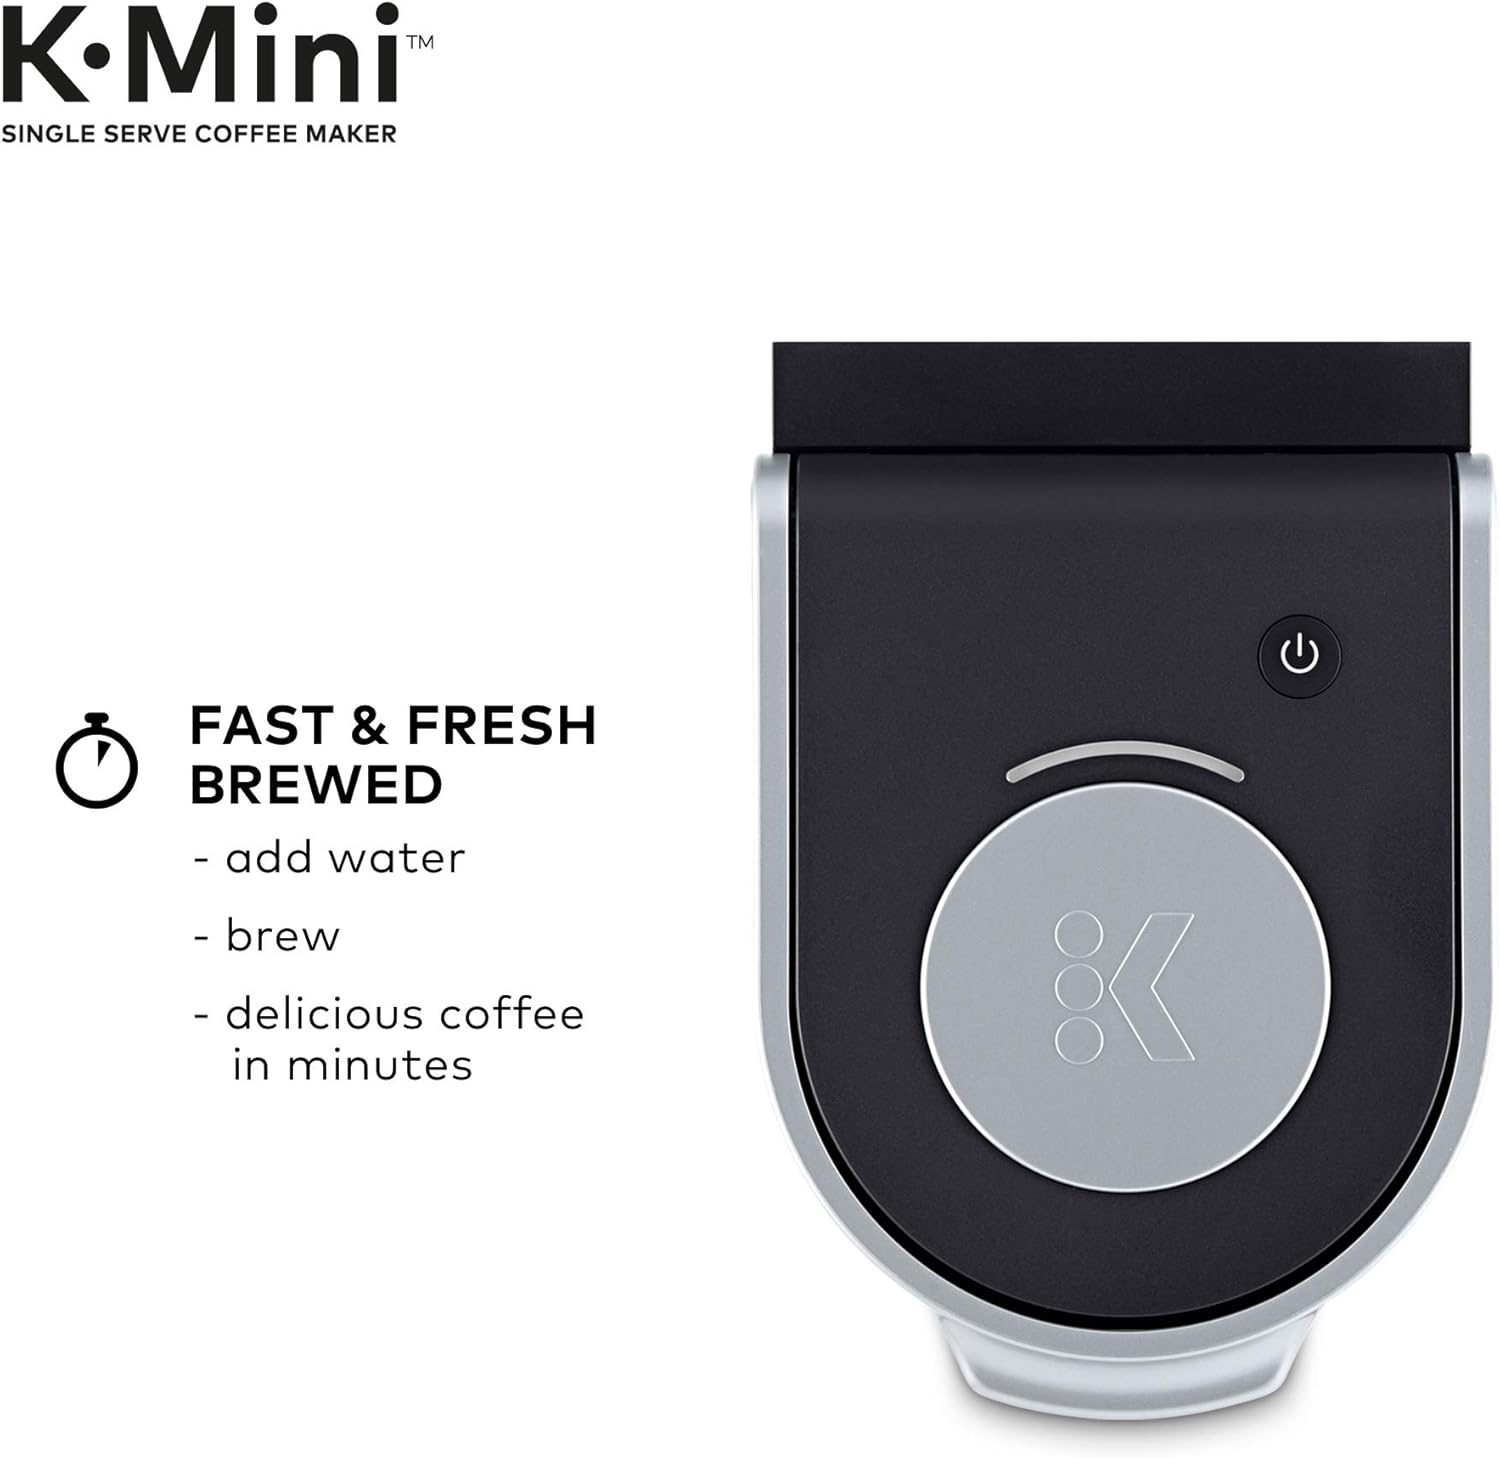
Brewing a perfect cup with your K-Mini is simple.
- Afegeix aigua: Lift the reservoir lid and pour fresh water into the reservoir. The K-Mini features a single-cup reservoir, so add water for each brew. You can brew any cup size between 6-12 oz.
- Inserir càpsula: Lift the brewer handle and place a K-Cup pod into the K-Cup pod holder. Lower the handle completely to close the lid.
- Col·loca la tassa: Place a mug on the drip tray. For travel mugs, remove the drip tray to accommodate mugs up to 7.0 inches tall.
- Cervesa: Press the brew button. The button will flash while heating and then illuminate steadily. Your coffee will begin brewing shortly.
- Gaudeix: Once brewing is complete, remove and enjoy your fresh coffee.


Video: Keurig K-Mini Coffee Maker Overview
This video provides a visual guide to the features and basic operation of the Keurig K-Mini Coffee Maker.
5. Manteniment
Regular cleaning and maintenance will ensure your Keurig K-Mini continues to perform optimally.
5.1 Neteja de l'exterior
- Netegeu l'exterior amb anunciamp, drap sabonós.
- Dry thoroughly with a soft, non-abrasive cloth.
- No utilitzeu netejadors abrasius ni fregalls.
5.2 Neteja de la safata de degoteig
- The drip tray can accumulate spills. Remove it and wash with warm, soapy water.
- Rentar bé i assecar.
5.3 Descalcificació
Over time, calcium deposits (scale) can build up in your brewer. Descaling helps remove these deposits.
- Apagueu i desconnecteu la cafetera.
- Aboqueu 10 ml de vinagre blanc al dipòsit d'aigua.
- Col·loqueu una tassa gran a la safata antigoteig.
- Plug in and turn on the brewer.
- Perform a cleansing brew (without a K-Cup pod).
- Repeat the cleansing brew process with fresh water until the vinegar smell is gone.
- For detailed descaling instructions, refer to the full Keurig descaling guide on the official Keurig weblloc.
6. Solució De Problemes
If you encounter issues with your Keurig K-Mini, try these common solutions.
| Problema | Causa possible | Solució |
|---|---|---|
| Brewer not turning on | No connectat, apagadatage. | Ensure the brewer is securely plugged into a grounded outlet. Check circuit breaker. |
| No water dispensing / Weak brew | Water reservoir empty, air in system, clogged needle. |
|
| Mòlt de cafè en tassa | K-Cup pod punctured incorrectly, reusable filter overfilled. |
|
| Brew button flashing continuously | Water heating, or an error. |
|
7. Especificacions
| Característica | Detall |
|---|---|
| Marca | Keurig |
| Model | K-Mini |
| Capacitat | 6-12 ounces (single cup reservoir) |
| Color | Negre/groc |
| Dimensions del producte (P x A x A) | 11.3 "P x 4.5" W x 12.1" H |
| Característica especial | Portable, Cord Storage, Removable Drip Tray |
| Tipus de cafetera | Drip Coffee Machine, Single-Serve Brewer |
| Mode d'operació | Totalment automàtic |
| Tipus d'entrada de cafè | K-Cup Pods |
| Tipus de filtre | Reusable (if using a universal reusable K-Cup filter, not included) |

8. Garantia i Suport
For warranty information, product registration, and additional support, please visit the official Keurig website or contact Keurig customer service. Keep your purchase receipt as proof of purchase.


