1. Informació de seguretat
Si us plau, llegiu i comprengui tota la informació de seguretat i les instruccions d'ús abans d'utilitzar aquest multímetre. Si no segueix aquestes instruccions, es pot produir una descàrrega elèctrica, un incendi o danys al multímetre.
- Always ensure the test leads are properly connected and the function switch is set to the correct range before making any measurements.
- No intenteu mesurar el voltages or currents exceeding the maximum rated values for this meter.
- Extremeu les precaucions quan treballeu amb circuits en tensió. Alt volumtagpoden ser perillosos.
- Never open the meter casing unless specifically instructed for battery or fuse replacement. Ensure test leads are disconnected before opening.
- Substituïu la bateria quan aparegui l'indicador de bateria baixa per garantir lectures precises.
- No utilitzeu el mesurador si sembla danyat o si l'aïllament dels cables de prova està compromès.
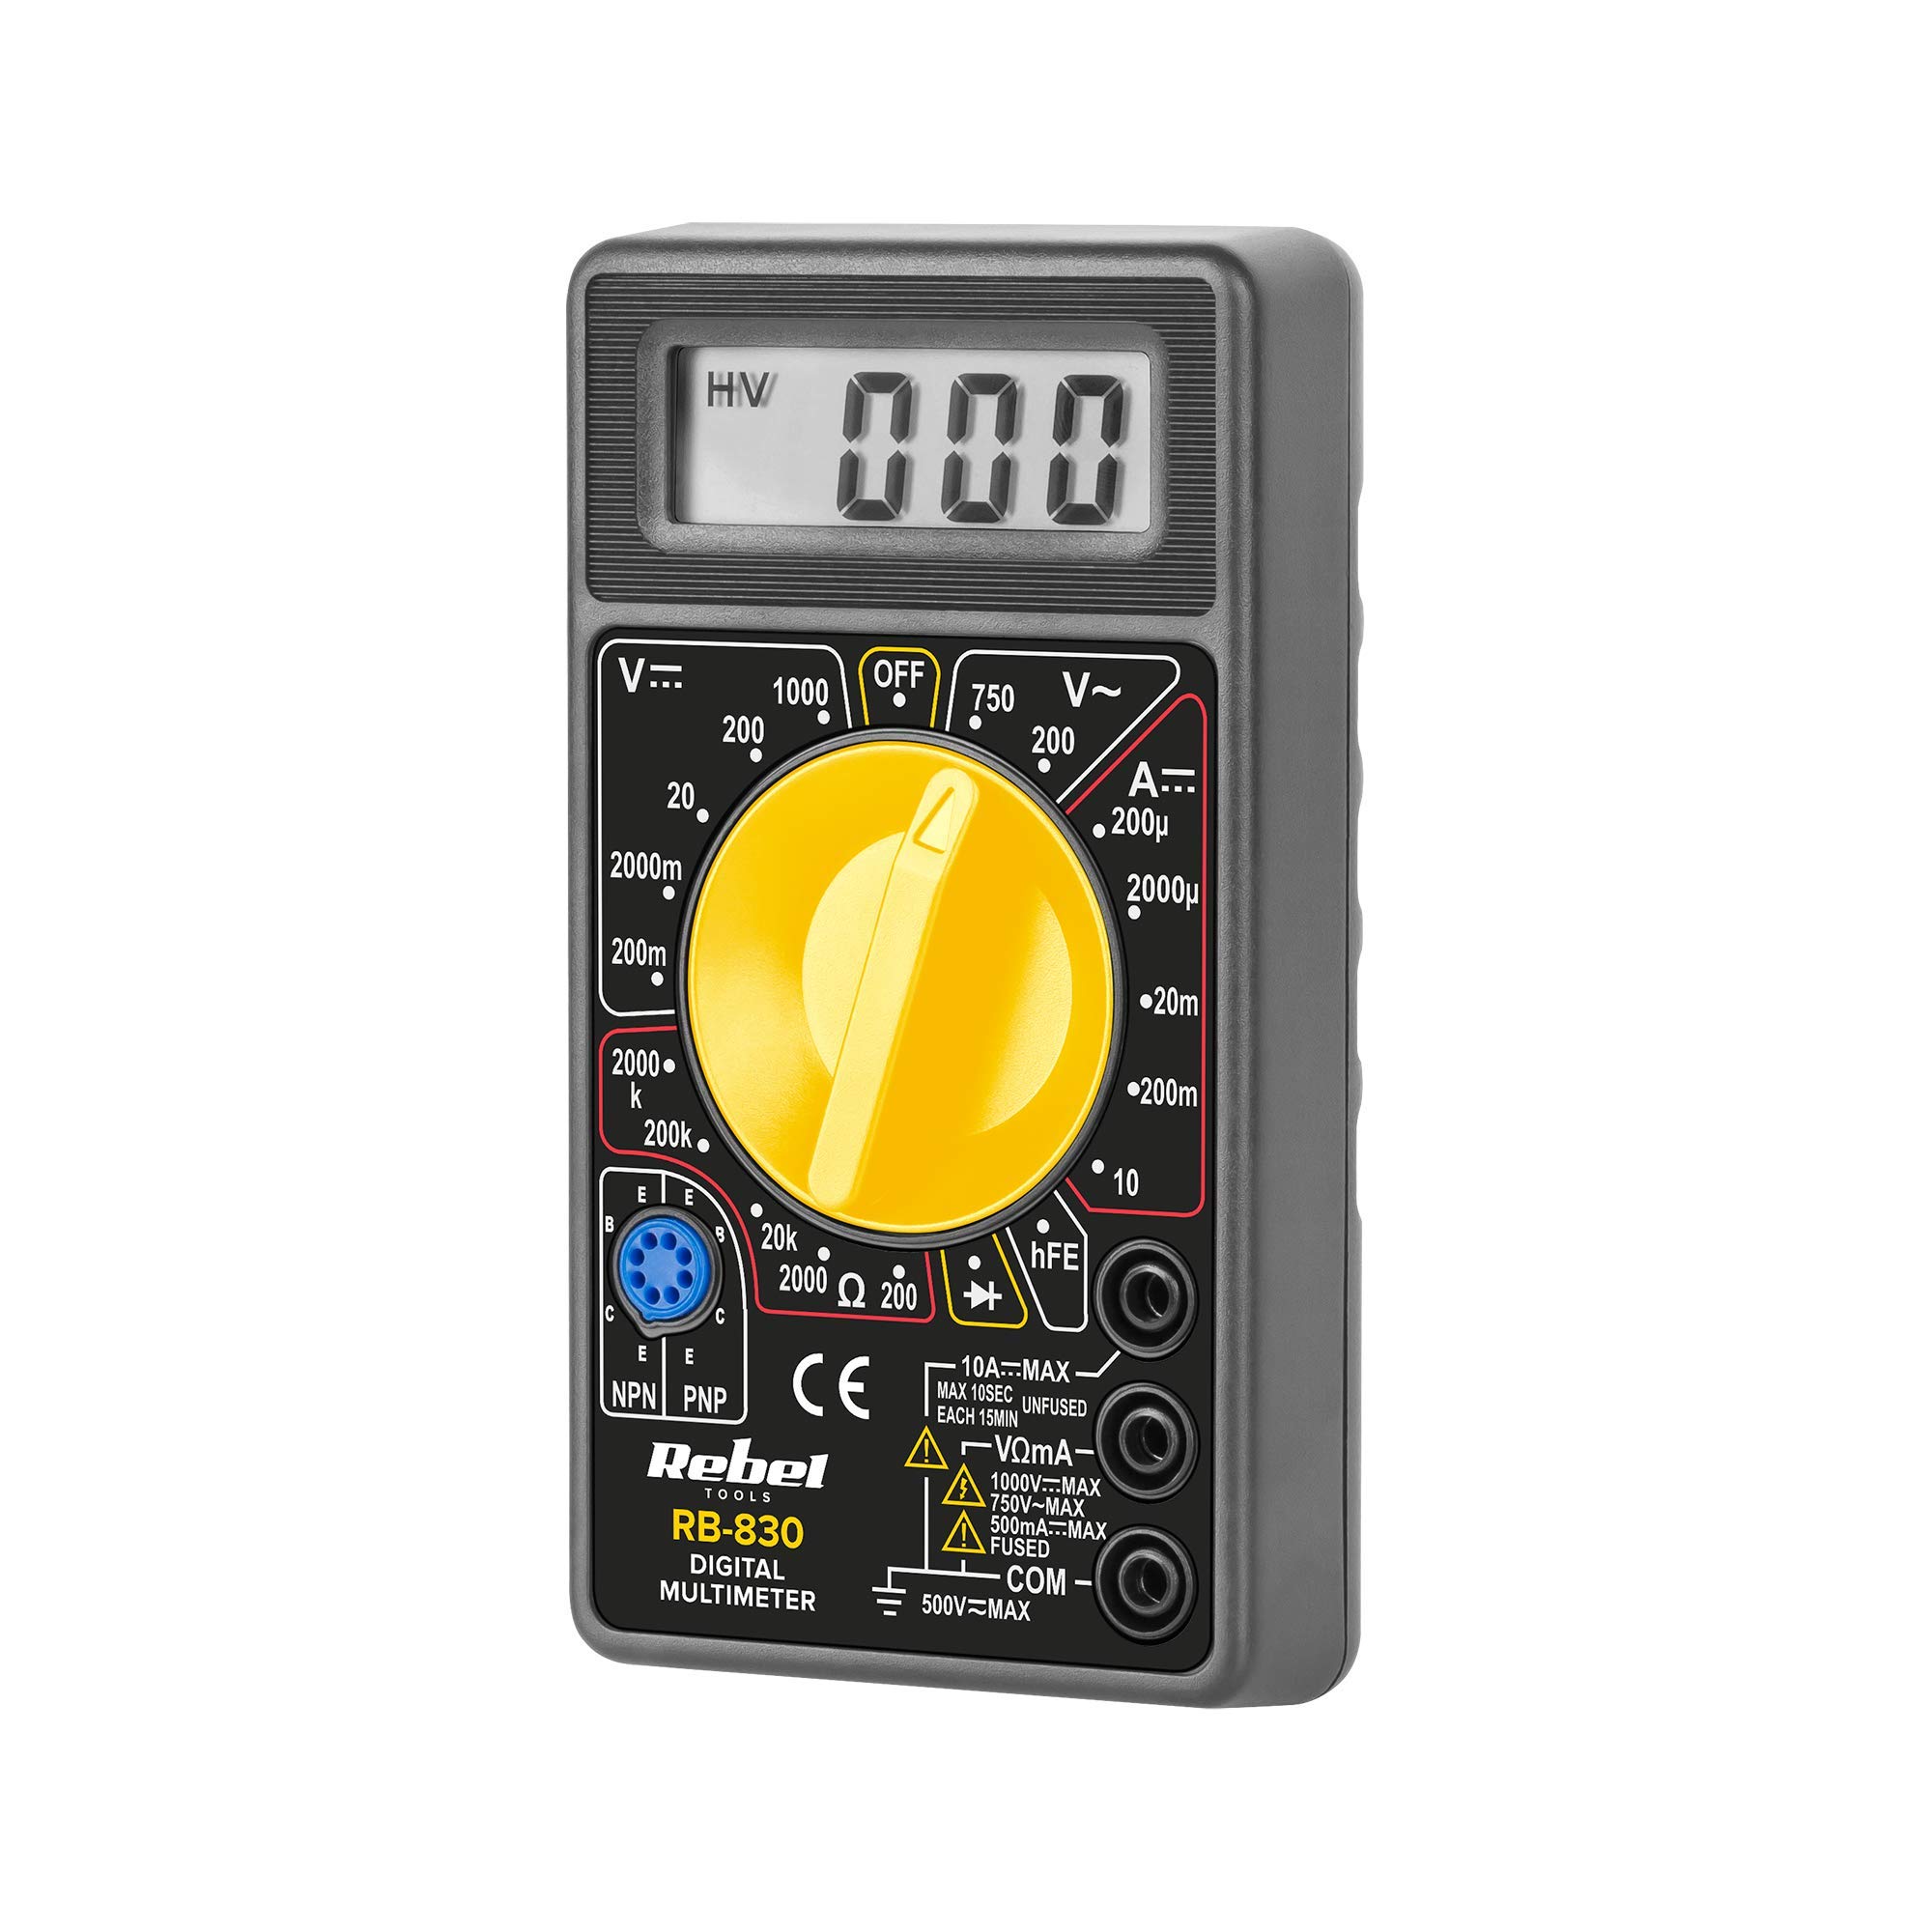
Figura 1: posterior view of the Rebel MIE-RB-830 Multimeter, showing the battery compartment cover and a warning label. The label advises removing test leads before opening the case to avoid electrical shock and to install fuses with correct amp/volt ratings. It also indicates the power supply is a 9V battery, type NEDA 1604 9V 6F22.
2. Producte acabatview
The Rebel MIE-RB-830 is a compact, battery-operated digital multimeter designed for measuring DC/AC voltage, DC current, resistance, diode, and transistor (hFE) values. It is suitable for general electrical testing and troubleshooting.
2.1. Components
- Digital Multimeter Unit
- Cables de prova (vermell i negre)
- 9V Battery (may be included or sold separately)
- Manual d'usuari (aquest document)

Figura 2: The Rebel MIE-RB-830 Digital Multimeter shown with its accompanying red and black test leads. The multimeter features a large LCD display and a rotary function switch.

Figura 3: Primer pla view of the red and black test leads. These leads are essential for connecting the multimeter to the circuit under test.
3. Configuració
3.1. Instal·lació de la bateria
- Ensure the multimeter is turned OFF and all test leads are disconnected.
- Localitzeu la tapa del compartiment de la bateria a la part posterior del mesurador (vegeu la figura 1).
- Descargoleu el(s) cargol(s) de subjecció i retireu la coberta amb cura.
- Insert a new 9V battery (NEDA 1604 or 6F22 type), observing the correct polarity (+ and -).
- Torneu a col·locar la tapa del compartiment de la bateria i fixeu-la amb el(s) cargol(s).
3.2. Connexió dels cables de prova
- Connecteu el vermell test lead to the "VΩmA" input jack.
- Connecteu el negre test lead to the "COM" (common) input jack.
- For current measurements exceeding 200mA (up to 10A), connect the red test lead to the "10A" input jack.
4. Instruccions de funcionament
4.1. Selecció de la funció
Turn the rotary switch to the desired measurement function and range. Always start with a higher range if the approximate value is unknown to prevent overloading the meter.
4.2. Mesura de la tensió de CCtage (V–)
- Ajusteu l'interruptor rotatiu al volum de CC desitjattage (V–) range (e.g., 20V, 200V).
- Connecteu el cable de prova vermell al costat positiu (+) del circuit i el cable de prova negre al costat negatiu (-).
- Llegeix el voltage valor a la pantalla LCD.
4.3. Mesurar AC Voltage (V∼)
- Ajusteu l'interruptor rotatiu al volum de CA desitjattage (V∼) range (e.g., 200V, 750V).
- Connecteu els cables de prova a través del voltatge de CAtage font.
- Llegeix el voltage valor a la pantalla LCD.
4.4. Measuring DC Current (A–)
Precaució: To measure current, the meter must be connected in series with the circuit. Never connect the meter in parallel with a voltagla font quan està en mode de corrent, ja que això pot danyar el mesurador i el circuit.
- Set the rotary switch to the desired DC Current (A–) range (e.g., 20mA, 200mA, 10A).
- For currents up to 200mA, ensure the red lead is in the "VΩmA" jack. For currents up to 10A, move the red lead to the "10A" jack.
- Obriu el circuit on es vol mesurar el corrent i connecteu el mesurador en sèrie.
- Llegiu el valor actual a la pantalla LCD.
4.5. Measuring Resistance (Ω)
Precaució: Ensure the circuit or component under test is de-energized before measuring resistance.
- Set the rotary switch to the desired Resistance (Ω) range (e.g., 200Ω, 2kΩ, 200kΩ).
- Connecteu els cables de prova al component o circuit que s'ha de mesurar.
- Llegiu el valor de la resistència a la pantalla LCD.
4.6. Diode Test (→|–)
- Set the rotary switch to the Diode Test (→|–) position.
- Connect the red test lead to the anode of the diode and the black test lead to the cathode.
- La pantalla mostrarà el volum d'avançtage drop (typically 0.5V to 0.8V for silicon diodes).
- Inverteix els cables. La pantalla hauria de mostrar "OL" (bucle obert) per a un díode en bon estat.
4.7. Transistor (hFE) Test
- Col·loqueu l'interruptor giratori a la posició hFE.
- Identify if the transistor is NPN or PNP.
- Insert the transistor's emitter, base, and collector leads into the corresponding sockets on the hFE test socket.
- Read the hFE (DC current gain) value on the display.
5. Manteniment
5.1. Substitució de la bateria
When the low battery indicator appears on the display, replace the 9V battery as described in Section 3.1. Using a low battery can lead to inaccurate readings.
5.2. Substitució de fusibles
If the current measurement function stops working, the fuse may need replacement. This operation should only be performed by qualified personnel.
- Ensure the multimeter is turned OFF and all test leads are disconnected.
- Open the back casing of the meter (this may involve more screws than just the battery compartment).
- Locate the blown fuse and replace it with a fuse of the exact same type and rating (e.g., F200mA/250V for mA range, F10A/250V for 10A range). Refer to the internal markings or specifications for precise fuse ratings.
- Carefully reassemble the meter, ensuring all screws are tightened.
5.3. Neteja
Netegeu el comptador amb anuncisamp cloth and mild detergent. Do not use abrasives or solvents. Keep the meter dry.
6. Solució De Problemes
| Problema | Causa possible | Solució |
|---|---|---|
| Sense pantalla o pantalla tènue | Bateria baixa o esgotada | Substituïu la bateria de 9V. |
| Lectures incorrectes | Low battery; Incorrect range selection; Poor test lead connection | Replace battery; Select appropriate range; Ensure leads are firmly connected. |
| La mesura de corrent no funciona | Blown fuse; Incorrect lead connection for current | Replace fuse (see Section 5.2); Ensure red lead is in "VΩmA" or "10A" jack as appropriate. |
| Es mostra "OL" (sobrecàrrega) | Measured value exceeds selected range; Open circuit (for resistance/continuity) | Select a higher range; Check circuit for breaks. |
7. Especificacions
| Funció de mesura | Interval | Precisió |
|---|---|---|
| DC Voltage (V–) | 200mV, 2V, 20V, 200V, 1000V | ±(0.5% + 2 dígits) |
| Vol. ACtage (V∼) | 200 V, 750 V | ±(1.2% + 10 dígits) |
| DC Current (A–) | 200µA, 2mA, 20mA, 200mA, 10A | ±(1.0% + 2 dígits) |
| Resistència (Ω) | 200Ω, 2kΩ, 20kΩ, 200kΩ, 2MΩ | ±(0.8% + 2 dígits) |
| Prova de díode | Sí | Endavant voltage gota |
| Prova de transistors (hFE) | Sí | hFE value |
| Font d'alimentació | 9V Battery (NEDA 1604 or 6F22) | |
| Mostra | 3½ Digit LCD, Max. 1999 | |
| Dimensions | Aprox. 13.5 x 10 x 4 cm | |
| Pes | Approx. 107 grams (without battery) | |
| Temperatura de funcionament | De 0 °C a 40 °C (32 °F a 104 °F) | |
| Temperatura d'emmagatzematge | -10 °C a 50 °C (de 14 °F a 122 °F) | |
| Normes de seguretat | CE, RoHS |
8. Garantia i Suport
This Rebel MIE-RB-830 Digital Multimeter is covered by a standard manufacturer's warranty against defects in materials and workmanship. Please refer to the warranty card included with your purchase or contact your retailer for specific warranty terms and conditions.
For technical support or service inquiries, please contact the point of purchase or visit the official Rebel weblloc per obtenir informació de contacte.