Introducció
Welcome to your new TELLUR Dash Patrol DC1 Car Camera. This manual provides instructions for installation, operation, and maintenance to ensure optimal performance and longevity of your device. Please read this manual thoroughly before using the product.
Informació de seguretat
- Ensure the dash camera is securely mounted and does not obstruct the driver's view o interferir amb els controls del vehicle.
- Do not operate the device while driving. Adjust settings only when the vehicle is safely parked.
- Eviteu exposar el dispositiu a temperatures extremes, a la llum solar directa durant períodes prolongats o a la humitat.
- Use only the provided power adapter and cables to prevent damage and ensure proper operation.
- Mantingueu la lent neta per garantir gravacions de vídeo nítides.
- No intenteu desmuntar ni reparar el dispositiu vosaltres mateixos. Poseu-vos en contacte amb personal de servei qualificat per obtenir ajuda.
Contingut del paquet
- 1 x Dash Patrol Dashcam DC1
- 1 x suport magnètic
- 1 x cable MicroUSB
- 1 x Dual USB Car Charger
- 1 x Manual d'usuari
Producte acabatview
Components


Controls i indicadors
- Botó d'encesa: Press and hold to turn the device on or off. Short press to toggle screen display.
- Botó M (mode): Switches between video recording, still photo, and playback modes.
- Botons amunt / avall: Navigate through menu options or adjust settings.
- Botó D'acord: Confirms selections or starts/stops recording in video mode.
- Ranura per a targetes TF: Insert a microSD card for storing recordings.
- Port MicroUSB: Connects to the car charger for power.
- Micròfon: Grava àudio.
Configuració
1. Inseriu la targeta de memòria
Before first use, insert a Class 10 or higher microSD card (not included) into the TF Card slot. Ensure the card is inserted correctly until it clicks into place.
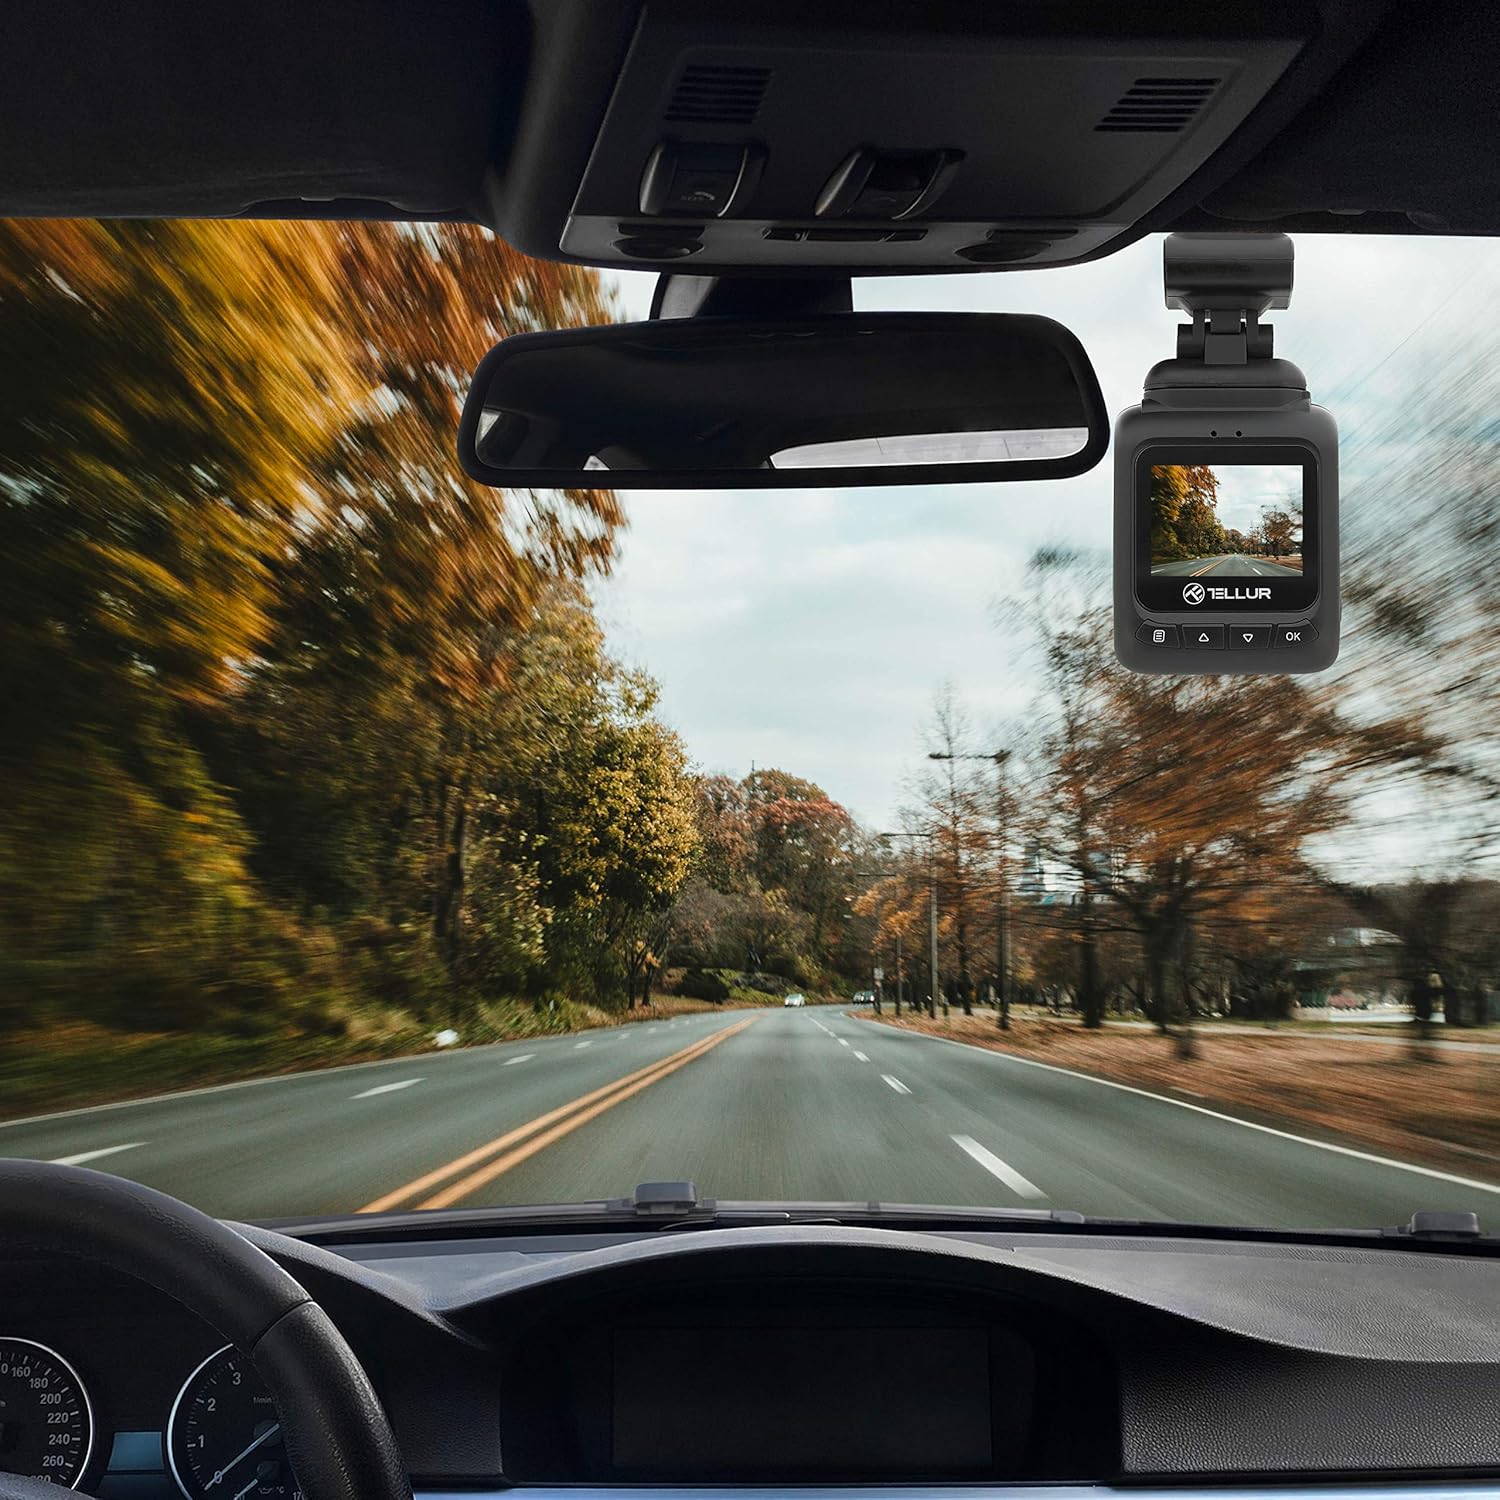
2. Mount the Dash Camera
Clean the windshield area where the camera will be mounted. Attach the magnetic bracket to the windshield using its adhesive. Ensure the camera's position does not obstruct your view. Once the bracket is secured, attach the dash camera to the magnetic bracket.
3. Connecteu l'alimentació
Connect the MicroUSB cable to the dash camera's MicroUSB port and the other end to the Dual USB Car Charger. Plug the car charger into your vehicle's 12V power outlet (cigarette lighter socket). The camera will automatically power on and begin recording when the vehicle starts.
Instruccions de funcionament
Enregistrament bàsic
Once powered on, the camera automatically starts recording in a continuous loop. The recording indicator (usually a red dot) will flash on the screen. Videos are recorded in FullHD 1080P resolution with a 140-degree wide-angle lens.
Funció del sensor G
The built-in G-sensor detects sudden impacts or collisions. When an event is detected, the current video segment is automatically locked and saved to prevent it from being overwritten by loop recording. This ensures critical footage es conserva.

Funció de vigilància d'aparcament
When the parking monitoring function is enabled, the camera will automatically start recording if it detects motion or an impact while the vehicle is parked and the engine is off. This feature provides surveillance for your vehicle when unattended.

Navegació pel menú
Premeu el botó M botó per entrar al menú. Feu servir el botó Amunt/Avall botons per navegar per les opcions i el OK botó per seleccionar. Premeu M torneu a sortir del menú.
Reproducció de vídeo
In playback mode (accessed via the M button), use the Amunt/Avall botons per seleccionar un vídeo file i OK to play it. Press M per tornar al file llista.
Manteniment
Neteja de la lent
Regularly clean the camera lens with a soft, lint-free cloth to ensure clear video quality. Do not use abrasive cleaners.
Gestió de targetes de memòria
It is recommended to format the microSD card periodically (e.g., once a month) within the camera's settings to maintain optimal performance and prevent data corruption.
Resolució de problemes
- La càmera no s'encén: Check the power connection to the car charger and the vehicle's 12V outlet. Ensure the vehicle's ignition is on.
- La gravació s'atura de manera inesperada: Ensure the microSD card is properly inserted and is a Class 10 or higher. Format the card if issues persist.
- Poca qualitat de vídeo: Clean the camera lens. Check menu settings to ensure 1080P resolution is selected.
- El sensor G no s'activa: Adjust the G-sensor sensitivity in the camera's settings.
- Parking Monitor not working: Ensure the parking monitoring function is enabled in the settings.
Especificacions
| Característica | Detall |
|---|---|
| Nom del model | DC1 |
| Número de model de l'article | TLL711001 |
| Resolució de captura de vídeo | 1080p |
| Camp de View | 140 graus |
| Característica especial | Automatic Incident Detection (G-Sensor), Parking Monitoring |
| Tecnologia de connectivitat | USB |
| Tipus de muntatge | Magnetic Mount with Adhesive |
| Dimensions del producte | 1.72 x 1.47 x 2.17 polzades |
| Pes de l'article | 8.4 unces |
| Bateries | Necessita 1 bateria de polímer de liti |
| Color | Negre |
| Fabricant | TELLUR |
Garantia i Suport
TELLUR products are designed for reliability and performance. For warranty information, technical support, or service inquiries, please refer to the contact details provided on the official TELLUR weblloc web o la documentació de compra. Conserveu el comprovant de compra per a reclamacions de garantia.


