1. Introducció
This instruction manual provides essential information for the safe operation, maintenance, and troubleshooting of your LA TALUS KY-2106 Mini Air Drill. Please read this manual thoroughly before using the tool to ensure proper function and to prevent injury or damage. Keep this manual in a safe place for future reference.

Figure 1: The LA TALUS KY-2106 Mini Air Drill, a compact pneumatic tool designed for various applications.
2. Instruccions de seguretat
Seguiu sempre les precaucions de seguretat bàsiques quan utilitzeu aquest producte per reduir el risc d'incendi, descàrrega elèctrica o lesions personals.
- Equips de protecció individual: Always wear eye protection (safety glasses or goggles) and hearing protection. Use gloves and appropriate work clothing.
- Àrea de treball: Mantingueu la vostra zona de treball neta i ben il·luminada. Les zones desordenades o fosques conviden als accidents. No feu servir eines elèctriques en atmosferes explosives, com ara en presència de líquids, gasos o pols inflamables.
- Condició de l'eina: Inspect the tool for damage before each use. Do not use if any part is damaged or missing. Ensure all connections are secure.
- Subministrament d'aire: Ensure the air supply is clean, dry, and at the correct pressure (refer to specifications). Disconnect the air supply before changing accessories, performing maintenance, or when the tool is not in use.
- Peça de treball segura: Always secure the workpiece firmly. Do not hold it by hand.
- Evita el contacte: Keep hands and body away from rotating parts.
- Ús adequat: Feu servir l'eina correcta per a la vostra aplicació. No forceu una eina o accessori petit per fer la feina d'una eina de gran capacitat.
- Manteniment: Maintain tools with care. Keep cutting tools sharp and clean. Follow instructions for lubricating and changing accessories.
3. Contingut del paquet
Upon unpacking, verify that all items are present and undamaged:
- 1 x LA TALUS KY-2106 Mini Air Drill
- 1 x clau anglesa
Si falta algun article o està malmès, poseu-vos en contacte amb el vostre distribuïdor immediatament.
4. Característiques del producte
The LA TALUS KY-2106 Mini Air Drill is engineered for efficiency and durability:
- Motor potent: Delivers a free speed of 12,000 RPM for superior performance in various applications.
- Construcció de qualitat: High-quality rotor and bearings ensure durability and smooth operation.
- Quick Bit Changes: Designed for convenient and rapid bit changes during high-speed drilling without manual tightening complications.
- Disseny de baix soroll: Integrated noise control mufflers in the rear handle exhaust tube connect to compressors, producing low noise output to minimize distraction.
- Aplicació versàtil: Ideal for low-speed, high-torque applications such as drilling, sanding, and polishing.
5. Especificacions
| Paràmetre | Valor |
|---|---|
| Model | KY-2106 |
| Material | Acer d'aliatge |
| Velocitat sense càrrega | 12,000 RPM |
| Connector d'entrada d'aire | 1/4 polzada |
| Mida del mandril | 1/4 polzada |
| Font d'alimentació | Pneumàtic |
| Pes del producte | 850 g |
| Mida aproximada | 23.5 x 7 x 5 cm |
6. Configuració
Follow these steps to set up your mini air drill:
- Connecteu el subministrament d'aire: Attach a 1/4 inch air intake pipe to the air inlet connector on the tool. Ensure a secure, leak-free connection.
- Prepare Air Compressor: Connect the air intake pipe to an air compressor. Ensure the compressor is set to the appropriate operating pressure for pneumatic tools.
- Install Chuck: The tool comes with a 1/4 inch chuck. Ensure it is securely tightened.
- Insert Bit/Accessory: Open the chuck jaws using the provided wrench. Insert the desired drill bit, sanding attachment, or polishing pad into the chuck. Tighten the chuck jaws firmly around the accessory using the wrench.
- Check Directional Control: Familiarize yourself with the positive and negative control switch for forward and reverse rotation.

Figure 2: Key components of the mini air drill, including the air intake control valve, 1/4 inch intake pipe, start handle, positive and negative control, and quick connector.
7. Instruccions de funcionament
Before operating, ensure all safety precautions are followed and the tool is properly set up.
- Inicia l'eina: Press the start handle (trigger) to activate the air drill. The tool will reach its operating speed quickly.
- Velocitat de control: The tool operates at a high speed of 12,000 RPM. For applications requiring lower speed or higher torque, apply appropriate pressure and control.
- Adjust Torque (if applicable): Some applications may benefit from adjustable torque. The tool is designed for low-speed, high-torque tasks.
- Control direccional: Use the positive and negative control switch to change the rotation direction for drilling or screwing applications.
- Aplicació: Position the tool firmly against the workpiece. Apply steady, even pressure. Avoid excessive force, which can damage the tool or workpiece.
- Acabats: Release the start handle to stop the tool. Allow the accessory to come to a complete stop before setting the tool down.
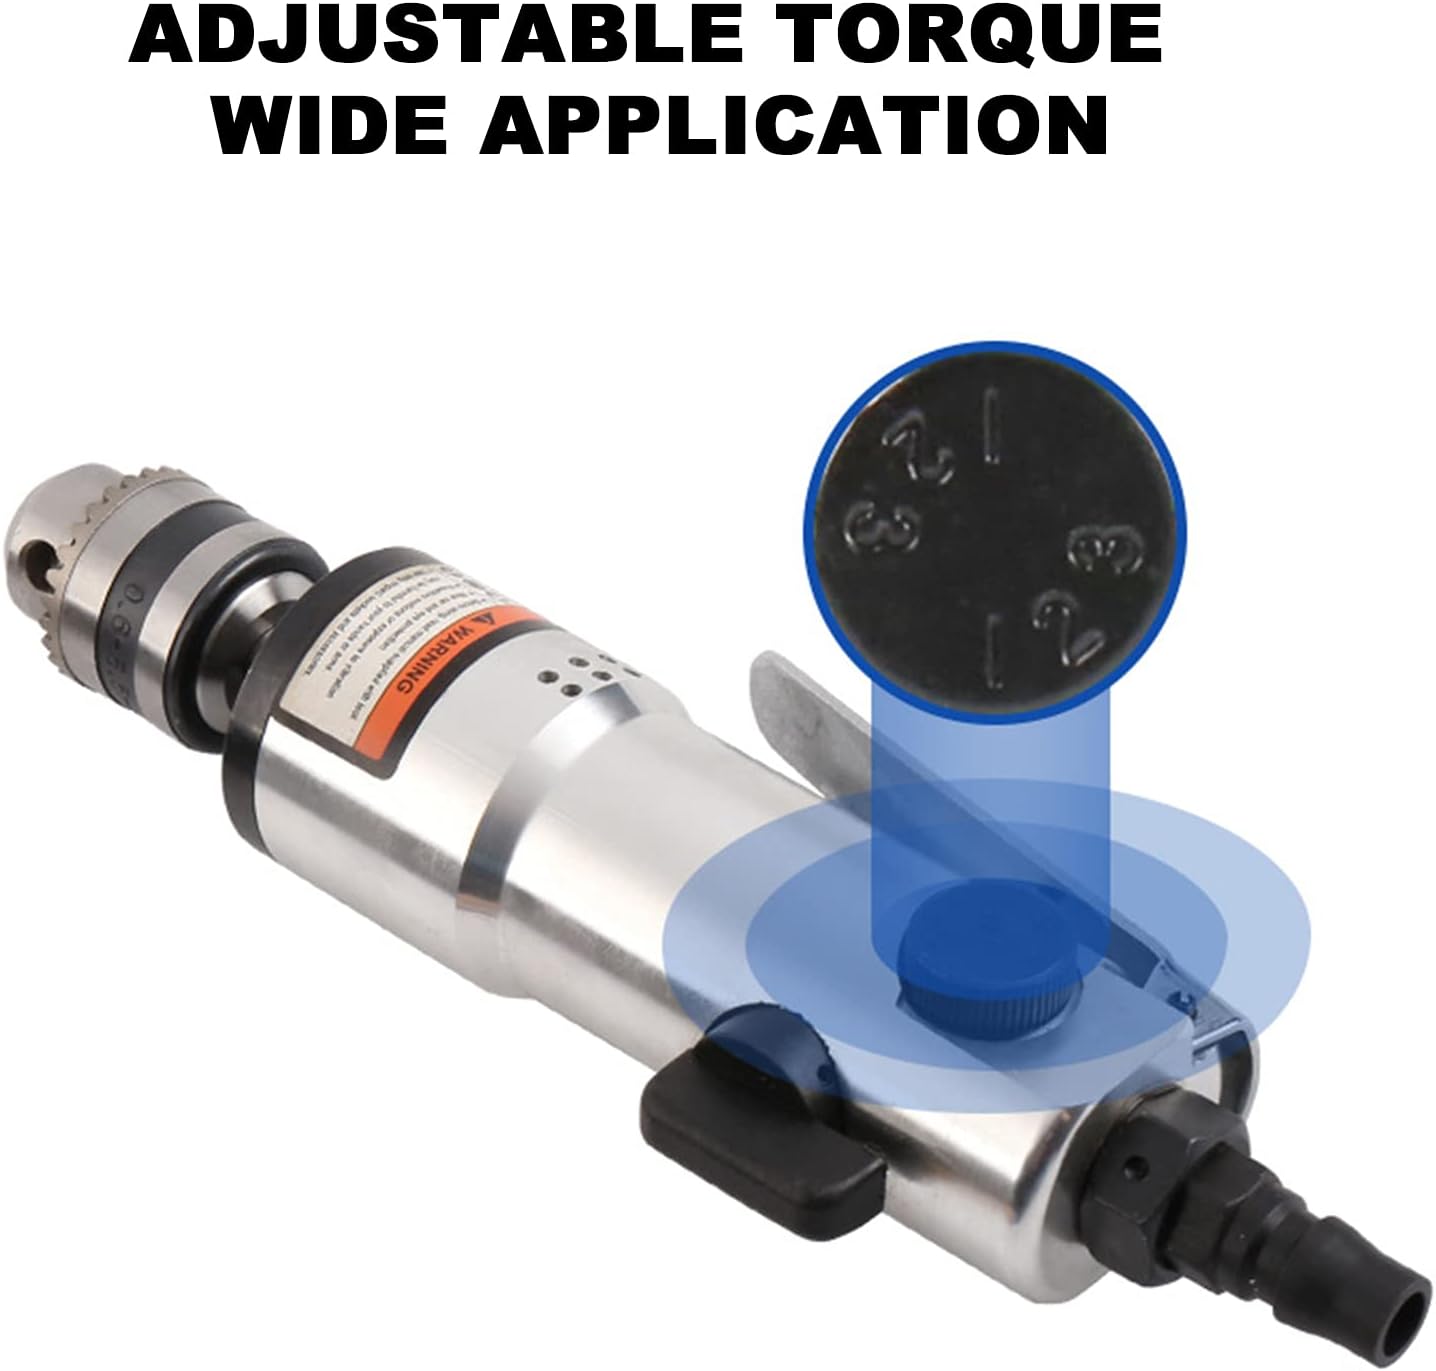
Figure 3: The mini air drill demonstrating its capability for adjustable torque and wide application range.

Figure 4: The mini air drill is suitable for screwing applications with different types of fasteners.
8. Manteniment
Regular maintenance ensures the longevity and optimal performance of your air drill.
- Disconnect Air Supply: Always disconnect the air supply before performing any maintenance.
- Neteja: Keep the tool clean and free of debris. Wipe down the exterior with a clean, dry cloth. Do not use harsh chemicals or solvents.
- Lubricació: Apply a few drops of pneumatic tool oil into the air inlet before and after each use, or at least once daily if used frequently. This lubricates internal components and prevents rust.
- Filtre d'aire: Ensure your air compressor has a functioning air filter to prevent moisture and contaminants from entering the tool.
- Manteniment del mandril: Keep the chuck jaws clean and lubricated to ensure smooth operation and secure gripping of accessories.
- Emmagatzematge: Store the tool in a dry, clean environment when not in use.
9. Solució De Problemes
Consulteu la taula següent per veure els problemes habituals i les seves solucions:
| Problema | Causa possible | Solució |
|---|---|---|
| Tool does not start or runs slowly | Low air pressure; Air hose kinked; Insufficient lubrication; Blocked air inlet | Check air compressor pressure; Straighten air hose; Add pneumatic tool oil; Clean air inlet |
| Vibració excessiva | Damaged or unbalanced accessory; Loose chuck; Worn bearings | Replace accessory; Tighten chuck; Contact service for bearing replacement |
| Fugides d'aire | Loose connections; Damaged O-rings or seals | Tighten all air connections; Inspect and replace O-rings/seals if necessary |
| El mandril no subjecta la broca de manera segura | Chuck jaws dirty or worn; Insufficient tightening | Clean chuck jaws; Ensure bit is fully inserted and chuck is tightened with wrench |
Si el problema persisteix després d'intentar aquestes solucions, poseu-vos en contacte amb l'atenció al client.
10. Garantia i Suport
LA TALUS products are manufactured to high-quality standards. For information regarding warranty coverage, please refer to the warranty card included with your purchase or contact your retailer. For technical support or service inquiries, please reach out to the customer service department of your point of purchase.


