Introducció
This manual provides instructions for the safe and efficient operation of your KRUPS Simply Brew 10-Cup Drip Coffee Maker. Please read all instructions carefully before first use and retain for future reference. This appliance is designed for household use only.

Imatge: Frontal view of the KRUPS Simply Brew 10-Cup Drip Coffee Maker, showcasing its digital display and stainless steel finish.
Instruccions importants de seguretat
Quan utilitzeu aparells elèctrics, sempre s'han de seguir les precaucions bàsiques de seguretat per reduir el risc d'incendi, descàrrega elèctrica i/o lesions a les persones, incloses les següents:
- Llegeix totes les instruccions.
- No toqueu superfícies calentes. Utilitzeu nanses o poms.
- Per protegir-se contra incendis, descàrregues elèctriques i lesions personals, no submergiu el cable, els endolls o l'aparell en aigua o altres líquids.
- És necessària una supervisió estreta quan qualsevol aparell és utilitzat per o a prop dels nens.
- Desendolleu la presa de corrent quan no utilitzeu i abans de netejar. Deixeu refredar abans de posar o treure peces i abans de netejar l'aparell.
- No feu servir cap aparell amb un cable o un endoll danyats o després que l'aparell funcioni malament o s'hagi fet malbé de cap manera. Torneu l'aparell al centre de servei autoritzat més proper per examinar-lo, reparar-lo o ajustar-lo.
- L'ús d'accessoris no recomanats pel fabricant de l'aparell pot provocar incendis, descàrregues elèctriques o lesions personals.
- No utilitzar a l'aire lliure.
- No deixeu que el cable pengi de la vora de la taula o del taulell, ni toqui superfícies calentes.
- No col·loqueu-lo sobre o prop d'un cremador de gas o elèctric calent, ni en un forn calent.
- Connecteu sempre primer l'endoll a l'aparell i després connecteu el cable a la presa de corrent. Per desconnectar, gireu qualsevol control a "apagat" i, a continuació, traieu l'endoll de la presa de corrent.
- No utilitzeu l'aparell per a un altre ús que el previst.
- Es poden escaldar si es treu la tapa durant els cicles d'elaboració.
- La garrafa està dissenyada només per utilitzar-se amb aquest aparell. No s'ha d'utilitzar mai a la part superior de la gamma.
- No col·loqueu una garrafa calenta sobre una superfície humida o freda.
- No utilitzeu una garrafa esquerdada o una garrafa amb un mànec solt o debilitat.
- No netegeu la garrafa amb netejadors, coixinets de llana d'acer o altres materials abrasius.
Components del producte
Your KRUPS Simply Brew Coffee Maker includes the following components:
- Coffee Maker Base with Digital Control Panel
- Gerra de vidre (capacitat de 10 tasses)
- Filtre permanent de cafè
- Cullera Mesuradora
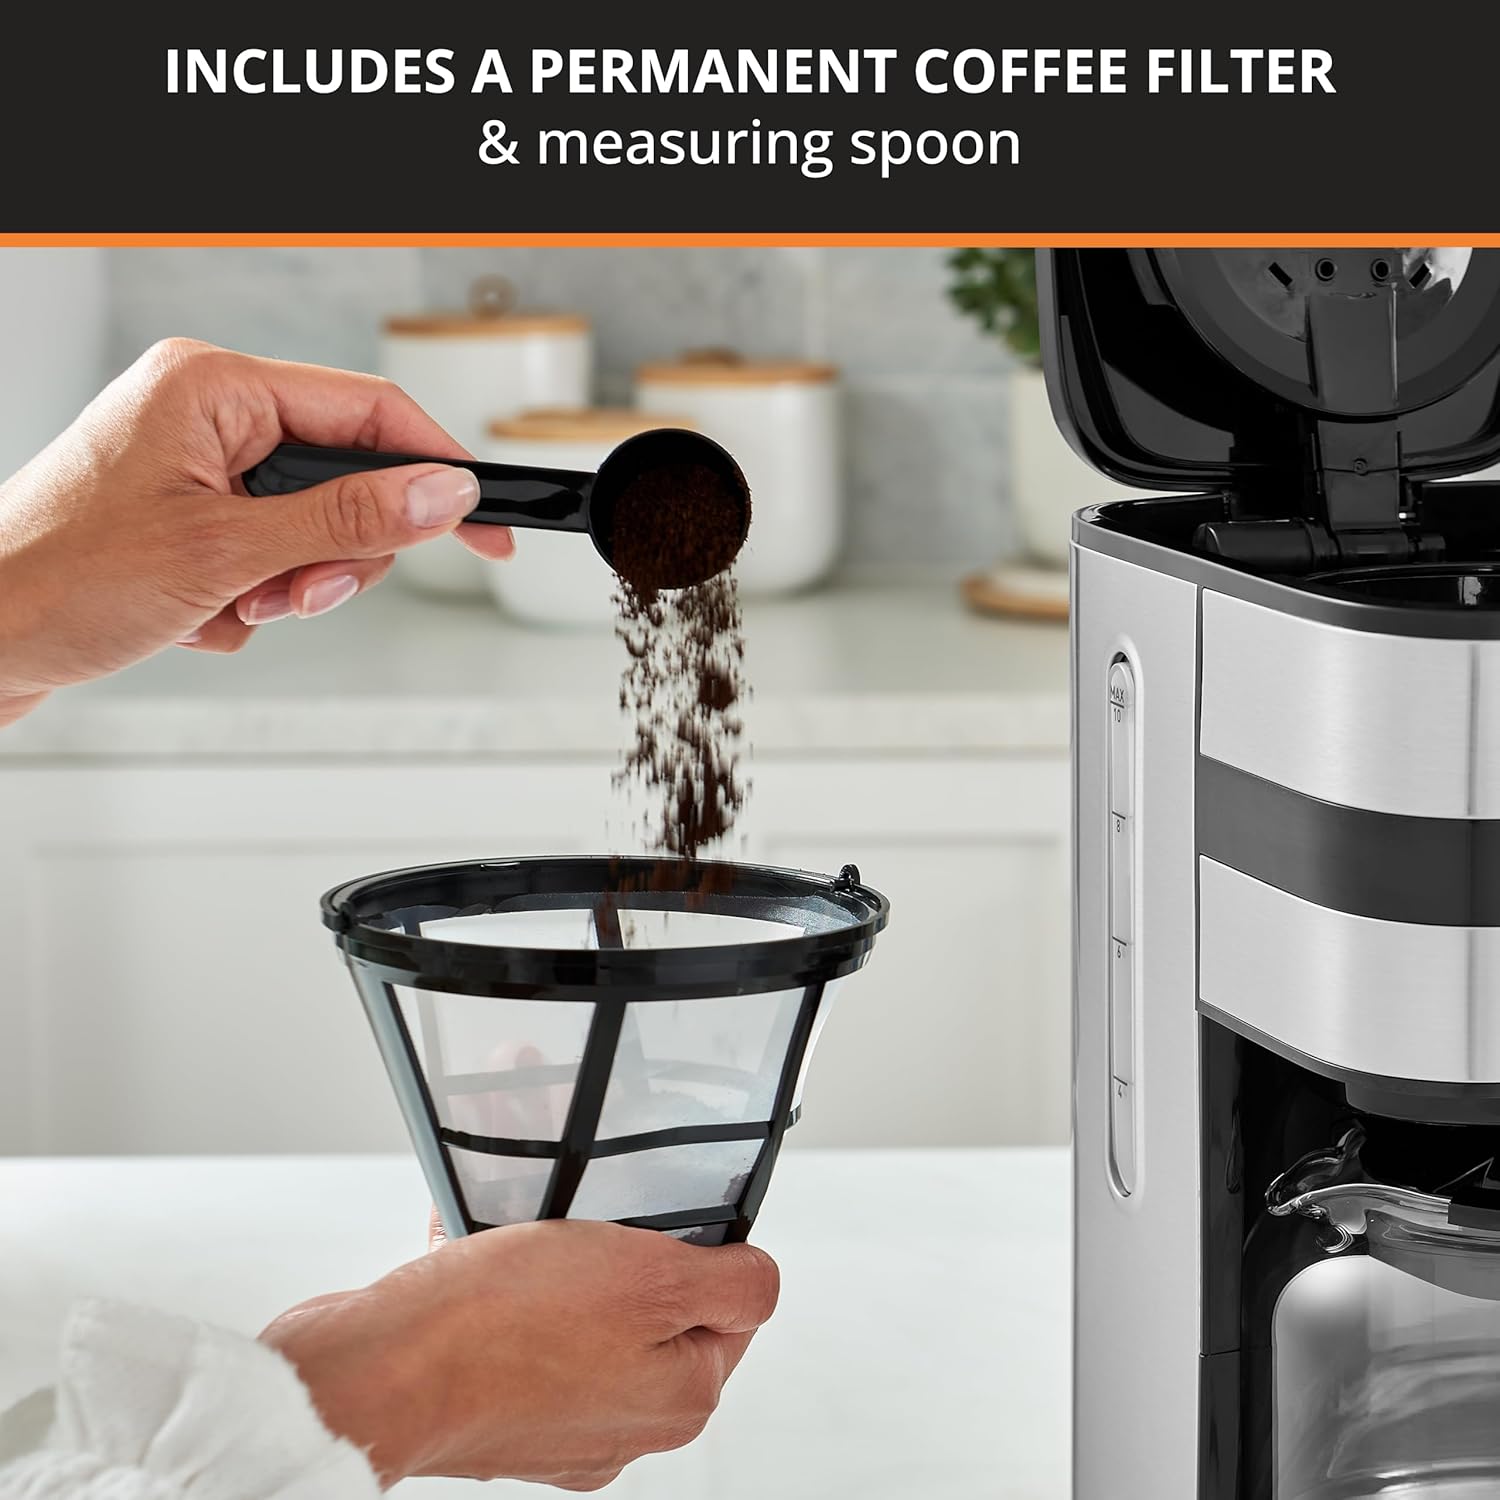
Image: A hand holding the permanent coffee filter while another hand uses the measuring spoon to add coffee grounds.
Configuració
Abans del primer ús
- Desembaleu la cafetera i traieu tots els materials d'embalatge.
- Wash the glass carafe, permanent filter, and measuring spoon in warm, soapy water. Rinse thoroughly and dry.
- Netegeu l'exterior de la cafetera amb anunciamp tela.
- Perform a cleaning cycle: Fill the water reservoir to the 10-cup mark with fresh water. Place the empty permanent filter in the filter basket. Run a full brew cycle without coffee grounds. Discard the water from the carafe. This cleans the internal components.
Col·locació de la cafetera
Place the coffee maker on a flat, stable, heat-resistant surface, away from any water sources or heat. Ensure there is adequate clearance above the unit for the lid to open fully.
Instruccions de funcionament
Configuració del rellotge
- Plug the coffee maker into a 120V AC electrical outlet. The digital display will illuminate.
- Premeu el botó HORA/PROG premeu el botó una vegada. Els dígits de les hores parpellejaran.
- Premeu el botó HORA button to set the current hour. Note the AM/PM indicator.
- Premeu el botó MIN button to set the current minutes.
- Premeu el botó HORA/PROG button again to confirm the time. The clock is now set.

Image: A close-up of the digital control panel showing the time display and various buttons, with a finger interacting with the 'TIME/PROG' button.
Programming Auto-Brew Time
Podeu programar la cafetera perquè comenci a preparar el cafè a una hora específica amb fins a 24 hores d'antelació.
- Assegureu-vos que l'hora actual estigui configurada correctament.
- Manteniu premut el botó HORA/PROG button for 2 seconds. The program time will flash.
- Utilitza el HORA i MIN botons per configurar l'hora d'inici de la infusió desitjada.
- Premeu el botó HORA/PROG button again to confirm. The display will show the current time, and a small indicator light (often a clock icon or 'PROG') will illuminate, indicating the auto-brew is set.
- To activate the programmed brew, press the INICI/PARA button. The indicator light for programmed brew will turn on.
Elaboració de cafè
- Obriu la tapa de la cafetera.
- Fill the water reservoir with fresh, cold water to the desired number of cups, using the water level indicator on the side. Do not exceed the 10-cup maximum.
- Place the permanent filter into the filter basket.
- Add the desired amount of ground coffee into the filter. A general guideline is one level measuring spoon (provided) per cup. Adjust to personal preference.
- Tanqueu la tapa amb seguretat.
- Col·loqueu la garrafa de vidre buida sobre el plat escalfador.
- Premeu el botó INICI/PARA button to begin brewing immediately. The brew indicator light will illuminate.
Adjusting Coffee Strength
Your coffee maker offers three strength settings: Light, Medium, and Bold.
- Abans de preparar la infusió, premeu el botó FORÇA button repeatedly to cycle through the available options. The display will show an indicator for the selected strength (e.g., one dot for light, two for medium, three for bold).
- Select your desired strength before pressing INICI/PARA.

Image: Three hands holding coffee cups, illustrating the visual difference between light, medium, and bold coffee strengths.
Pause & Serve Function
The coffee maker features a pause & serve function, allowing you to pour a cup of coffee before the brewing cycle is complete.
- During brewing, you can remove the carafe from the warming plate for up to 20 seconds to pour a cup.
- The brewing process will temporarily stop.
- Return the carafe to the warming plate within 20 seconds to prevent overflow from the filter basket and to resume brewing.
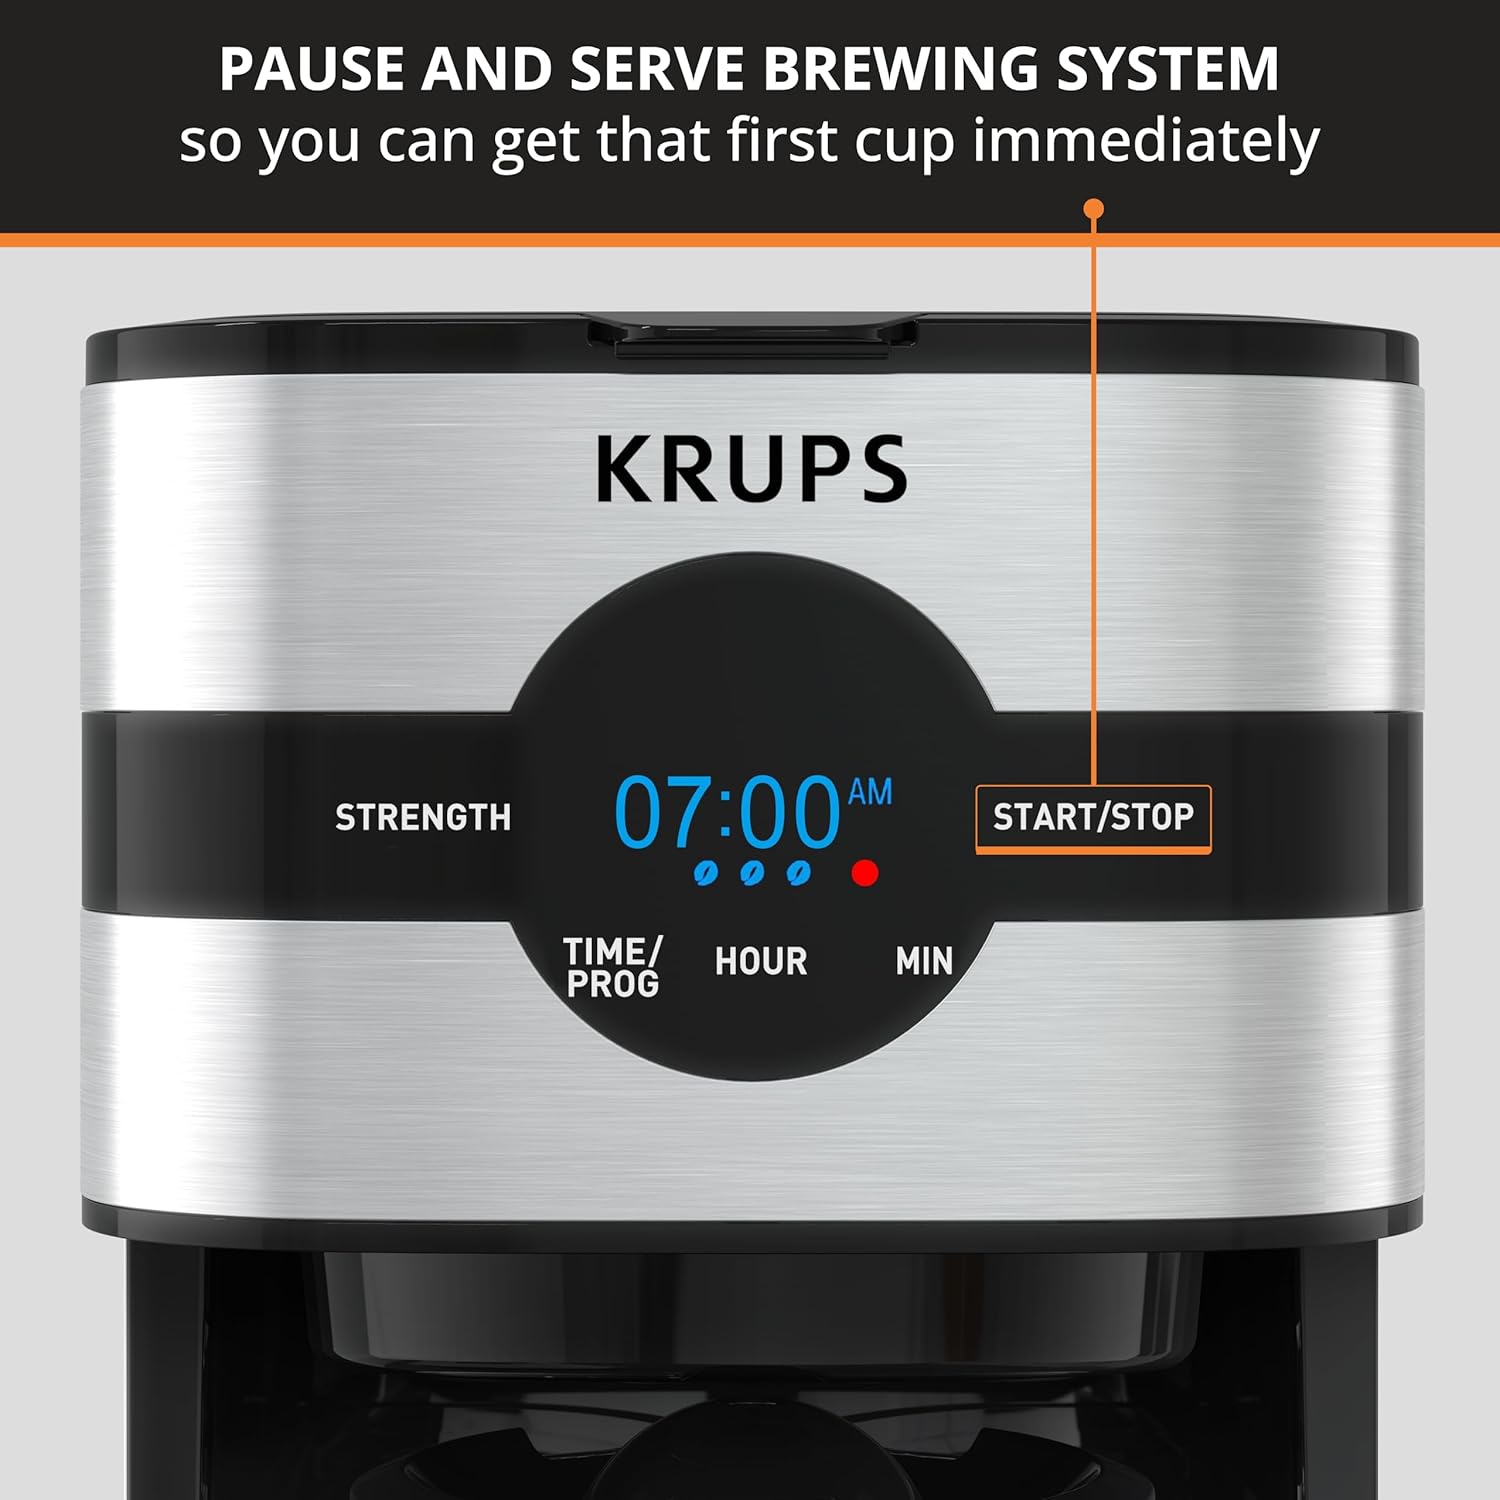
Image: A close-up of the coffee maker's dispensing area, showing the carafe being removed mid-brew, demonstrating the pause and serve feature.
Funció de mantenir la calor
After brewing is complete, the warming plate will automatically keep the coffee warm for 2 hours. After 2 hours, the coffee maker will automatically shut off.
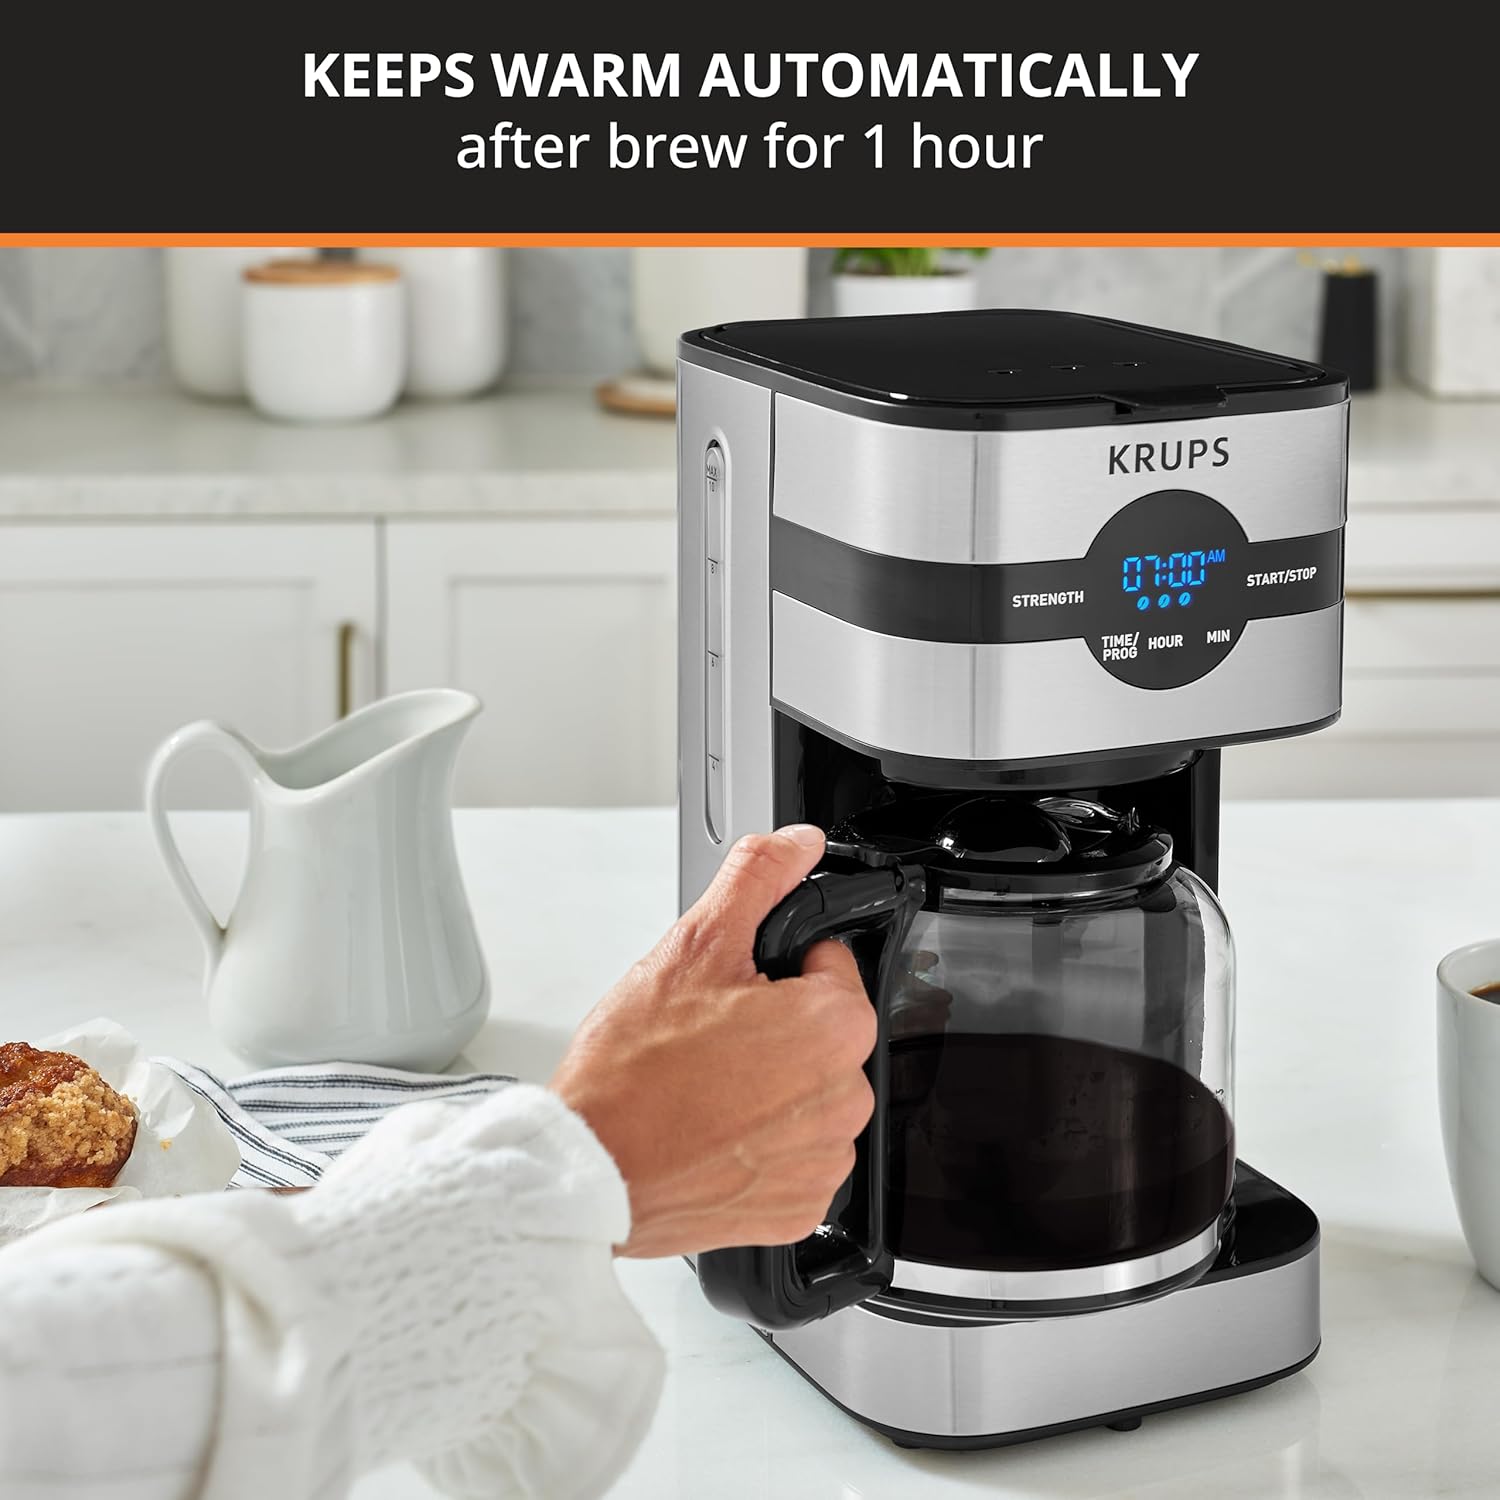
Image: A hand pouring coffee from the carafe, which is resting on the warming plate of the coffee maker, indicating the keep warm function.
Neteja i Manteniment
Neteja diària
- Desendolleu sempre la cafetera abans de netejar-la i deixeu-la refredar completament.
- Discard used coffee grounds and rinse the permanent filter. The permanent filter and glass carafe are dishwasher-safe (top rack recommended) or can be washed by hand with warm, soapy water.
- Wipe the exterior surfaces of the coffee maker, including the warming plate, with a soft, damp tela. No utilitzeu netejadors abrasius ni fregalls.
- Never immerse the coffee maker base in water or any other liquid.
Descalcificació
Mineral deposits (limescale) can build up in your coffee maker over time, affecting performance and coffee taste. Descale your coffee maker regularly, depending on water hardness and frequency of use (e.g., every 2-4 months).
- Prepare a descaling solution: Mix white vinegar and water in equal parts, or use a commercial descaling solution designed for coffee makers.
- Pour the solution into the water reservoir up to the 10-cup mark.
- Col·loqueu la garrafa buida al plat d'escalfament.
- Start a full brew cycle without coffee grounds.
- After about half the solution has brewed through, press the INICI/PARA button to pause the cycle. Let the solution sit in the reservoir and carafe for at least 15 minutes to dissolve deposits.
- Premeu INICI/PARA again to complete the brewing cycle.
- Discard the solution from the carafe.
- Rinse the coffee maker by running 2-3 full cycles with fresh, cold water only. Discard the water after each cycle.
Resolució de problemes
| Problema | Causa possible | Solució |
|---|---|---|
| El cafè no es fa infusió. | Appliance not plugged in; water reservoir empty; brew cycle not started; programmed brew not activated. | Ensure power cord is securely plugged in. Fill water reservoir. Press INICI/PARA. If programmed, ensure programmed brew is activated. |
| El cafè és massa feble. | Not enough coffee grounds; incorrect strength setting; poor quality coffee. | Add more coffee grounds. Select a bolder strength setting. Use fresh, quality coffee. |
| El cafè vessa del cistell del filtre. | Too much coffee grounds; filter basket not seated correctly; carafe not on warming plate; coffee grounds too fine. | Reduce coffee grounds. Ensure filter basket is properly seated. Ensure carafe is on warming plate. Use medium-grind coffee. |
| El cafè té mal gust. | Appliance needs descaling; old coffee grounds; dirty carafe/filter. | Descale the coffee maker. Use fresh coffee grounds. Clean carafe and filter thoroughly. |
| Warming plate is rusty. | Coffee drips onto hot plate. | Ensure carafe is properly placed to catch all drips. Clean any spills immediately. |
Especificacions
- Marca: KRUPS
- Nom del model: Simplement Brew
- Número de model: 10942227700
- Capacitat: 10 tasses
- Color: Black & Stainless Steel
- Dimensions del producte (P x A x A): 6.57" x 8.46" x 12.95"
- Pes de l'article: 4.42 lliures
- Voltage: 120 V
- Característiques especials: Programmable, 3 Coffee Strengths, Pause & Serve, 2-Hour Keep Warm
- Components inclosos: Permanent Coffee Filter, Measuring Spoon

Image: The KRUPS Simply Brew Coffee Maker with its height (13") and width (6.5") dimensions labeled.
Garantia i Suport
This product is covered by a manufacturer's warranty. Please refer to the warranty card included with your purchase for specific terms and conditions, including the warranty period and coverage details. For technical support, service, or to inquire about replacement parts, please contact KRUPS customer service. Contact information is typically available on the KRUPS official weblloc web o dins de l'embalatge del producte.


