1. Producte acabatview
The NZXT H1 Version 2 is a compact vertical chassis designed for Mini-ITX systems. It features a dual-chamber airflow design for efficient cooling of both the CPU and GPU. This case integrates a 140mm All-in-One (AIO) liquid cooler, an SFX 750W 80+ Gold Power Supply Unit (PSU), and a PCIe Gen4 Riser card for vertical GPU mounting, simplifying the build process.

Imatge 1.1: Cara frontal view of the NZXT H1 Version 2 ITX Case in black.
Característiques principals:
- Compact Vertical Design: Occupies minimal desk space while supporting full-sized GPUs.
- Streamlined Building: Features toolless SSD trays, pre-routed cable channels, and a motherboard I/O facing downwards for clean cable management.
- Components integrats: Includes a pre-installed 140mm AIO liquid cooler, an SFX 750W 80+ Gold PSU, and a PCIe Gen4 Riser card.
- Efficient Dual-Chamber Airflow: Dedicated air sources for CPU and GPU ensure optimal thermal performance.
- Version 2 Enhancements: Increased chassis size for larger GPU compatibility, upgraded PSU wattage, an added fan controller, and a PCIe Gen4 Riser.
2. Contingut del paquet
The NZXT H1 Version 2 case comes with several pre-installed and included components to facilitate system assembly:
- NZXT H1 Version 2 ITX Case Chassis
- Integrated 140mm All-in-One (AIO) Liquid Cooler
- Integrated SFX 750W 80+ Gold Power Supply Unit (PSU)
- Integrated PCIe Gen4 Riser Card
- Accessory Box (containing screws, zip ties, and additional cables)

Imatge 2.1: Desplegada view showing the main components of the NZXT H1 Version 2 case, including the chassis, PSU, AIO cooler, and panels.
3. Guia de configuració i instal·lació
Follow these steps to assemble your system within the NZXT H1 Version 2 case. Ensure your system components are compatible with the Mini-ITX form factor.
3.1 Accessing the Interior
- Carefully remove the top panel by gently pulling it upwards.
- Remove the front tempered glass panel by pulling it away from the chassis. It is held by magnets.
- Remove the side perforated panels by sliding them upwards and then pulling them away.
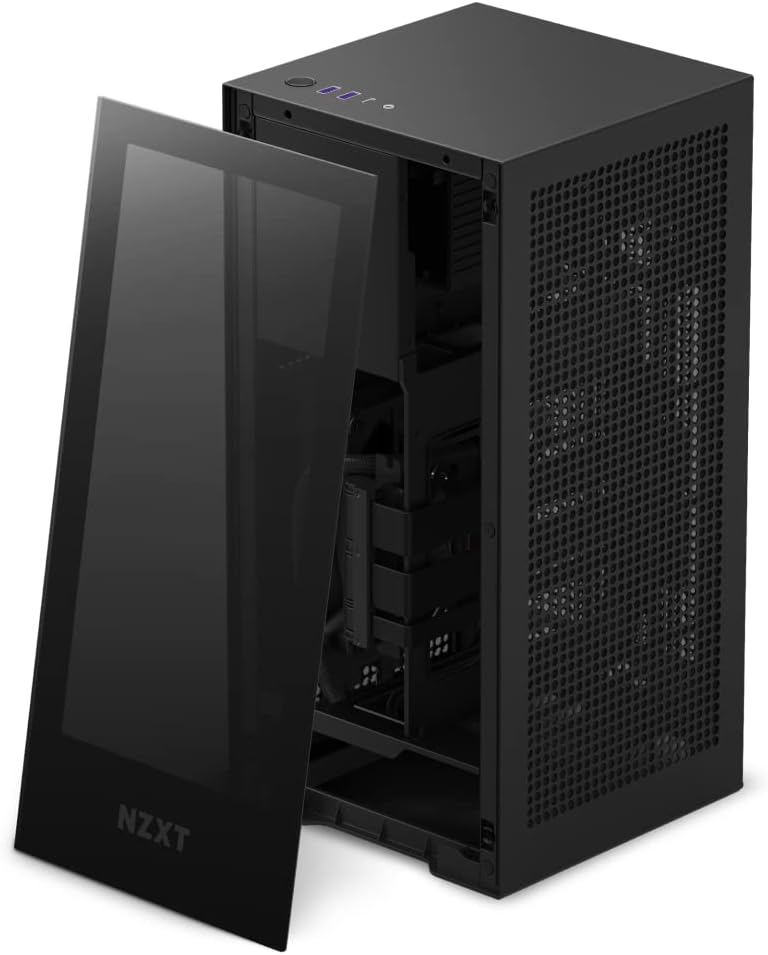
Image 3.1: The NZXT H1 Version 2 with the tempered glass front panel detached, revealing the interior.
3.2 Instal·lació de la placa base
- Locate the motherboard tray. The I/O shield area faces downwards.
- Install your Mini-ITX motherboard onto the standoffs. Secure it with the provided screws.
- Connect the CPU power cable and 24-pin ATX power cable from the integrated PSU to the motherboard.
- Connect the pre-installed AIO liquid cooler's pump and fan cables to the appropriate headers on your motherboard.
3.3 Instal·lació de la GPU
- The case includes a pre-installed PCIe Gen4 Riser card for vertical GPU mounting.
- Carefully insert your graphics card into the riser card's PCIe slot.
- Secure the graphics card to the chassis using the retention mechanism or screws.
- Connect the necessary PCIe power cables from the integrated PSU to your graphics card.
3.4 Instal·lació d'emmagatzematge
- Locate the toolless SSD trays within the chassis.
- Mount your 2.5-inch SSDs into these trays.
- Connect SATA data and power cables from the PSU to your SSDs.
3.5 Gestió de cables
The H1 Version 2 features pre-routed cable channels. Utilize these channels and the included zip ties to organize any additional cables, ensuring optimal airflow and a clean interior.
3.6 Reassembling the Case
- Once all components are installed and cables are managed, reattach the side perforated panels.
- Reattach the front tempered glass panel.
- Place the top panel back onto the chassis.
4. Instruccions de funcionament
4.1 Engegada/apagada
- Connect the power cable to the PSU input at the bottom rear of the case and to a wall outlet.
- Press the power button located on the top panel of the case to turn your system on or off.

Imatge 4.1: Part superior view of the NZXT H1 Version 2, highlighting the power button and front I/O ports.
4.2 Ports d'E/S frontals
The top panel provides convenient access to:
- USB 3.0 Type-A Ports (x2)
- USB 3.0 Type-C Port (x1)
- 3.5mm Audio Jack (x1)
4.3 Airflow Considerations
The H1 Version 2 utilizes a dual-chamber airflow design. Ensure the perforated side panels are unobstructed to allow for proper air intake and exhaust, maintaining optimal component temperatures.

Image 4.2: Diagram showing the dual-chamber airflow path within the NZXT H1 Version 2 case, with cool air intake and hot air exhaust.
5. Manteniment
5.1 Neteja dels filtres de pols
The H1 Version 2 includes magnetic dust filters on the perforated panels. Regularly remove and clean these filters to prevent dust buildup and maintain optimal airflow. Use compressed air or a soft brush to remove accumulated dust.
5.2 Neteja exterior
Netegeu les superfícies exteriors de la carcassa amb un drap suau iamp drap. Eviteu utilitzar productes químics agressius o materials abrasius que puguin danyar l'acabat o el panell de vidre temperat.
6. Solució De Problemes
6.1 El sistema no s'encén
- Ensure the power cable is securely connected to both the case PSU and the wall outlet.
- Verify that the 24-pin ATX and CPU power cables are correctly seated on the motherboard.
- Comproveu la connexió del botó d'engegada del panell frontal a la placa base.
6.2 High Component Temperatures
- Confirm that all case fans and the AIO cooler fan are spinning correctly.
- Assegureu-vos que els filtres de pols estiguin nets i que no obstrueixin el flux d'aire.
- Verify that the AIO pump is functioning and making proper contact with the CPU.
- Check for proper cable management to avoid airflow blockages.
6.3 Graphics Card Not Displaying Output
- Ensure the graphics card is fully seated in the PCIe Gen4 Riser card.
- Verify that all necessary PCIe power cables are connected to the graphics card.
- Confirm that your monitor is connected to the graphics card's output, not the motherboard's integrated graphics.
- Check for GPU compatibility with the case's dimensions, especially width (maximum 58mm).
7. Especificacions tècniques
| Característica | Especificació |
|---|---|
| Nom del model | NZXT H1 Version 2 |
| Número de model de l'article | CS-H11BB-US |
| Compatibilitat amb la placa base | Mini ITX |
| Tipus de cas | Integrat |
| Color | Negre |
| Material | Vidre temperat |
| Mètode de refrigeració | Water (140mm AIO Liquid Cooler) |
| Font d'alimentació | SFX 750W 80+ Gold PSU (Integrated) |
| Riser PCIe | PCIe Gen4 (Integrated) |
| Ports d'E / S frontals | 2x USB 3.0, 1x USB-C, 1x Audio Jack |
| Pes de l'article | 17.25 lliures (aprox. 7.82 kg) |
| Dimensions del producte (LxWxH) | 7.7 x 7.7 x 15.9 polzades (aprox. 19.5 x 19.5 x 40.4 cm) |
| Longitud màxima de la GPU | 324 mm (12.75 polzades) |
| Amplada màxima de la GPU | 58 mm (2.28 polzades) |

Image 7.1: Diagram showing the dimensions of the NZXT H1 Version 2 case: 7.7 inches (width) x 7.7 inches (depth) x 15.9 inches (height).
8. Garantia i Suport
NZXT products are covered by a manufacturer's warranty. For detailed information regarding warranty terms, conditions, and duration, please refer to the official NZXT weblloc web o la targeta de garantia inclosa amb el producte.
For technical support, troubleshooting assistance, or to contact customer service, please visit the official NZXT support portal:


