1. Introducció
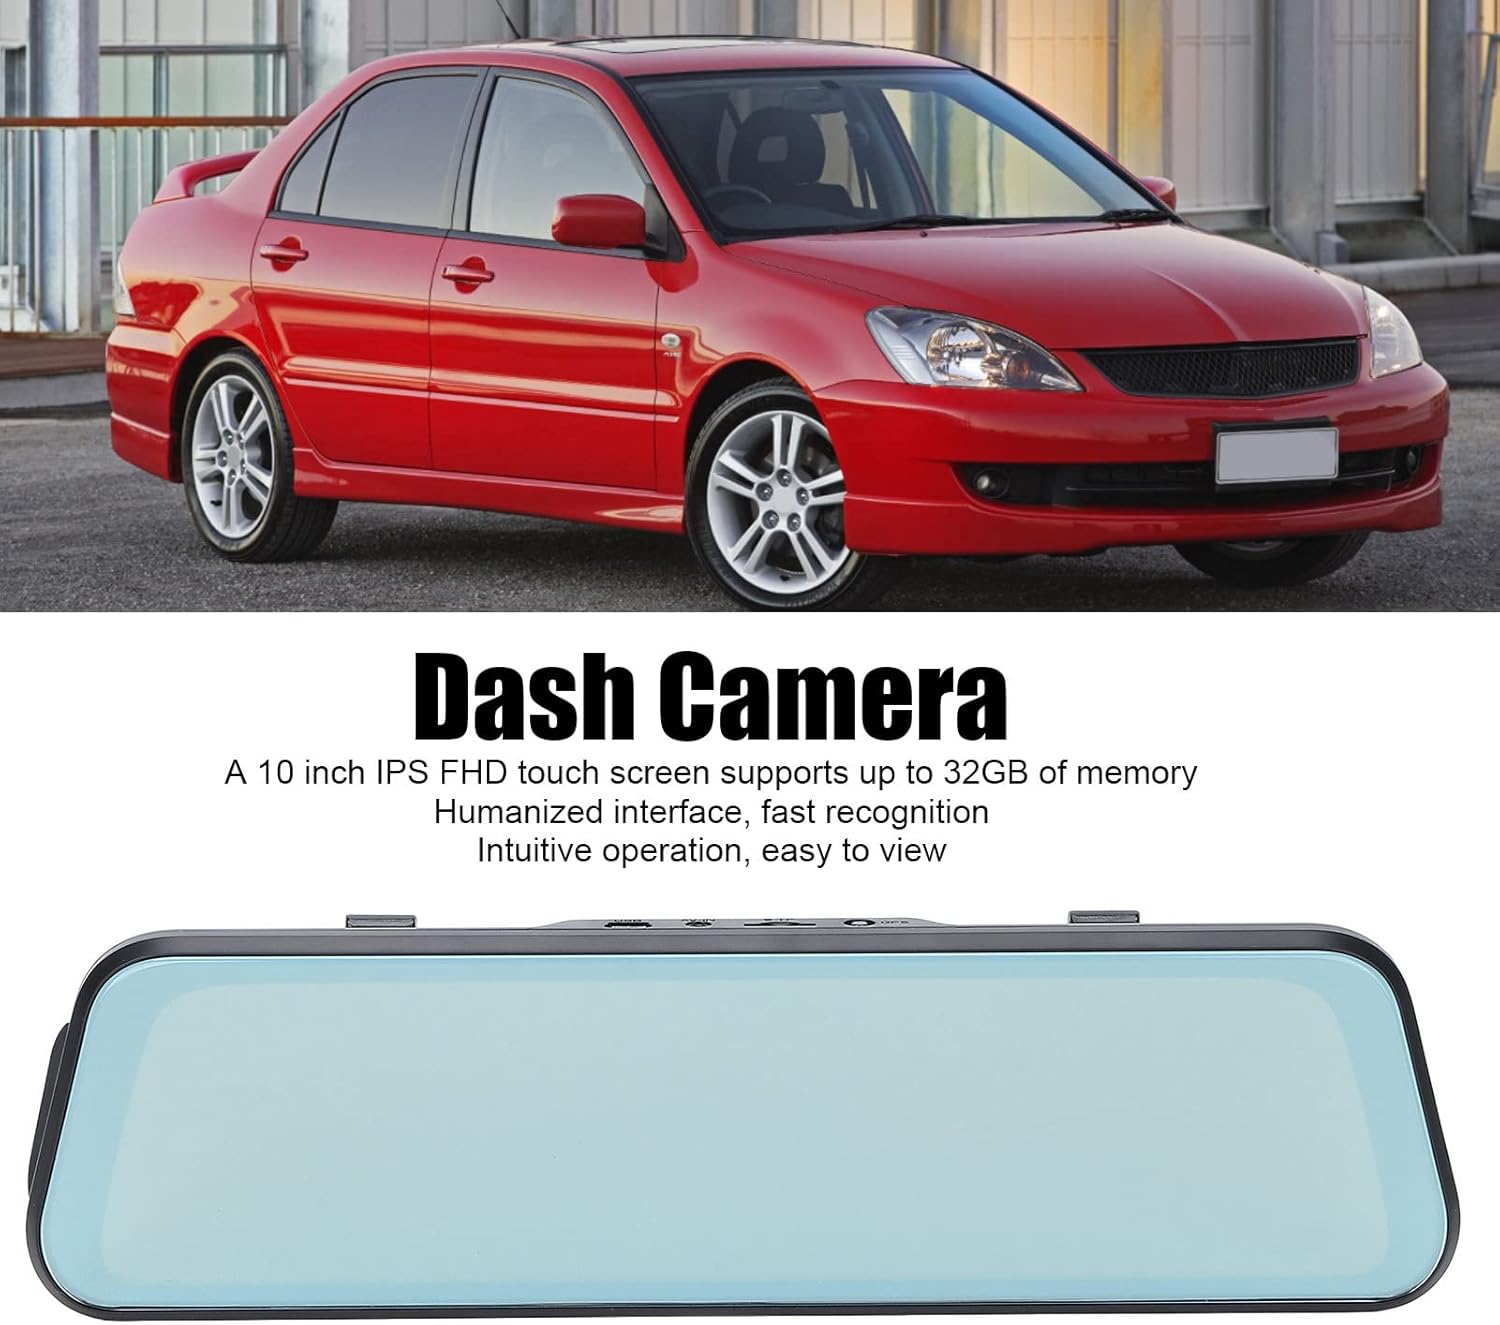
This manual provides detailed instructions for the installation, operation, and maintenance of your Bewinner 1080p Car Dash Cam. Please read this manual thoroughly before using the device to ensure proper functionality and safety. This dash cam features a 10-inch IPS touchscreen and dual front and rear cameras for comprehensive vehicle recording.
2. Informació de seguretat
- Ensure the dash cam is securely mounted and does not obstruct the driver's view o interferir amb els controls del vehicle.
- Do not operate the device while driving. Adjust settings only when the vehicle is safely parked.
- Use only the provided power adapter to prevent damage to the device and vehicle.
- Eviteu exposar el dispositiu a temperatures extremes, a la llum solar directa durant períodes prolongats o a una humitat excessiva.
- Keep the lens clean for optimal recording quality.
- Feu còpies de seguretat de vídeos importants regularment files per evitar pèrdues.
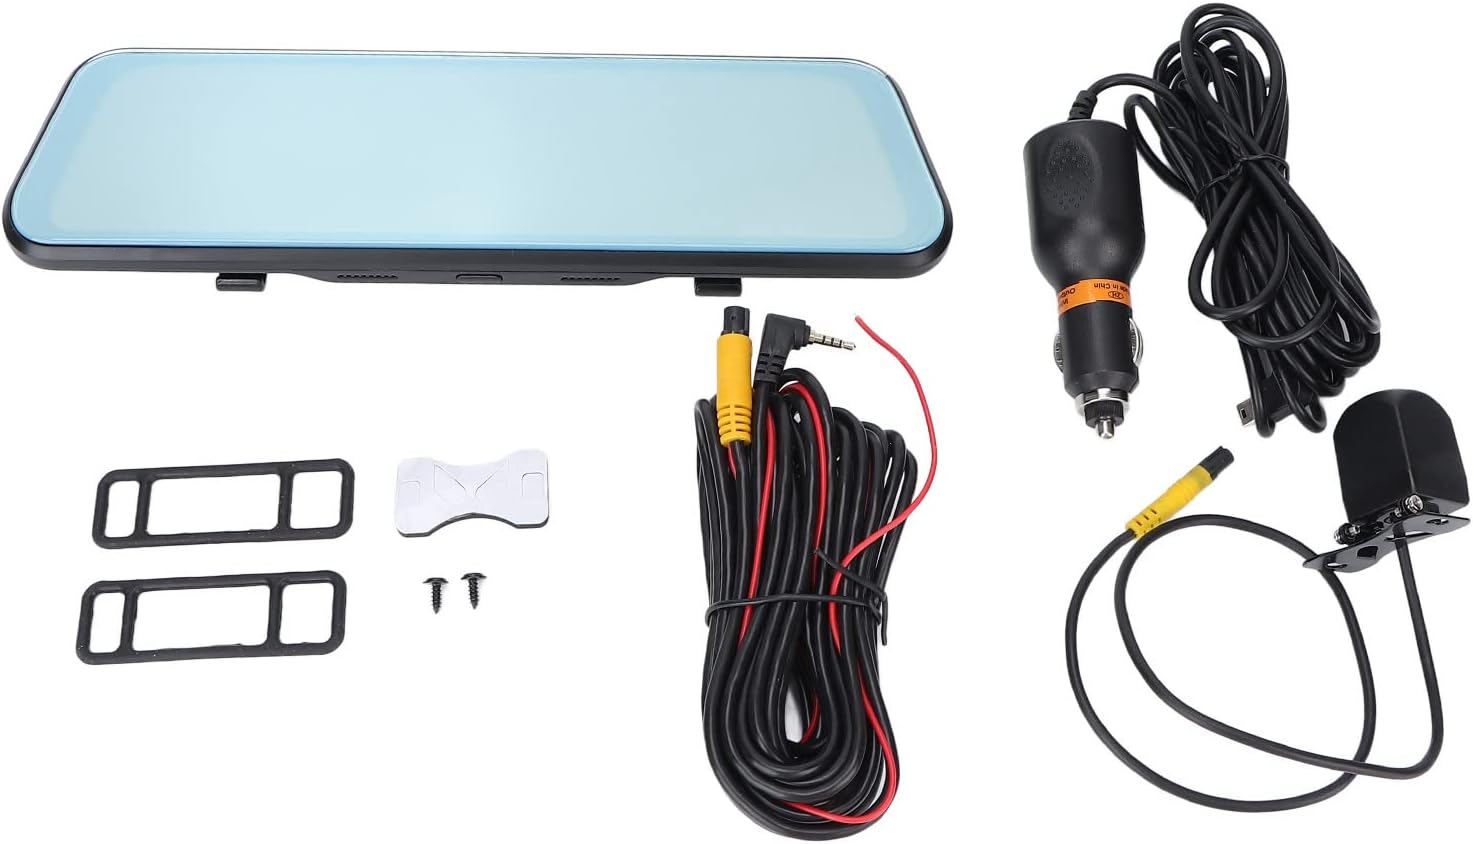
3. Contingut del paquet
Verifiqueu que tots els elements que s'enumeren a continuació s'inclouen al vostre paquet:
- Bewinner 1080p Car Dash Cam (Main Unit)
- Càmera posterior
- 2 x Power Cords (Car Charger)
- Manual d'usuari
- Cinta adhesiva de doble cara
- 2 x cargols
- 2 x Mounting Accessories (Rubber Straps)
4. Producte acabatview
The Bewinner Dash Cam is designed to provide reliable video recording for your vehicle. It features a large touchscreen display and dual cameras for comprehensive coverage.
4.1 Main Dash Cam Unit

The main unit integrates a 10-inch IPS touchscreen display and the front camera. It is designed to be mounted over your existing rearview mirall.

4.2 Càmera posterior

The rear camera provides a wide-angle view of the area behind your vehicle, enhancing safety and recording capabilities.
5. Configuració i instal·lació
5.1 Inserció d'una targeta Micro SD
Before installation, insert a Class 10 or higher Micro SD card (up to 32GB, not included) into the dash cam's card slot. Ensure the card is inserted correctly until it clicks into place.
5.2 Mounting the Main Dash Cam Unit
- Attach the two rubber straps (mounting accessories) to the back of the main dash cam unit.
- Securely fasten the dash cam over your vehicle's existing rearview mirror using the rubber straps. Ensure it is stable and does not vibrate.
- Adjust the front camera lens angle to capture the desired view del camí per davant.

5.3 Instal·lació de la càmera posterior
- Choose a suitable location at the rear of your vehicle, typically above the license plate, for the rear camera.
- Use the provided double-sided adhesive tape and screws to securely mount the rear camera.
- Route the rear camera cable to the main dash cam unit. Connect the cable to the designated rear camera input port on the main unit.
- If applicable, connect the red wire of the rear camera cable to your vehicle's reverse light power source for automatic reverse display functionality.
5.4 Connexió d'alimentació
- Connect one end of the car charger (power cord) to the dash cam's power input port.
- Connecteu l'altre extrem del carregador del cotxe a la presa de l'encenedor del vostre vehicle.
- The dash cam will automatically power on and begin recording when the vehicle engine starts, and power off when the engine is turned off.

6. Instruccions de funcionament
6.1 Encès/Apagat
- Automàtic: The device powers on and off automatically with the vehicle's ignition.
- manual: Press and hold the power button (if available) to manually turn the device on or off.
6.2 Funcionament de la pantalla tàctil
The 10-inch IPS touchscreen allows for intuitive navigation and control. Tap icons to select functions, swipe to navigate menus or switch camera views.
6.3 Modes d'enregistrament
- Enregistrament en bucle: Videos are recorded in segments (e.g., 1, 3, or 5 minutes). When the memory card is full, the oldest unlocked files es sobreescriuen.
- Enregistrament d'emergència (sensor G): The built-in G-sensor detects sudden impacts or collisions and automatically locks the current video file per evitar que es sobreescrigui.
- Monitor d'aparcament: When enabled, the dash cam will automatically start recording if it detects a collision or vibration while the vehicle is parked. This feature typically requires a hardwire kit (not included) for continuous power.
6.4 Canvi de càmera Views
On the touchscreen, you can typically swipe left or right, or tap a specific icon, to switch between front camera view, càmera posterior view, or a picture-in-picture display showing both simultaneously.

6.5 Configuració del menú
Access the settings menu via the touchscreen to configure various options:
- Resolució de vídeo: Set recording resolution (e.g., 1080p for both front and rear).
- Durada de la gravació en bucle: Adjust segment length (e.g., 1/3/5 minutes).
- Sensibilitat del sensor G: Adjust the sensitivity of impact detection.
- Monitor d'aparcament: Activa o desactiva aquesta funció.
- Data/Hora: Establiu la data i l'hora correctes per a l'hora exactaamps en les gravacions.
- Idioma: Select your preferred language (supports Chinese, English, French, Italian, Korean, Russian, Spanish, German, Japanese, etc.).
- Format de la targeta SD: Format the Micro SD card to ensure optimal performance and clear old data.
7. Manteniment
- Neteja: Use a soft, dry cloth to clean the dash cam screen and lens. Do not use abrasive cleaners or solvents.
- Manteniment de la targeta SD: Format the Micro SD card regularly (e.g., once a month) to prevent data corruption and ensure smooth recording. Back up any important files abans de formatar.
- Emmagatzematge: If storing the device for an extended period, remove it from the vehicle and store it in a cool, dry place.
8. Solució De Problemes
| Problema | Possible solució |
|---|---|
| La càmera del salpicader no s'encén. |
|
| L'enregistrament s'atura o es congela. |
|
| Poca qualitat de vídeo. |
|
| La càmera posterior no es mostra. |
|
9. Especificacions
| Característica | Detall |
|---|---|
| Número de model | Dpofirs37z42emfyt9349 |
| Pantalla de visualització | Pantalla tàctil IPS de 10 polzades |
| Resolució de la càmera frontal | 1920 x 1080p @ 30fps |
| Resolució de la càmera posterior | 1920 x 1080p @ 30fps (or 1920 x 720p @ 30fps) |
| Angle de la lent frontal | Gran angular de 170° |
| Angle de la lent posterior | Gran angular de 140° |
| Suport d'emmagatzematge | Micro SD Card up to 32GB (Class 10 or higher recommended) |
| Capacitat de la bateria | 450 mAh Lithium Battery (built-in) |
| Característiques especials | Night Vision, Touch Screen, Loop Recording, G-Sensor, Parking Monitor, Time-lapse Recording |
| Idiomes admesos | Chinese, English, French, Italian, Korean, Russian, Spanish, German, Japanese, etc. |
10. Garantia i Suport
Bewinner products are designed for reliability and performance. For specific warranty details, please refer to the warranty card included with your purchase or contact Bewinner customer support. If you encounter any issues not covered in this manual, please reach out to our customer service team for assistance.
For further support, visit the official Bewinner weblloc o poseu-vos en contacte amb el vostre distribuïdor.
