1. Introducció
This manual provides detailed instructions for the installation, operation, and maintenance of your SilverStone FARA R1 V2 Mid-Tower ATX Case. The FARA R1 V2 is designed for high compatibility and efficient thermal performance, featuring a tempered glass side panel and a perforated mesh front panel for optimal airflow. Please read this manual thoroughly before beginning assembly to ensure proper setup and functionality.

Figure 1: SilverStone FARA R1 V2 Mid-Tower ATX Case (SST-FAR1B-G-V2)
2. Contingut del paquet
Verifiqueu que tots els components siguin presents al paquet:
- SilverStone FARA R1 V2 Mid-Tower ATX Case
- Caixa d'accessoris (cargols, separadors, brides per a cables)
- Manual d'usuari (aquest document)
- Pre-installed 120mm rear fan (quantity may vary by model)
3. Especificacions
| Nom del model | FARA R1 V2 |
| Número de model | SST-FAR1B-G-V2 |
| Tipus de cas | Torre mitja |
| Compatibilitat amb la placa base | ATX, Micro ATX, Mini ITX |
| Material | Acer, vidre temperat, plàstic |
| Dimensions (LxWxH) | 15.35 x 8.15 x 17.56 polzades (390 x 207 x 446 mm) |
| Pes | 15.92 lliures (7.22 kg) |
| Ranures d'expansió | 7 |
| Ports d'E / S frontals | 2x USB 3.0, 1x USB 2.0, 1x Audio Jack (combined) |
| Mètode de refrigeració | Aire |
| Muntatge de la font d'alimentació | Muntatge inferior |
| Longitud màxima de la GPU | 340mm (with front fan), 365mm (without front fan) |
| Alçada màxima del refrigerador de la CPU | 161 mm |

Figure 2: Component Compatibility Overview
4. Configuració i instal·lació
4.1 Preparació del cas
- Traieu els panells laterals: Unscrew the thumbscrews on the rear of the case to remove the tempered glass side panel and the solid steel side panel.
- Caixa d'accessoris: Locate the accessory box inside the case, which contains all necessary screws, standoffs, and cable ties for installation.

Figura 3: Interior View of the Case
4.2 Instal·lació de la placa base
- Instal·leu separadors: Align the motherboard with the pre-drilled holes in the motherboard tray. Install additional standoffs as required for your specific motherboard form factor (ATX, Micro-ATX, Mini-ITX).
- Placa base segura: Place the motherboard onto the standoffs and secure it with the provided screws.
4.3 Instal·lació de la font d'alimentació
- Mount PSU: Slide the power supply unit (PSU) into the dedicated compartment at the bottom rear of the case.
- Font d'alimentació segura: Secure the PSU to the case with screws from the rear.

Figure 4: Rear Panel and PSU Mounting Area
4.4 Instal·lació de la unitat d'emmagatzematge
- SSD de 2.5 polzades: Two 2.5" drive mounts are located behind the motherboard tray. Secure SSDs using the provided screws.
- Discs durs de 3.5 polzades: The drive cage at the bottom of the case supports two 3.5" HDDs. Slide drives into the trays and secure them.

Figure 5: 2.5" SSD Mounting Locations

Figure 6: 3.5" HDD Drive Cage
4.5 Instal·lació de la targeta gràfica i la targeta d'expansió
- Remove PCI-E Slot Covers: Remove the necessary PCI-E slot covers from the rear of the case. Note that some covers are punch-out type and cannot be reinstalled.
- Instal·lar targeta: Insert your graphics card or other expansion cards into the motherboard's PCI-E slots and secure them with screws.
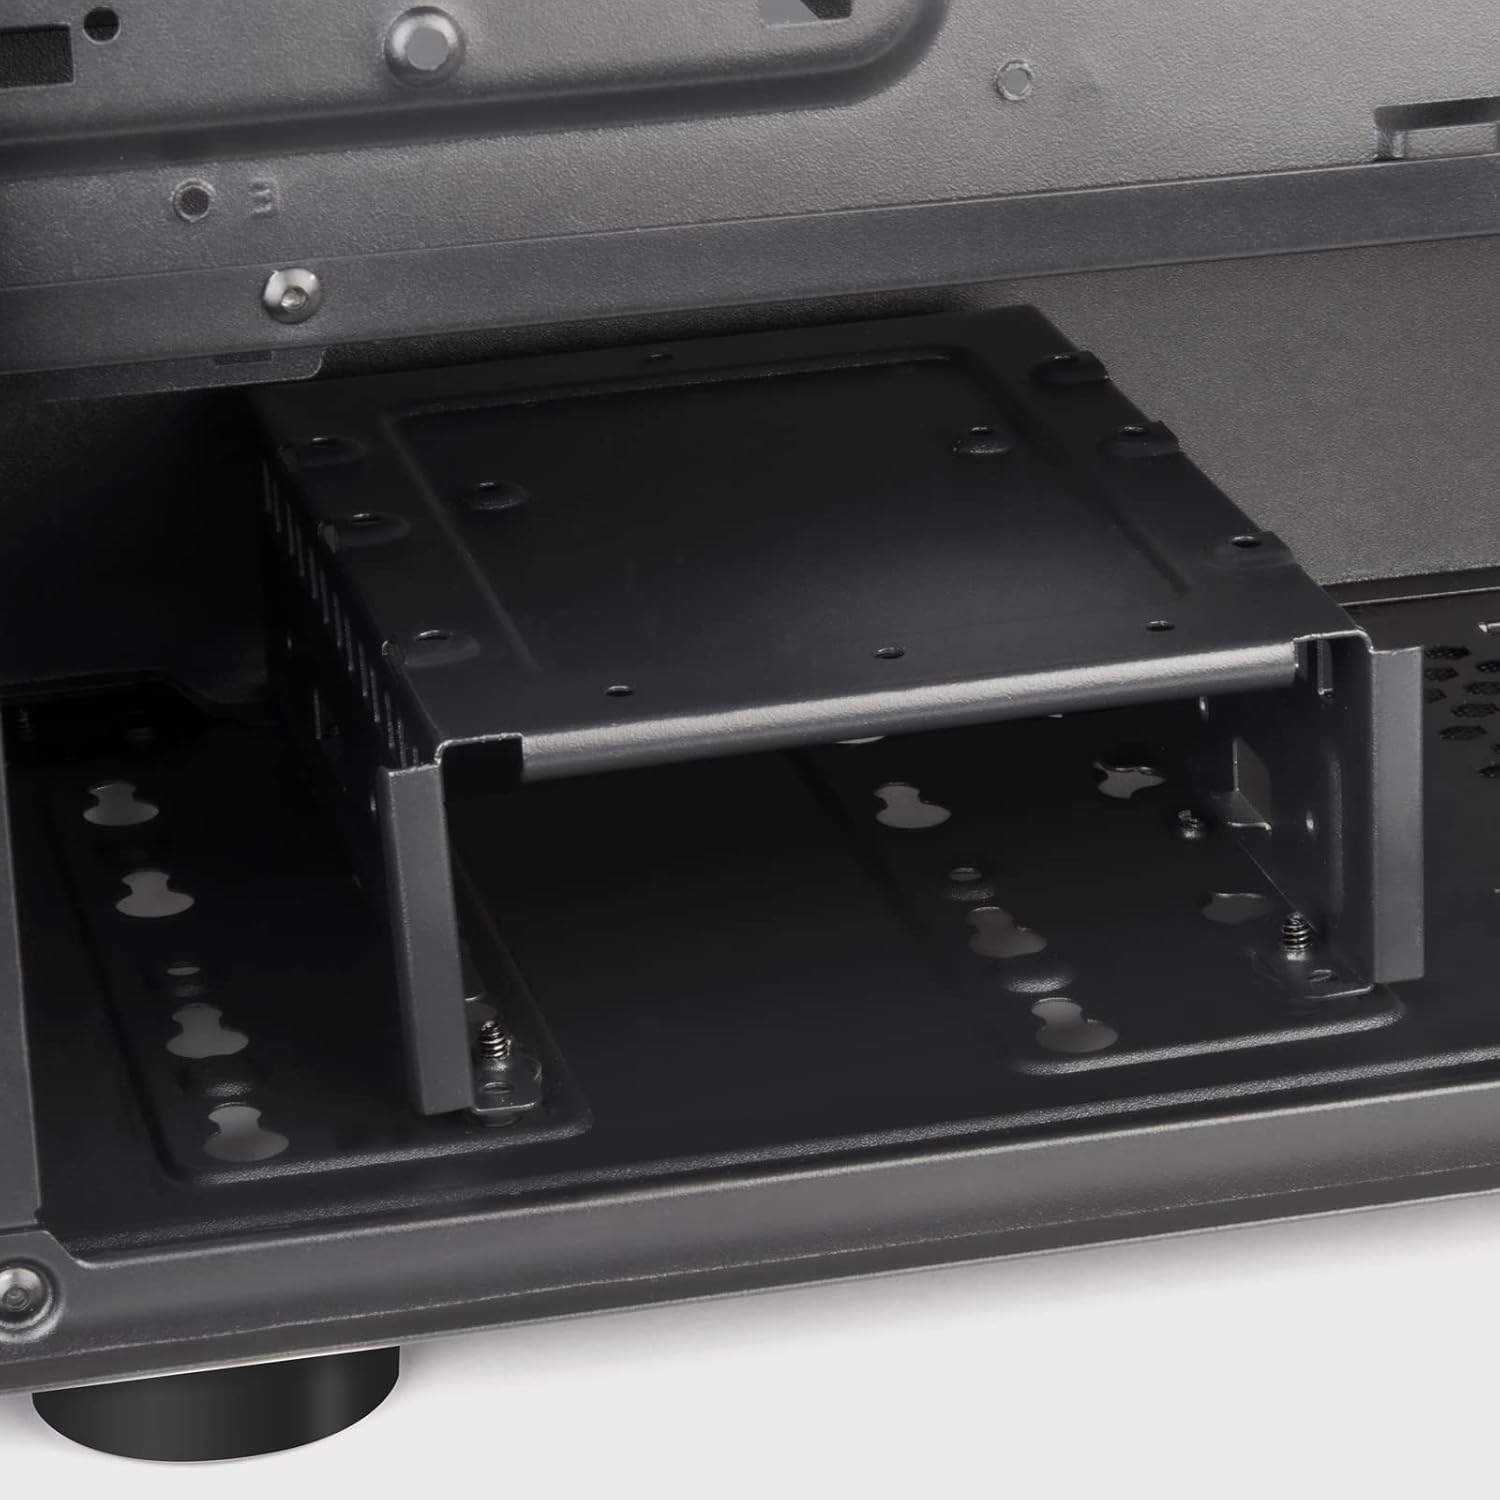
Figure 7: Expansion Slots
4.6 Instal·lació del ventilador i del radiador
The FARA R1 V2 supports various fan and radiator configurations for optimal cooling.
- Davant: 3 x 120mm or 2 x 140mm fans / 240mm, 280mm, 360mm radiators
- A dalt: 2 x 120mm or 2 x 140mm fans / 240mm, 280mm radiators
- posterior: 1 x 120mm fan (pre-installed)

Figure 8: Fan and Radiator Support

Figure 9: Internal Fan Mount
4.7 Gestió de cables
Aprofita els retalls de cables i els punts d'amarratge que hi ha darrere de la safata de la placa base per organitzar els cables. Això millora la circulació del flux i l'estètica.
5. Funcionament de la caixa
Once all components are installed and secured, and the side panels are reattached, your system is ready for operation.
5.1 Panell frontal d'E/S
El panell d'E/S frontal proporciona un accés convenient als ports essencials:
- Botó d'encesa: Located at the top right of the front panel.
- Botó de restabliment: Small button below the power button.
- Ports USB 3.0 (x2): Per a la transferència de dades d'alta velocitat.
- Port USB 2.0 (x1): Per a dispositius USB estàndard.
- Presa d'àudio (x1): Combined headphone/microphone port.

Figure 10: Front I/O Panel
5.2 Optimització del flux d'aire
The FARA R1 V2 features a fully meshed front panel to maximize air intake. Ensure proper fan configuration (intake at front, exhaust at rear/top) for optimal cooling performance.
6. Manteniment
Regular maintenance helps ensure the longevity and performance of your PC case.
- Filtres de pols: The case includes removable dust filters on the top and bottom (for the PSU intake). Regularly remove and clean these filters with water and mild soap, or by vacuuming, to prevent dust buildup and maintain airflow.
- Neteja exterior: Netegeu les superfícies exteriors amb un damp tela. Eviteu els netejadors abrasius.
- Neteja interior: Periodically, with the system powered off and unplugged, use compressed air to remove dust from internal components and fan blades.
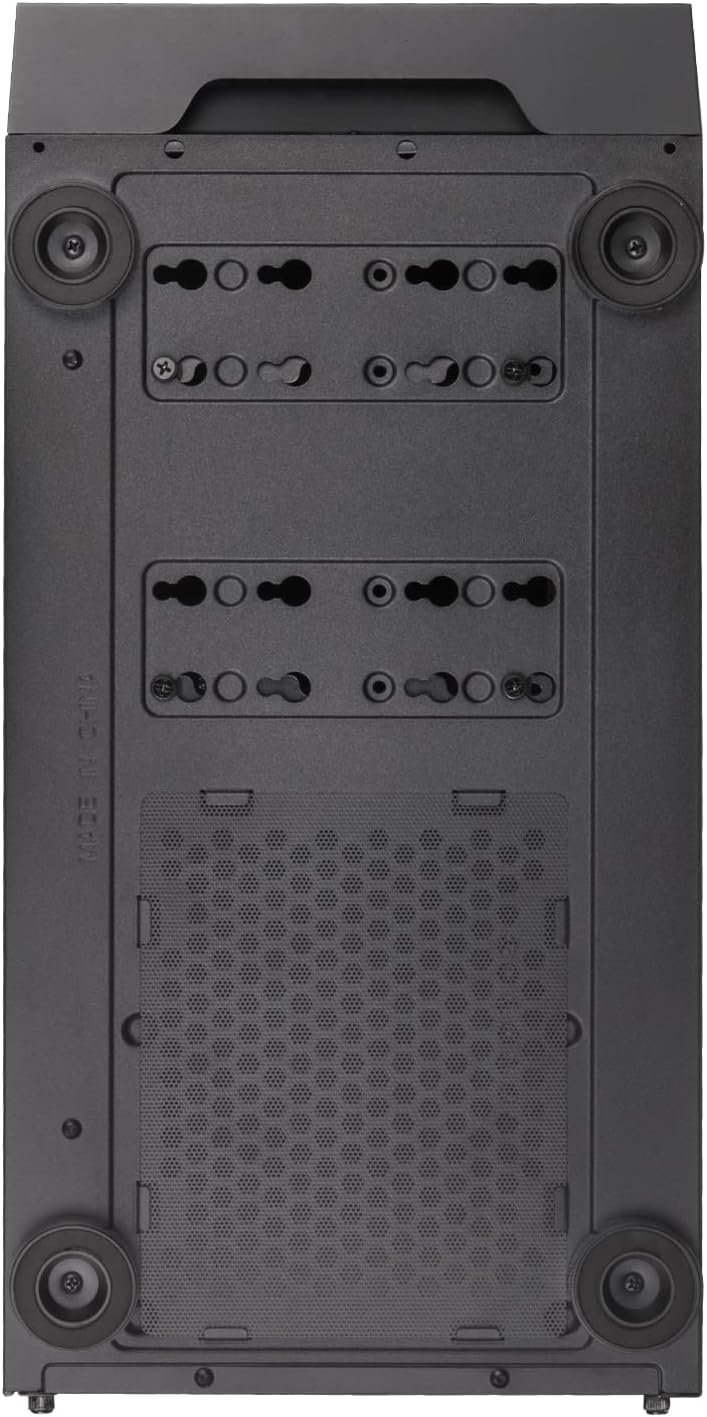
Figure 11: Bottom Dust Filter
7. Solució De Problemes
Aquesta secció tracta problemes comuns que podeu trobar.
- El sistema no s'encén:
- Ensure all power cables (24-pin ATX, 8-pin CPU, GPU power) are securely connected.
- Verifiqueu que l'interruptor de la font d'alimentació estigui en la posició "ON".
- Comproveu que el cable del botó d'engegada del panell frontal estigui connectat correctament a la capçalera F_PANEL de la placa base.
- Flux d'aire deficient/sobreescalfament:
- Clean all dust filters and internal components.
- Ensure fans are installed in the correct orientation (intake/exhaust).
- Verify fan cables are properly connected to the motherboard or fan controller.
- Front USB/Audio Ports Not Working:
- Check that the USB 3.0, USB 2.0, and HD Audio cables from the front panel are correctly connected to the corresponding headers on the motherboard.
- Tempered Glass Panel Issues:
- Handle the tempered glass panel with care to prevent damage.
- Ensure thumbscrews are tightened sufficiently but not overtightened.
8. Garantia i Suport
SilverStone Technology provides a limited warranty for its products. For detailed warranty information, technical support, or to inquire about replacement parts, please visit the official SilverStone weblloc o poseu-vos en contacte amb el seu departament d'atenció al client.
Oficial Weblloc: www.silverstonetek.com
Conserveu el vostre comprovant de compra per a reclamacions de garantia.


