Introducció
Welcome to the user manual for your new SINGER M1155 Sewing Machine. This manual provides essential information for setting up, operating, maintaining, and troubleshooting your machine. Please read it thoroughly before first use to ensure safe and efficient operation.
The SINGER M1155 is designed for ease of use, making it suitable for both beginners and experienced sewers. It features 14 built-in stitch patterns and a robust metal frame for durability.
Instruccions importants de seguretat
Quan utilitzeu un aparell elèctric, sempre s'han de seguir les precaucions bàsiques de seguretat, com ara les següents:
- Always unplug the machine from the electrical outlet immediately after using and before cleaning, removing covers, or making any user servicing adjustments.
- No permetre que s'utilitzi com a joguina. Cal prestar molta atenció quan aquest aparell és utilitzat per o a prop dels nens.
- Utilitzeu aquest aparell només per a l'ús previst tal com es descriu en aquest manual. Utilitzeu només els accessoris recomanats pel fabricant tal com s'inclouen en aquest manual.
- No feu servir mai aquest aparell si té un cable o un endoll danyats, si no funciona correctament, si s'ha caigut o s'ha fet malbé, o si ha caigut a l'aigua.
- No deixeu caure ni introduïu cap objecte a cap obertura.
- No opereu on s'utilitzen productes en aerosol (esprai) o on s'administra oxigen.
- Per desconnectar, gireu tots els controls a la posició d'apagat i, a continuació, traieu l'endoll de la presa.
Components de la màquina
Familiarize yourself with the main parts of your SINGER M1155 sewing machine.

Figura 1: Frontal View of SINGER M1155 Sewing Machine. This image shows the overall design of the machine, including the stitch selector dial, tension dial, and needle area. The machine is white with red SINGER branding.

Figure 2: SINGER M1155 Sewing Machine with Included Accessories. This image displays the sewing machine alongside various accessories such as bobbins, needles, a seam ripper, and different presser feet, indicating what comes with the machine.

Figura 3: posterior View of SINGER M1155 Sewing Machine. This image highlights the power input and the main power switch located at the back of the machine.
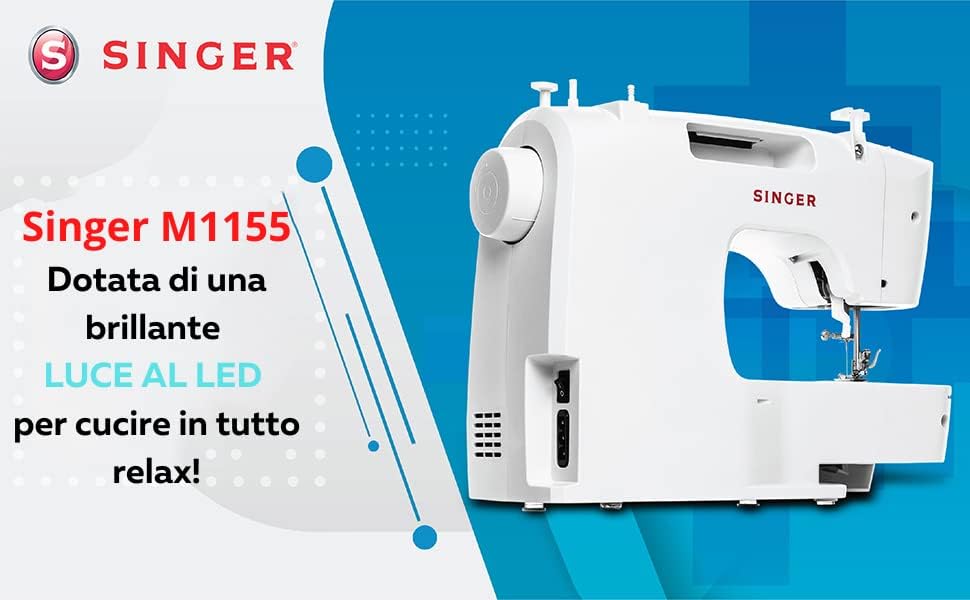
Figure 4: SINGER M1155 Sewing Machine with LED Lighting. This image emphasizes the built-in LED light, which illuminates the sewing area for better visibility during operation.
Configuració
1. Desembalatge i col·locació
- Traieu amb cura la màquina del seu embalatge.
- Place the machine on a stable, flat surface. Ensure there is enough space around the machine for comfortable operation.
- Connect the foot controller and power cord to the machine and then to a suitable electrical outlet.
2. Enrotllament de la bobina
The SINGER M1155 features an automatic bobbin winding system.
- Col·loqueu una bobina de fil al portacarret.
- Guieu el fil a través del guiafils superior i al voltant del disc tensor de la bobina.
- Col·loqueu una bobina buida a l'eix de la bobinadora.
- Enrotlla el fil manualment unes quantes vegades al voltant de la bobina.
- Empenyeu l'eix de la bobina de bobina cap a la dreta.
- Press the foot controller to start winding. The machine will stop automatically when the bobbin is full.
- Talleu el fil i empenyeu el cargol de la bobina cap a l'esquerra.
3. Enfilar el fil superior
Un enfilat correcte és crucial per a una bona qualitat de la puntada.
- Aixequeu el aixecador del peu premsador.
- Col·loqueu una bobina de fil al portacarret.
- Guieu el fil a través del guiafils superior.
- Bring the thread down into the right threading channel, then up and over the take-up lever, and down the left threading channel.
- Thread the needle from front to back. The M1155 offers facilitated threading.
4. Inserció de la bobina
The M1155 uses a rotary hook system.
- Obriu la placa de la coberta de la bobina.
- Introduïu la bobina enrotllada a la caixa de la bobina, assegurant-vos que el fil es desenrotlli en la direcció correcta (normalment en sentit antihorari).
- Guieu el fil de la bobina a través de la molla tensora i cap a la ranura del guiafils.
- Tanqueu la placa de la coberta de la bobina.
Instruccions de funcionament
1. Selecting a Stitch
The SINGER M1155 offers 14 built-in stitch patterns. Use the easy stitch selector dial on the front of the machine to choose your desired stitch.

Figure 5: Close-up of the Stitch Selector Dial. This image shows the main dial used to select from the 14 available stitch patterns, including straight stitches, zig-zag, and decorative stitches.

Figure 6: Close-up of the Thread Tension Dial. This image highlights the dial used to adjust the upper thread tension, which is crucial for balanced stitches.

Figura 7: View of the Needle and Presser Foot Area. This image provides a detailed look at the working area, including the needle, presser foot, and feed dogs, where the fabric is guided during sewing.
2. Ajust de la longitud i l'amplada de la puntada
While the M1155 has preset stitch patterns, some adjustments might be possible via the stitch selector or tension dial for optimal results. The machine features a 5mm stitch width.
3. Sewing Basics
- Col·loqueu la tela sota el peu de premsa.
- Baixeu el peu de premsa.
- Turn the handwheel towards you to bring the needle down into the fabric, then up again to bring up the bobbin thread. Pull both threads under the presser foot and to the back.
- Press the foot controller to begin sewing. Guide the fabric gently.
- To reverse stitch (for securing seams), press and hold the reverse lever/button.
- When finished, raise the needle to its highest position, raise the presser foot, and pull the fabric away from the machine. Cut the threads using the thread cutter.
4. Buttonhole Sewing
The M1155 supports a 4-step buttonhole process.
- Col·loqueu el peu de l’obturador.
- Select the first step of the buttonhole stitch on the dial.
- Sew the first side of the buttonhole.
- Follow the remaining steps on the stitch selector dial to complete the buttonhole.
Manteniment
Un manteniment regular garanteix la longevitat i el rendiment òptim de la teva màquina de cosir.
1. Neteja
- Desconnecteu sempre la màquina abans de netejar-la.
- Traieu la placa de l'agulla i la caixa de la bobina.
- Use a small brush to remove lint and dust from the feed dogs and bobbin area.
- Wipe the exterior of the machine with a soft, dry cloth. Do not use harsh chemicals.
2. Oiling
The SINGER M1155 is designed to require minimal oiling. Refer to the specific instructions in your full manual for any recommended oiling points, typically around the hook race.
3. Substitució d'agulla
Replace the needle regularly (after every 8-10 hours of sewing) or if it becomes bent, dull, or causes skipped stitches.
- Apagueu la màquina i desconnecteu-la.
- Afluixeu l'agulla clamp cargol.
- Traieu l'agulla vella.
- Introduïu una agulla nova amb el costat pla mirant cap a la part posterior de la màquina, empenyent-la cap amunt fins al fons.
- Apretar l'agulla clamp cargol de manera segura.
Resolució de problemes
| Problema | Causa possible | Solució |
|---|---|---|
| Punts saltats | Incorrectly inserted needle, bent needle, wrong needle size for fabric, improper threading. | Re-insert needle correctly, replace needle, use correct needle, re-thread machine. |
| Trenca fil | Improper threading, tension too tight, poor quality thread, bent needle, burr on needle plate. | Re-thread machine, adjust tension, use good quality thread, replace needle, check needle plate for damage. |
| Trencament del fil de la bobina | Improperly wound bobbin, bobbin inserted incorrectly, lint in bobbin case. | Re-wind bobbin, re-insert bobbin correctly, clean bobbin case. |
| Punts desiguals | Incorrect tension, improper threading, wrong needle/thread combination. | Adjust tension, re-thread machine, ensure needle and thread are suitable for fabric. |
| La màquina no alimenta tela | Feed dogs lowered, presser foot not lowered, lint under needle plate. | Raise feed dogs, lower presser foot, clean under needle plate. |
Especificacions
| Característica | Detall |
|---|---|
| Número de model | M1155 |
| Marca | CANTANT |
| Patrons de punt | 14 punts incorporats |
| Ojala | Ojala de 4 passos |
| Sistema de bobines | Rotary Hook |
| Bobinat de bobina | Automàtic |
| Needle Threading | Facilitated |
| Il·luminació | Llum LED |
| Amplada de puntada | Fins a 5 mm |
| Material del marc | Metall |
| Font d'alimentació | Cable elèctric |
| Dimensions (aprox.) | 45.79 x 34.7 x 20 cm |
| Pes (aprox.) | 5.82 kg |
Suport i garantia
For further assistance, technical support, or warranty information, please refer to the official SINGER weblloc web o poseu-vos en contacte amb el servei d'atenció al client. Conserveu el comprovant de compra per a reclamacions de garantia.
While specific warranty details are not provided in this manual, SINGER typically offers a limited warranty on their sewing machines covering manufacturing defects.


