1. Introducció
Gràcies per la compraasing the Bewinner Dilwe90y38cgo7q Mini Drone. This foldable FPV drone features a 1080P HD camera, altitude hold, and one-key start for an enjoyable flight experience. This manual provides essential information for safe operation, setup, and maintenance of your drone. Please read it thoroughly before use.
2. Pautes de seguretat
- Feu servir sempre el dron en zones obertes, lluny de persones, animals i obstacles.
- No voli a prop d'aeroports, espai aeri restringit o zones sensibles.
- Ensure the drone battery is fully charged and the remote control has fresh batteries before each flight.
- Mantingueu els dits i els cabells allunyats de les hèlixs giratòries.
- No opereu amb vents forts ni condicions meteorològiques adverses.
- Supervise children during drone operation. Recommended age is 14 years and above.
- Turn off the drone and remote control when not in use.
3. Contingut del paquet
Verifiqueu que tots els elements siguin presents al vostre paquet:
- 1 x Bewinner Mini Drone
- 1 x comandament a distància
- 1 x tornavís
- 1 x cable de càrrega USB
- 5 x Propellers (4 installed, 1 spare)
- 4 x Guard Frames
- 2 manuals d'usuari (aquest document)
- 1 x bossa d'emmagatzematge

Image: All components included in the Bewinner Mini Drone package, laid out for inspection.
4. Especificacions
| Característica | Detall |
|---|---|
| Model de producte | Dilwe90y38cgo7q (Internal reference: E58) |
| Material | ABS |
| Freqüència | 2.4G |
| Color | Blau fosc |
| Mida desplegada | Aprox. 28 x 22 cm (11 x 8.7 polzades) |
| Mida plegada | Aprox. 12 x 7.5 cm (4.7 x 3 polzades) |
| Bateria de dron | 3.7V 600mAH Li-Ion Battery (integrated) |
| Mètode de càrrega | Port USB |
| Temps de càrrega | Aprox. 40 minuts |
| Temps de vol | Aprox. 8 minuts |
| Bateries de comandament a distància | 3 piles AA (no incloses) |
| Distància de control remot | Aprox. 150 metres |
| Mode de càmera | FPV (Primera Persona) View) |
| Resolució de vídeo | 2048x1080 (1080P HD) |
| Resolució d'imatge | 4096x2160 (4K) |
| Maximum Moving Speed | 10 Km/H |
| Maximum Ascent Speed | 3 Km/H |
| Edat recomanada | 14+ anys |

Image: The drone's camera, capable of 4K image and 1080P video recording.
5. Configuració
5.1 Desplegament del dron
Gently unfold the drone arms until they lock into position. Ensure all four arms are fully extended.
5.2 Installing Propeller Guards
Attach the four propeller guard frames to the drone's motor arms. These guards help protect the propellers from damage during flight.
5.3 Càrrega de la bateria del dron
- Connect the drone's integrated battery to the USB charging cable.
- Plug the USB cable into a standard USB power adapter (e.g., computer USB port, phone charger).
- The charging indicator will show the charging status. Charging typically takes about 40 minutes.
- Disconnect the drone once charging is complete.
5.4 Instal·lació de les piles del comandament a distància
Open the battery compartment on the back of the remote control. Insert 3 AA batteries (not included), ensuring correct polarity. Close the compartment securely.
5.5 Control remotview

Image: Labeled diagram of the remote control, showing functions like Headless Mode, One Key Return, Photo/Video, Speed Switch, One Key Take-off, One Key Landing, Fine Tuning, 360 Rolling, and Emergency Stop.
- Joystick esquerre: Ascend/Descend, Turn Left/Right
- Joystick dret: Forward/Backward, Fly Left/Right
- Un punt clau d'enlairament: Inicia l'enlairament automàtic.
- Un aterratge clau: Inicia l'aterratge automàtic.
- Mode sense cap: Activa el vol sense cap.
- Retorn d'una clau: Initiates automatic return to the takeoff point.
- Botó foto/vídeo: Press for photo, long press for video.
- Interruptor de velocitat: Toggles between high and low-speed modes.
- 360 Rolling/Emergency Stop: Performs a 360-degree roll or emergency stop.
- Afinació fina: Adjusts drone drift (Rightward, Leftward, Forward, Backward).
- Interruptor ON / OFF: Powers the remote control on or off.
6. Instruccions de funcionament
6.1 Power On and Frequency Matching
- Col·loqueu el drone sobre una superfície plana i plana.
- Long press the power button on the drone to turn it on. The drone's indicator lights will flash.
- Enceneu el comandament a distància mitjançant el seu interruptor ON/OFF.
- Move the left throttle stick (joystick) fully up, then fully down. You will hear a sound, and the drone's indicator lights will stop flashing, indicating successful frequency matching.
6.2 Enlairament i aterratge
- Un punt clau d'enlairament: After successful frequency matching, press the One Key Take-off button on the remote control. The drone will automatically ascend and hover at a stable altitude.
- Enlairament manual: Alternatively, after frequency matching, push both joysticks down and outwards simultaneously to unlock the motors. Then, push the left joystick up to ascend.
- Un aterratge clau: During flight, press the One Key Landing button. The drone will automatically descend and land gently.
- Aterratge manual: Slowly pull the left joystick down to descend and land the drone. Once landed, push both joysticks down and inwards to lock the motors.

Image: Visual representation of One Key Return and One Key Takeoff/Landing features, simplifying drone operation.
6.3 Controls de vol
- Pujar/Descens: Empenyeu el joystick esquerre cap amunt per pujar, estireu-lo cap avall per baixar.
- Endavant/Enrere: Empenyeu el joystick dret cap amunt per volar endavant i estireu-lo cap avall per volar cap enrere.
- Gireu a l'esquerra/dreta: Empenyeu el joystick esquerre cap a l'esquerra per girar a l'esquerra, empenyeu-lo cap a la dreta per girar a la dreta.
- Fly Left/Right (Sideways): Empenyeu el joystick dret a l'esquerra per volar a l'esquerra, empenyeu-lo a la dreta per volar a la dreta.
6.4 Altitude Hold
The drone features an atmospheric pressure altitude hold function. After takeoff, release the left joystick, and the drone will maintain its current altitude, allowing for stable hovering and easier control for photography.

Image: The drone demonstrating stable hovering due to its altitude hold function, making aerial photography convenient.
6.5 Mode sense cap
In Headless Mode, the drone's orientation is relative to the pilot, regardless of the drone's actual front direction. This simplifies flight control, especially for beginners.
- Press the Headless Mode button on the remote control to activate.
- Press it again to exit Headless Mode.

Image: Depiction of Headless Mode, where the drone flies relative to the remote, and Trajectory Flight, where the drone follows a drawn path on a mobile device.
6.6 Devolució d'una clau
When in Headless Mode, pressing the One Key Return button will cause the drone to fly back towards the remote control's position. This is useful if you lose sight of the drone's orientation.
6.7 modes de velocitat
The drone offers high and low-speed modes. Press the Speed Switch button on the remote control to toggle between them. Low speed is recommended for beginners, while high speed provides greater torque for experienced pilots or windy conditions.
6.8 360-Degree Rolling
To perform a 360-degree roll:
- Fly the drone to a height of at least 3 meters.
- Press the 360 Rolling button.
- Immediately push the right joystick in any direction (forward, backward, left, or right) to execute the roll.
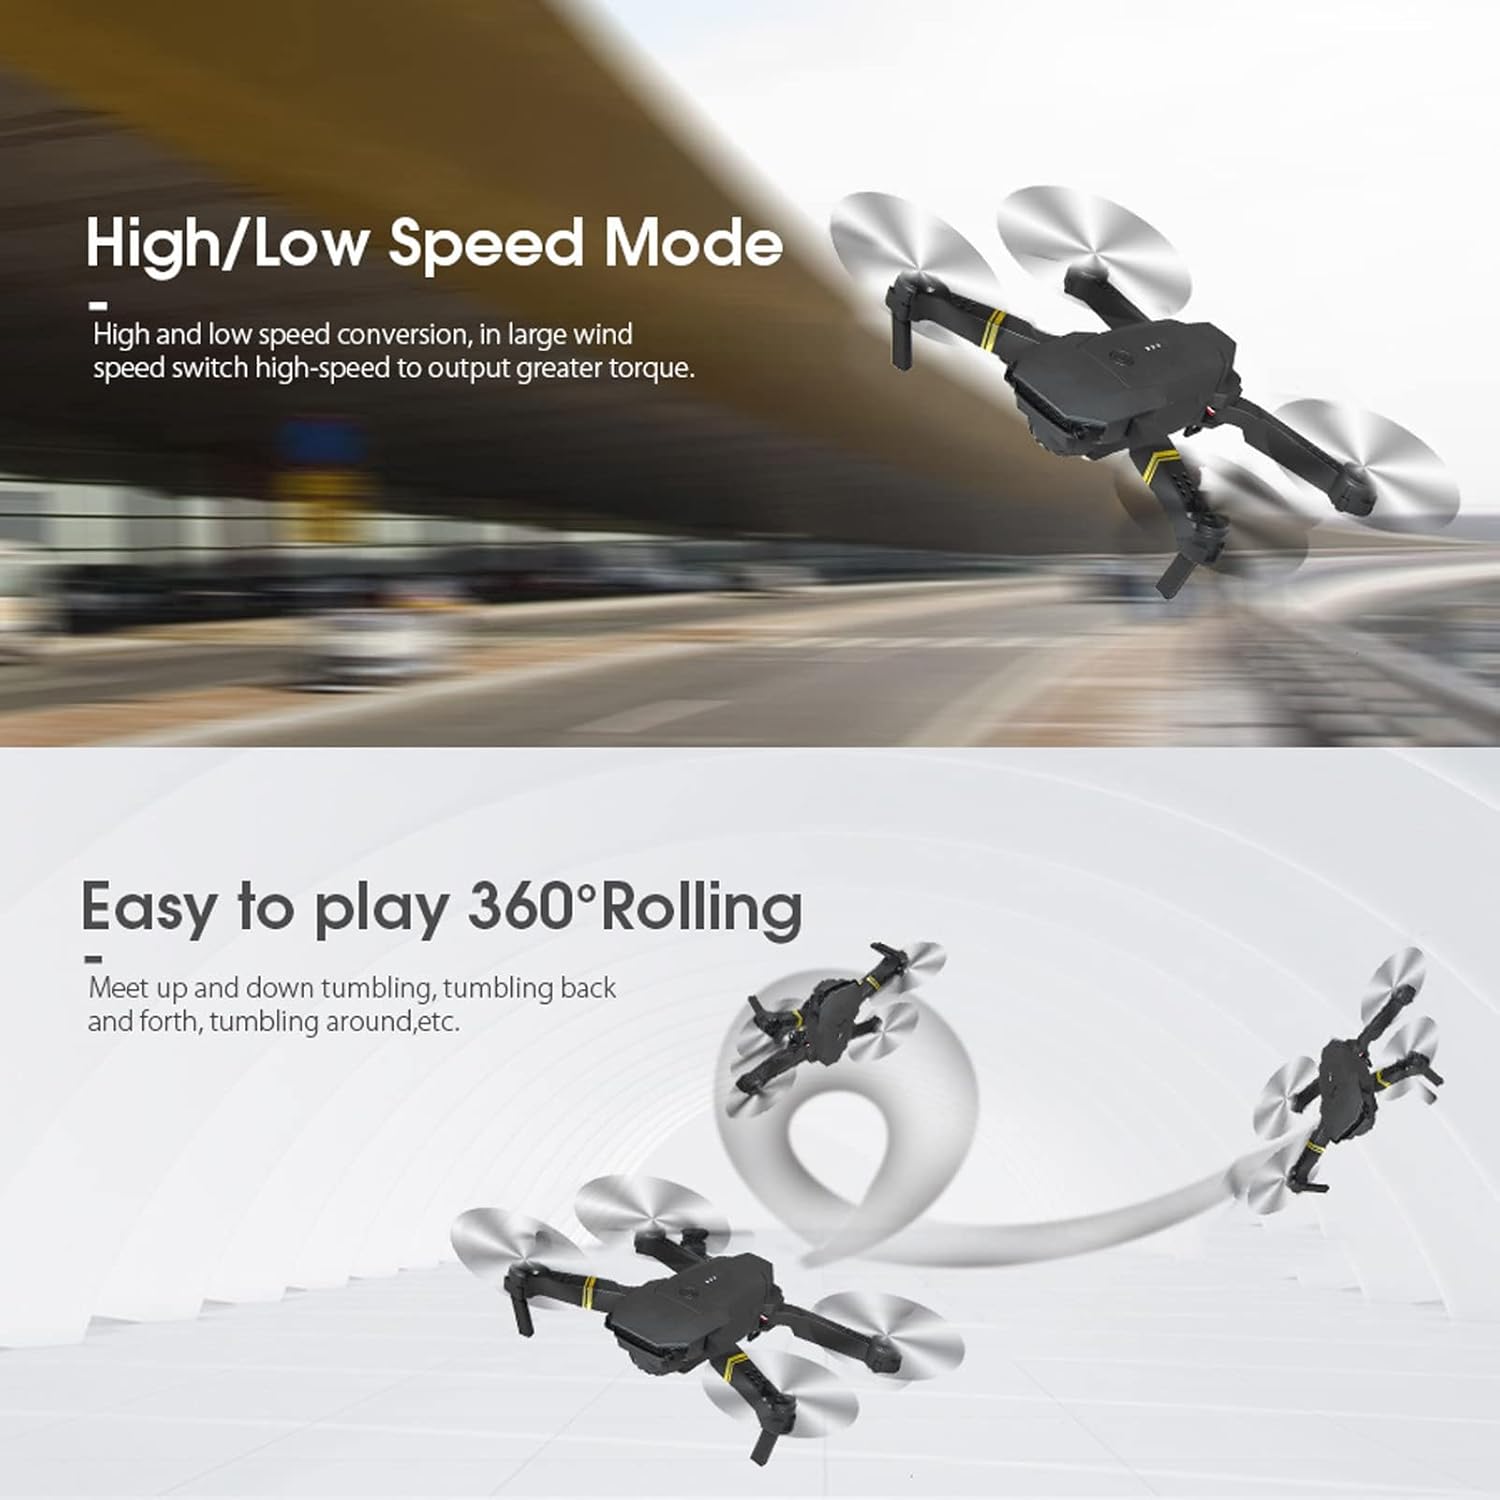
Image: Demonstrations of the drone's High/Low Speed Mode and its ability to perform 360-degree rolling stunts.
6.9 APP Control and FPV
The drone supports control via a mobile application, enabling real-time FPV (First Person View) and advanced features.
- Download the dedicated drone APP from your mobile device's app store (refer to the packaging or quick start guide for the specific APP name/QR code).
- Enceneu el drone.
- On your mobile device, go to Wi-Fi settings and connect to the drone's Wi-Fi network (usually named something like 'WIFI-UFO' or similar, followed by a series of numbers/letters).
- Open the drone APP. You should see a live video feed from the drone's camera.
- Use the APP interface to control the drone, take photos, record videos, and access features like Trajectory Flight.

Image: The drone, remote control, and a smartphone showing the live FPV feed, highlighting the Wi-Fi APP compatibility for an immersive real-time experience.
7. Manteniment
- Neteja: Feu servir un drap suau i sec per netejar el dron i el comandament a distància. No utilitzeu aigua ni productes de neteja químics.
- Substitució de l'hèlix: If a propeller is damaged, use the included screwdriver to carefully remove the old propeller and install a new one. Ensure the correct propeller type (A or B) is installed on the corresponding motor.
- Cura de la bateria: Store the drone battery in a cool, dry place. Do not overcharge or over-discharge the battery. If not used for a long time, charge it periodically to maintain battery health.
- Emmagatzematge: Quan no l'utilitzeu, plegueu el dron i guardeu-lo a la bossa d'emmagatzematge proporcionada per protegir-lo de la pols i els danys.
8. Solució De Problemes
| Problema | Causa possible | Solució |
|---|---|---|
| El dron no respon al comandament a distància. | Not paired, low remote battery, drone battery low. | Perform frequency matching again. Replace remote batteries. Charge drone battery. |
| El dron es desplaça durant el vol. | Not calibrated, environmental factors (wind). | Land the drone and recalibrate (refer to quick start guide for calibration steps). Use fine-tuning buttons on the remote. Fly in calm conditions. |
| Temps de vol curt. | Bateria no carregada completament, bateria antiga, vol agressiu. | Ensure full charge (40 minutes). Consider replacing battery if old. Fly more gently. |
| Poor camera image/video quality. | Low light, camera lens dirty, Wi-Fi interference. | Ensure good lighting. Clean camera lens. Fly in areas with minimal Wi-Fi interference. |
| APP not connecting to drone Wi-Fi. | Drone not powered on, incorrect Wi-Fi selected, APP issue. | Ensure drone is on. Select the correct Wi-Fi network. Restart APP and drone. |
9. Garantia i Suport
For warranty information or technical support, please refer to the purchase platform or contact Bewinner customer service directly. Keep your purchase receipt as proof of purchase.
