1. Introducció
This manual provides instructions for the PDP REMATCH Enhanced Wired Nintendo Switch Pro Controller, model 500-134-HLBL (Hyrule Blue). This controller is designed for use with Nintendo Switch, Switch Lite, and Switch OLED consoles, offering enhanced features for an improved gaming experience. Please read this manual thoroughly before using your controller.

Figura 1: Frontal view of the PDP REMATCH Enhanced Wired Nintendo Switch Pro Controller.
2. Configuració
2.1 Connecting the Controller to Your Nintendo Switch
- Assegura't que la consola Nintendo Switch estigui engegada i actualitzada amb el programari del sistema més recent.
- Locate an available USB port on your Nintendo Switch dock or console (if using a USB-C to USB-A adapter for Switch Lite/OLED handheld mode).
- Plug the USB-A end of the controller's 10-foot cable into the USB port on your Nintendo Switch dock or console.
- The controller will automatically connect and be ready for use. No additional drivers or pairing are required.
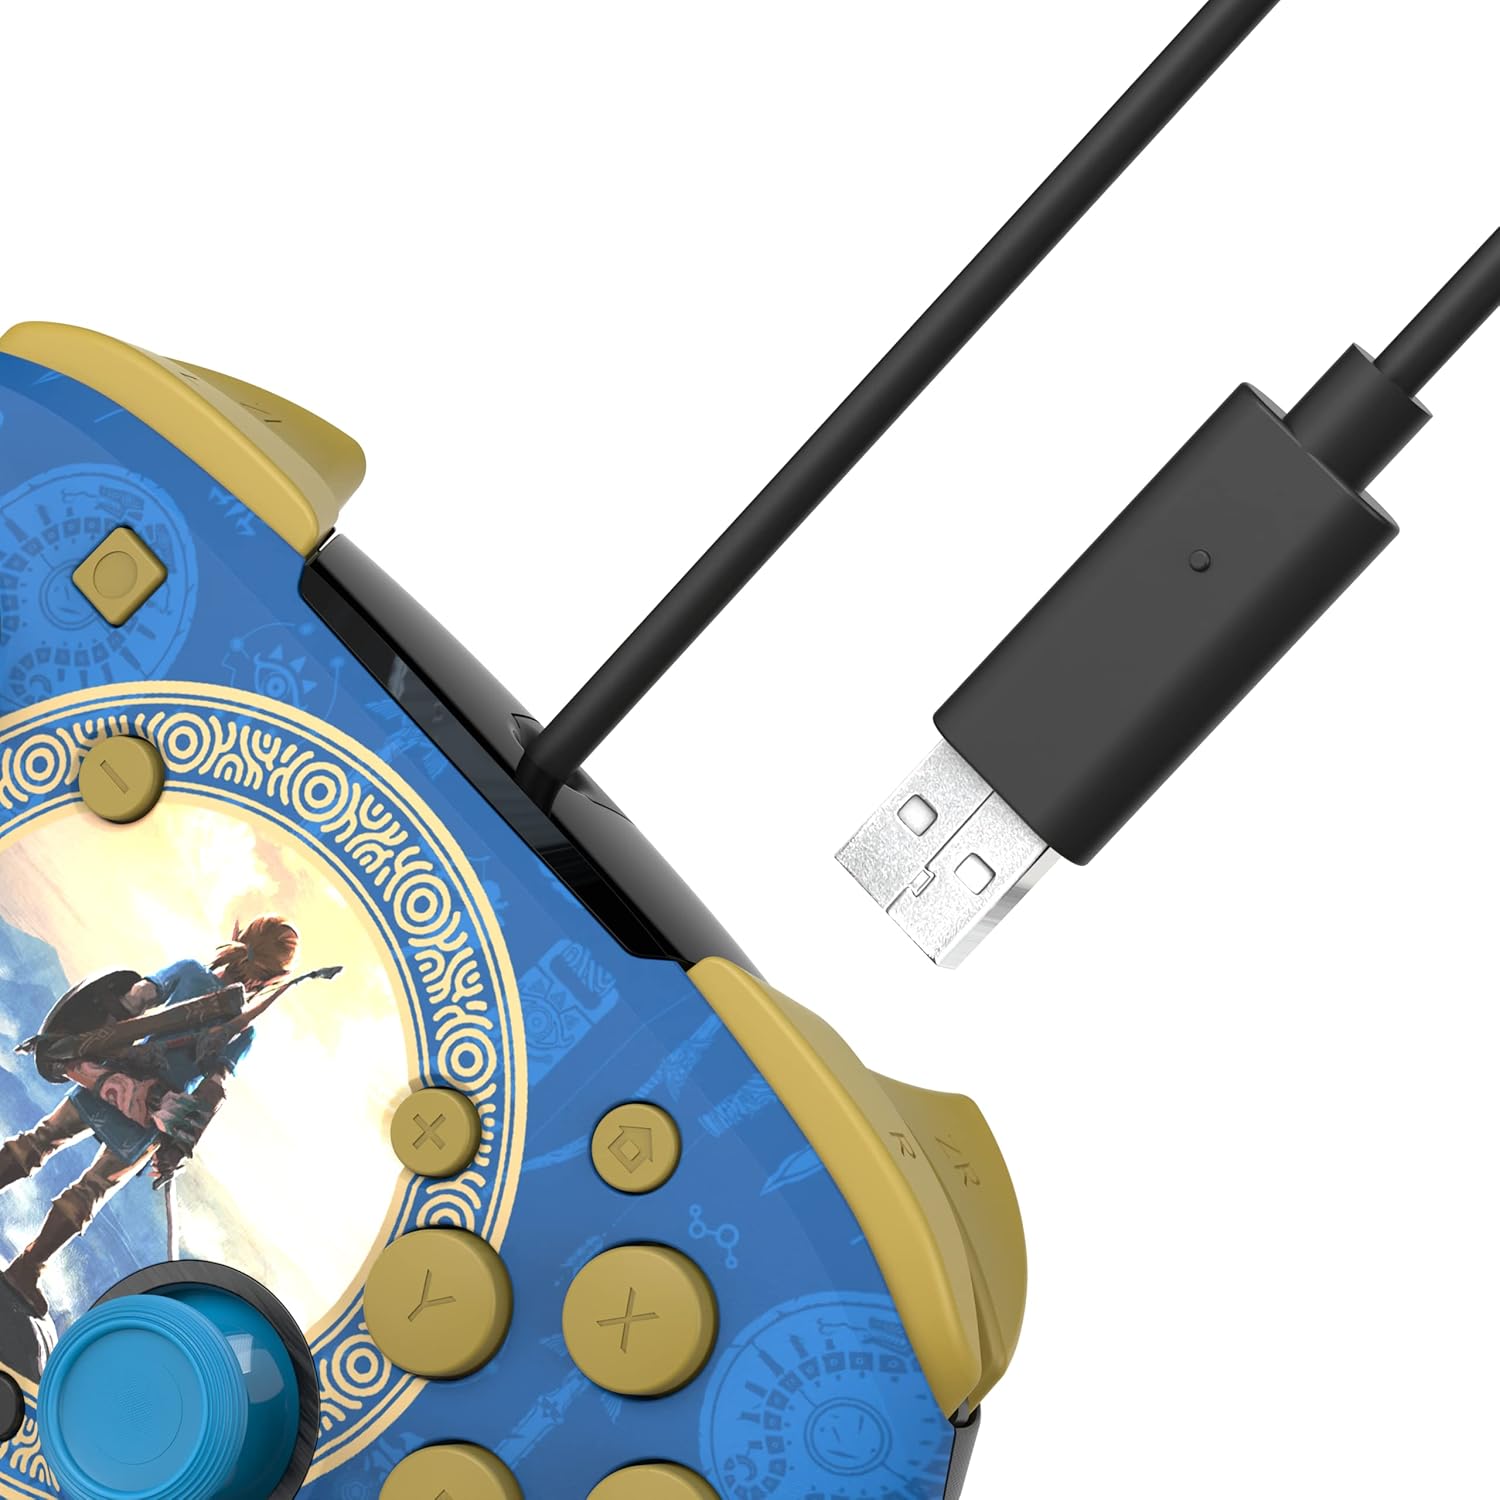
Figure 2: USB-A connector for console connection.
2.2 Connecting a Headset
- Locate the 3.5mm audio jack at the bottom of the controller.
- Plug your compatible headset into the 3.5mm audio jack.
- Audio from your game will now be routed through your headset. For USB-chat in compatible titles, ensure your headset's microphone is enabled and configured within the game or system settings.

Figure 3: Controller with 3.5mm audio jack for headset connection.
3. Instruccions de funcionament
3.1 Controls bàsics
The PDP REMATCH controller features standard Nintendo Switch button layouts, including A, B, X, Y buttons, L/R and ZL/ZR shoulder buttons, a D-pad, Left/Right analog sticks, Home, Capture, Plus (+), and Minus (-) buttons.

Figura 4: Frontal view of the controller with labeled buttons.
3.2 Adjusting Game Volume
You can adjust the game volume directly from the controller using the D-pad. While holding the Botó de funció (located near the right analog stick), press D-pad amunt to increase volume or D-pad cap avall to decrease volume. This allows for quick audio adjustments without pausing gameplay.

Figure 5: D-pad and Function button for volume control.
3.3 Programming Back Buttons
The controller features dual programmable back buttons for custom assignments. These buttons are located on the underside of the controller.
- Manteniu premut el botó Botó de programa (small button on the back, usually near the center) until the LED indicator begins to flash.
- Premeu el botó botó enrere (P1 o P2) que voleu programar.
- Premeu el botó botó estàndard (A, B, X, Y, L, R, ZL, ZR, D-pad directions, or analog stick clicks) you want to assign to the back button.
- The LED indicator will flash rapidly, then return to solid, indicating successful programming.
- Repeat the process for the other back button if desired.
- To clear a programmed button, press and hold the Program button until the LED flashes, then press the back button you wish to clear twice. The LED will confirm the clear.

Figura 6: posterior view showing programmable back buttons.
4. Manteniment
4.1 Neteja
- Disconnect the controller from your console before cleaning.
- Feu servir un drap suau i sec per netejar la superfície del controlador.
- Per a la brutícia tossuda, lleugerament dampRenta el drap amb aigua. Evita utilitzar productes químics agressius o netejadors abrasius.
- No permeteu que entrin líquids a les obertures del controlador.
4.2 Emmagatzematge
- Guardeu el controlador en un lloc fresc i sec, allunyat de la llum solar directa i de temperatures extremes.
- Avoid wrapping the cable tightly around the controller to prevent damage.
5. Solució De Problemes
5.1 El controlador no respon
- Ensure the USB cable is securely plugged into both the controller and the Nintendo Switch dock/console.
- Try plugging the controller into a different USB port on your Switch dock/console.
- Reinicia la consola Nintendo Switch.
- Verify that your Nintendo Switch system software is up to date.
5.2 No Audio Through Headset
- Assegura't que els auriculars estiguin completament connectats al connector de 3.5 mm del controlador.
- Check your headset's volume controls and mute switch.
- Verify audio settings on your Nintendo Switch console.
- Prova els auriculars amb un altre dispositiu per confirmar que funcionen correctament.
5.3 Programmable Buttons Not Working
- Ensure you have followed the programming steps correctly (Section 3.3).
- Try clearing the programmed button and reprogramming it.
- Note that programmed button assignments may need to be re-applied after disconnecting the controller or restarting the console, depending on the game or system state.
6. Especificacions
| Característica | Detall |
|---|---|
| Número de model | 500-134-HLBL |
| Compatibilitat | Nintendo Switch, Switch Lite, Switch OLED |
| Connectivitat | USB-A per cable |
| Longitud del cable | 10 peus (aprox. 3 metres) |
| Jack d'àudio | 3.5mm for audio and USB-chat (where supported) |
| Botons programables | Dual back buttons |
| Pes | 11.3 unces (aproximadament 320 grams) |
| Fabricant | PDP |
7. Garantia i assistència
Per obtenir informació sobre la garantia i assistència tècnica, consulteu el PDP oficial. weblloc web o contacteu directament amb el servei d'atenció al client. Conserveu el comprovant de compra per a reclamacions de garantia.
PDP Customer Support: www.pdp.com/support


